How To Start A Raised Garden Bed From Scratch: Guide
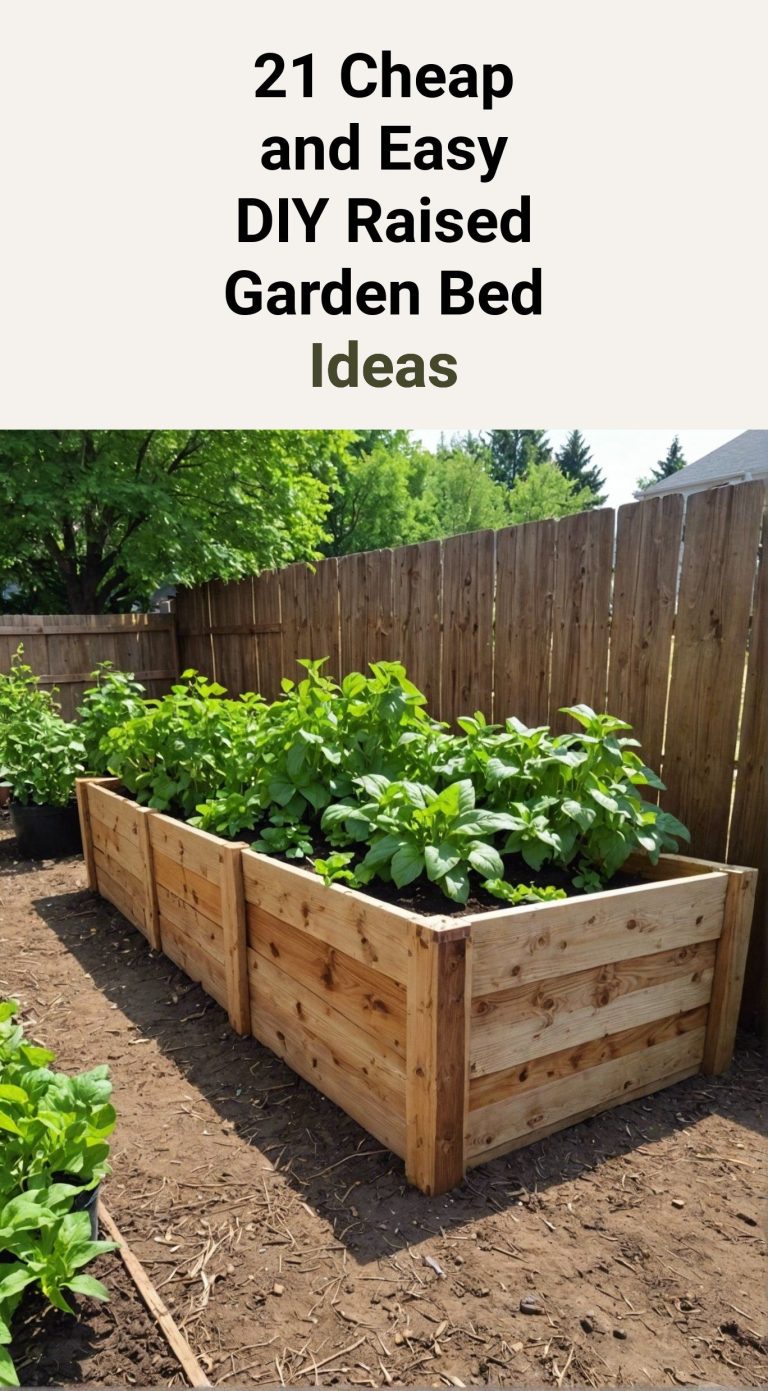
A raised garden bed gives you control over soil, drainage, spacing, and plant care. You can grow vegetables in poor native soil, reduce bending, and warm the soil earlier in spring. The project can be simple: choose a sunny spot, build or buy a frame, fill it with good soil, and plant crops that suit your climate. I have built beds from cedar, untreated pine, and recycled composite boards. Each worked, but the soil mix and site choice mattered more than the frame.
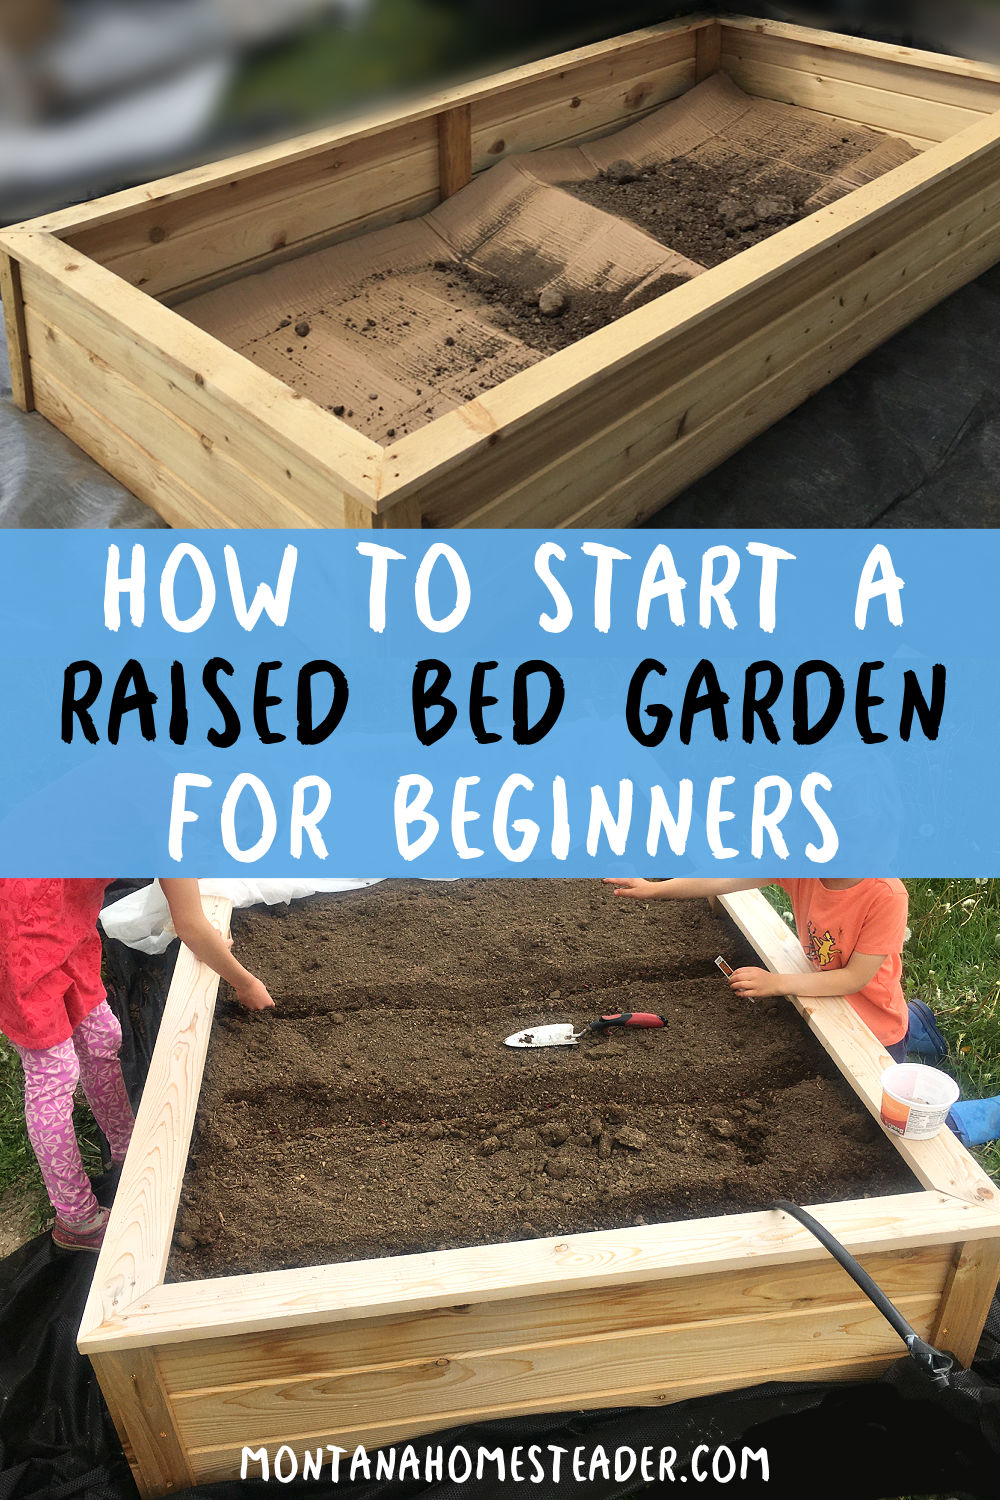
Quick answer: how to start a raised garden bed from scratch
The best way to start a raised garden bed is to choose a level site with at least six hours of sun, build a 6- to 12-inch-deep frame, add a balanced soil mix, and plant crops suited to your USDA hardiness zone. A 4-by-8-foot bed is a useful beginner size. Fill it with about 1 cubic yard of soil and compost.
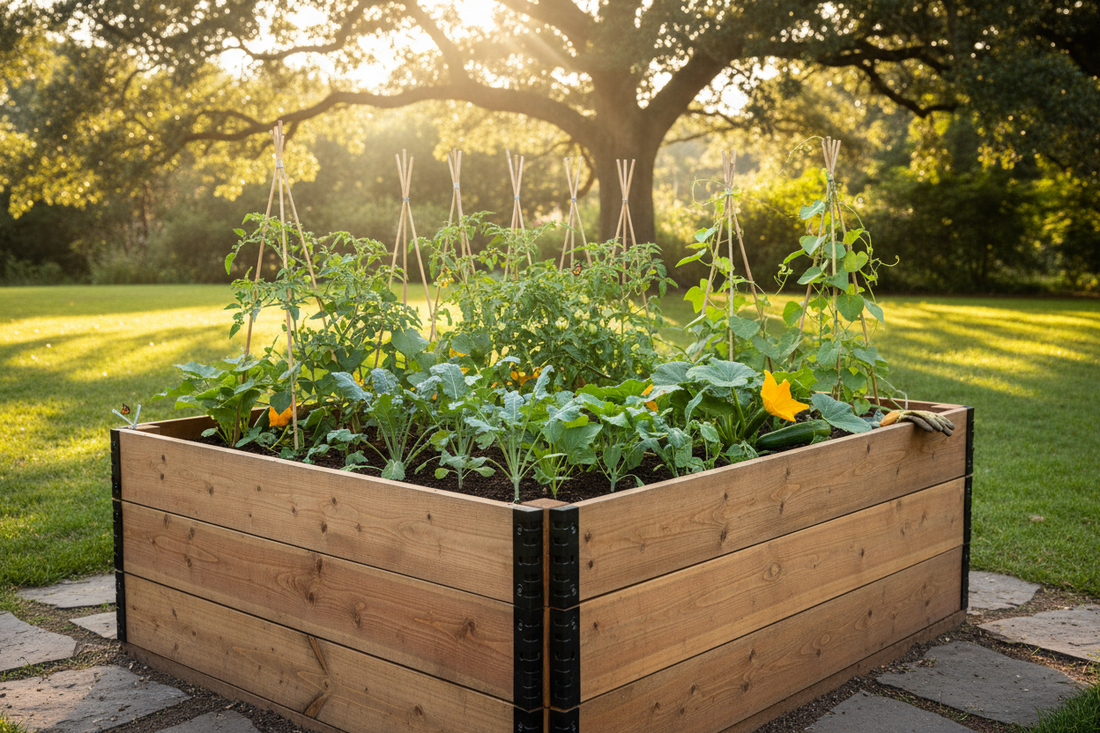
A raised bed is a growing space lifted above the ground. The sides hold soil in place, while the open top lets roots spread and water drain. You can place one over lawn, compacted soil, gravel, or even a small section of patio, though beds over hard surfaces need more depth.
This project suits new gardeners, renters with permission to build temporary beds, people with heavy clay soil, and anyone who wants a neat food garden. It may not suit a shady yard, a site with standing water, or a gardener who cannot water during hot weather.
Plan the bed before buying materials
Good planning prevents most raised-bed problems. Before you cut boards or order soil, study the light, water access, bed size, walking space, and local growing season. A few minutes with a tape measure can save hours of rebuilding.

Pick the sunniest practical location
Most vegetables need six to eight hours of direct sun each day. Fruiting plants such as tomatoes, peppers, cucumbers, squash, and eggplants need the most light. Leaf crops such as lettuce, spinach, kale, and arugula can tolerate some morning or late-day shade.
Watch the area from spring through summer if possible. A spot that looks sunny in March may sit under a tree canopy in June. In hot USDA zones 8 through 10, some afternoon shade can protect lettuce and cilantro from bolting, which means flowering and turning bitter.
Keep the bed near a hose or rain barrel. I once placed a productive 4-by-12-foot bed at the far end of a yard. The plants grew well, but I skipped watering on busy days because the trip felt long. A closer bed received better care and produced more food.
Choose a workable bed size
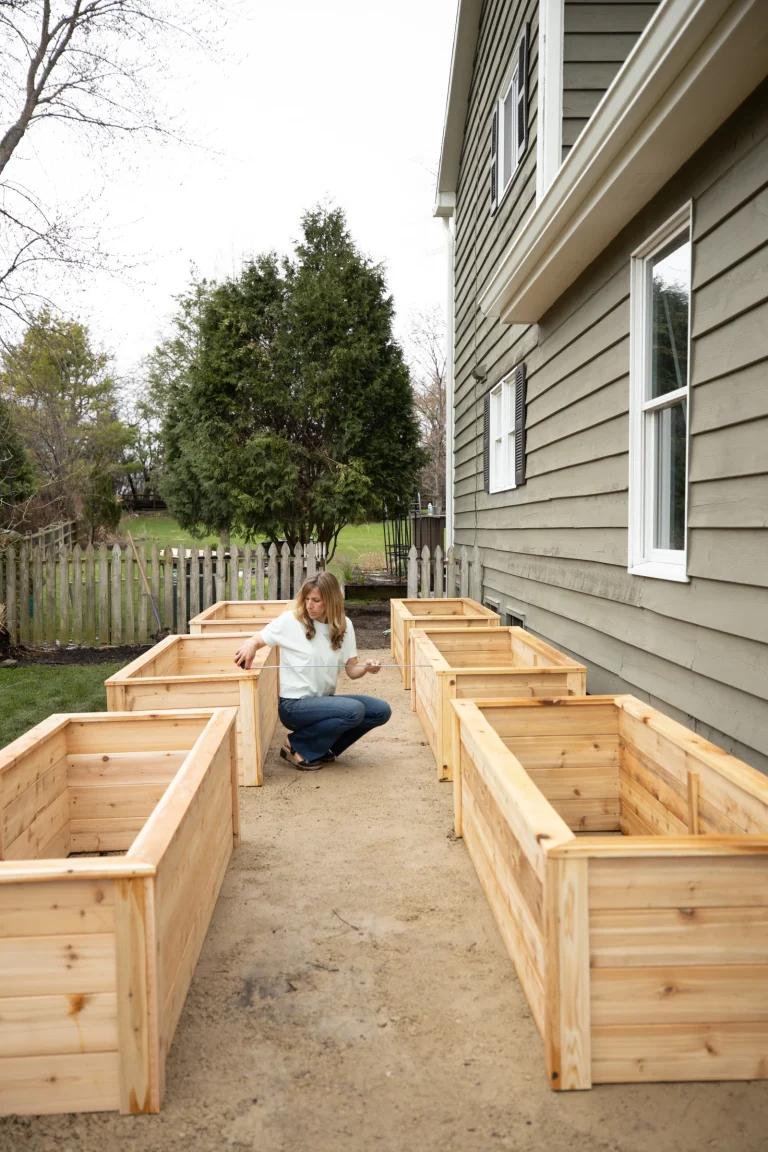
A 4-foot-wide bed lets most adults reach the center from either side without stepping on the soil. If the bed touches a wall or fence, keep it no more than 2 feet wide. Length can vary, but 4, 6, or 8 feet works well for standard lumber.
Leave at least 18 to 24 inches between beds. Use 30 to 36 inches if you need a wheelbarrow, walker, or mower to pass through. A narrow path covered with wood chips, straw, or gravel stays cleaner during wet weather.
The table below shows useful starter sizes and their soil needs. Soil volume varies slightly with the final fill height and settling.
| Bed size | Approximate soil volume |
|---|---|
| 2 by 4 feet, 12 inches deep | 8 cubic feet |
| 4 by 4 feet, 12 inches deep | 16 cubic feet |
| 4 by 8 feet, 12 inches deep | 32 cubic feet |
A 4-by-8-foot bed gives generous space but can become expensive to fill. For a first project, two 2-by-4-foot beds may offer better access and easier crop rotation.
Decide on the bed height
A 6-inch bed works over loosened ground and suits shallow-rooted herbs and greens. A 12-inch bed gives roots more room and works over grass or compacted soil. Beds 18 to 24 inches high help gardeners with back or knee pain, but they need much more soil and stronger construction.
Most vegetables grow well in 12 inches of soil, but root crops need more depth. Carrots, parsnips, daikon radishes, and long beets perform better in 18 inches or more. Strawberries, lettuce, onions, and many herbs can grow in 6 to 8 inches.
Check local rules and hazards
Call your utility marking service before digging posts or edging. Avoid placing a bed below roof runoff unless you redirect the water. Concentrated runoff can erode soil, spread roof debris, and keep roots too wet.
Do not use old painted boards, railroad ties, treated lumber of unknown age, or wood that smells like chemicals. Modern residential pressure-treated wood is regulated and commonly used for garden structures, but some gardeners still prefer naturally durable cedar, redwood, or untreated lumber.
⚠️ Warning: Never burn or compost painted, stained, or pressure-treated wood. Wear gloves when handling old boards because splinters, nails, and soil contaminants can cause injury.
Gather the right tools and materials
You do not need a large power-tool collection to build a raised garden bed. A drill, level, tape measure, square, and handsaw can handle a small project. A cordless circular saw speeds up cuts, but it is not essential.
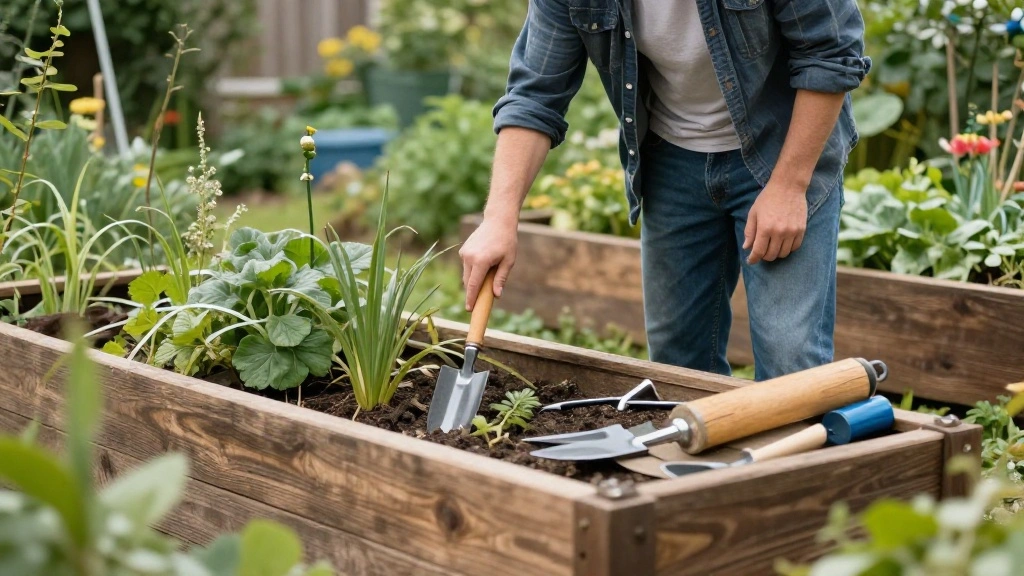
Materials for a basic 4-by-8-foot bed
The materials below fit a simple 12-inch-high frame. You can change the board type, but keep the inside dimensions in mind when ordering soil.
| Item | Suggested amount |
|---|---|
| 2-by-6-inch boards, 8 feet long | 4 |
| Exterior screws, 3 inches long | 24–32 |
| Corner braces or 2-by-2-inch stakes | 4–8 |
| Weed barrier or cardboard | Enough for the footprint |
| Garden soil and compost | About 32 cubic feet |
| Wood chips or straw mulch | 1–2 cubic feet |
Use exterior-rated screws rather than indoor drywall screws. Galvanized or coated deck screws resist rust better. For beds longer than 8 feet, add a center brace or cross support to stop the boards from bowing.
Basic tools
You will need a tape measure, pencil, carpenter’s square, drill, drill bits, level, shovel, rake, and wheelbarrow. Add safety glasses and work gloves. A soil knife, hand trowel, broadfork, and garden hose with a shutoff nozzle help with planting and later care.
A circular saw with a sharp general-purpose blade makes clean cuts. Keep the blade guard working and support the board on sawhorses. If you do not own a saw, most lumber stores can make straight cuts for a small fee.
Compare common frame materials
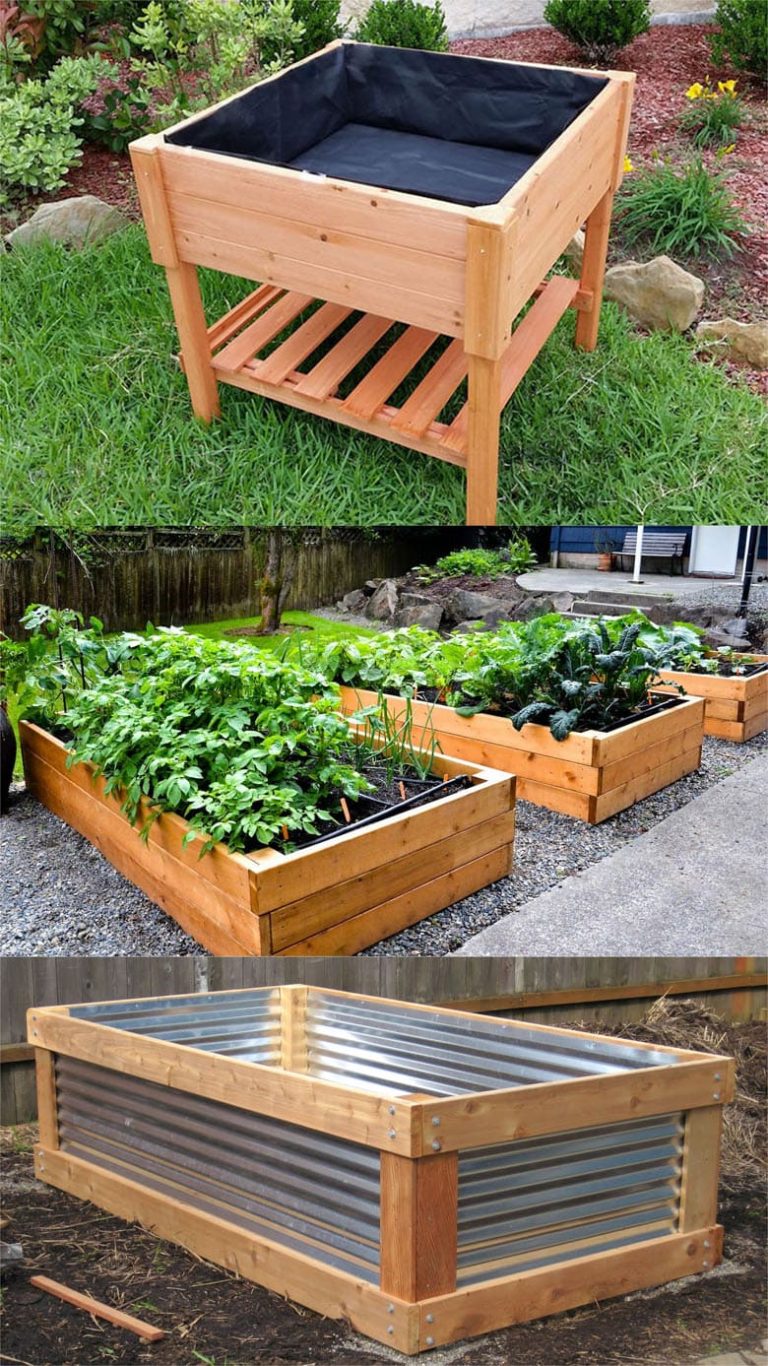
Wood remains the easiest material for a first raised bed. Cedar resists decay, but it costs more than pine. Composite boards last longer in many climates but can be harder to cut and may become hot in full sun.
| Frame material | Strengths and limits |
|---|---|
| Cedar | Rot resistant, easy to cut, higher cost |
| Untreated pine | Low cost, easy to find, often lasts 3–7 years |
| Composite boards | Long life, low rot risk, higher cost and harder cuts |
| Galvanized steel | Slim profile, long life, heats in hot sites |
| Concrete blocks | Durable and modular, rough edges and less planting width |
For my own beds, cedar gave the best balance of life and ease. In wet western Oregon, untreated pine began to soften near the soil line after about four seasons. In a dry Colorado garden, similar pine stayed sound for longer.
Estimate the cost
Current pricing ranges from about $50 to $100 for a small untreated wood bed and soil setup. A cedar 4-by-8-foot bed can cost $150 to $350, depending on lumber prices and soil delivery. Composite and metal systems often cost more.
Soil can become the largest expense. Bagged soil is easy for a small 2-by-4-foot bed, but bulk delivery usually costs less for several cubic yards. Ask the supplier whether the mix contains screened topsoil, finished compost, sand, or wood products.
Build the frame on level ground
Build the frame before filling it. A level frame looks better, holds soil evenly, and avoids weak corners. Small differences are fine, but a bed that slopes several inches can lose soil during heavy rain.

Mark the footprint
Place stakes at the four corners and run string between them. Measure both diagonals. If the diagonals match, the rectangle is square. A 4-by-8-foot bed should have two diagonals close to the same length.
Remove large rocks, branches, and thick weeds. You do not need to strip every root from the site if you will lay cardboard beneath the bed, but remove woody plants and invasive roots such as bindweed, bamboo, or running grass.
Cut and assemble the boards
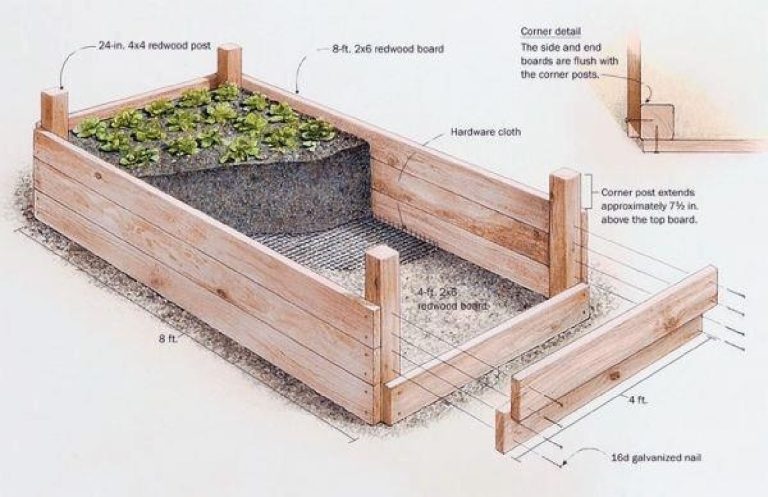
For a 4-by-8-foot frame, use two 8-foot boards for the long sides. Cut the remaining boards into 4-foot pieces for the ends. Place the boards on edge, align the corners, and predrill holes before driving screws.
Predrilling matters near board ends. Without it, screws can split cedar and dry pine. Use two or three screws per corner, depending on board thickness. Check the frame with a square as you work.
Add support to long beds
A long raised bed can push outward after heavy rain. Add a center stake on each long side or connect the sides with a cross brace. For beds more than 12 feet long, use several supports.
I skipped this step on an early 4-by-12-foot bed. After a wet winter, the center bowed outward nearly an inch. The bed still held soil, but the sides no longer lined up with the path. A simple brace would have prevented the problem.
Install a lining only when needed
Cardboard or several layers of plain newspaper can smother turf beneath a bed. Overlap the sheets by at least 6 inches and wet them before adding soil. Avoid glossy paper and cardboard with heavy ink or plastic coatings.
Do not add landscape fabric across the bottom if you want earthworms and plant roots to move into native soil. Fabric can also clog with fine soil. Use hardware cloth only when burrowing pests such as voles or gophers threaten crops.
🌱 Beginner Note: A raised bed does not always need a bottom. Open-bottom beds drain better and let roots reach native soil. Add a wire barrier only when a clear pest problem makes it necessary.
Fill the bed with healthy soil
The best raised-bed soil holds moisture but drains excess water. A simple mix of screened topsoil, mature compost, and an aerating material works better than pure compost or cheap potting soil.

Use the right soil formula
For most vegetable beds, start with 60% screened topsoil, 30% finished compost, and 10% aeration material such as aged leaf mold, pine fines, or coarse vermiculite. In heavy clay areas, increase compost and coarse organic matter, but do not fill the entire bed with sand.
A common “Mel’s Mix” uses equal parts topsoil, compost, and coarse vermiculite. It works well in square-foot gardens, but vermiculite can be costly in large beds. I prefer screened topsoil and compost for deep beds because it costs less and settles in a predictable way.
Compost improves structure and adds slow nutrients. It does not replace soil. Pure compost may shrink, dry quickly, or hold too much water, depending on its source.
Check texture and drainage
Squeeze a handful of moist mix. It should form a loose ball that breaks apart with a light tap. If water streams from it, the mix is too wet or fine. If it falls apart like dust, it needs more organic matter and moisture.
Avoid soil labeled only as “fill dirt.” It may contain clay, rocks, weed seeds, or construction debris. Ask for a garden blend or screened topsoil suitable for vegetable growing. If a supplier cannot explain the ingredients, choose another source.
Test pH and nutrients
Most vegetables prefer a soil pH between 6.0 and 7.0. Blueberries need a more acidic range near pH 4.5 to 5.5, so they should usually grow in a separate container or dedicated bed. A basic lab soil test can show pH, phosphorus, potassium, calcium, and organic matter.
Do not add lime, sulfur, or strong fertilizer without a test. Lime raises pH, while sulfur lowers it. Gardeners often add lime by habit and create an alkaline bed that locks up iron and makes leaves turn pale.
The table below gives general pH preferences for common plants. These are useful ranges, not strict lines.
| Crop group | Useful soil pH |
|---|---|
| Tomatoes, peppers, beans, cucumbers | 6.0–6.8 |
| Lettuce, carrots, onions, kale | 6.0–7.0 |
| Blueberries | 4.5–5.5 |
Soil pH changes slowly. Mix amendments into the top 6 to 8 inches before planting, then retest after several months or after a full growing season.
Fill and settle the bed
Add soil in 3- to 4-inch layers. Water each layer lightly to settle air pockets. Do not walk inside the bed, because foot traffic compresses soil and reduces pore space for roots.
Fill the bed to within 1 or 2 inches of the top. Soil will settle after rain and watering. After two or three weeks, top up with compost or soil instead of piling a thick layer of fresh compost against plant stems.
Choose crops that match the bed
A new raised bed can grow vegetables, herbs, flowers, or small fruits. Start with crops that fit your season and space. One tomato plant can occupy 4 square feet, while radishes and baby lettuce can share the same area.

Match plants to sun and depth
Place tall crops on the north side of the bed so they do not shade shorter plants. Put tomatoes, trellised cucumbers, and pole beans toward the north or west edge. Keep basil, carrots, lettuce, and onions where they receive enough light.
Root depth varies by crop. The following guide helps you avoid crowding shallow beds.
| Crop | Typical root depth | Spacing guide |
|---|---|---|
| Lettuce | 6–10 inches | 6–10 inches apart |
| Bush beans | 12–18 inches | 4–6 inches apart |
| Tomatoes | 18–24 inches | 18–24 inches apart |
| Carrots | 12–18 inches | 2–3 inches apart |
| Strawberries | 8–12 inches | 12–18 inches apart |
Spacing depends on variety. A determinate tomato such as ‘Roma’ may need less room than a vigorous indeterminate variety such as ‘Sungold’ or ‘Cherokee Purple.’
Use succession planting
Succession planting means replacing a finished crop with a new one. In USDA zones 5 and 6, you might plant peas and spinach in early spring, beans and cucumbers in late spring, then kale and arugula in late summer.
In zones 8 through 10, fall and winter may offer the best conditions for greens. In hot summers, lettuce can bolt fast, while okra, peppers, eggplant, and sweet potatoes keep producing.
Plant small amounts every two to three weeks instead of sowing all lettuce or radishes at once. This spreads the harvest and prevents a single week of too much food.
Add flowers and herbs
Flowers attract pollinators and beneficial insects. Calendula, sweet alyssum, borage, nasturtium, and dwarf sunflowers can fit around vegetables. Herbs such as basil, thyme, parsley, dill, and chives add useful diversity.
Companion planting has limits. Basil near tomatoes may support garden diversity, but it will not stop every tomato hornworm or disease. Give plants enough air space, and use flowers as habitat rather than a guaranteed pest cure.
Plan a simple first bed
A beginner-friendly 4-by-8-foot bed could include two tomatoes, one pepper, bush beans, basil, lettuce, carrots, radishes, and marigolds. This mix provides fast crops, long-season crops, and flowers without requiring complex care.
Do not plant mint directly in the bed. Mint spreads through roots and can take over. Grow it in a container with drainage holes instead.
Plant and water the new bed correctly
Planting time depends on frost dates, soil temperature, and crop type. Cool-season crops tolerate light frost, while tomatoes, peppers, beans, and cucumbers need warm soil and frost-free nights.
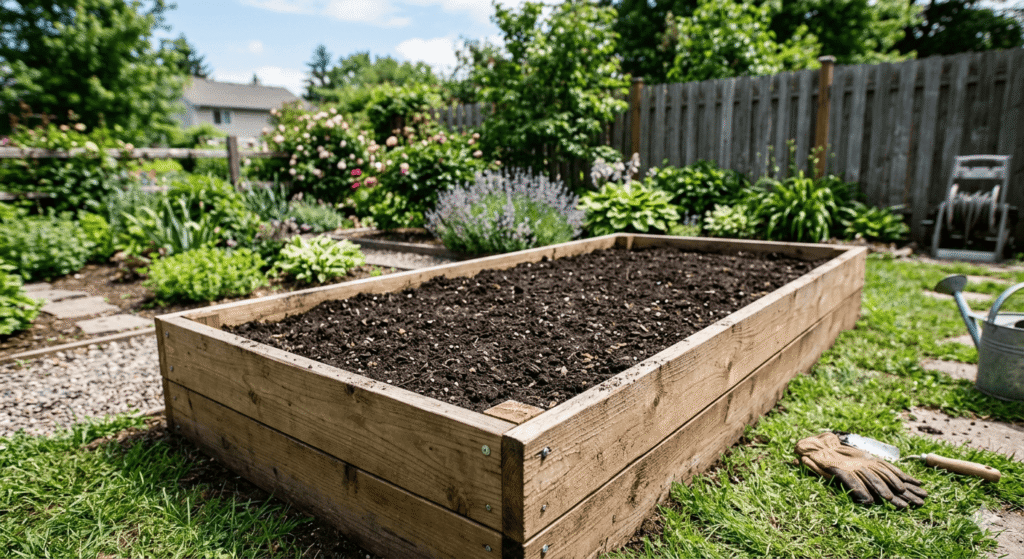
Follow local frost dates
Use your USDA hardiness zone to choose perennial plants, but use local frost dates for annual vegetables. Hardiness zones describe winter temperature patterns. They do not tell you exactly when spring soil warms.
Plant peas, spinach, kale, and onions several weeks before the last spring frost in many regions. Wait until nights stay above about 50°F for tomatoes and peppers. Cucumbers and beans also prefer warm soil.
Harden off nursery transplants by placing them outdoors for a few hours each day over seven to ten days. Increase outdoor time slowly. A plant moved from a warm greenhouse into full wind and sun can suffer leaf scorch even when the temperature seems mild.
Water deeply and consistently
New soil often dries faster than native ground, especially in a raised bed exposed to wind. Water when the top inch feels dry during the first few weeks. Apply water slowly until moisture reaches 6 to 8 inches deep.
Drip irrigation or a soaker hose saves time. Place the hose along plant rows and cover it with mulch. A timer can help, but check the bed by hand because timers cannot sense rain, heat, or a broken line.
| Weather and crop stage | General watering approach |
|---|---|
| Newly planted seedlings | Light water daily or as needed for 5–10 days |
| Established leafy crops | Deep water when the top 1 inch dries |
| Fruiting crops in hot weather | Deep water 2–4 times weekly as needed |
| Cool, rainy weather | Check soil before watering |
These ranges change with soil, wind, rain, and plant size. Sandy mixes need more frequent watering than loamy mixes. Water early in the day to reduce leaf wetness and evaporation.
Add mulch after the soil warms
Apply 1 to 3 inches of clean straw, shredded leaves, or untreated grass clippings. Keep mulch 2 to 3 inches away from stems. Thick mulch against a stem can trap moisture and invite rot or slugs.
Wait until spring soil warms before adding a heavy mulch layer around heat-loving crops. Dark soil absorbs sunlight, and cold soil can slow tomato and pepper growth.
🔧 Quick Fix: If water runs off the top, do not water faster. Turn the hose to a slow flow, let the surface absorb water, and return after 10 minutes. Repeated short cycles work better than one fast soak in dry soil.
Feed plants without overfertilizing
Fresh compost can supply some nutrients, but heavy-feeding crops often need more nitrogen and potassium during the season. Test the soil first, then choose a fertilizer based on the results and the crop.

Understand fertilizer numbers
A fertilizer label such as 5-5-5 lists nitrogen, phosphate, and potash. Nitrogen supports leafy growth, phosphorus supports roots and flowers, and potassium supports overall plant function. These nutrients do not act alone, but the label gives a useful starting point.
Use a balanced organic fertilizer around vegetables if the soil test shows a need. Fish emulsion, composted manure, alfalfa meal, and granular organic blends work at different speeds. Follow the label because organic products can still burn roots when overapplied.
Avoid high nitrogen on tomatoes and peppers once they begin flowering. Excess nitrogen creates huge leaves and weak fruit production. A tomato with dark green leaves but few flowers may have too much nitrogen, too little sun, or excessive heat.
Feed according to crop needs
Leafy greens usually benefit from moderate nitrogen. Root crops prefer loose soil and modest fertilizer. Tomatoes, peppers, squash, and cucumbers need steady moisture and balanced nutrition through flowering and fruit set.
Side-dress heavy feeders with a small amount of compost or labeled fertilizer when growth slows. Scratch it gently into the top inch of soil, keeping it away from stems. Water after applying granular products.
Refresh the soil each season
Add 1 to 2 inches of finished compost to the bed each spring. Do not turn the whole bed deeply if the soil already has good structure. Deep digging can disturb worms and fungal networks.
At the end of the season, remove diseased plant material. Healthy roots can stay in the soil to decompose, but pull plants with severe root disease or pest infestations. Cover bare soil with mulch or a winter cover crop such as crimson clover, oats, or field peas.
Prevent common raised-bed problems
Raised beds reduce some problems but do not remove them. A warm, rich bed can attract weeds, slugs, aphids, flea beetles, cutworms, and fungal disease. Early checks make control easier.

Watch for poor drainage
Signs of poor drainage include yellow leaves, soft roots, algae on the soil surface, and plants that wilt even when the soil feels wet. The cause may be fine compost, blocked drainage, a bed placed in a low area, or a buried liner.
Remove excess mulch and check the soil 3 to 4 inches down. If it stays saturated for days, improve the mix with finished compost and coarse organic matter. Do not add a thin layer of gravel under the soil; it rarely fixes a perched water problem.
Fix soil that dries too fast
Fast-drying soil feels hot and dusty, and plants wilt each afternoon. Sandy soil, shallow beds, strong wind, dark metal sides, and too much direct sun can cause this issue.
Add compost, apply mulch, and use drip irrigation. In very hot zones, grow heat-sensitive greens in partial afternoon shade. Increase bed depth if the existing layer is too shallow for the crop.
Manage pests without harming pollinators
Inspect the undersides of leaves twice a week. Handpick caterpillars, wash aphids from sturdy plants with water, and use row cover over young brassicas to block cabbage moths and flea beetles.
Remove row cover when plants flower if pollinators need access. Avoid spraying insecticides on open blooms. Even organic products such as neem or pyrethrin can harm bees when used carelessly.
Reduce plant diseases
Good spacing and morning watering reduce many fungal problems. Remove yellow leaves that touch the soil, clean up fallen fruit, and rotate plant families when possible.
Do not grow tomatoes, peppers, eggplants, and potatoes in the same bed year after year if soil-borne disease occurs. These crops share the nightshade family. Move them to another bed or grow disease-resistant varieties.
The table below links common symptoms with likely causes and first actions.
| Symptom | Likely cause and first action |
|---|---|
| Pale lower leaves | Low nitrogen, water stress, or poor roots; check soil and moisture |
| Leaves wilt in wet soil | Root damage or poor drainage; reduce watering and inspect roots |
| Holes in young leaves | Flea beetles, slugs, or caterpillars; inspect at dusk and use covers |
| Tomato leaves spot and yellow | Fungal disease or stress; improve airflow and remove affected leaves |
| Flowers drop without fruit | Heat, poor pollination, or excess nitrogen; steady water and attract pollinators |
A symptom rarely proves one cause. Check the roots, soil moisture, light, and recent weather before treating.
Maintain the bed through the seasons
A raised bed needs less work than a large in-ground plot, but it still needs regular checks. The most important tasks are watering, weeding, feeding, inspecting boards, and refreshing soil.

Spring maintenance
Check the frame for rot, loose screws, and bowed sides. Add compost, repair irrigation, and test the soil before planting. Remove perennial weeds that moved in from the path.
In cold climates, cover the bed with frost cloth during sudden freezes. Do not let plastic touch plant leaves. In warm climates, start with lettuce, peas, carrots, onions, and other cool crops.
Summer maintenance
Water deeply, harvest often, and tie up tomatoes before branches become heavy. Pick beans and cucumbers every few days to keep plants producing. Remove yellow leaves and fruit that touches the soil.
Mulch after the soil warms. Watch for cracked boards, dry corners, and irrigation leaks. A bed can look wet near the hose while the far end stays dry.
Fall and winter maintenance
Pull diseased plants and remove fallen fruit. Add compost and a light mulch layer. In zones with mild winters, plant garlic, onions, kale, chard, or cover crops.
In snowy areas, leave sound soil in the bed. Do not cover the whole bed with an airtight tarp for months unless you need to block weeds. A breathable cover or winter mulch protects soil life better.
| Season | Main raised-bed tasks |
|---|---|
| Spring | Test soil, add compost, repair frame, plant cool crops |
| Summer | Water deeply, mulch, stake crops, check pests |
| Fall | Remove disease, plant cover crops, add compost |
| Winter | Protect exposed soil, inspect boards, plan rotations |
Seasonal care keeps the bed productive and extends the life of the frame. Small repairs in fall are easier than emergency repairs during spring planting.
Store tools and materials properly
Rinse soil from hand tools and dry them before storage. Coat carbon-steel blades with a light layer of food-safe mineral oil to reduce rust. Drain hoses and store irrigation timers where freezing water cannot damage them.
Keep leftover seed, fertilizer, and row cover in a dry, labeled container. Store bagged soil off wet ground. Do not leave lumber on soil or in standing water before construction.
Compare raised beds with other garden methods
A raised bed is not the only way to grow food. In-ground rows cost less and suit large crops, while containers work well for patios. Garden towers can save floor space but dry out quickly and limit root volume.
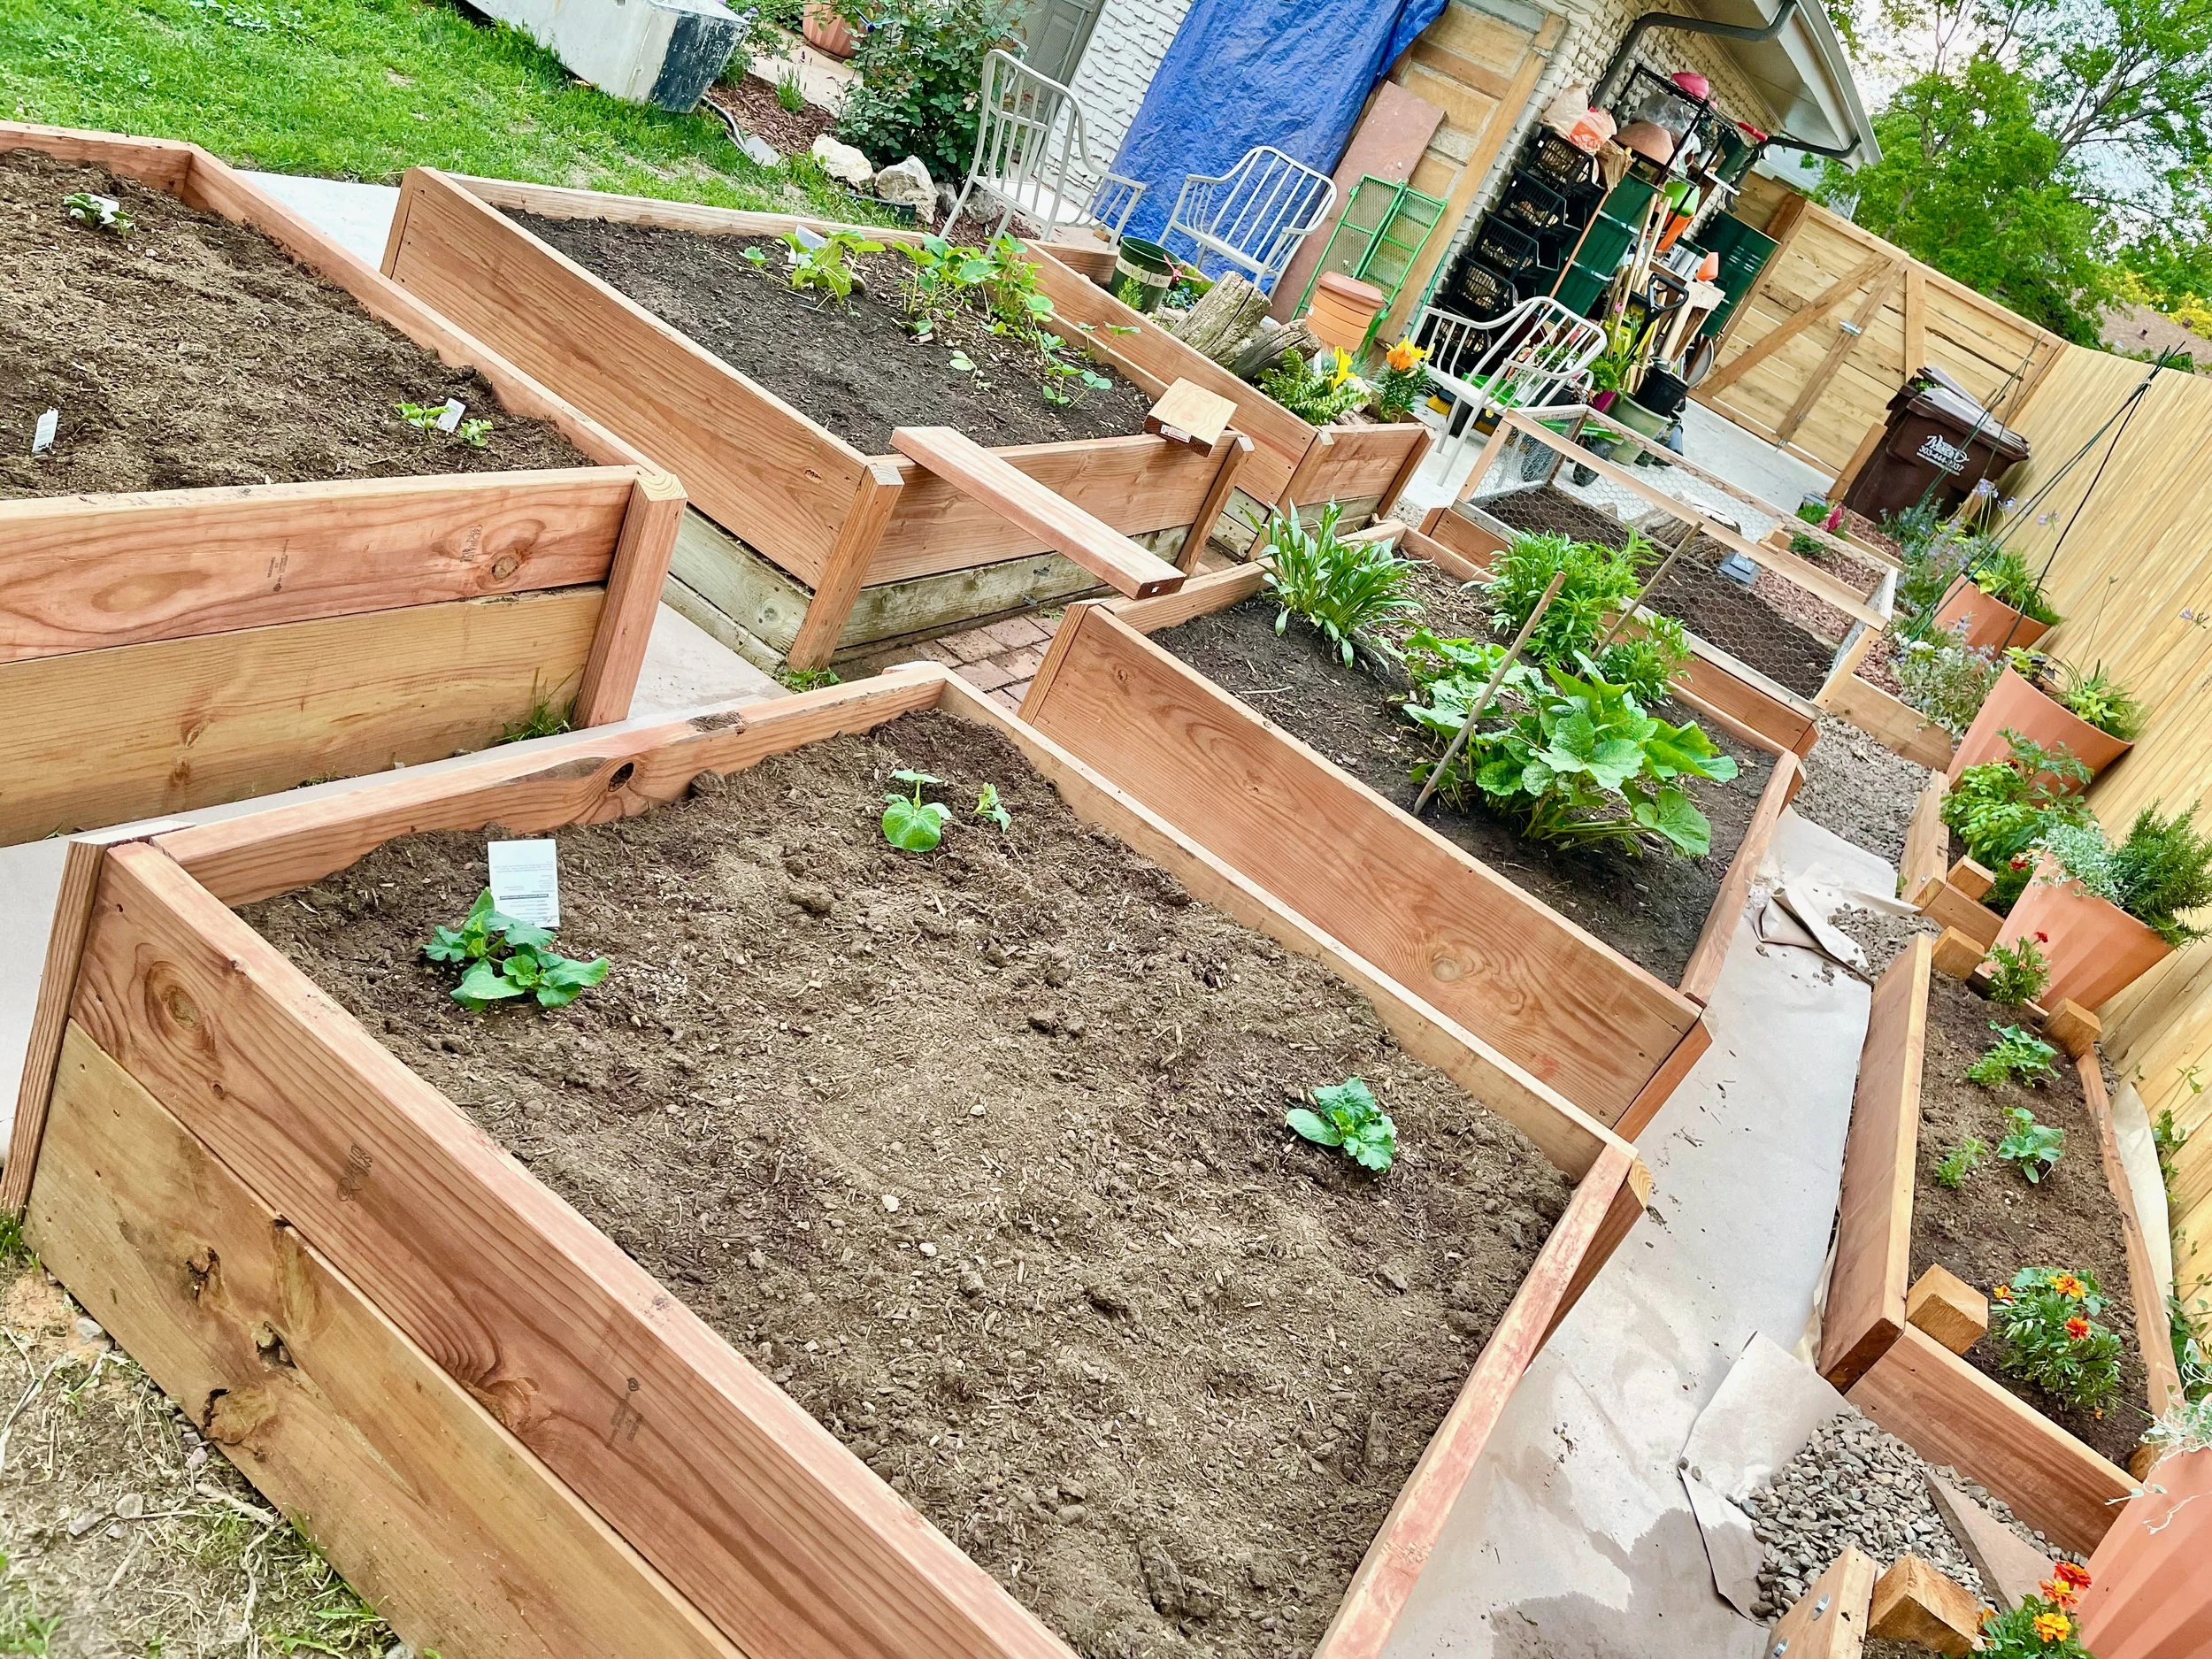
Raised beds versus containers
Raised beds hold more soil and usually stay more stable through hot weather. Containers are easier to move but need closer watering. A 20-gallon fabric pot can grow one tomato, while a bed can support a small crop mix.
Raised beds versus in-ground gardens
In-ground gardens require less imported soil and offer unlimited root depth. They can be difficult in rocky, compacted, or contaminated ground. Raised beds cost more at the start but give better control over soil and access.
Raised beds versus straw-bale gardens
Straw-bale gardens can create a temporary growing space without building a frame. They need careful conditioning, steady fertilizer, and frequent watering. They also break down after one or two seasons, while a cedar bed can last many years.
| Growing method | Best fit | Main limitation |
|---|---|---|
| Raised bed | Controlled soil and easy access | Higher setup cost |
| In-ground row | Large gardens and deep native soil | More weeds and soil issues |
| Container | Patios, rentals, and small spaces | Dries out quickly |
| Straw bale | Temporary garden on poor ground | Short life and high water needs |
Choose the method that matches your space, budget, and time. A small container garden that receives daily care can outperform a large raised bed that sits too far from the house.
Learn from the mistakes that cost the most
The biggest raised-bed mistakes involve poor location, bad soil, wrong size, and weak construction. Avoiding these errors matters more than buying premium tools or decorative edging.

Filling with pure compost
Pure compost looks rich, but it can settle, dry unevenly, or release too many nutrients. Blend compost with topsoil and an aerating material. Use mature compost that smells earthy, not sour or hot.
Making the bed too wide
A bed wider than 4 feet forces you to step into the soil. Compaction follows, and harvesting becomes awkward. If you need more growing space, build another bed rather than stretching the first one.
Skipping support
Long boards bow when wet soil pushes outward. Add stakes or cross braces before filling. It is much harder to repair a full bed without damaging roots.
Planting too tightly
Small seedlings look harmless, but they grow quickly. Crowded plants compete for light and air. Follow the mature spacing listed on the seed packet, not the size of the transplant.
Watering on a fixed schedule
A timer can run during a rainstorm or fail to keep up with a heat wave. Touch the soil and inspect plants. Adjust watering to weather, crop stage, and soil type.
Ignoring bed rotation
Plant families can share diseases and pests. Rotate tomatoes, peppers, eggplants, potatoes, cabbage family crops, beans, and cucurbits when space allows. Even moving a family to a nearby bed helps.
Using unsafe recycled materials
Avoid boards with unknown chemical treatments, old railroad ties, painted pallets, and materials that held industrial products. The low price is not worth the risk or cleanup.
Use this simple first-year growing plan
A clear plan helps new gardeners avoid planting everything at once. Start with a mix of quick crops and a few long-season plants.
Early spring
Plant peas, radishes, lettuce, spinach, carrots, and onions when soil can be worked. Cover young brassicas with insect netting. Keep the soil evenly moist while seeds germinate.
Late spring
After the final frost, add tomatoes, peppers, basil, beans, cucumbers, and summer squash. Install trellises before vines become tangled. Use cages for tomatoes at planting time rather than pushing them through mature branches later.
Mid-summer
Sow more beans, basil, carrots, beets, and heat-tolerant greens. Replace finished peas, radishes, and lettuce. Harvest often to encourage continued production.
Late summer and fall
Plant kale, chard, arugula, spinach, cilantro, carrots, and garlic according to your zone. In zones 7 through 10, fall can become the most productive season for leafy crops.
Know when to hire help
Most 4-by-8-foot beds are easy DIY projects. Hire help if you need to remove contaminated soil, build tall retaining walls, install major drainage, or move large amounts of soil. A professional can also help if the site slopes sharply toward a house.
A raised bed is not a retaining wall. Do not use a simple garden frame to hold back a steep bank. Soil pressure and water can push it apart or cause a collapse.
Ask for a written estimate that separates lumber, soil, delivery, labor, irrigation, and site preparation. A low labor quote may not include hauling or disposal.
Raised garden bed FAQs
Q: How deep should a raised garden bed be?
A: Use 6 to 8 inches for shallow greens and herbs over good soil. Use 12 inches for most vegetables. Choose 18 to 24 inches for long carrots, parsnips, deep roots, or easier access.
Q: Does a raised bed need a bottom?
A: Usually, no. An open bottom improves drainage and lets roots and soil organisms connect with the ground. Add hardware cloth beneath the bed only when gophers, voles, or other burrowing pests cause a real problem.
Q: Can I put a raised bed directly on grass?
A: Yes. Mow the grass short, remove large roots, lay overlapping cardboard, and fill the bed. Persistent grass such as Bermuda grass may return around the edges, so use a wide path or edging.
Q: What is the best soil mix for a raised vegetable bed?
A: Use about 60% screened topsoil, 30% finished compost, and 10% coarse organic matter or an aerating material. Adjust the mix after a soil test. Do not use pure compost.
Q: How much soil does a 4-by-8-foot raised bed need?
A: A 4-by-8-foot bed filled 12 inches deep needs 32 cubic feet, or about 1.2 cubic yards. Order a little extra because soil settles after watering and rain.
Q: Can I use potting soil in a raised bed?
A: You can, but it is often expensive and too light for a large bed. Potting soil works well for containers. A raised bed usually performs better with screened topsoil, compost, and organic matter.
Q: How often should I water a raised garden bed?
A: Check the top inch of soil. Water when it feels dry, then soak deeply until moisture reaches 6 to 8 inches. Hot, windy weather may require watering several times per week, while cool rain may require none.
Q: Why is my raised-bed soil sinking?
A: Compost, wood products, air pockets, and root growth can cause settling. Add a thin layer of finished compost and soil each season. Avoid filling the bed with fresh manure or unstable organic waste.
Q: What can I grow in a 6-inch raised bed?
A: Grow lettuce, spinach, arugula, radishes, onions, herbs, strawberries, and many flowers. Shallow beds are less suited to tomatoes, carrots, parsnips, squash, and other deep-rooted crops.
Q: How long does a wooden raised bed last?
A: Untreated pine may last about 3 to 7 years, depending on moisture and climate. Cedar often lasts 8 to 15 years or longer. Good drainage, raised feet, and prompt repairs extend the life of any wood frame.
Q: Should I line a wooden raised bed with plastic?
A: Avoid lining the bottom with plastic because it can trap water and block soil life. If you want to protect the inside of the side boards, use a breathable barrier that does not prevent drainage.
Q: Can tomatoes and peppers grow in the same raised bed?
A: Yes. They have similar sun, soil, and water needs. Leave enough space for airflow, stake them early, and rotate the nightshade family in later seasons if disease becomes a problem.
Q: What should I plant in a raised bed for pollinators?
A: Add calendula, sweet alyssum, borage, dill, basil, nasturtium, and native flowers suited to your region. Choose several bloom shapes and times. Avoid spraying insecticides on open flowers.
Q: Is a raised garden bed worth the cost?
A: It is worth the cost when native soil drains poorly, contains rocks, or is hard to work. It also helps gardeners with limited mobility. An in-ground garden or containers may cost less when the native soil is already fertile and the site is easy to access.
Start small and improve each season
A raised garden bed works best when it is close enough to visit, deep enough for the crops you want, and filled with soil that drains while holding moisture. Start with one manageable bed, plant fewer crops than you think you need, and keep notes on sun, water, harvests, and pests.
After four weeks, you will learn how fast the soil dries. After one season, you will know which crops suit your space. Over two seasons, you can adjust the soil mix, add irrigation, rotate plant families, and expand with confidence.
The frame gives the garden its shape, but daily observation gives it life. Good soil, steady water, enough light, and timely harvests will do more for your results than an expensive garden system.
Meta description: Learn how to start a raised garden bed from scratch with simple steps for site selection, frame building, soil mixing, planting, watering, pest control, costs, and seasonal care.