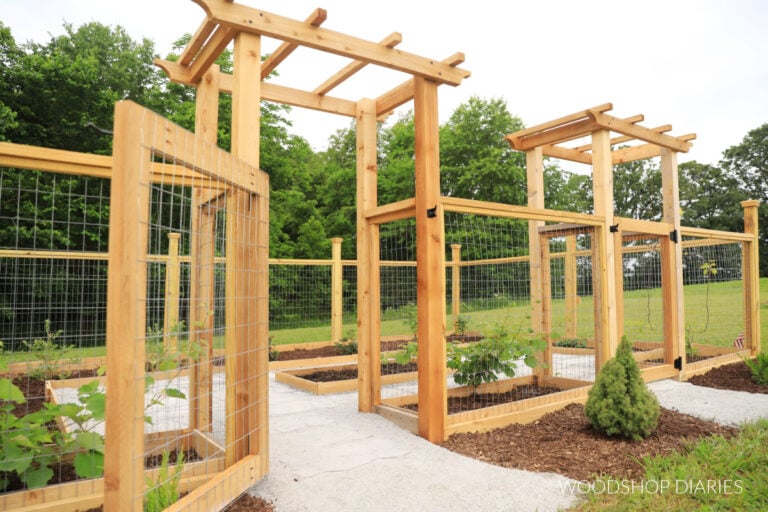
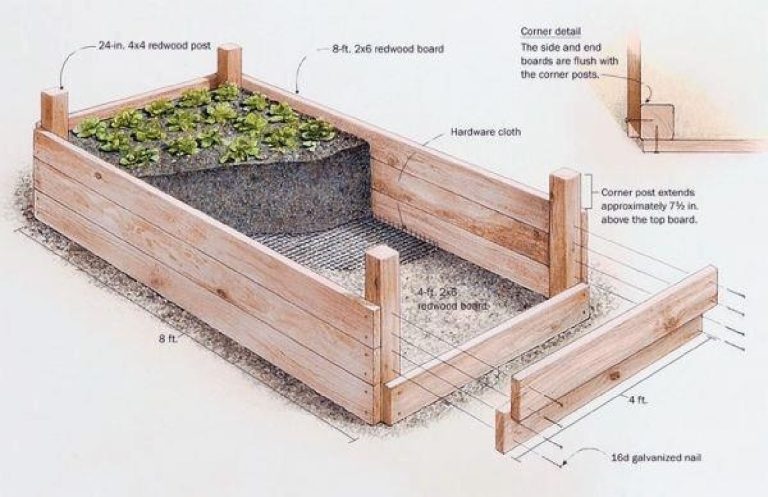
How To Orient Raised Garden Beds: Best Sunlight Guide
Raised garden beds give you more control over soil, drainage, weeds, and plant spacing. Yet one choice can shape the whole garden before you add a single seed: bed orientation. The direction you place the bed affects sunlight, shade, wind, heat, irrigation, and how well tall plants share light with short ones.
For most vegetable gardens, orient long, narrow raised beds from north to south. This lets morning and afternoon sun reach both sides of the bed and reduces shade from tall crops. East-to-west orientation can work well in some yards, especially where nearby trees, fences, walls, or buildings change the sun pattern.
The best layout depends on your climate, slope, crop mix, and the sun your yard receives. A bed that works in a sunny Colorado yard may need a different angle in coastal Oregon, southern Florida, or a shaded urban lot. I have learned that measuring light for one full day is more useful than guessing by compass direction alone.

Quick answer: orient most raised beds north to south
The best way to orient raised garden beds is usually to run their long sides from north to south. This gives crops on the east side morning sun and crops on the west side afternoon sun. Place tall plants, trellises, tomatoes, and corn on the north end so they do not shade shorter crops. Change the layout when fences, trees, buildings, slopes, or strong winds make another direction work better.

Why raised bed orientation matters
Raised bed orientation controls how light moves across the soil during the growing season. Sunlight comes from the south in the Northern Hemisphere, but its height and angle change from winter to summer. A bed that receives full sun in June may lose several hours of light in October.
Most vegetables need at least six hours of direct sun. Fruiting crops such as tomatoes, peppers, cucumbers, eggplant, squash, and melons often perform better with eight or more hours. Leafy crops such as lettuce, spinach, arugula, and kale can tolerate less light, especially in hot USDA Zones 8 through 10.
Orientation also affects airflow. A bed that sits in a narrow, damp space may keep leaves wet after rain. That can raise the risk of powdery mildew, downy mildew, early blight, and fungal leaf spots. A layout with open air on all sides dries faster and makes plant care easier.
The role of the sun path
The sun rises in the east and sets in the west, but it does not travel in the same place every day. In summer, the sun climbs higher and follows a longer path. In winter, it stays lower and creates longer shadows.
In the Northern Hemisphere, the sun stays mostly toward the southern half of the sky. This makes north-south beds a strong default. In the Southern Hemisphere, gardeners often reverse this rule because the sun tracks toward the north.
What changes from zone to zone
USDA hardiness zones describe winter temperature, not daily sunlight. A gardener in Zone 4 and a gardener in Zone 9 may both need a full-sun bed, but they face different heat and season issues.
In Zone 4, low winter sun, snow, and short seasons make south-facing exposure valuable. In Zone 9, intense summer heat can make west-facing walls and dark bed materials too hot for lettuce, cilantro, and young seedlings. Afternoon shade may help more than extra light.
| Garden condition | Useful orientation or adjustment | Reason |
|---|---|---|
| Open yard with no shade | North to south | Shares light across both sides |
| Tall fence on the south side | Move beds away or use east-west only if needed | The fence may block the strongest sun |
| Hot Zone 8–10 yard | North to south with afternoon shade cloth nearby | Protects cool-season crops |
| Sloped or wet site | Follow drainage and avoid low spots | Water flow matters more than compass direction |
| Strong prevailing wind | Turn or shield the bed | Protects stems, trellises, and dry soil |
Use the compass rule as a starting point, not a command. If a building blocks southern light, a bed placed to capture open eastern or western sun may grow better than a perfectly aligned bed in shade.
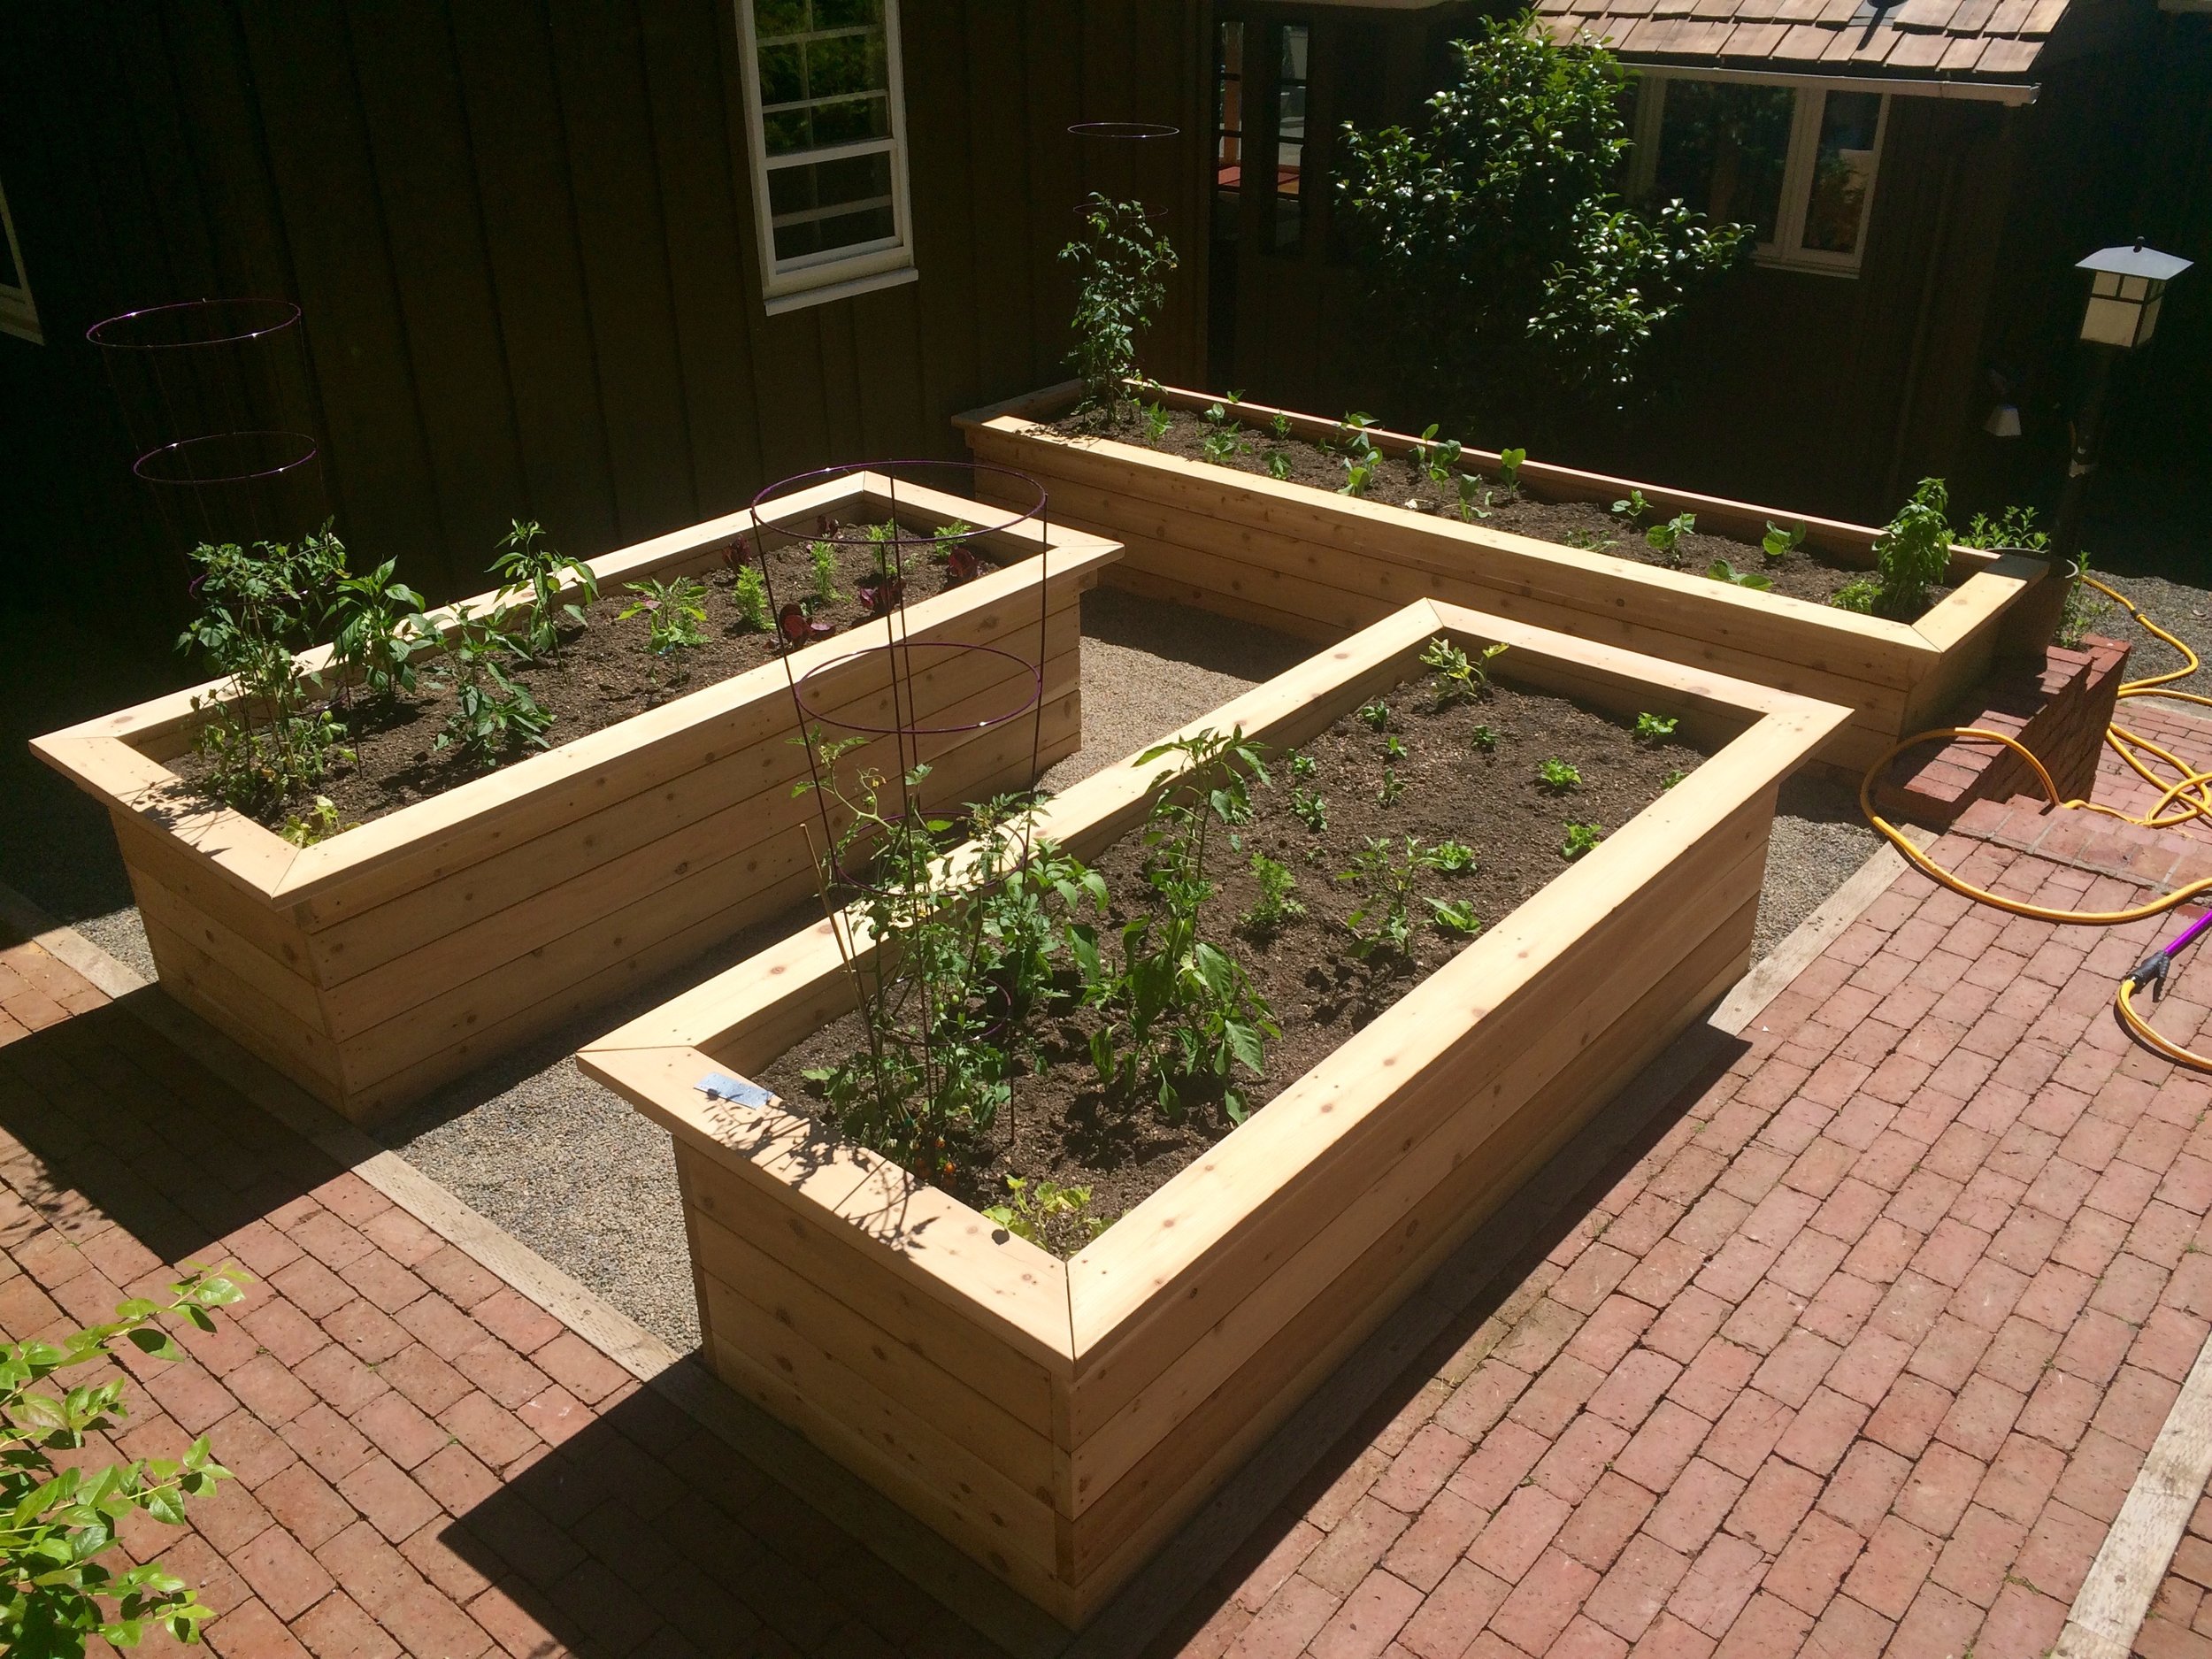
Check your yard before you build
The best orientation comes from studying your site before you buy lumber or fill soil. Watch the space at several times of day, and check it in more than one season if possible. A quick sketch can prevent years of poor growth.
Start by marking north with a phone compass. Then note every fixed feature around the future bed, including houses, garages, fences, hedges, mature trees, utility boxes, downspouts, and neighboring structures.
Track sunlight for one full day
Check the proposed bed site at 8 a.m., noon, 3 p.m., and 6 p.m. during the growing season. Write down whether the space receives direct sun, light shade, or deep shade. Repeat the check in spring and late summer if you can.
A simple phone photo from the same spot can reveal shade that your eyes miss. Tall structures cast long shadows in the morning and evening. A tree that looks far away can still shade a bed when the sun sits low.
Watch shadows, not just compass points
At noon, a fence may cast a short shadow. At 9 a.m., that same fence can cover half the bed. Tall objects cast shadows roughly opposite the sun, so a south-side tree or wall deserves close attention.
You can use a sun-tracking app as a guide, but treat it as an estimate. Apps may not account for every branch, roofline, or seasonal leaf change. I prefer to combine the app with real observations.
Test drainage and access
Orientation should not force you to ignore water flow. Never place a raised bed where runoff collects after rain. Raised beds improve drainage, but they cannot fix a yard that acts like a bowl.
Walk around the site after a storm. Look for standing water, washed soil, and areas where mulch moves downhill. Leave enough room to reach every side without stepping into the bed.
| Site check | How to test it | Good result |
|---|---|---|
| Sunlight | Record light at four times of day | Six to eight hours for most vegetables |
| Drainage | Visit after heavy rain | No standing water after 24 hours |
| Access | Push a wheelbarrow through the layout | Clear path at least 30–36 inches wide |
| Wind | Watch plants, flags, or loose leaves | Trellises can stand without constant strain |
| Soil level | Use a straight board and level | Bed sits stable with no major tilt |
A stable site saves more work than perfect compass alignment. If the bed shifts, floods, or blocks your wheelbarrow, even excellent sunlight will not make the layout pleasant to use.

North-to-south versus east-to-west beds
North-to-south and east-to-west orientations can both succeed. The main difference is how shade moves across the bed. In a north-south bed, tall plants on one side usually cast shadows along the bed rather than across every crop.
East-west beds can create more shade from tall plants. This is not always bad. A tall row of corn on the south side can protect lettuce from harsh afternoon heat. The problem starts when tall crops sit on the south side of an east-west bed and shade tomatoes, beans, or peppers for much of the day.
| Orientation | Main advantage | Main limitation |
|---|---|---|
| North to south | More even light for mixed crops | May not fit a narrow or shaded site |
| East to west | Works well with some fences and slopes | Tall plants can shade the whole north side |
| Diagonal | Can capture the best open light | Harder to plan rows and irrigation |
| Along a contour | Reduces erosion on a slope | May not give even light across the bed |
For mixed vegetables, I usually choose north to south. For a bed devoted to lettuce and herbs in a hot climate, east-west may work well if the layout provides afternoon shade. For a sloped yard, I may place beds along the contour to slow water, then adjust crop height inside the beds.
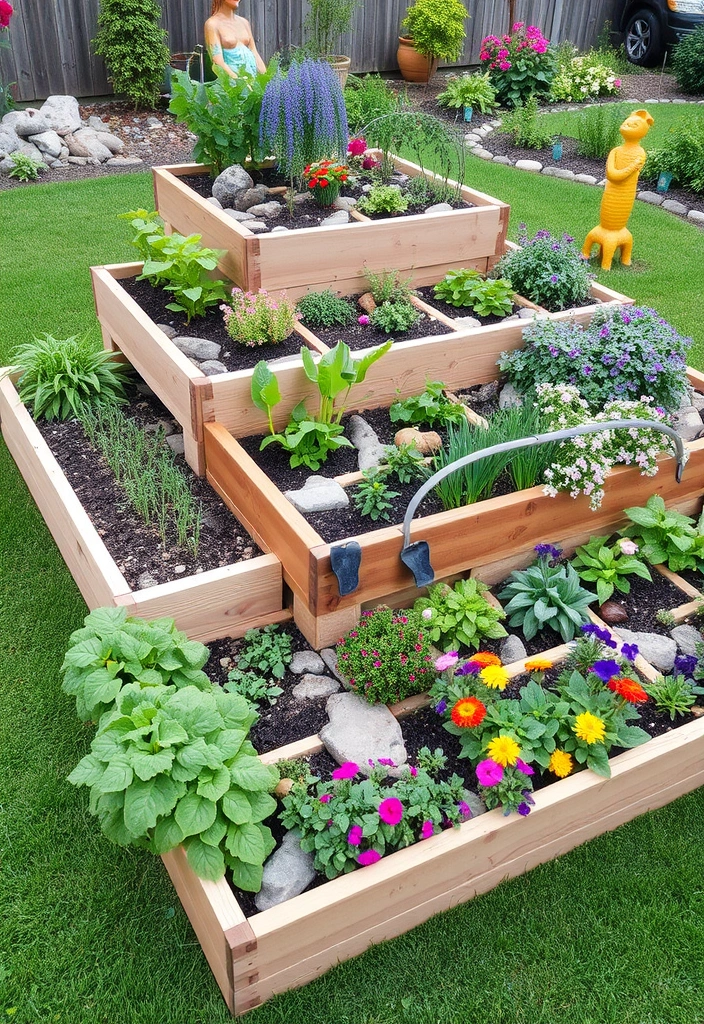
Plan crop height before placing the bed
Tall crops should go where they cast the least harmful shade. In the Northern Hemisphere, that usually means placing them at the north end or along the north side of the bed. Short crops belong to the south side.
This rule works for tomatoes, pole beans, cucumbers on trellises, corn, okra, sunflowers, and tall flowers. It also applies to sturdy support frames that can shade plants even when the crop itself is small.
Place tall crops on the north side
If a tomato trellis stands on the north edge, its shadow usually falls northward, away from shorter plants. If it stands on the south edge, the shadow may cover the entire bed during the middle of the day.
Planting height also changes over time. A small tomato transplant may cast little shade in May, but a vigorous indeterminate variety such as ‘Sun Gold’ or ‘Cherokee Purple’ can form a wall by July.
Account for trellis height
A trellis can reach 6 to 8 feet. It may shade a larger area than the plants you grow on it. Cucumber vines and pole beans also create dense leaf cover that blocks air movement.
Install the trellis before planting. Check whether its posts make it hard to access the bed or pull a row cover over young plants. I have placed trellises too close to a path and regretted it each time I harvested.
Use shade as a design tool
Shade is useful for cool-season crops. Lettuce, spinach, radishes, peas, cilantro, and parsley may bolt more slowly with protection from late afternoon sun. In hot areas, a tall crop can create a valuable microclimate.
Do not rely on accidental shade for every season. Deciduous trees change from bare branches to full leaves, and the shade pattern shifts. Plan a backup with shade cloth, hoops, or movable containers.
🌱 Beginner Note: If your bed will hold mixed crops, draw the plants as short, medium, and tall before you build. This simple sketch often reveals a shade problem faster than a compass does.

Choose bed dimensions that support good orientation
Orientation works best when the bed shape matches your reach and the available light. A bed that is too wide may force you to step on soil. Compacted soil reduces air space and harms roots, even in a raised bed.
A common practical size is 4 feet wide and 8 feet long. You can reach about 2 feet from each side without climbing into the bed. For children, older gardeners, or anyone with limited mobility, a 2- to 3-foot width may work better.
Keep paths wide enough
Leave at least 24 inches between beds for a person carrying a basket. Use 30 to 36 inches if you want a wheelbarrow or garden cart. In wet climates, wider paths reduce mud and let air move around the bed.
Avoid placing a bed so close to a fence that one side becomes unreachable. Leave about 18 to 24 inches where possible. If you only need to reach one side, you can place the bed closer, but maintenance becomes less comfortable.
Avoid very long beds
Long beds can waste space when the yard includes shade or slopes. A 16-foot bed may cross several light zones. Two 8-foot beds give you more control over crop groups, soil mixes, and watering.
Long beds also need stronger construction. Boards can bow outward when filled with moist soil. Cedar, redwood, galvanized steel, and composite boards last longer than untreated pine, but each has a different cost and lifespan.
| Bed material | Typical useful life | Main concern |
|---|---|---|
| Untreated pine | 3–7 years | Rots quickly in wet climates |
| Cedar or redwood | 8–15 years | Higher upfront cost |
| Galvanized steel | 15–30 years | Can heat in strong sun |
| Concrete block | 20+ years | Hard edges and permanent layout |
| Composite boards | 15–25 years | Quality and heat vary by brand |
These time frames vary with soil contact, rain, termites, freeze-thaw cycles, and board thickness. A bed with poor drainage may fail far sooner than one built on a dry, level site.

Build the bed in the right place
Once you choose the layout, mark the corners before digging. Use stakes and string to outline the bed. Walk around it, push a cart through the paths, and check the view from your kitchen or patio.
Place beds where you can reach water without dragging a hose through crops. A 25-foot hose may seem long enough until it catches on trellis posts. Drip irrigation works best when the main line can run along a straight, accessible edge.
Level the bed or follow the slope carefully
A raised bed does not need to sit perfectly level on a mild slope, but a steep slope creates uneven water depth. The lower end can become saturated while the upper end dries out.
For a small slope, dig the uphill side into the soil and support the downhill side. For a steep slope, use terraced beds. Do not stack loose boards without proper support, since wet soil can exert strong outward pressure.
Keep beds clear of tree roots
Tree roots compete for water and nutrients. Some trees, including walnut, also produce juglone, a chemical that can affect sensitive plants. Black walnut roots and leaf litter deserve special caution around tomatoes, peppers, eggplant, and other crops.
A root barrier can help, but it does not solve every problem. Avoid placing a bed directly under a mature tree unless you grow shade-tolerant herbs or ornamentals and accept more frequent watering.
Protect the bed from roof runoff
Downspouts can flood raised beds and wash away compost. Redirect roof water into a rain garden, storage barrel, or proper drain. Do not aim a downspout into a bed just because the soil drains well.
⚠️ Warning: Never assume pressure-treated lumber is suitable because it is inexpensive. Modern treated wood is generally considered acceptable for many garden uses, but avoid cutting, burning, or sanding it without proper protection. Choose a known product and follow local guidance.
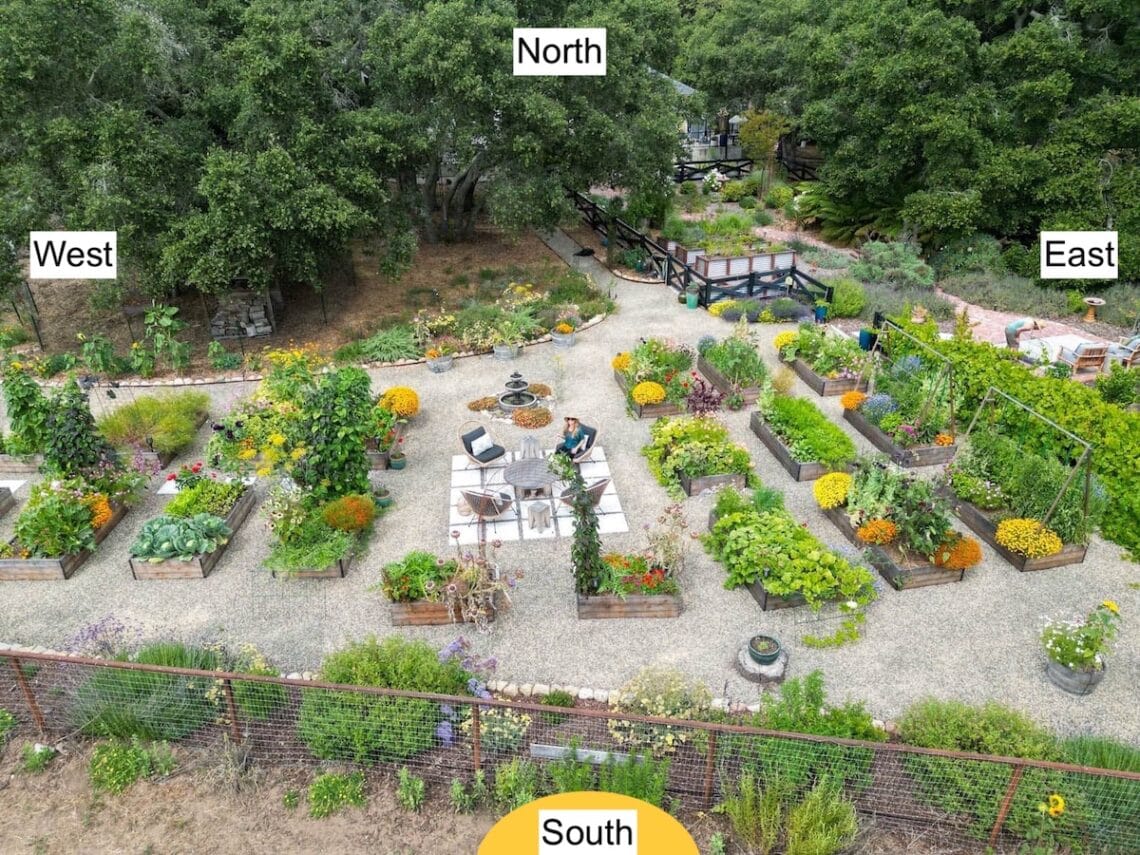
Step-by-step: orient a raised garden bed
Use this process for a new bed or when moving an old one. It works for a small herb bed, a 4-by-8-foot vegetable bed, or a larger kitchen garden.
1. List the crops you want to grow
Write down your main plants and their mature height. Group tomatoes, corn, pole beans, cucumbers, okra, sunflowers, and tall flowers as high crops. Put lettuce, carrots, onions, beets, radishes, and strawberries in the low group.
Also note crops with special light needs. Tomatoes and peppers need more sun than chives and mint. Broccoli and cabbage can handle some light shade, while melons need warmth and room to spread.
2. Mark true north
Use a compass app or handheld compass. Stand away from metal sheds, vehicles, and large electrical equipment, which can affect some compasses. Mark north with a stake and string.
Do not confuse magnetic north with true north in areas where the difference is large. For a small home bed, the difference rarely changes the result, but precision matters more for a large garden or solar-sensitive design.
3. Record sunlight
Observe the location in the morning, midday, and late afternoon. Note which parts stay sunny and which parts fall into shade. Look at both summer and winter conditions when possible.
If the site receives less than six hours of direct sun, choose shade-tolerant crops or find another location. Do not expect extra fertilizer to make a tomato produce well in deep shade.
4. Mark the bed with string
Set four stakes and create a rectangle. Measure the diagonals to check that the corners are square. A 4-by-8-foot bed should have equal diagonals of about 8 feet 11 inches.
Keep the long sides north to south when the site allows. If the bed needs to turn, aim the broadest planting area toward the strongest open light.
5. Place tall structures first
Add trellis posts, cattle panels, tomato cages, and supports before filling the bed. Their shadows matter more than the height of a young plant. Keep the tallest structure toward the north side when possible.
Check whether the trellis blocks a window, leans into a walkway, or catches strong wind. A 7-foot cattle panel can act like a sail in an exposed yard.
6. Test access and irrigation
Walk around the marked bed with a bucket, hose, and wheelbarrow. Kneel at each side and reach toward the center. If you cannot comfortably reach the middle, narrow the bed.
Lay out the main irrigation line. Plan for a shutoff valve, filter, pressure regulator, and flush point if you use drip irrigation. A simple system is easier to repair than a maze of short tubes.
7. Build and fill the bed
Use sound materials and secure the corners. Fill with a balanced mix of topsoil, finished compost, and suitable organic matter. Avoid filling the whole bed with pure compost, which can settle, hold too much water, or contain excess salts.
A common starting mix is about 60% quality topsoil, 30% finished compost, and 10% aeration material such as aged bark fines. Local soil texture matters, so adjust after observing drainage.
8. Recheck after planting
Watch the bed for two to four weeks. Look for unexpected shade, wind damage, standing water, or dry corners. A layout is not finished when the boards go in; it is finished when the plants grow evenly.
| Step | Time needed | What success looks like |
|---|---|---|
| List crops and heights | 15–30 minutes | Tall and short plants are grouped |
| Track sunlight | One full day | Light and shade zones are clear |
| Mark the layout | 30–60 minutes | Bed is square and paths are usable |
| Test irrigation | 15–30 minutes | Water reaches all corners |
| Observe after planting | 2–4 weeks | No major shade, wind, or drainage issue |
This method takes less time than rebuilding a bed. I have moved plants many times, but moving a filled cedar bed is a job I avoid whenever possible.
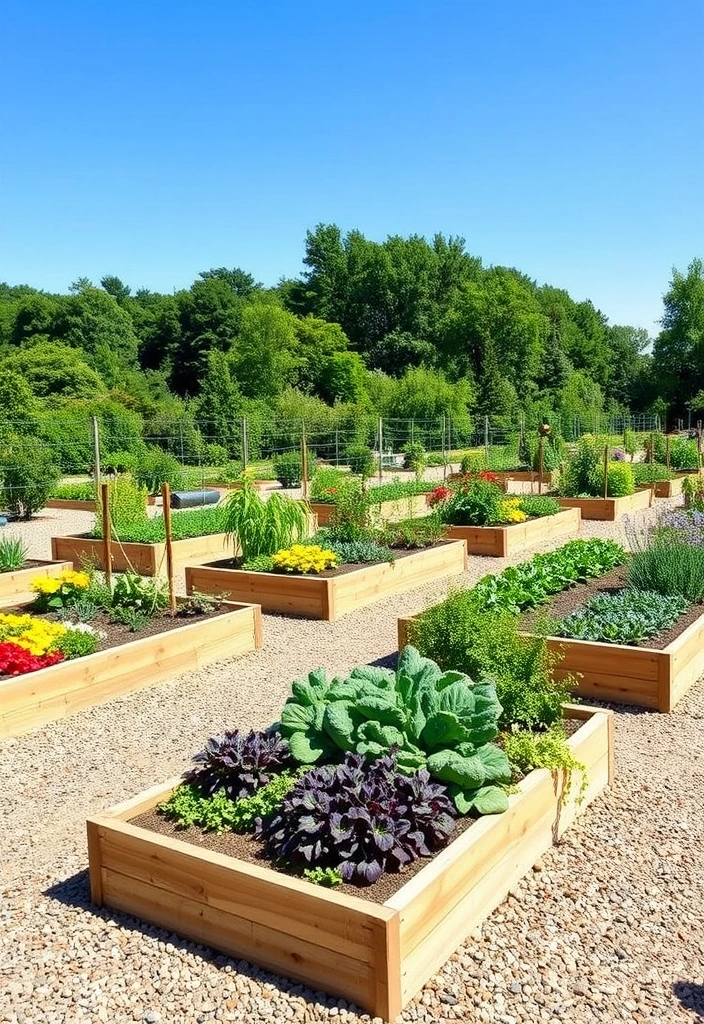
Soil, water, and wind can override compass direction
Compass direction matters, but light is only one part of a healthy raised bed. Soil depth, moisture, airflow, and wind exposure often decide whether the garden thrives.
Most vegetables prefer loose, well-drained soil with a pH between 6.0 and 7.0. Blueberries need a much more acidic soil, usually around pH 4.5 to 5.5, so they belong in a separate container or dedicated bed. Do not force every plant into the same soil mix.
Plan irrigation around the bed
Orient the bed so the irrigation line stays on one side or follows a simple loop. Drip tape or dripline reduces leaf wetness and often uses less water than overhead sprinklers. Place emitters near the root zone, not against the stems.
Watering needs vary by climate and crop. In a hot Zone 9 summer, a raised bed may need water every day or two. In a cool, wet Zone 6 spring, once or twice a week may be enough.
Reduce wind exposure
Wind dries soil and can damage trellises. Place beds near a stable windbreak, such as a fence or hedge, but leave enough space for sunlight and airflow. A solid wall can create turbulence on its downwind side.
Use sturdy stakes for tomatoes and beans. Flexible supports may bend or fail during a storm. Secure row covers with clips, sandbags, or low hoops rather than loose rocks that can roll into plants.
Use mulch with care
A 1- to 2-inch layer of shredded leaves, straw, pine bark, or untreated grass clippings can slow evaporation. Keep mulch a few inches away from plant stems. Thick, wet mulch may shelter slugs, earwigs, and voles.
In spring, dark mulch can warm soil. In hot summer weather, light-colored mulch may keep roots cooler. Watch the soil rather than following one mulch rule all year.
| Problem | Likely sign | First adjustment |
|---|---|---|
| Too much shade | Thin stems and slow growth | Move tall crops or thin nearby branches |
| Uneven watering | Dry corners beside wet areas | Add emitters or shorten irrigation zones |
| Wind stress | Leaning stems and torn leaves | Add stakes or a permeable windbreak |
| Poor drainage | Yellow leaves and wet soil | Improve grade and reduce organic material |
| Hot soil | Wilt at midday despite moist soil | Add mulch or afternoon shade |
A good bed should not need constant rescue. If one crop struggles while nearby plants thrive, check light and water distribution before adding fertilizer.
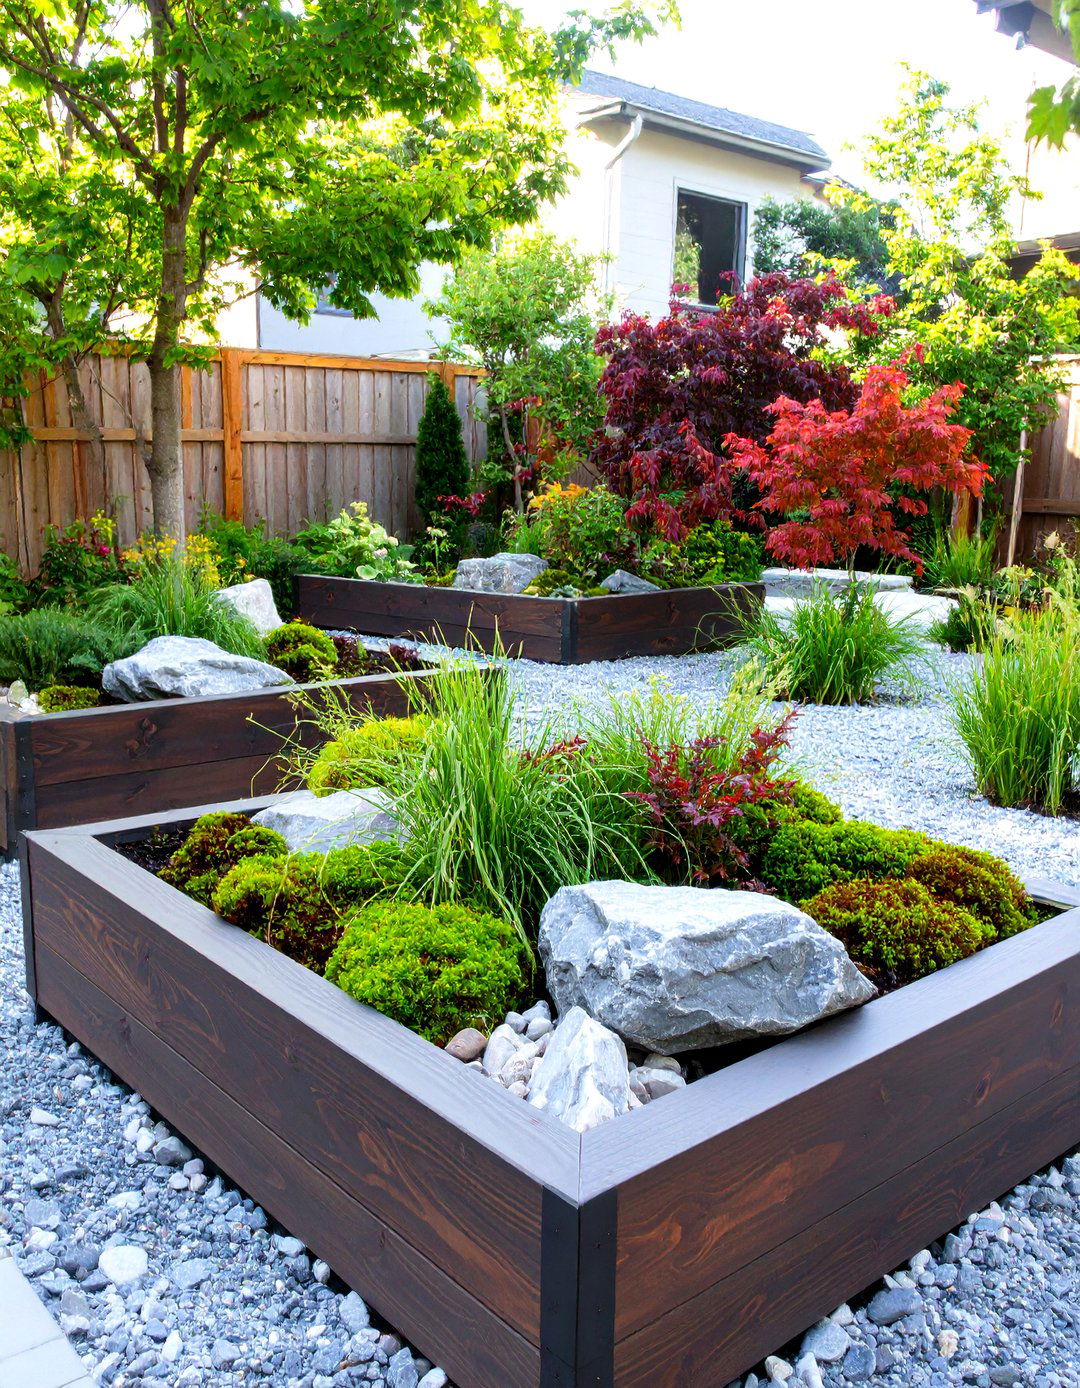
Common orientation mistakes and how to fix them
Many raised bed problems start with a layout choice that seemed harmless. The good news is that most mistakes have a practical fix.
Mistake 1: placing tall crops on the south side
This is the most common shade error in the Northern Hemisphere. Corn, trellised beans, and tomatoes can block light from shorter crops.
Move tall crops to the north edge in the next season. If you cannot move them, grow shade-tolerant greens on the north side and reserve the sunny south side for peppers, basil, and carrots.
Mistake 2: building too close to a fence
A fence can block sun and make one side hard to maintain. It may also limit air movement and trap heat.
Leave a service path if possible. If space is tight, build a narrower bed and grow on both sides from the open path. Do not place a 4-foot bed against a fence if you can only reach one edge.
Mistake 3: ignoring winter sun
A layout may seem bright in July but become dark in October. This matters if you grow garlic, overwintering kale, spinach, carrots, or perennial herbs.
Observe the site in late fall. If the winter garden sits under a long shadow, move cool-season crops to a brighter bed or use containers that can shift with the season.
Mistake 4: using orientation to solve poor soil
A bed cannot fix contaminated soil, severe compaction below the bed, or a high water table. Raised soil may still connect with poor native soil through drainage holes.
Test soil for pH and nutrients. If you suspect lead, arsenic, petroleum, or other contamination, use a certified laboratory and follow local safety advice before growing food.
Mistake 5: making rows run the wrong way for the tools
A bed may have perfect sun but poor access. If the hose, wheelbarrow, mower, or snow shovel cannot pass around it, daily care becomes a chore.
Design paths first. A garden that you can reach easily will receive better watering, pruning, pest checks, and harvests.
💡 Pro Tip: Take a photo of the bed at sunrise, noon, and late afternoon on the same day. Place the photos side by side before you decide. This often shows why a “sunny” location gives only four useful hours of light.

Seasonal orientation changes
Your raised bed can have different needs in spring, summer, fall, and winter. Orientation stays fixed, but crop height and sun angle change.
In early spring, low sun creates long shadows. Tall fences, sheds, and evergreen trees can block much of the available light. By midsummer, the same bed may receive strong sun for most of the day.
| Season | Main concern | Useful response |
|---|---|---|
| Early spring | Low sun and cold soil | Use the brightest open side and row covers |
| Summer | Heat, drought, and tall crop shade | Add mulch, irrigation, and afternoon shade |
| Fall | Shorter days and longer shadows | Grow greens in the most open section |
| Winter | Wet soil, wind, and low light | Protect soil and avoid saturated areas |
In USDA Zones 3 through 6, cold frames and low tunnels can extend the season, but they may change the shade pattern. In Zones 8 through 10, shade cloth and afternoon protection can keep lettuce and cilantro productive.
Use crop rotation as well. If corn occupies the north edge one year, you can place a different tall crop there the next year. Rotate plant families to reduce disease pressure, especially among Solanaceae crops such as tomatoes, peppers, eggplant, and potatoes.
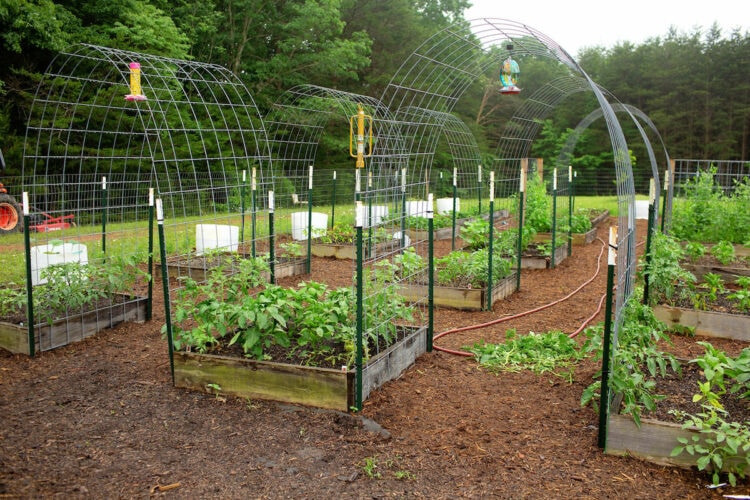
Orientation for special garden situations
Not every raised bed sits in an open backyard. Urban spaces, balconies, patios, rooftops, and sloped lots require flexible planning.
Small urban yards
In a small yard, the brightest spot may not support a perfect north-south bed. Use a narrow bed, grow bags, or containers to capture the best light. A 2-by-8-foot bed can outperform a 4-by-8-foot bed in a shaded corner because every plant remains reachable.
Paint or reflective surfaces can add some light, but they cannot replace direct sun. Choose crops that match the light you have.
Rooftops and balconies
Wind is often a bigger concern than orientation on a rooftop. Secure beds and containers, protect drainage points, and check the building’s load limits. Lightweight soil mixes reduce weight but may dry faster.
Orient trellises so they do not catch prevailing wind. A compact bush bean or patio tomato may be safer than a tall cucumber panel in an exposed space.
Sloping yards
Follow the contour when erosion is severe. A bed that sits across the slope can slow runoff and reduce soil loss. Use strong supports and inspect the downhill wall after heavy rain.
For mild slopes, keep the long axis north to south if light remains even. For steep slopes, drainage and stability come first.
Areas with harsh afternoon heat
In Arizona, inland California, Texas, and other hot regions, a bed with full western exposure may stress plants. Use shade cloth that blocks about 30% to 40% of light for many vegetables. Sensitive greens may need more protection.
Plant basil, peppers, eggplant, okra, and sweet potatoes in the hottest area. Put lettuce, spinach, cilantro, and peas where they receive morning sun and afternoon shade.

Pros and cons of common raised bed orientations
No single direction works for every property. The right choice depends on whether you value even light, heat control, wind protection, or simple construction.
| Orientation choice | Pros | Cons |
|---|---|---|
| North to south | Even light; good for mixed crops; simple crop-height planning | May conflict with fences, slopes, or property lines |
| East to west | Useful for morning sun and afternoon shade; fits some yards | Tall crops can shade the north side |
| Along a slope contour | Reduces runoff and erosion; improves stability | May create uneven light |
| Diagonal to the yard | Can capture the best open light | More complex paths and irrigation |
| Against a structure | Saves space; may add warmth | Shade, heat, poor airflow, and hard access |
For most new vegetable gardeners, north-to-south placement offers the easiest starting point. Choose another direction when site conditions clearly make it more productive or safer.

My practical raised bed layout
In my own mixed vegetable beds, I use long north-south beds when the yard allows. I place tomatoes and cucumbers on the north end, peppers and basil through the middle, and carrots, lettuce, onions, and radishes along the south edge.
This pattern has worked well across cool Zone 6 springs and hotter summer periods. One year, I placed a cattle-panel trellis on the south side because it fit the fence line. The cucumbers grew well, but they shaded my basil by mid-July. The next season, I moved the trellis 3 feet north and gained healthier basil and better airflow.
I also learned that a perfect orientation cannot overcome poor watering. A bed with drip irrigation stayed productive during a dry August, while a better-lit bed with a hand-held sprinkler developed cracked soil and blossom-end rot in peppers.
After four weeks, I check three things: whether all plants receive enough light, whether the soil dries at a steady rate, and whether I can reach the center without stepping on soil. These checks matter more than whether the bed points exactly toward a compass line.
Maintenance after the bed is oriented
Orientation is a one-time layout decision, but nearby growth changes each year. Trees get larger, shrubs spread, and trellises create new shade. Review the bed at least once each season.
Prune branches that block needed light, but do not remove large limbs without knowing local tree rules or safety risks. Keep weeds and volunteer plants from forming dense walls along the south side. Tall weeds can shade seedlings just as well as a planned crop.
Inspect the structure each spring. Look for rotten boards, loose screws, rust, leaning corners, and soil that has settled below the top edge. Galvanized steel can dent, while wood can split during freeze-thaw cycles.
A simple yearly check
Use this short routine before planting:
- Walk the bed at morning, noon, and late afternoon.
- Check for new shade from trees, fences, or buildings.
- Test the irrigation at every emitter.
- Inspect corners, fasteners, and support posts.
- Refresh settled soil with compost, not a full replacement.
- Replan tall crops for the north side.
- Remove diseased plant debris and old mulch.
Do not add fresh manure to a bed before growing food. It can burn roots and may contain pathogens. Use finished compost and test soil every few years, or sooner if plants show repeated nutrient problems.
When to change the orientation
You should consider moving or rebuilding a bed when it receives less than four to six hours of direct sun, floods often, blocks access, or creates a clear crop-height problem. Small improvements can sometimes solve the issue without a full rebuild.
Move containers first as a test. Place a few tomato plants or seed trays in the proposed new location for one to two weeks. Compare growth, soil moisture, and wind stress before moving a permanent bed.
If the bed is built from light materials, empty it in stages and rebuild on the new site. Do not try to drag a full bed. Wet soil is heavy, and the structure may fail.
A bed that is structurally sound but poorly placed can become a good candidate for seasonal crop changes. Grow leafy greens in the shaded portion and move sun-loving crops to containers or a brighter section.
Frequently asked questions
Q: Should raised garden beds face north to south or east to west?
A: North to south is the best default for most mixed vegetable beds in the Northern Hemisphere. It gives both sides more even access to sunlight. East-to-west can work when a yard has strong afternoon heat, a fence, a slope, or a fixed feature that makes north-south placement less useful.
Q: Which side of a raised bed should get tall plants?
A: Put tall plants on the north side or north end in the Northern Hemisphere. This reduces the time their shadows cross shorter crops. In the Southern Hemisphere, place tall plants toward the south side for the same reason.
Q: Can I place a raised bed against a fence?
A: Yes, but check shade and access first. A bed against a south-side fence may lose important sun, while a bed against a north-side fence may work well. Keep enough space to reach the back, repair the fence, and control weeds.
Q: How much sunlight does a raised vegetable bed need?
A: Most vegetables need at least six hours of direct sun. Tomatoes, peppers, cucumbers, melons, and eggplant often produce best with eight or more hours. Lettuce, spinach, peas, and herbs can grow with less light, especially in hot climates.
Q: Does the raised bed itself need to be perfectly level?
A: A mild slope is acceptable, but a level bed gives more even water distribution. On steep ground, terrace the beds or follow the contour. Always prevent water from pooling at the downhill end.
Q: Should raised beds run parallel to a house?
A: Only if that direction gives enough light and leaves usable paths. A wall can reflect heat and protect from wind, but it can also create shade. Watch the site at several times of day before you build.
Q: How far apart should raised garden beds be?
A: Leave at least 24 inches for walking and about 30 to 36 inches for a wheelbarrow. Use wider paths if you garden with mobility aids or need room for a garden cart. Avoid stepping into the soil because foot traffic causes compaction.
Q: Can trees affect raised bed orientation?
A: Yes. Trees cast seasonal shade, compete for water, and may drop leaves or roots into the bed. Black walnut deserves special care because juglone can harm some plants. Keep food beds away from major root zones when possible.
Q: Is an east-west bed better in a hot climate?
A: It can be, especially when you want morning sun and afternoon shade for lettuce, cilantro, or spinach. Place tall crops carefully so they do not block all light. In very hot climates, shade cloth may give more control than changing bed direction.
Q: Can I grow vegetables in a raised bed with only four hours of sun?
A: You can grow some leafy greens, mint in a container, parsley, chives, and certain brassicas, but fruiting crops will often produce poorly. More fertilizer will not replace missing light. Try containers in a brighter area for tomatoes and peppers.
Q: What is the best orientation for a raised bed on a slope?
A: Follow the contour when erosion and runoff are serious. This slows water and improves stability. On a mild slope with even sunlight, north-to-south may still work, but drainage and support must come first.
Q: Should I add compost based on bed orientation?
A: Orientation does not change the basic compost rate. Add finished compost based on soil tests, crop needs, and soil texture. Too much compost can raise salts and nutrients, while too little organic matter can reduce water-holding capacity.
Q: How often should I check a raised bed’s light pattern?
A: Check it at least once each spring and again in midsummer. Trees, shrubs, fences, and trellises change the pattern. A yearly review helps you move tall crops before they create a large shade problem.
Q: Can raised bed orientation reduce pests and disease?
A: Good orientation can improve airflow and reduce long periods of wet leaves, which may lower disease pressure. It does not stop pests such as aphids, cabbage worms, tomato hornworms, slugs, or flea beetles. Crop rotation, row covers, clean tools, and regular checks still matter.
Q: Is it worth rebuilding a badly oriented raised bed?
A: Rebuild it when poor light, flooding, or access problems reduce harvests year after year. Before moving it, test a few containers in another location for two weeks. A small trial can show whether the new site truly offers better light and drainage.
Final thoughts
Orienting a raised garden bed is less about following one rigid compass rule and more about matching the bed to sunlight, crop height, drainage, wind, and daily access. North to south is the safest starting point for most mixed vegetable gardens, especially in the Northern Hemisphere.
Measure your yard before you build. Put tall crops toward the side that casts the least harmful shade, leave room for water and tools, and adjust for your USDA zone and local weather. A well-placed bed gives plants more light, gives roots better conditions, and makes every garden task easier for years to come.
Meta description: Learn how to orient raised garden beds for better sunlight, airflow, drainage, crop growth, and easy access, with practical tips for slopes, fences, trellises, and every USDA zone.