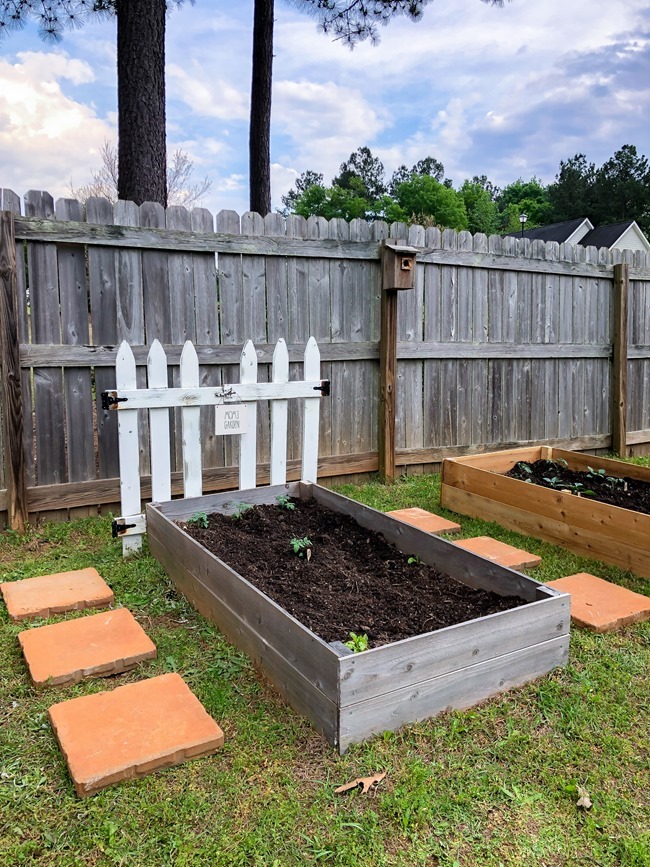
How To Decorate A Raised Garden Bed: Easy Ideas
A raised garden bed can be much more than a box filled with soil. With the right colors, edging, plants, paths, and small details, it can become the focal point of your yard. The key is to decorate it without blocking sunlight, trapping water, or making daily care harder.
I have built and refreshed raised beds in small city yards, suburban lawns, and cold gardens in USDA Zones 5 and 6. I have learned that the prettiest beds still need clear access, strong drainage, and room for plants to grow. Good design should serve the garden first and look beautiful all season.
This guide explains how to decorate a raised garden bed with safe materials, useful features, and simple design ideas. You will also learn what lasts, what fails, what works for renters, and how to decorate on a small budget.

Start with the Bed’s Shape and Location
The best way to decorate a raised garden bed is to begin with its shape, height, and location. Decorations cannot fix a bed that sits in deep shade, blocks a path, or stays wet after rain. Before you add trim or ornaments, check how the bed works in the space.
Most vegetables need at least six hours of direct sun. Tomatoes, peppers, cucumbers, squash, beans, and basil often perform better with eight hours. Leaf crops such as lettuce, spinach, and arugula can handle some afternoon shade, especially in hot areas such as USDA Zones 8 through 10.
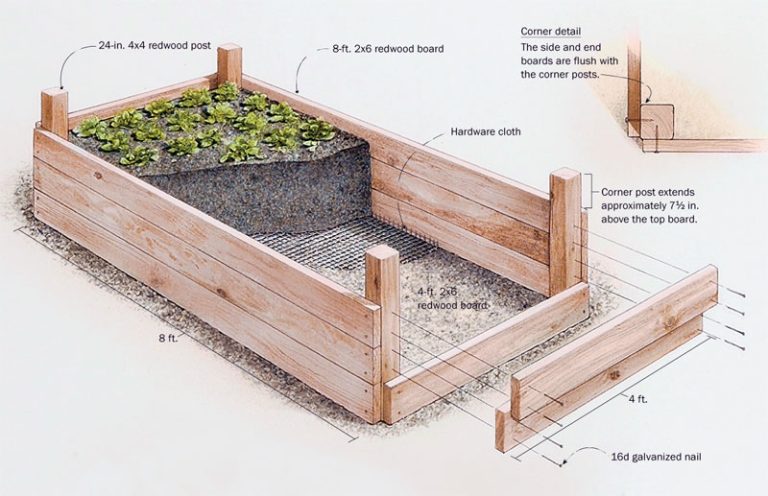
Keep the bed narrow enough to reach the center. A 3- to 4-foot width works well when you can walk around both sides. A bed against a wall should stay about 2 feet wide. This small detail matters more than many decorative features because compacted soil and crushed seedlings are hard to repair.
Match the Bed to the Yard
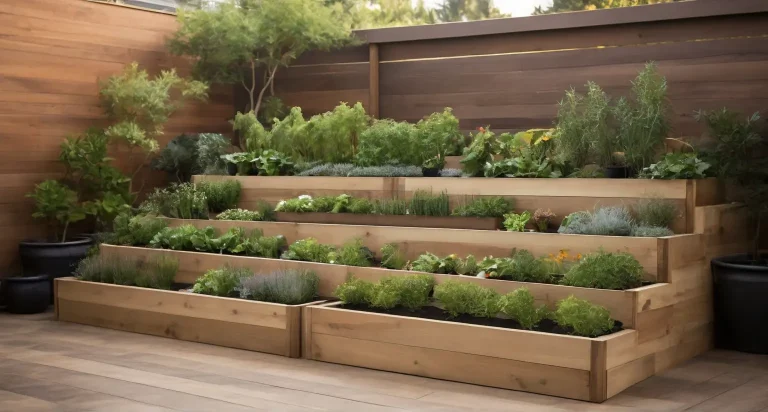
Look at the lines already present in your yard. A rectangular cedar bed suits a formal garden, while a rounded stone bed feels more natural near shrubs and native plants. A long bed can guide the eye toward a porch, gate, or seating area.
Leave at least 24 inches for a walking path. I prefer 30 to 36 inches when a wheelbarrow must pass. Use wider paths near gates and corners, where people tend to turn.
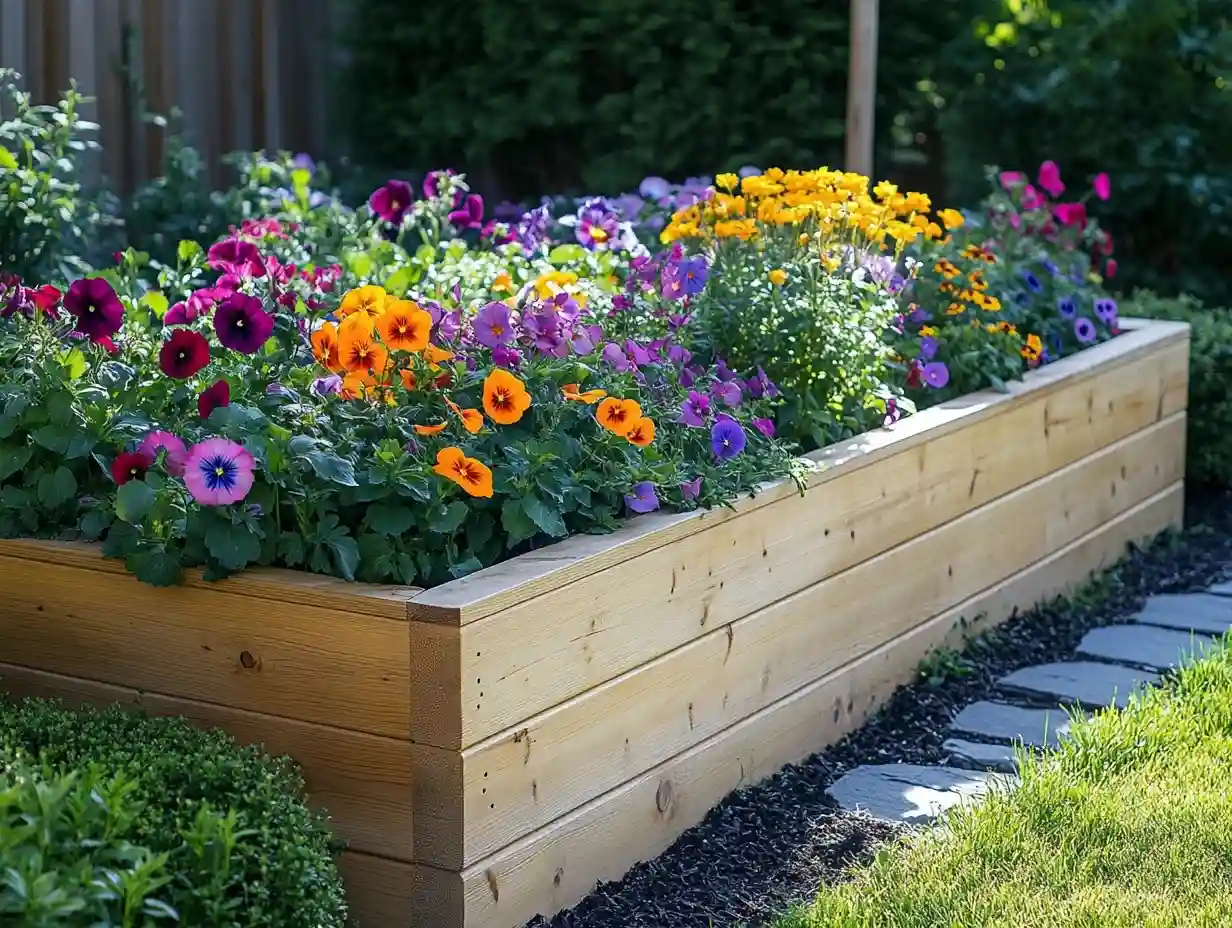
Check the Viewing Angles
Stand near your house, patio, and sidewalk. Ask where the bed looks best from each spot. A raised garden bed should have one strong “front” view, even if you can see it from all sides.
Place taller decorations and crops at the north side when possible. This reduces shade on shorter plants. A six-foot sunflower or trellis on the south side can shade lettuce, carrots, and strawberries during much of the day.
The table below gives simple starting points for common bed sizes.
| Bed feature | Practical starting point | Why it helps |
|---|---|---|
| Width with access on both sides | 3–4 feet | Keeps the center within reach |
| Width against a wall | 2 feet | Prevents leaning across the bed |
| Main walking path | 30–36 inches | Allows tools and wheelbarrows |
| Bed height for easy care | 18–24 inches | Reduces bending |
| Trellis clearance from edge | 4–8 inches | Protects the frame and roots |
These measurements are not strict rules. Adapt them for your height, mobility, tools, and plant choices.
Choose Safe Materials for Decorative Edges
Decorative edging gives a raised bed a finished look, but the material must handle wet soil, sun, frost, and repeated watering. The safest choices include untreated cedar, redwood, stone, brick, galvanized steel made for garden use, and food-safe recycled plastic lumber.
Avoid old painted boards, railroad ties, unknown pallets, and wood treated with creosote. Lead paint and chemical residues can move into soil through dust and rain. When you cannot identify a material’s history, do not use it around edible crops.
Cedar often lasts five to 10 years, depending on climate and soil contact. In wet regions, the lower boards may soften sooner. Redwood can last longer, but it costs more. Galvanized steel may last 20 years or more, though thin panels can bend if the bed is overfilled.
Use Trim Without Creating a Water Trap
A narrow cap rail can make a bed look polished and give you a place to sit while harvesting. Use a 2- to 4-inch-wide board with rounded edges. Leave small gaps or create a slight slope so rainwater does not sit on top.
Do not cover the inside edge with thick trim that narrows the bed. Even a 2-inch loss on each side reduces growing space in a small bed. Seal only the outside of untreated wood with a garden-safe exterior finish, and follow the label for curing time before adding soil.
Add Texture with Stone and Brick
Stone and brick work well as a low border around a timber bed. They help define the bed without touching the growing soil. Use crushed gravel beneath loose stone to reduce shifting and mud.
Do not stack heavy stone against a weak wood wall. The pressure can push the boards outward after rain. For a dry-stacked edge taller than about 18 inches, use a stable base and consider professional help.
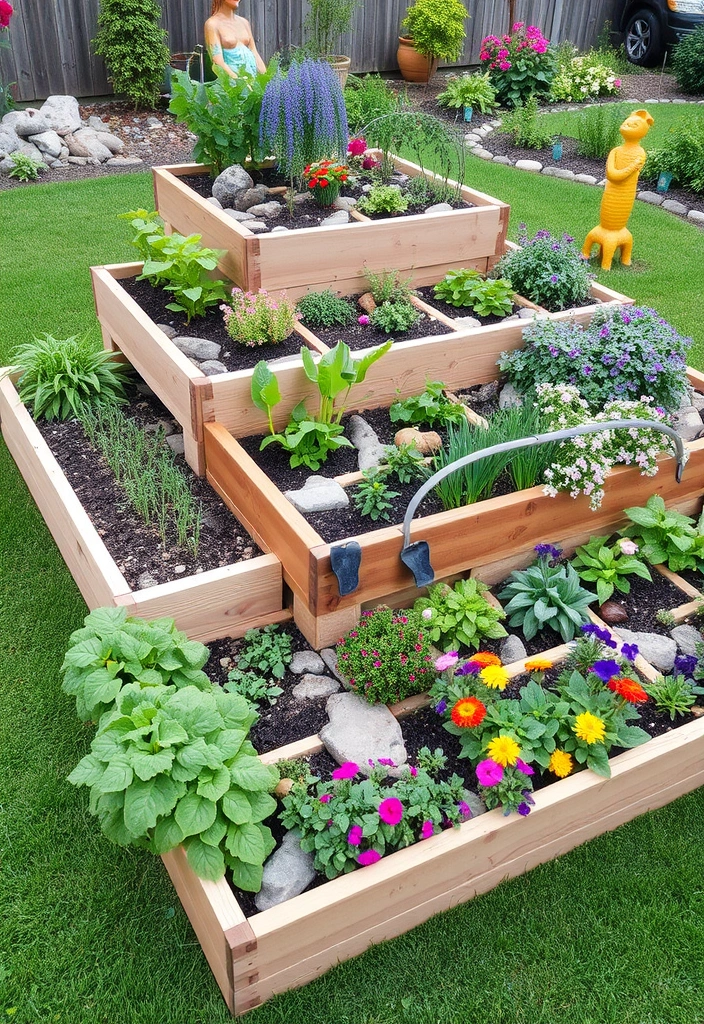
Here is how common edging materials compare in daily use.
| Material | Typical life | Main limitation |
|---|---|---|
| Untreated cedar | 5–10 years | Rots sooner in wet soil |
| Redwood | 8–15 years | Higher cost |
| Galvanized steel | 15–25+ years | Can heat soil in hot sun |
| Brick or stone | 20+ years | Needs a stable base |
| Recycled plastic lumber | 20+ years | May expand and look less natural |
Climate changes these numbers. A cedar bed in dry Colorado may outlast one in a wet Pacific Northwest garden.
Pick a Simple Color Scheme
A raised garden bed looks more intentional when you use two or three main colors. Start with the bed material, then add one accent color for pots, signs, trellises, or chairs. Green plants provide the third color naturally.
Warm wood pairs well with terracotta, cream, deep green, and matte black. Gray stone works with blue, white, silver, and purple flowers. Galvanized steel looks clean with blue-green foliage, yellow flowers, and natural wood.
Use paint carefully. Paint the outside of the bed, not the inside soil surface. Choose an exterior product labeled for outdoor wood, allow it to cure fully, and avoid bright colors that fade or show dirt quickly.
Create Contrast with Foliage
Flowers bring color, but foliage keeps the design attractive after blooms fade. Try purple basil, red Russian kale, Swiss chard, sage, thyme, nasturtium, and marigolds. These plants add texture while still serving a garden purpose.
For a soft edge, plant low herbs such as creeping thyme or oregano outside the bed. Be aware that oregano spreads fast in many climates. Keep it in a pot or trim it often if you want the border to stay neat.
Use Flowers with a Job
Choose flowers that attract pollinators or help you spot pests. Calendula, borage, alyssum, cosmos, zinnias, and marigolds work well near vegetables. Lavender attracts bees, but it needs sharp drainage and may struggle in heavy clay or damp winter soil.
Do not place tall flowers where they block sun from tomatoes or peppers. Put large plants such as sunflowers and Mexican sunflower at the north end when possible.
💡 Pro Tip: Repeat one color in three places. For example, use a blue pot, blue flowers, and a blue-painted trellis. Repetition makes a small garden look planned without adding many decorations.
Add Paths, Mulch, and Ground Covers
The area around a raised bed often has more impact than the bed itself. A clean path makes the garden look finished and keeps mud off shoes. It also protects the soil from being stepped on during planting and harvest.
Wood chips work well for paths near ornamental beds. Straw can work in a vegetable garden, but it may contain weed seeds or shelter slugs. Gravel gives a crisp look and drains well, but it can scatter into lawns and become uncomfortable under bare feet.
Never pile mulch against the wooden sides of a raised bed. Keep it about 2 inches away from the wall. Wet mulch touching wood speeds rot and can hide ants, slugs, and other pests.
Build a Low-Maintenance Path
For a long-lasting path, remove grass and weeds first. Lay cardboard only where you are sure you do not need the soil for planting. Add 2 to 3 inches of wood chips or 3 to 4 inches of gravel.
A path fabric can reduce weeds under gravel, but it is not always needed under wood chips. I have found that thick cardboard plus 4 inches of arborist chips works well for two to three seasons. The chips settle and break down, so top them up as needed.
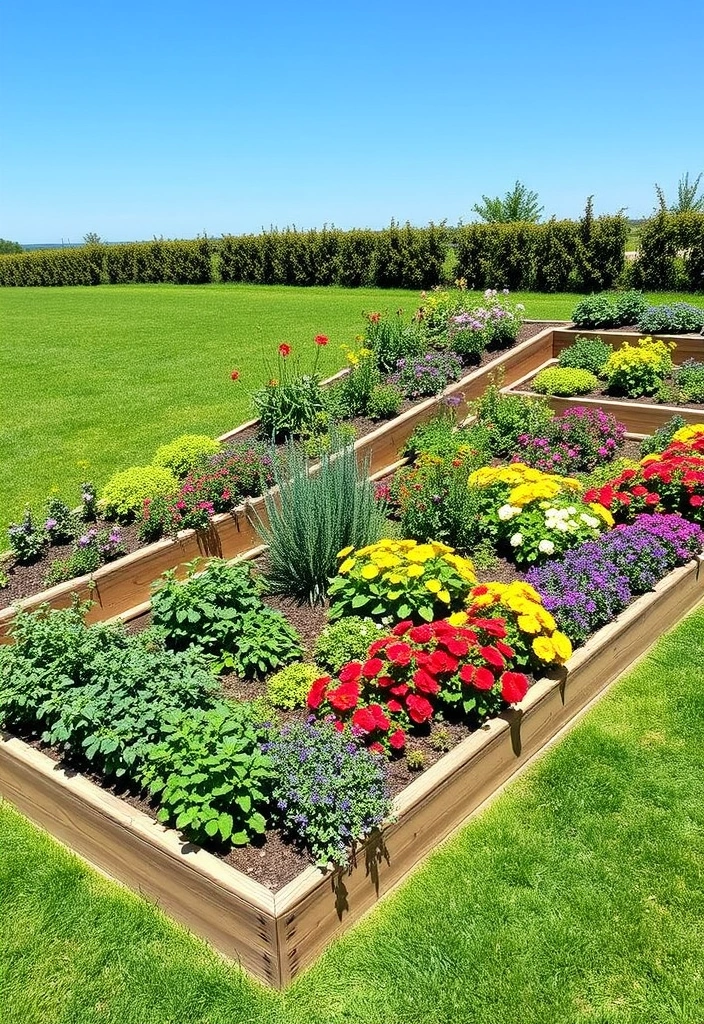
Use Mulch as Part of the Design
Organic mulch helps soil hold moisture and reduces splash-borne diseases on crops such as tomatoes. Compost, shredded leaves, straw, and fine bark can all work, but they serve different roles.
Compost should mix into soil rather than form a thick top layer. Bark lasts longer but may tie up a small amount of nitrogen as it breaks down. Straw keeps fruit clean but can blow away in windy areas.
| Decorative ground material | Best use | Watch for |
|---|---|---|
| Wood chips | Paths and broad borders | May attract termites near buildings |
| Straw | Vegetable beds and strawberries | Slugs and weed seeds |
| Gravel | Clean paths and dry gardens | Heat, scatter, and weeds |
| Shredded leaves | Soil cover in fall | Wind and thick wet layers |
| Bark mulch | Ornamental edges | Can dry the soil surface |
Choose the material that fits your climate and maintenance style. A beautiful path that needs constant sweeping may not suit a busy garden.
Decorate with Trellises and Vertical Features
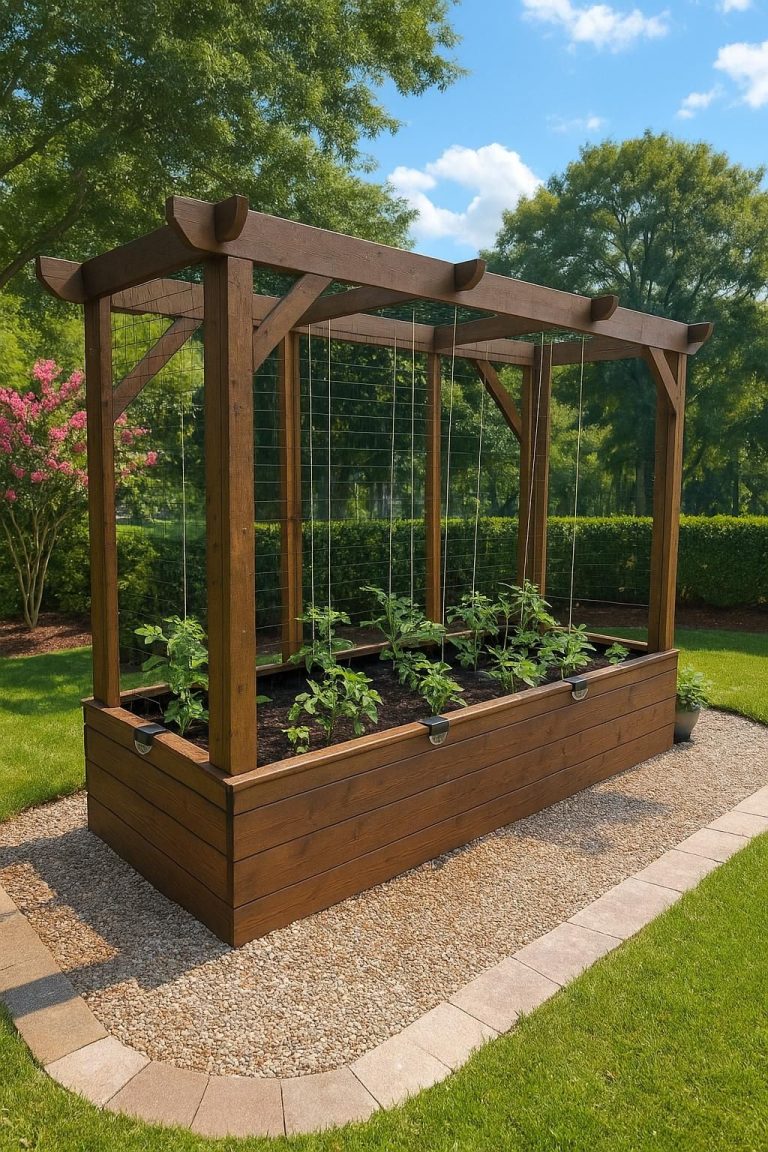
A trellis adds height, privacy, and useful growing space. It can support pole beans, peas, cucumbers, small melons, and flowering vines. A plain trellis also creates a strong backdrop for a raised garden bed.
Use a trellis that matches the crop. Peas need fine support they can grip. Cucumbers need a sturdy grid or netting. Pole beans need a tall structure, often 6 to 8 feet high, with strong anchors.
Set the trellis before planting. Driving stakes into a full bed can cut roots and damage irrigation lines. Anchor the lower section outside the bed or attach it firmly to the frame.
Make a Trellis Decorative
A simple cattle panel can look attractive when framed with wood. Galvanized wire mesh works well for peas and cucumbers. Bamboo creates a warm, natural look but may split after several seasons.
Add a small arch over a path if you have enough space. Plant scarlet runner beans, black-eyed Susan vine, or a small clematis. Avoid aggressive vines such as English ivy, which can spread beyond the garden and damage structures.
Protect Plants from Wind
Tall trellises catch wind. In exposed yards, place the structure so strong wind pushes it into the bed rather than pulling it away. Use two or more deep stakes and check the fasteners after storms.
A trellis can also dry plants quickly. In Zones 7 through 10, check cucumber and bean beds more often during hot weather. Mulch helps, but plants still need water at the root zone.
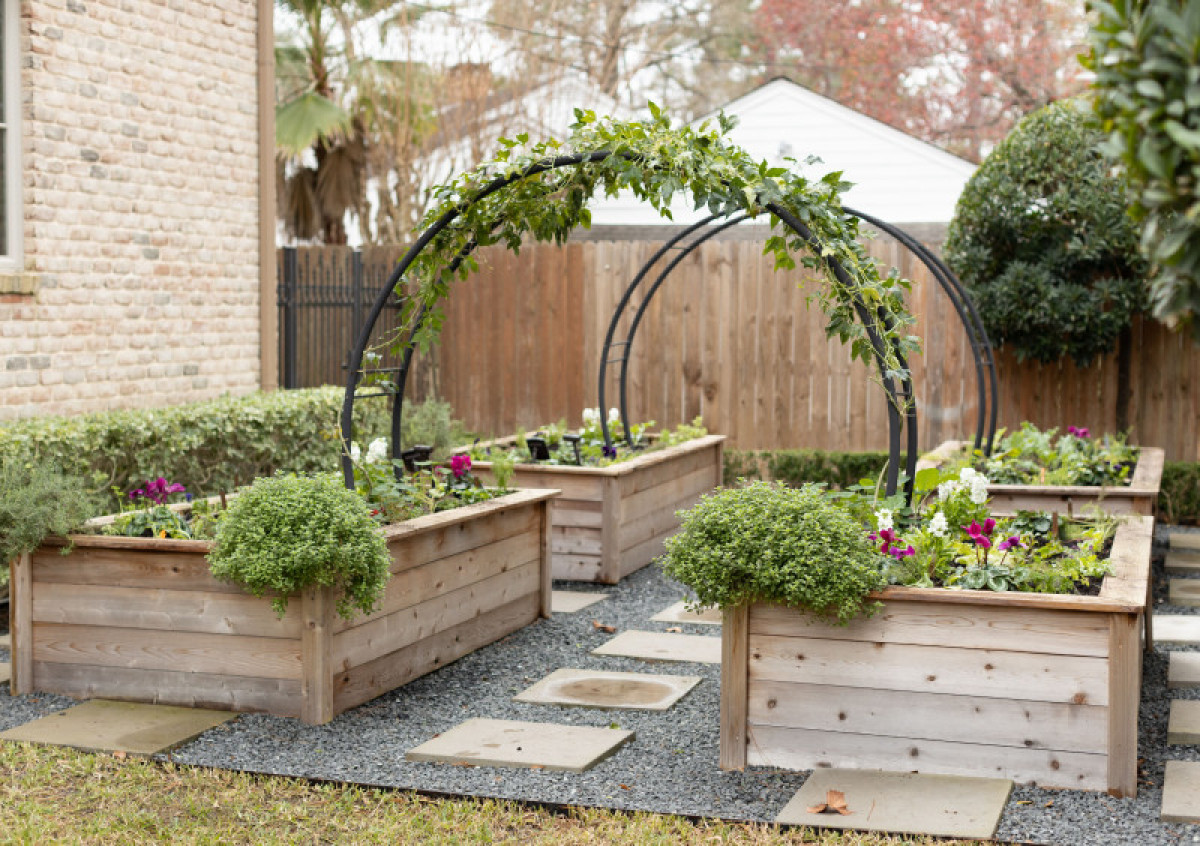
The table below matches decorative features with useful crops.
| Feature | Plants that fit | Design benefit |
|---|---|---|
| Fine mesh trellis | Peas, cucumbers, small squash | Light and delicate texture |
| Cattle panel | Beans, cucumbers, melons | Strong arch or wall |
| Teepee poles | Beans, nasturtiums | Rustic vertical shape |
| Low wire hoop | Strawberries, greens | Keeps birds and pets out |
| Pergola-style frame | Grapes, hardy kiwi, flowers | Shade and height |
Do not let a decorative structure become a hidden pest zone. Remove dead vines after harvest and store loose netting where birds and small animals cannot become trapped.
Add Containers, Pots, and Plant Stands
Containers let you bring color close to the bed without taking growing space from vegetables. Use pots for tender herbs, annual flowers, mint, and plants with different soil needs. Mint belongs in a container because it can spread through a bed within one season.
Group pots in odd numbers, such as three or five. Vary their height, but keep the tallest pot behind shorter ones. Choose containers with drainage holes, even if they sit near an irrigated bed.
Terracotta dries faster than glazed ceramic or plastic. In hot, dry regions, a dark plastic pot can overheat roots. Use light-colored pots or place sensitive herbs where they receive morning sun and afternoon shade.
Make Containers Easy to Move
Use saucers only on hard surfaces. A saucer beneath a pot on soil can hold water and encourage root rot. Put heavy pots on rolling plant caddies if you need to move them for frost or storms.
In USDA Zones 3 through 6, bring tender rosemary, lemongrass, and citrus indoors before the first hard freeze. In Zones 8 through 10, move pots away from intense afternoon heat when leaves wilt despite moist soil.
Keep Pots from Competing with Crops
A large container can shade a bed and take water from nearby plants. Leave at least 12 inches between a pot and the bed edge. Check the soil in both the pot and bed because containers dry at different rates.
🌱 Beginner Note: Start with one or two containers, not a full collection. Every pot adds a separate watering task, and small containers can dry out twice in one hot day.
Use Signs, Labels, and Small Garden Art
Signs and labels add personality, but they should also help you remember plant names and planting dates. Use weatherproof materials such as slate, sealed wood, metal tags, or plant markers made for outdoor use.
Label varieties when you grow several tomatoes or peppers. “Tomato” is less useful than “Sungold,” “Cherokee Purple,” or “San Marzano.” Write the date planted on the back of a marker so you can compare growth over the season.
Keep garden art low and stable. A small ceramic bird, metal flower, or painted stone can add charm. Avoid sharp wire, loose glass, and fragile objects in areas where children or pets play.
Choose Art That Supports Wildlife
A shallow birdbath can attract birds that eat caterpillars and beetles. Keep it clean and change the water every few days in hot weather. Place it near, but not inside, the bed so splashing does not keep foliage wet.
A pollinator dish with stones and shallow water helps bees drink safely. Do not use pesticides near it. Native bees often nest in bare soil, hollow stems, or small gaps, so a perfectly tidy garden may offer fewer habitats.
Avoid Pest-Friendly Decor
Dense piles of wood, damp fabric, and hollow ornaments can shelter slugs, earwigs, rodents, and ants. Check decorations after rain. If a feature stays damp for days, move it away from the bed or remove it.
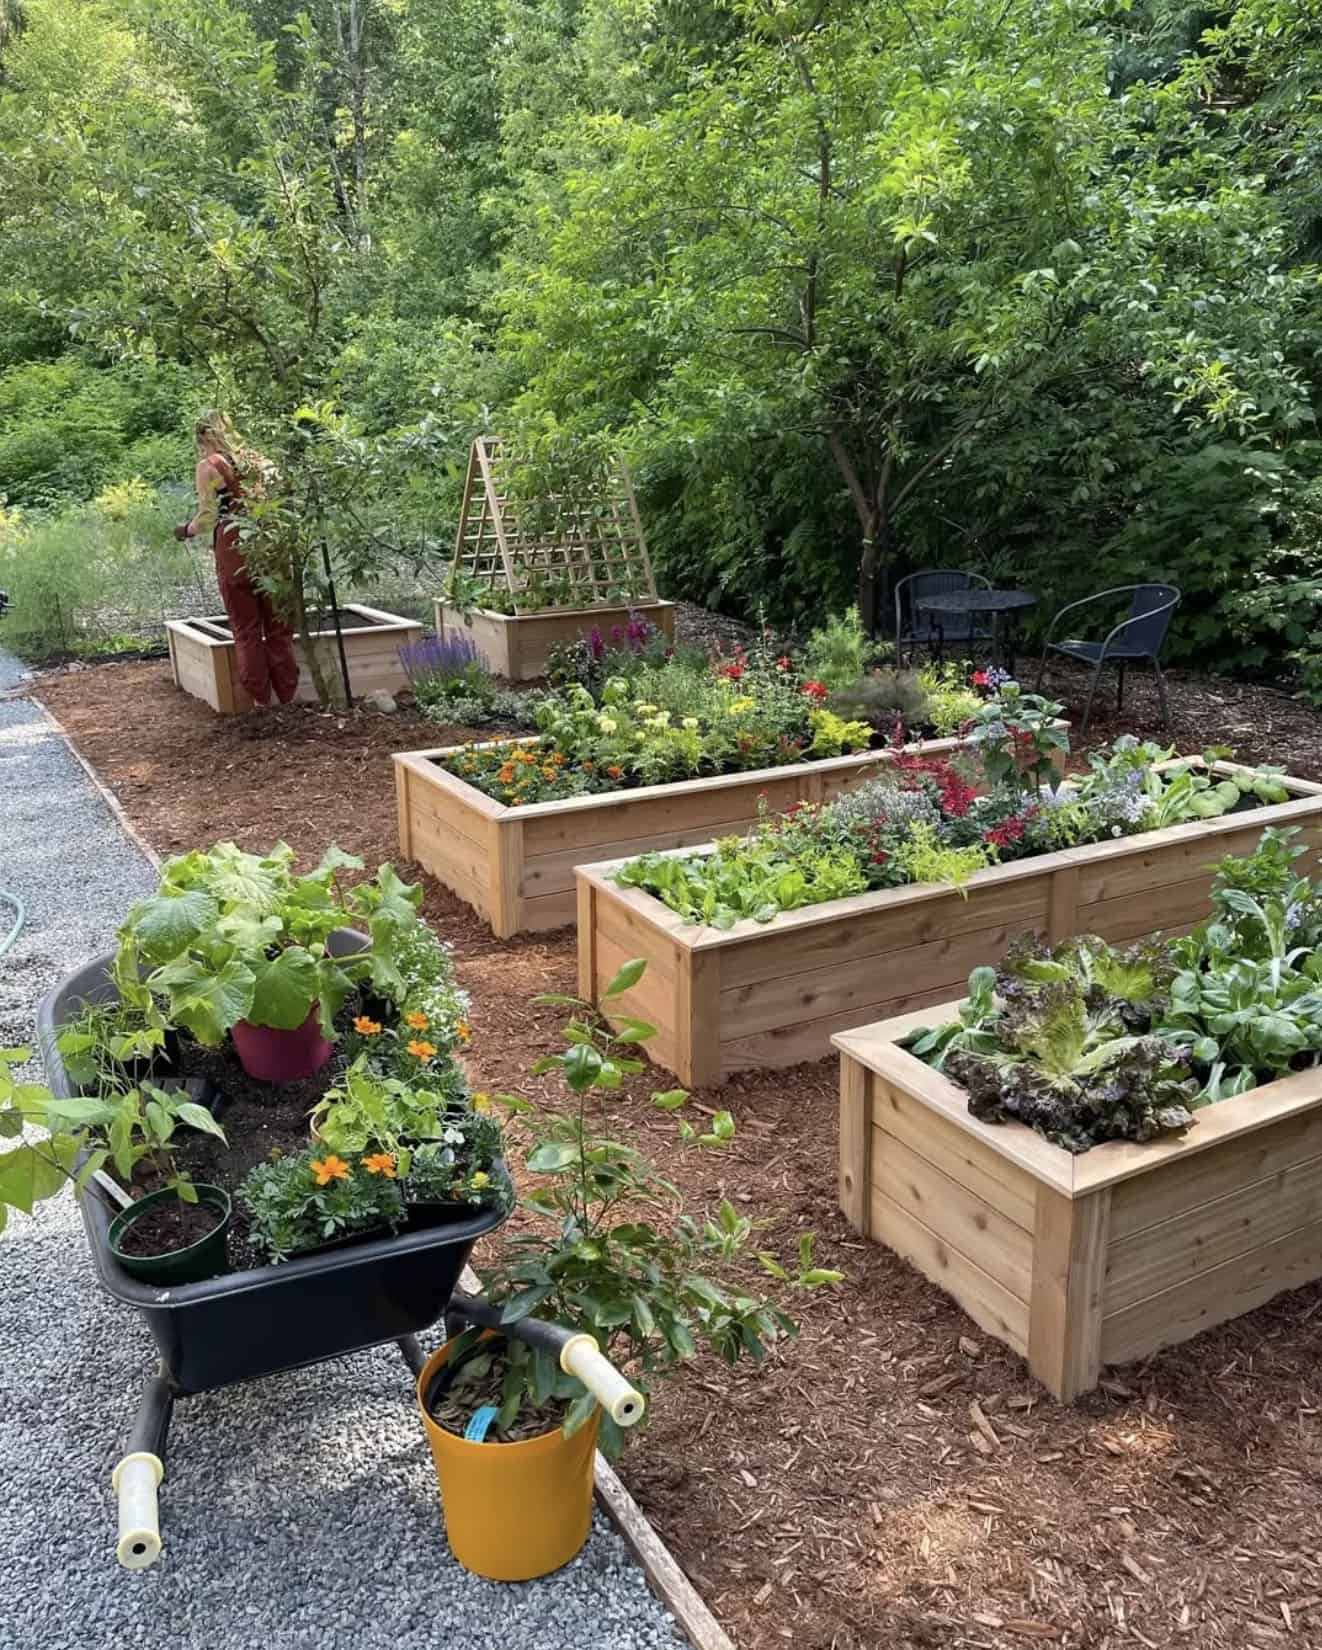
Here are simple decoration choices for different garden goals.
| Garden goal | Helpful decoration | Avoid |
|---|---|---|
| Attract pollinators | Native flowers, shallow water dish | Broad pesticide sprays |
| Keep pets out | Low fence, smooth edging | Sharp stakes |
| Add privacy | Tall trellis, bean arch | Dense vines against siding |
| Help children learn | Plant labels, color signs | Fragile glass art |
| Reduce upkeep | Gravel path, sturdy trim | Many small pots |
Decorations work best when they solve a real problem. A label, trellis, or path often gives more value than an ornament that only takes up space.
Plant the Bed for Texture and Balance
A decorated raised bed still needs a strong plant layout. Combine upright, rounded, trailing, and fine-textured plants. This creates depth and keeps the bed interesting even when one crop finishes.
Place tall crops such as tomatoes, okra, corn, and pole beans toward the north. Put medium plants such as peppers, eggplant, kale, and basil in the middle. Use carrots, radishes, lettuce, chives, and thyme near the edge.
Leave enough space for air movement. Crowded plants can develop powdery mildew, downy mildew, gray mold, and fungal leaf spots. Follow the mature spacing on the seed packet, not the size of the transplant on planting day.
Combine Edibles and Ornamentals
A productive bed can include flowers without looking messy. Try these combinations:
- Tomatoes with basil and sweet alyssum
- Peppers with marigolds and oregano
- Kale with calendula and chives
- Cucumbers with dill and nasturtiums
- Strawberries with thyme and alyssum
- Carrots with scallions and dwarf zinnias
Companion planting does not stop every pest. Its main value comes from diverse plant shapes, flowers for beneficial insects, and better use of space.
Use Repeating Groups
Repeat three or five plants of one type instead of scattering one plant everywhere. Groups look calmer and make watering and harvesting easier. This works especially well with herbs, flowers, and leafy greens.
Leave some open soil for new sowings. A bed that looks full in May may become crowded in July. I often leave small gaps for fall carrots, basil replacements, or quick crops such as radishes.
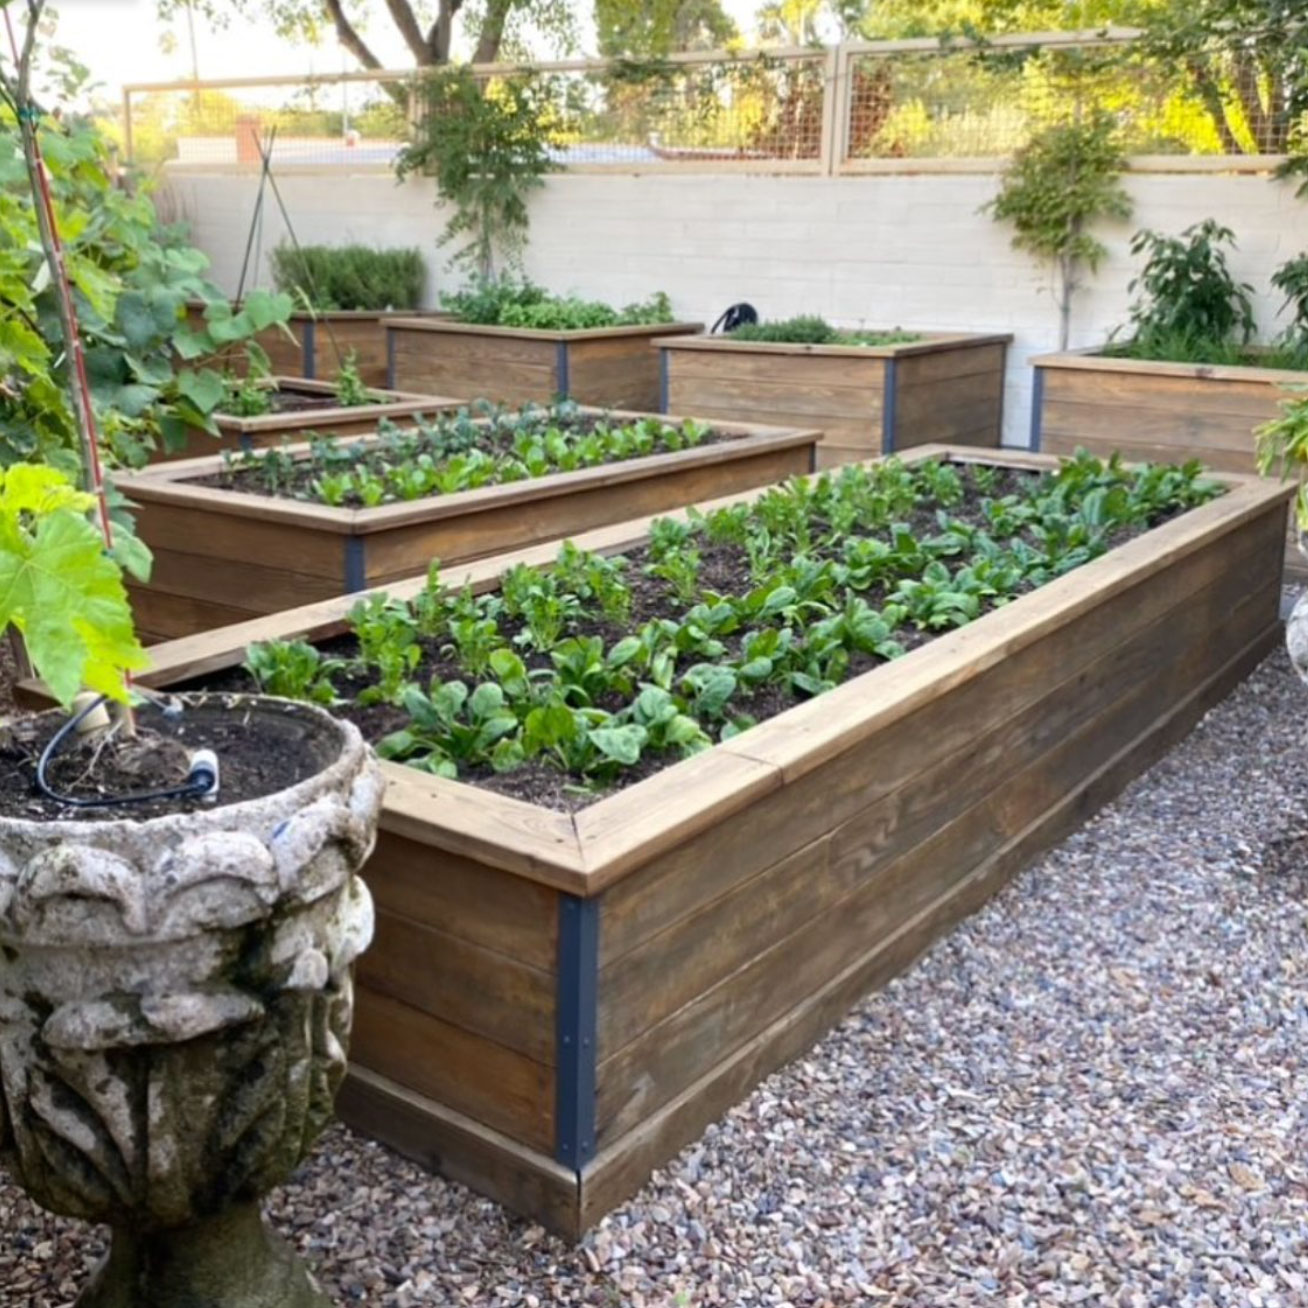
A well-planned bed can look attractive while keeping plant needs clear.
| Bed position | Good plant types | Design role |
|---|---|---|
| North side | Pole beans, tomatoes, sunflowers | Height and backdrop |
| Middle | Peppers, kale, basil, eggplant | Main color and volume |
| Edge | Thyme, lettuce, chives, radishes | Soft border and easy harvest |
| Outside corner | Alyssum, calendula, marigolds | Pollinator color |
| Trellis base | Cucumbers, peas, small squash | Vertical interest |
Do not use this layout as a fixed rule in every yard. In the Southern Hemisphere, adjust the sun direction, and in steep or shaded yards, watch actual shadows.
Add Lighting Without Creating a Hazard
Solar path lights can make a raised bed visible after dark. They work best along paths, steps, and corners. Choose warm white light rather than bright blue light, which can look harsh and disturb evening wildlife.
Keep cords away from wet soil and walkways. Use outdoor-rated extension cords with ground-fault circuit interrupter protection when electricity is needed. Do not staple cords tightly to wood or run them under mulch where damage may go unnoticed.
Avoid lights that shine directly into windows. Bright lights can also confuse moths and other nocturnal insects. A few low lights usually look better than a line of glowing fixtures around every edge.
Use Lighting to Show Structure
Aim one soft light at a trellis, stone edge, or specimen plant. This creates depth and highlights the bed’s shape. Do not point strong lights at flowers or vegetables, since the plants do not need light at night.
Remove solar fixtures during winter if your area gets deep frost. Water can freeze inside cracked plastic and shorten the life of the battery. Wipe the panel clean at the start of each season.
Protect the Decor from Weather and Pests
Good decoration needs regular care. Inspect wood, fasteners, trellises, pots, and paths at least once each season. Look for soft wood, rust, loose screws, leaning posts, and sharp edges.
Wood decay often starts at the bottom corners. Keep soil 1 to 2 inches below the top edge of the bed. This small gap helps air reach the wood and prevents soil from spilling over after heavy rain.
Ants may nest in dry gaps under boards, while slugs hide under wet mulch and pots. Lift decorations during routine checks. Remove hiding places before using any pest control product.
Keep Irrigation Neat
A drip system can improve both plant health and appearance. Run 1/2-inch poly tubing along the bed edge, then use 1/4-inch lines or adjustable emitters near plants. Secure tubing with garden staples so it does not cross paths.
Drip irrigation usually wastes less water than a sprinkler, but it can clog. Use a filter, flush the line at the start of the season, and check emitters during hot weather. A blocked emitter can kill one tomato while the rest of the bed looks healthy.
🔧 Quick Fix: If a decorated bed looks cluttered, remove half the small items for one week. Keep only the pieces that add function, height, or strong color. Most gardens improve when empty space returns.
Repair Seasonal Damage
Freeze-thaw cycles can shift bricks and loosen posts. Heavy snow can bend trellises. Summer sun can crack plastic pots and fade painted signs.
Repair small damage early. Replace rusty fasteners with exterior-rated screws, reset loose stones, and sand sharp wood edges. If a wall bows outward, remove some soil before repairing it; do not force the board back while the bed is full.
Plan the Decoration by Season
A raised bed changes through the year. Spring offers fresh greens and flowers, summer brings full growth, fall adds warm color, and winter exposes the frame. Decor should support each stage rather than look perfect for one month.
In spring, clean paths, repair trellises, and add labels before seedlings grow large. In summer, check shade, irrigation, and crowded plants. In fall, remove diseased foliage and protect perennial herbs before hard frost.
Do not leave dead annuals and tangled vines in place all winter if pests or diseases affected them. Healthy stems can support overwintering insects, but diseased tomato and squash debris should go in the trash unless your compost reaches a reliable high temperature.
| Season | Decoration and care task | Best design focus |
|---|---|---|
| Spring | Repair edges, wash pots, set trellises | Fresh color and clear paths |
| Summer | Check irrigation, shade, and fast growth | Full foliage and useful height |
| Fall | Remove diseased plants, add mulch | Warm tones and clean structure |
| Winter | Store fragile art and empty pots | Strong frame and simple lines |
Seasonal changes make a garden feel alive. Do not try to keep every part unchanged all year.
Control the Cost of a Decorated Raised Bed
You can decorate a raised bed for less than $50 with paint, homemade labels, mulch, and a few flowers. A more finished setup with stone, steel edging, a trellis, irrigation, and lighting may cost $200 to $800 or more.
The bed itself often costs more than the decorations. Cedar boards, soil, compost, hardware, and delivery add up quickly. In my experience, quality soil and safe construction give a better return than expensive ornaments.
Spend first on drainage, strong corners, and a comfortable path. Add color and art after the bed grows well. A healthy garden can make simple materials look intentional.
Low-Cost Decoration Ideas
Try these affordable options:
- Paint the outside of the bed with one accent color.
- Use salvaged terracotta pots with drainage holes.
- Make labels from slate, bamboo, or sealed scrap wood.
- Use free arborist wood chips for paths.
- Plant alyssum or calendula from seed.
- Build a pea trellis from untreated sticks and garden twine.
- Add a small painted stone at each bed corner.
Do not save money by using unsafe lumber or weak hardware. A cheap board that leaches chemicals or collapses can cost more to replace and may contaminate soil.
Common Decorating Mistakes and Their Fixes
Most raised-bed design problems come from adding features before considering sunlight, access, water, and plant growth. The solution often involves removing something rather than buying something new.
| Problem | Likely cause | Practical fix |
|---|---|---|
| Bed looks crowded | Too many pots and signs | Remove half and keep clear gaps |
| Wood rots quickly | Soil or mulch touches the wall | Lower soil and pull mulch back |
| Plants grow thin | Trellis or art blocks sunlight | Move tall features north |
| Path becomes muddy | Too little cover or poor drainage | Add wood chips or gravel |
| Trellis falls over | Weak stakes or wind exposure | Use deeper anchors and braces |
| Slugs hide near decor | Wet pots and dense mulch | Lift items and reduce damp cover |
| Lights stop working | Water or dead batteries | Use outdoor-rated parts and replace cells |
These fixes protect both the appearance and the function of the garden. A clean path and healthy plants will always matter more than extra decoration.
Why Painted Wood May Fail
Paint can peel when applied to damp wood or when soil stays against the painted surface. It can also split as boards expand and contract. Let new wood dry, sand rough areas, and follow the product directions.
Do not paint over mildew. Clean the surface, let it dry, and repair the moisture problem first. In wet climates, a breathable exterior finish may perform better than a thick film coating.
Why Gravel Can Become a Weed Bed
Gravel does not stop weeds by itself. Dust, leaves, and soil collect between stones, then weed seeds germinate. Pull young weeds before roots spread, and rake the path each season.
Landscape fabric can slow this process but may become difficult to remove later. For many home gardens, cardboard under wood chips offers easier renewal.
My Favorite Practical Design Approach
My favorite raised-bed design uses a simple cedar frame, a 30-inch wood-chip path, one strong trellis, and repeated flowers at the corners. I add a narrow cap rail only on the front edge, where it gives a finished line without reducing much growing space.
I use dark green or natural wood tones instead of several bright colors. The plants supply enough color through basil, Swiss chard, marigolds, zinnias, and purple cabbage. This approach stays attractive from spring through fall and does not require daily tidying.
One design that did not work well for me used many small ceramic ornaments. They looked charming at first, but they collected water, broke during frost, and made weeding slow. Removing them made the bed easier to care for and more attractive from a distance.
Another mistake was placing a tall bean trellis on the south side of a bed. By midsummer, it shaded peppers and lettuce for much of the afternoon. I moved it north, and the next crop had stronger growth without changing the soil or fertilizer.
Know When to Hire Help
You can handle most raised-bed decoration projects yourself. Painting, mulching, planting, labeling, and installing small trellises need basic tools and careful planning. Ask for help when the project involves heavy stone, electrical wiring, retaining walls, or major grading.
A professional can also help if the bed sits against a foundation, blocks drainage, or needs a retaining wall above about 2 feet. Water moving toward a house can cause much more damage than an unattractive garden edge.
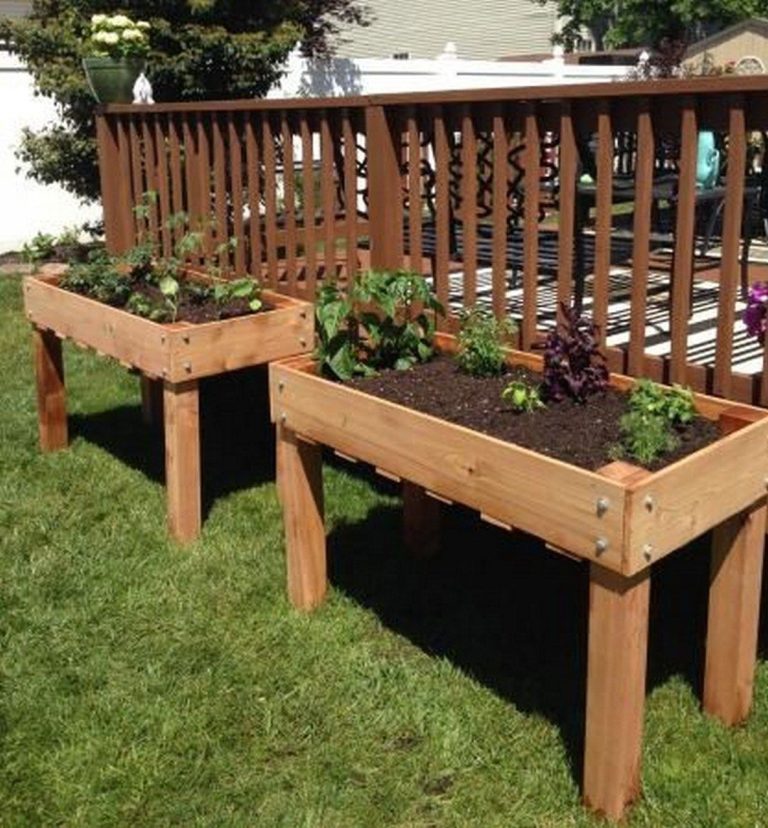
For accessibility, a raised bed 24 to 32 inches high may reduce bending. A wider surrounding path helps wheelchairs and garden carts. An occupational therapist or experienced garden designer can help set the best height and reach range for your body.
Frequently Asked Questions
Q: What is the easiest way to decorate a raised garden bed?
A: Add a clean path, one trellis, a simple color scheme, and a few useful flowers. These features create structure without making the bed hard to water or weed.
Q: Can I paint a raised garden bed?
A: Yes. Paint the outside with a fully cured exterior product. Avoid painting the soil-facing surface, and never use old paint that may contain lead.
Q: What should I put around a raised garden bed?
A: Use wood chips, gravel, brick, stone, or a living ground cover. Choose based on drainage, walking comfort, weed control, and how often you want to renew the material.
Q: How do I make a raised bed look less plain?
A: Add a cap rail, repeat a color, use a trellis, plant flowers at the corners, and define the surrounding path. One or two strong details work better than many small ornaments.
Q: Can I use old pallets to decorate a raised bed?
A: Only use pallets with a clear, safe treatment mark and no chemical stains. Avoid unknown pallets because they may have carried harmful materials or received unsafe treatments.
Q: How long does a decorated raised garden bed last?
A: The frame may last 5 to 25 years, depending on material and climate. Decorations such as paint, mulch, pots, and solar lights usually need renewal every one to five years.
Q: Should a trellis go inside or outside the raised bed?
A: Place it outside or attach it firmly to the frame when possible. This preserves soil space and reduces root damage during installation. Make sure it cannot lean into a path.
Q: How can I decorate a raised bed in a small yard?
A: Use vertical features, narrow paths, wall-mounted tools, and containers with drainage. Keep the bed 2 feet wide against a wall and avoid bulky ornaments.
Q: What decorations attract pollinators?
A: Native flowers, shallow water with stones, and pesticide-free planting attract bees, butterflies, and other helpful insects. Choose plants suited to your USDA Zone and local soil.
Q: Can mulch touch a raised bed’s wooden sides?
A: No. Keep mulch about 2 inches away from the wood. This improves airflow and reduces rot, ants, and hidden slug shelter.
Q: How do I decorate a raised bed for winter?
A: Store fragile pots and ornaments, secure trellises, clean diseased plant debris, and leave the frame and paths neat. Evergreen herbs, sturdy branches, or simple stakes can add structure.
Q: Is galvanized steel safe for raised garden beds?
A: Garden-grade galvanized steel is widely used for raised beds. Choose a reputable product, avoid damaged coatings, and use caution in very hot climates because metal can warm the soil.
Final Thoughts
The best decorated raised garden bed feels useful before it feels fancy. Start with sun, access, drainage, and safe materials. Then add one strong feature, such as a trellis, cap rail, colorful path, or group of pollinator plants.
Use decorations that make gardening easier. A good label saves time, a firm path keeps soil clean, and a well-placed trellis grows food upward. When the design supports healthy plants, the bed stays attractive through changing seasons with less work.
Meta description: Learn how to decorate a raised garden bed with safe edging, paths, trellises, flowers, mulch, lighting, and budget-friendly design ideas that last.