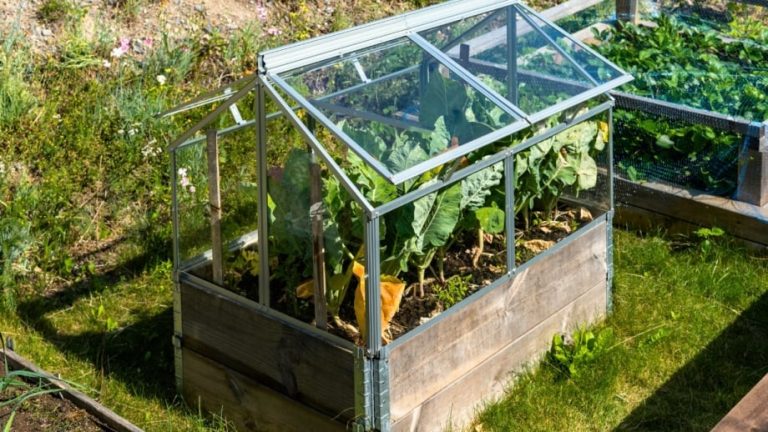
How To Make A Raised Landscape Bed: Easy DIY Guide
A raised landscape bed can turn a flat, tired yard into a clear, productive garden space. It improves drainage, warms soil earlier, reduces bending, and gives roots a better growing mix than compacted native soil. You can use one for vegetables, herbs, flowers, shrubs, or a mix of plants that suit your USDA hardiness zone.
The best raised bed is not always the tallest or most expensive one. It is the bed that fits your space, handles local weather, drains well, and remains easy to water and maintain. I have built beds from cedar, pine, stone, concrete blocks, and reclaimed lumber. Each material works, but each has trade-offs.
This guide explains how to make a raised landscape bed from planning through planting. You will learn how to choose a site, calculate soil, select safe materials, build a strong frame, prevent weeds, manage drainage, and avoid the mistakes that cause beds to lean, rot, or dry out.

Quick answer: how to make a raised landscape bed
To make a raised landscape bed, choose a level site with 6–8 hours of sun, mark the shape, remove sod, loosen the soil, build a frame 6–18 inches high, add quality soil and compost, and mulch the surface. Use untreated cedar, stone, brick, or galvanized metal. Keep the bed no wider than 4 feet so you can reach the center without stepping inside.
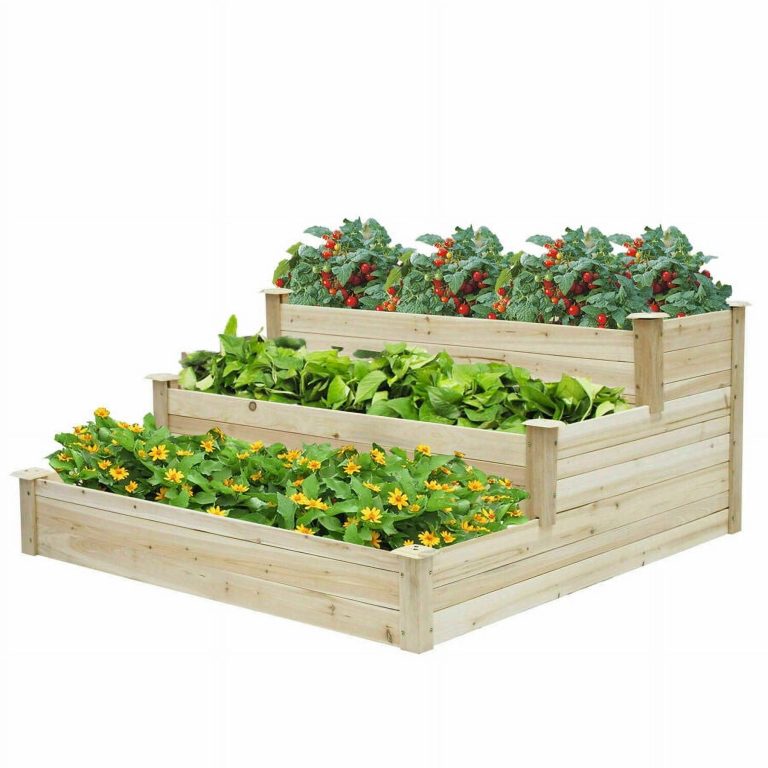
A simple 4-by-8-foot bed that is 12 inches deep holds about 32 cubic feet of soil, or just over 1 cubic yard. Build the frame on firm ground, leave space around it for mowing and access, and check drainage before you fill it.
Choose the right location before you build
A raised landscape bed works best in a spot with strong sunlight, good access to water, and enough room to walk around it. Most vegetables need at least 6 hours of direct sun. Tomatoes, peppers, cucumbers, squash, and basil often perform better with 8 hours.
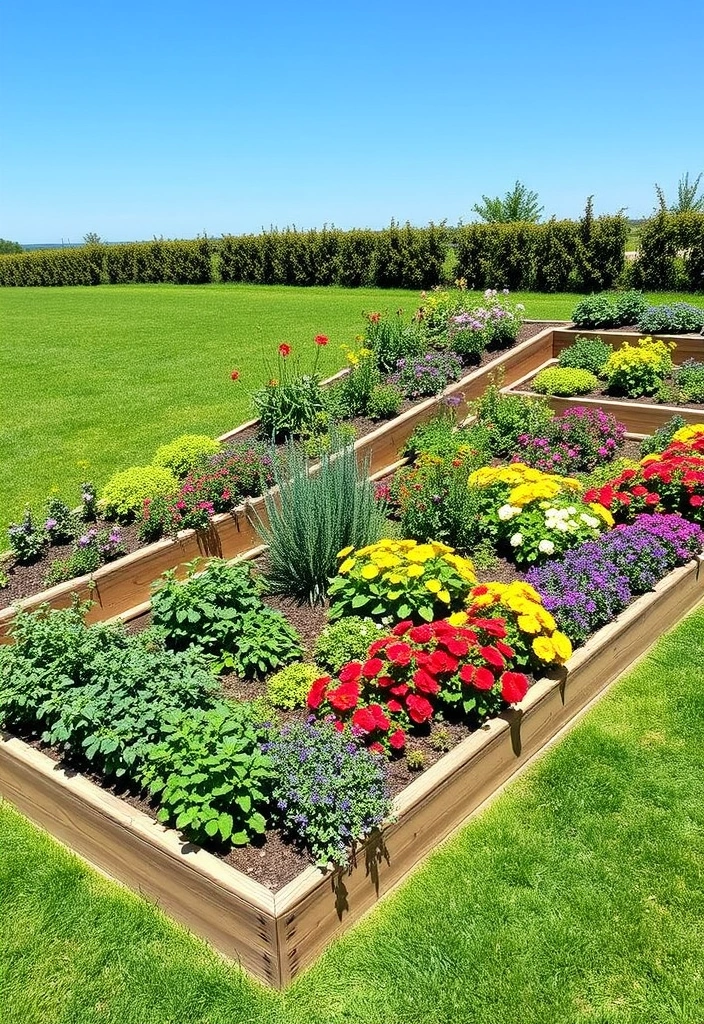
Watch the site for a full day if possible. A place that looks sunny at 10 a.m. may sit in shade by 3 p.m. Trees can also compete for water and send roots into the bed. Large tree roots may lift the frame or make digging difficult.
Sun, slope, and access
Place the long side of a vegetable bed north to south when you can. This lets tall crops cast less shade on short crops. A bed that runs east to west can still work, but place tall plants on the north side.
Avoid a low spot where rain collects. Raised soil improves drainage, but a bed built in standing water can stay wet below the frame. On a slope, use a stepped design instead of forcing one large frame to sit level.
Leave at least 24 inches between beds. I prefer 30–36 inches when a wheelbarrow must pass through. If you plan to mow beside the bed, leave enough room for the mower deck and avoid sharp corners that catch the wheels.
Check sunlight and utilities
Before digging, call 811 in the United States to locate buried utility lines. This matters even for a shallow bed. You may also find irrigation pipes, low-voltage lighting wires, or invisible pet fencing.
Use a hose to outline the bed before you buy materials. Stand back and view the shape from the house, patio, and street. Curved beds look natural in ornamental landscapes, while straight beds simplify mowing and crop rotation.
Pick a useful size
Keep the width within arm’s reach. A 3-foot-wide bed works well when you can access only one side. A 4-foot-wide bed works when you can reach both sides. Avoid beds wider than 4 feet unless you add paths through the middle.
Length has fewer limits. An 8-foot bed is easy to build with common lumber. Longer beds need internal supports or stronger materials to stop the sides from bowing.
| Bed feature | Practical recommendation | Why it matters |
|---|---|---|
| Width | 3–4 feet | Keeps the center within reach |
| Length | 4–12 feet | Matches common boards and easy access |
| Height | 6–12 inches for most plants | Holds soil without excessive cost |
| Tall bed height | 18–30 inches | Helps accessibility and deep-rooted plants |
| Path width | 24–36 inches | Allows walking and wheelbarrow access |
A 12-inch bed gives roots more room and holds moisture better than a 6-inch bed. A 6-inch frame may be enough for herbs, lettuce, annual flowers, and shallow-rooted plants if the soil below drains well.

Plan the shape, height, and materials
The shape of your raised landscape bed should match the garden, not fight it. Rectangles are easy to measure and repair. Curves suit flower borders and informal gardens, but they require flexible edging or many short cuts.
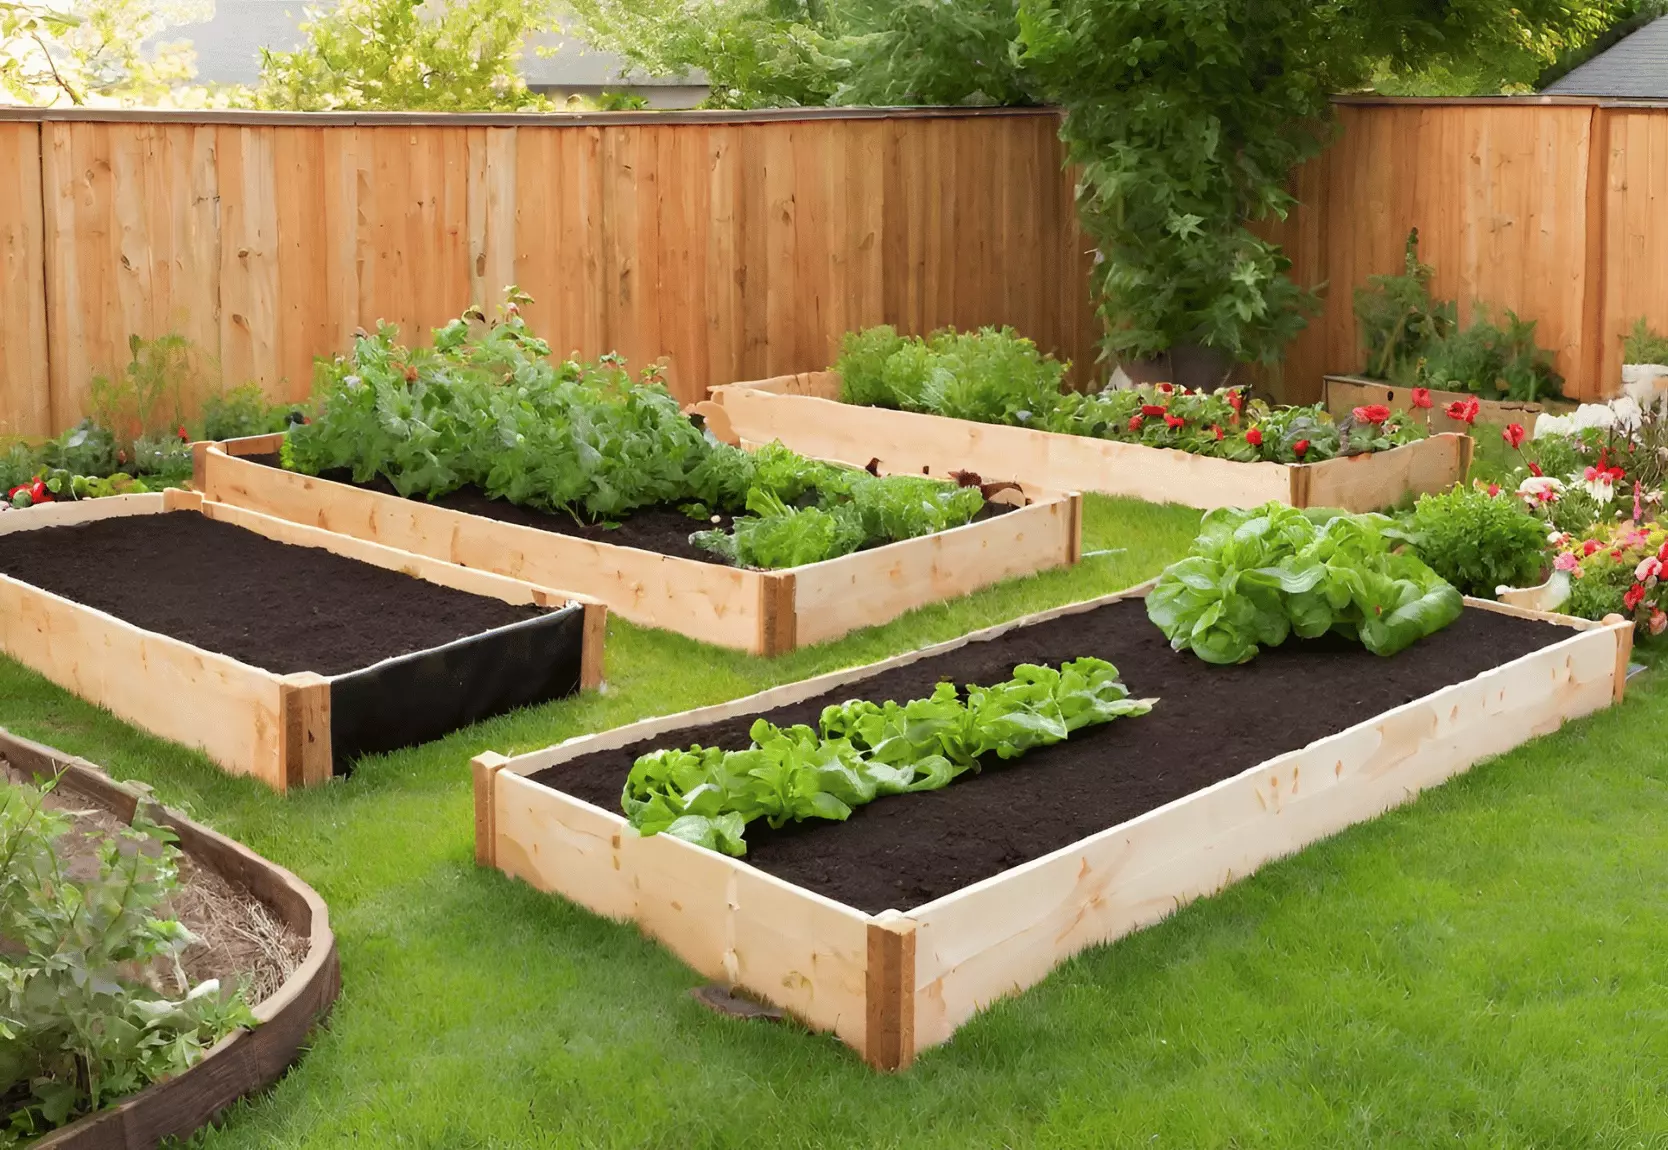
Bed height affects cost, soil volume, comfort, and plant choice. A low bed may be enough for annual flowers. A taller bed helps gardeners who have trouble kneeling, but it needs stronger walls and more soil.
How tall should a raised bed be?
Use a 6–8-inch bed for lettuce, radishes, onions, annual flowers, and herbs. Use 10–12 inches for tomatoes, peppers, beans, carrots, and most mixed vegetable beds. Use 18 inches or more for deeper root systems, poor native soil, or easier access.
Do not assume a tall frame fixes every soil problem. A raised bed still needs a stable base. If the frame sits on soft, wet ground, a 24-inch wall may shift more than a 12-inch wall.
Select safe frame materials
Untreated cedar is a common choice because it resists decay and does not need paint. Redwood also lasts well but often costs more. Pine costs less, but untreated pine may rot within a few seasons in wet climates.
Modern pressure-treated lumber made for residential use is generally considered suitable for garden structures when used as directed. Avoid old, salvaged lumber that may contain creosote or chromated copper arsenate, especially railroad ties and old utility poles.
Stone, brick, concrete block, and galvanized steel can last for many years. Stone takes more time to level. Metal heats faster in full sun and can dry the edge soil. Concrete blocks are strong, but their openings can become useful planting pockets for thyme or trailing flowers.
| Material | Typical life in a bed | Main strength | Main concern |
|---|---|---|---|
| Cedar | 8–15 years | Rot resistance and easy cutting | Higher cost |
| Untreated pine | 3–7 years | Low price and simple work | Fast decay in wet areas |
| Brick or stone | 20+ years | Long life and formal look | Heavy and slower to install |
| Galvanized steel | 15–30 years | Strong and clean-lined | Heat and sharp edges |
| Concrete block | 20+ years | Stable and modular | Heavy and less natural-looking |
These life ranges vary by climate, wood thickness, soil contact, and drainage. In wet Pacific Northwest gardens, even cedar lasts longer when the outside of the frame can dry. In hot, dry zones such as parts of Arizona, wood may crack and fade before it rots.
Choose the right hardware
Use exterior-rated structural screws rather than indoor drywall screws. For a 2-inch-thick board, 3-inch coated or stainless screws usually provide enough bite. Galvanized corner brackets can add strength, but the frame should not depend on thin decorative hardware.
For beds longer than 6 feet, add a cross brace or internal stake. A 4-by-8-foot bed made from 2-by-10 boards may bow after wet soil fills it. Drive a treated or cedar stake inside the frame at the midpoint, then screw the board to it.
Gather tools and calculate the soil
A raised bed needs fewer tools than most people expect. A tape measure, level, drill, shovel, rake, hand saw, and wheelbarrow will handle a basic build. A circular saw makes repeated cuts faster, but it is not required.

The most common planning mistake is buying too little soil. Measure the inside length, width, and depth in feet. Multiply those three numbers to get cubic feet.
For example:
- 4 feet × 8 feet × 1 foot = 32 cubic feet
- 32 cubic feet ÷ 27 = 1.19 cubic yards
- 32 cubic feet ÷ 1.5 = about 21.3 bags of 1.5-cubic-foot soil
Buy 10–15% extra because soil settles after watering and rain. A 12-inch bed often drops 1–3 inches during the first season.
| Item | Amount for a 4-by-8-foot, 12-inch bed | Purpose |
|---|---|---|
| 2-by-10 or 2-by-12 boards | Four 8-foot boards | Forms the frame |
| Exterior screws | 16–24 | Secures corners and braces |
| Compost | 8–12 cubic feet | Adds organic matter |
| Topsoil or garden soil | 20–24 cubic feet | Provides mineral soil |
| Mulch | 2–3 cubic feet | Protects the surface |
| Landscape staples | 10–20 | Secures cardboard or fabric |
Use bulk soil when you need more than 1 cubic yard. Bagged soil works for small beds but costs more and creates more plastic waste. Ask for a soil blend designed for raised beds, not plain topsoil from an unknown source.
Build a simple soil blend
A reliable starting mix contains about 60% quality topsoil, 30% compost, and 10% material that improves texture, such as fine pine bark or aged leaf mold. Many gardeners use a 50% topsoil, 30% compost, and 20% aeration blend.
Avoid filling the bed with pure compost. Compost shrinks as it breaks down, may hold too much water, and can contain excess salts. A good soil mix should smell earthy, crumble in your hand, and drain without becoming dusty or sticky.
For vegetables, aim for a soil pH near 6.0–7.0. Blueberries need a much more acidic soil, often near pH 4.5–5.5, so they usually deserve a separate bed with a tested mix. Do not add lime or sulfur without a soil test.
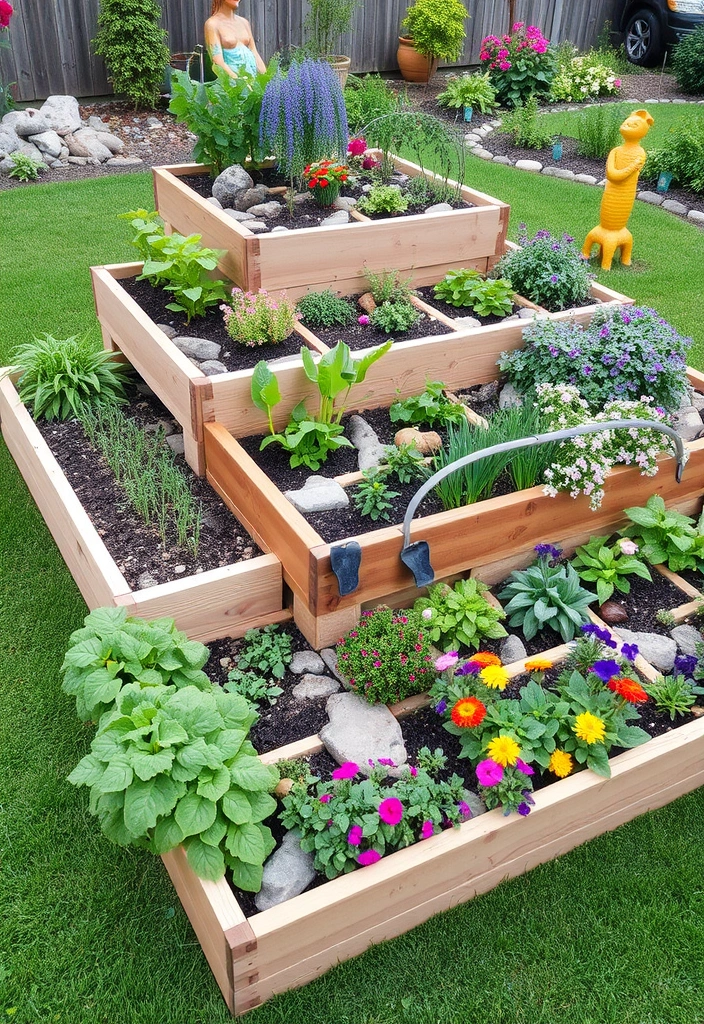
Prepare the ground under the bed
Ground preparation determines whether the bed drains, settles, and stays level. Do not place a frame on thick grass and assume the plants will smother it. Grass can grow through the soil, and perennial weeds can spread into the bed.

Mark the outline with flour, spray paint, stakes, or a garden hose. Cut along the line with a spade. You do not need to excavate the entire bed, but remove sod, large roots, rocks, and persistent weeds.
Remove sod and loosen compacted soil
For a low bed, strip the sod in shallow slabs. Shake loose soil back into the area. Use a garden fork to loosen the top 6–10 inches of native soil, especially if it is clay or compacted fill.
Do not turn wet clay soil. It can form hard clods that remain dense for months. Wait until the soil crumbles when squeezed rather than forming a shiny ball.
A broadfork works well for large areas. A digging fork is enough for one small bed. Avoid using a powered tiller near tree roots or buried lines.
Block weeds without blocking drainage
Lay overlapping sheets of plain cardboard under the bed if you need to suppress grass. Remove glossy labels and tape. Wet the cardboard so it stays in place, then cover it with soil.
Landscape fabric can block weeds, but it may also slow earthworm movement and make future planting harder. Never use plastic sheeting under a bed unless you are creating a fully contained planter with planned drainage holes.
| Base method | Best use | Limitation |
|---|---|---|
| Removed sod and loosened soil | Permanent beds with healthy ground | Takes more labor |
| Plain cardboard | Lawns and annual conversion | Breaks down over time |
| Landscape fabric | Gravel paths and some weed zones | Harder to amend later |
| Open bottom | Most soil-connected beds | Does not stop all weeds |
| Solid bottom with drainage | Rooftops, patios, balconies | Needs careful water control |
An open-bottom bed usually gives the healthiest root zone. It allows earthworms, beneficial fungi, and plant roots to move into the native soil. Use a solid base only when the surface below makes open planting impossible.

Build the raised landscape bed step by step
Once the site is ready, build the frame before adding soil. Assemble it on level ground when possible. A frame that looks square on a patio can shift once it rests on uneven soil.

The steps below describe a basic 4-by-8-foot wooden bed. Adjust the measurements for your design.
Step 1: Cut and inspect the boards
Cut four boards to form the long and short sides. If the boards overlap at the corners, subtract the board thickness from the shorter pieces. For a simple butt joint using 1½-inch-thick boards, two 8-foot boards and two boards cut to 45 inches create an outside width near 4 feet.
Inspect each board for deep cracks, twist, or soft areas. A slight bow can face outward, but a badly cupped board will make the wall hard to align.
Sand sharp splinters, especially if children use the garden. Do not coat the inside with unknown wood preservatives. If you use a garden-safe finish, follow its label and allow full curing before adding soil.
Step 2: Assemble the first layer
Place the boards in position. Check each corner with a carpenter’s square or measure diagonals from corner to corner. Equal diagonals show that a rectangle is square.
Drive two exterior screws through each end of the long boards into the short boards. Predrill near board ends to reduce splitting. For a 12-inch-high bed, use one board course if you have 2-by-12 lumber, or stack two 2-by-6 boards.
Step 3: Add corner support
Add a vertical cedar or pressure-treated stake inside each corner. The stake should extend at least 6 inches below the frame if you plan to anchor it into the ground. Screw the boards to the stake.
For a long bed, add stakes at the midpoint and at any point where boards join. Keep the stakes inside the bed so they do not interfere with mowing.
Step 4: Check level and square
Set the frame in place. Use a 4-foot level across each side and corner. Remove soil under high points instead of lifting low areas with loose compost. Loose soil settles and can leave one corner unsupported.
Measure both diagonals again. Make small adjustments now. Once the soil goes in, correcting a crooked frame becomes much harder.
Step 5: Add a second course if needed
If you want an 18-inch-high bed, stack a second board course. Stagger the joints so the ends do not line up. Secure the upper boards to the lower boards with screws every 18–24 inches.
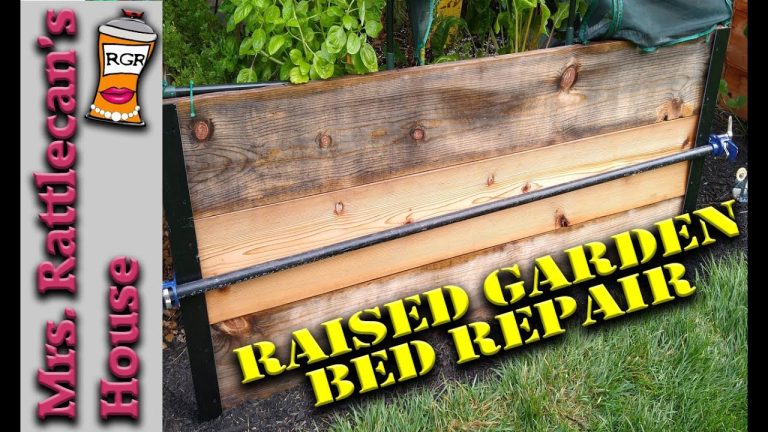
Tall beds need more support. Add a cross brace across the width every 4–6 feet. Use a galvanized threaded rod, a cedar crosspiece, or an internal stake system. The brace may occupy a little space, but it prevents the walls from spreading.
Step 6: Add the soil in layers
Fill the frame with your soil blend. Add 3–4 inches at a time and water lightly between layers. This helps reveal low spots and removes large air pockets without packing the soil hard.
Do not walk inside the bed. Soil compaction near the center can reduce oxygen and slow roots. If you must reach across a wide bed, place a temporary board across the frame.
Step 7: Finish with mulch
Add 1–2 inches of shredded leaves, clean straw, pine bark, or composted mulch. Keep mulch 2–3 inches away from plant stems and the wood frame. Thick mulch against tomatoes or shrubs can invite rot, slugs, and rodents.
Fresh wood chips can tie up some nitrogen at the soil surface as they break down. They work well as a top mulch, but do not mix large amounts into the root zone before planting.
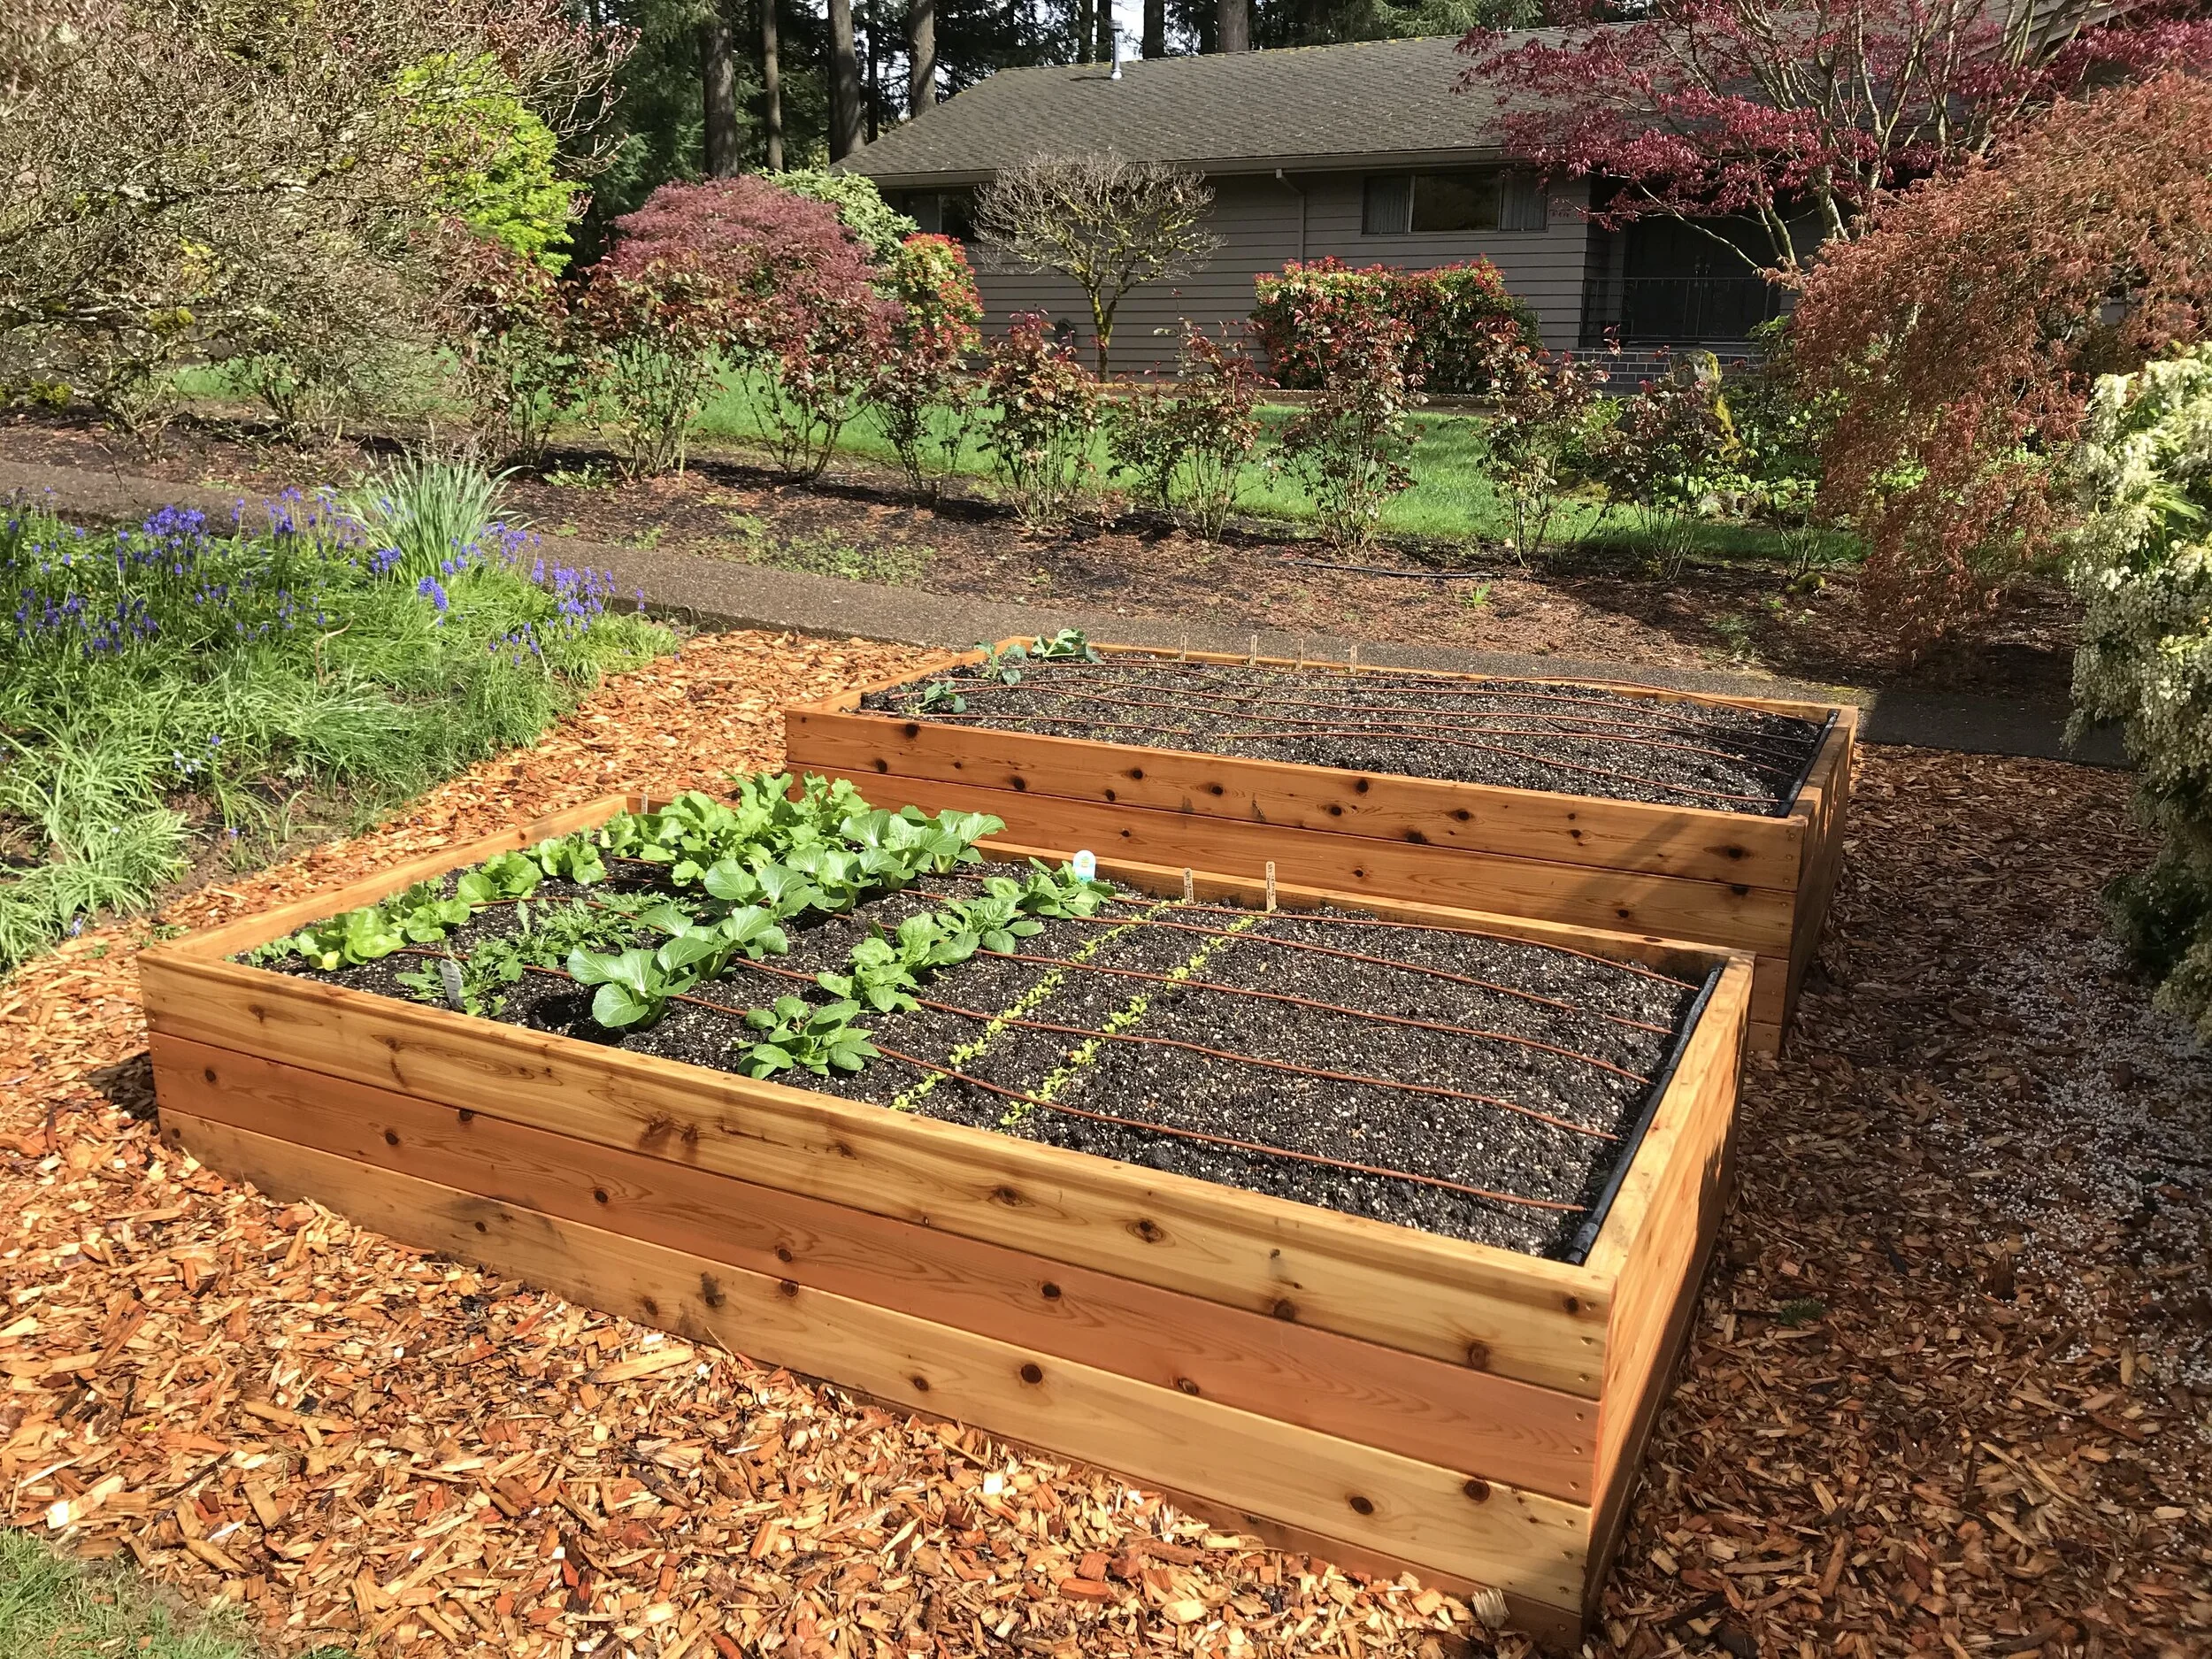
🌱 Beginner Note: If the frame shifts while you fill it, stop and fix it. Soil pressure only increases. It is easier to reset a half-filled bed than to rebuild a full one.
Fill, amend, and settle the soil
The soil in a raised bed controls nearly every result that follows. Poor soil can cause pale leaves, stunted roots, blossom-end rot, and constant watering. Good soil makes the bed forgiving.
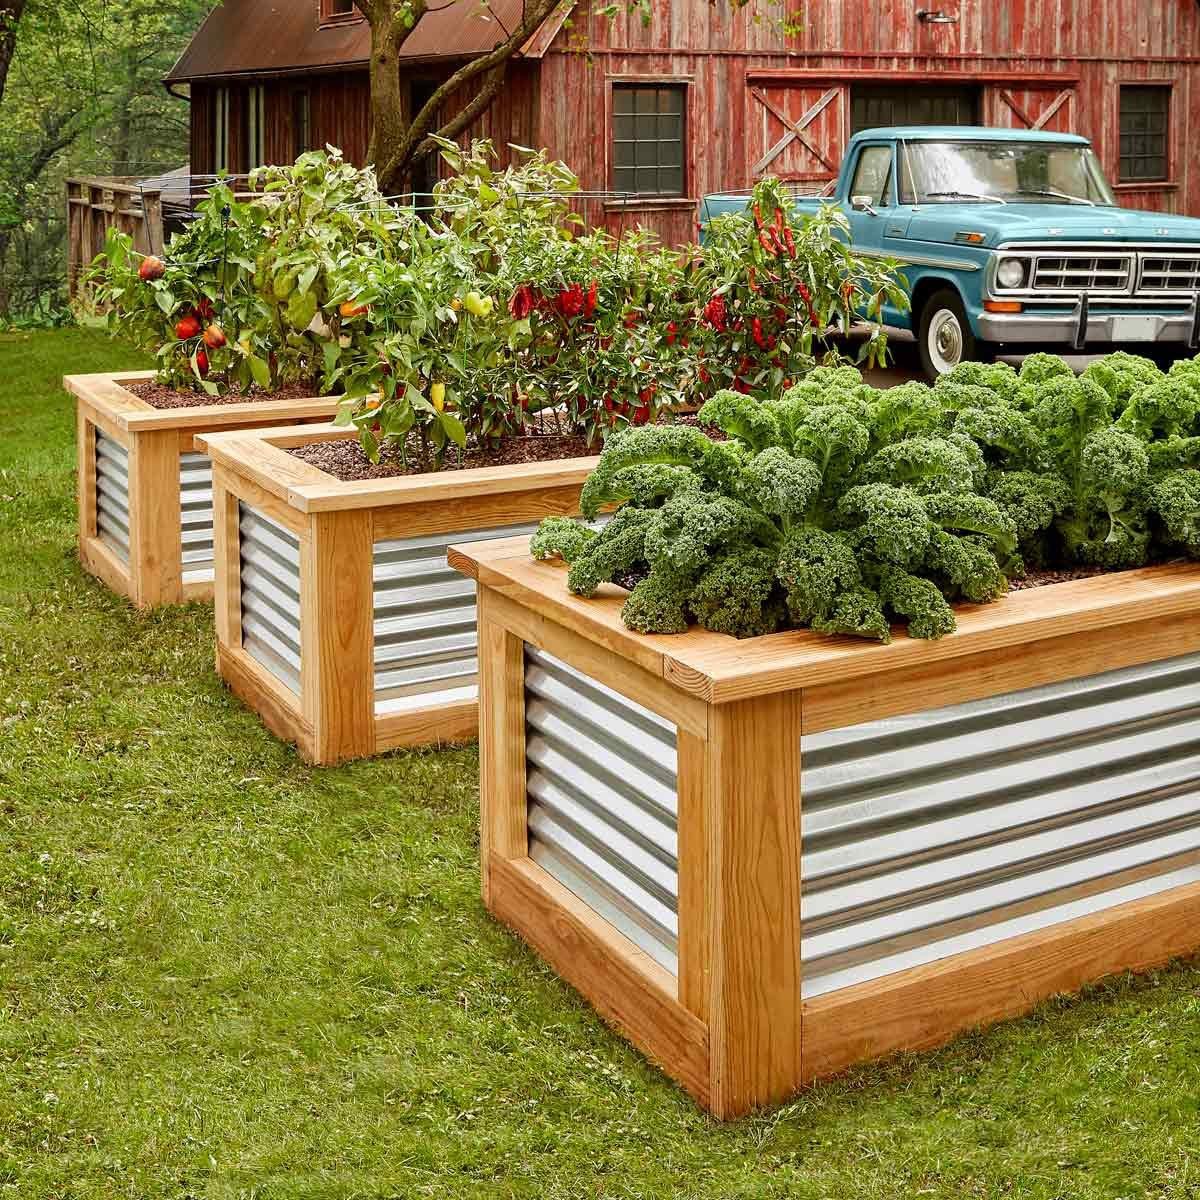
Start with a balanced blend rather than garden soil dug from one spot. Heavy clay may drain poorly when used alone. Sandy soil may drain too fast and lose nutrients. Compost improves both, but it cannot replace the mineral portion of soil.
Test the soil before adding amendments
Use a laboratory soil test or a reliable local extension service. Test pH, phosphorus, potassium, calcium, magnesium, and organic matter. Avoid adding fertilizer based on guesswork.
A raised bed filled with fresh compost may already contain high phosphorus. Extra phosphorus can harm waterways and reduce the plant’s ability to use iron and zinc. If the test shows adequate nutrients, use compost as a surface amendment instead of adding a strong fertilizer.
Match soil to the plants
Most vegetables grow well in loose, fertile soil with a pH between 6.0 and 7.0. Carrots and parsnips need deep, stone-free soil. Lettuce, spinach, and radishes tolerate a shallower bed. Strawberries need good drainage and benefit from a slightly acidic to neutral mix.
Perennial shrubs need special planning. A dwarf blueberry such as ‘Sunshine Blue’ needs acidic soil and regular monitoring. Lavender prefers sharp drainage and low fertility. Native prairie plants often fail in rich, wet soil even when the bed looks healthy.
Let the bed settle
Water the bed thoroughly after filling it. Add more soil if the level falls. Let the bed rest for a week if your planting schedule allows, but do not wait if the season demands planting.
Soil will continue to settle after rain. Keep extra soil or compost nearby for the first month. I often add a thin layer after four weeks, then mulch again.
| Plant group | Soil depth | Preferred soil condition |
|---|---|---|
| Lettuce, spinach, herbs | 6–8 inches | Moist, fertile, well drained |
| Carrots and parsnips | 12–18 inches | Loose and free of stones |
| Tomatoes and peppers | 12–18 inches | Rich, steady moisture, pH 6.0–6.8 |
| Strawberries | 8–12 inches | Well drained, slightly acidic |
| Lavender and Mediterranean herbs | 8–12 inches | Lean, gritty, fast draining |
| Small shrubs | 18–24 inches or native soil access | Depends on species |
The deeper the bed, the more important soil quality becomes. A tall frame filled with poor material creates a costly problem rather than a healthy root zone.
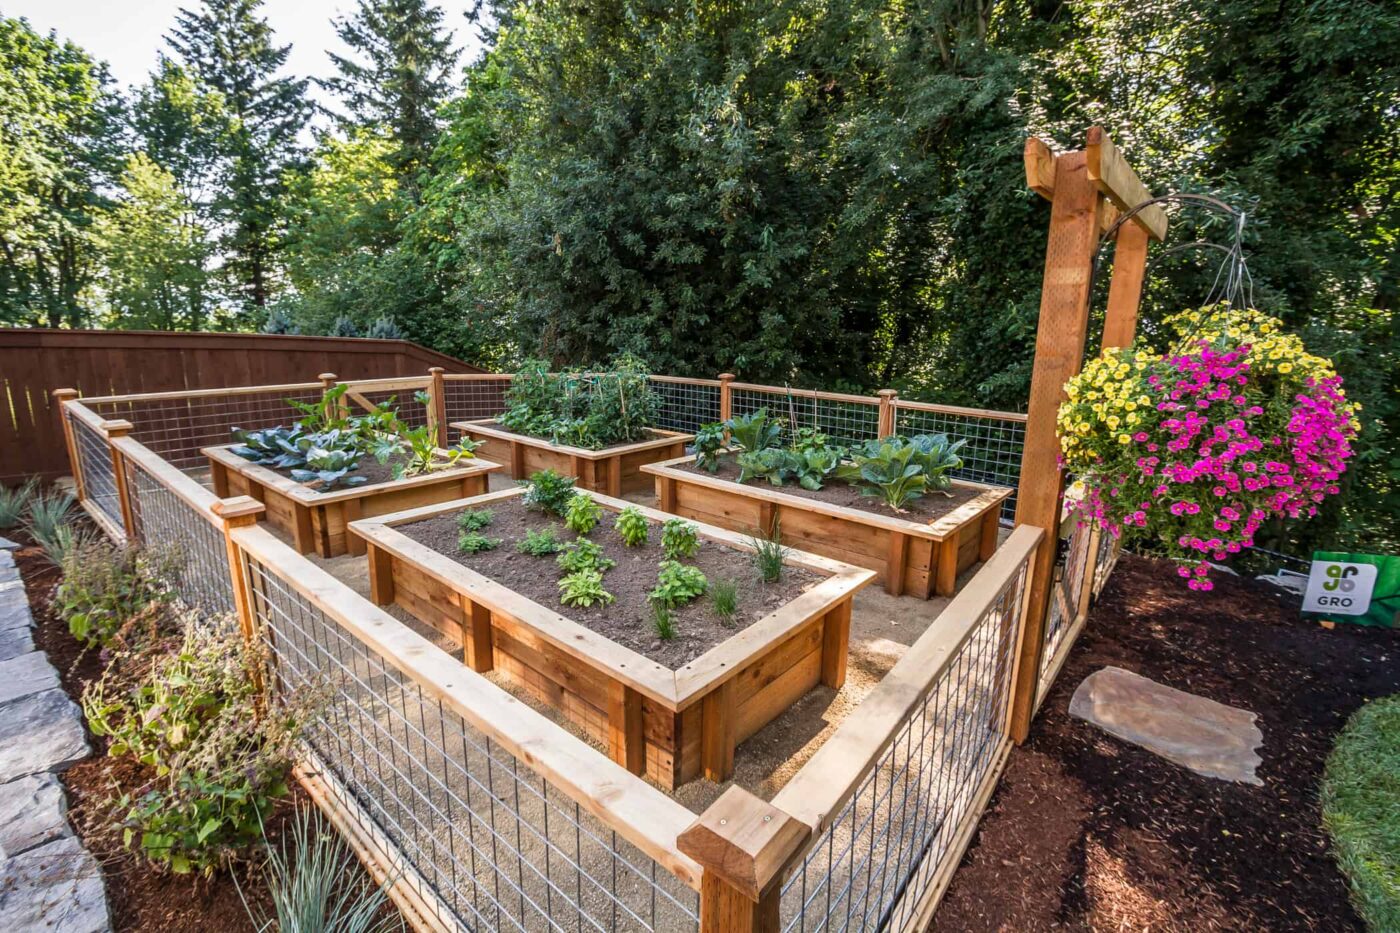
Plant the bed for long-term success
Plant spacing in a raised bed differs from spacing in rows. You can use intensive spacing because the soil stays loose and you can reach each plant. However, crowded plants hold moisture on leaves and increase disease risk.

Use mature plant size, not the size of the nursery transplant, as your guide. A tomato that starts at 12 inches may reach 4 feet wide. A bush bean stays smaller, but it still needs airflow.
Combine plants with similar needs
Group plants by water, sun, and soil preference. Tomatoes, basil, and peppers can share a warm, sunny bed. Lettuce, cilantro, and parsley prefer cooler conditions. Lavender, thyme, and rosemary need less water than tomatoes.
Companion planting can help use space, but it does not replace pest control. Marigolds may attract beneficial insects, yet they will not stop every tomato hornworm. Plant flowers such as calendula, alyssum, zinnias, and native coneflower to support pollinators.
Use trellises at the north side
Put trellises on the north side of a bed so climbing crops do not shade smaller plants. Cucumbers, pole beans, peas, and small melons can grow vertically. Secure vines early, before they sprawl across paths.
A trellis also adds wind resistance. Anchor it outside the bed or attach it to strong corner posts. A tomato cage pushed into loose soil may fall during a summer storm.
Plan for the growing season
In USDA zones 3–5, use raised beds to warm soil earlier, but protect early crops from frost. In zones 8–10, raised soil may dry quickly and can overheat near metal walls. Mulch and drip irrigation matter more in hot climates.
Succession planting keeps the bed productive. Sow radishes every 10–14 days in spring. Replace lettuce with beans or basil after warm weather arrives. In fall, plant spinach, kale, carrots, and garlic according to local frost dates.

Water and feed the bed correctly
Raised beds often drain better than ground-level soil, so they may need more frequent watering. Water deeply and check the soil with your finger rather than following a fixed timer.
Insert a finger 2 inches into the soil. If it feels dry at that depth, water most young plants. Seedlings need more even moisture near the surface. Mature tomatoes and shrubs can tolerate a short dry period once their roots spread.
Water at the soil line in the morning. Wet foliage that stays damp overnight encourages fungal diseases such as powdery mildew, downy mildew, and early blight.
Choose a watering method
A soaker hose works well for a simple bed. Lay it in a loose loop before mulching. Drip irrigation uses less water and delivers moisture near roots, but small emitters can clog if the water contains sediment.
Hand watering works for one or two beds. Use a wand with a soft shower pattern. Avoid a strong jet that exposes roots or washes soil against the frame.
| Watering method | Good for | Watch for |
|---|---|---|
| Hand wand | Small beds and seedlings | Uneven coverage |
| Soaker hose | Long vegetable beds | Kinks and uneven pressure |
| Drip line | Water saving and automation | Clogged emitters |
| Sprinkler | Broad flower beds | Wet leaves and evaporation |
| Ollas | Dry climates and small beds | Refilling and winter storage |
In hot, dry areas, check the bed daily during heat waves. In cool, wet climates, lift the mulch and inspect the soil before watering. A raised bed can be too wet when the air feels dry.
Add fertilizer only when needed
Compost provides slow nutrition, but heavy-feeding plants such as tomatoes, squash, corn, and cucumbers may need extra fertilizer. Choose a product based on the soil test and plant needs.
A balanced organic fertilizer such as 5-5-5 may work for a mixed bed. A lower-nitrogen blend can help flowering plants avoid excessive leafy growth. Follow the label rate. More fertilizer does not mean more harvest.
Do not apply granular fertilizer against stems. Water after applying it, and keep pets away from products that contain bone meal or blood meal until the material is worked into the soil.
⚠️ Warning: Never use fresh manure in a bed that will grow food soon. It can burn roots and may carry pathogens. Use fully composted manure and follow the recommended waiting period on the product label.
Protect the bed through the seasons
A raised landscape bed needs less rebuilding when you plan for weather. Wood expands and shrinks. Soil settles. Roots grow into paths. Seasonal checks prevent small problems from becoming structural repairs.
In spring, inspect the frame before planting. Tighten loose screws, remove winter debris, top up settled soil, and check that irrigation lines still deliver water evenly.
In summer, watch for dry edges. The soil beside a sunny wall can dry first. Mulch reduces evaporation, but it cannot correct a leaking hose or blocked emitter.
In fall, remove diseased plants and dispose of them rather than adding them to a slow backyard compost pile. Healthy annual roots can stay in place to feed soil life. Plant a cover crop such as crimson clover or winter rye if the bed will remain empty.
In winter, avoid walking on frozen or wet soil. In USDA zones 3–6, freeze-thaw cycles can lift shallow frames. In zones 7–10, winter rain may expose drainage problems that summer hides.
| Season | Main task | Timing |
|---|---|---|
| Spring | Repair frame and add compost | Before planting |
| Early summer | Mulch and check irrigation | After soil warms |
| Late summer | Replant open spaces | As crops finish |
| Fall | Remove diseased plants and add cover | Before hard frost |
| Winter | Check erosion and frame movement | During mild weather |
Leave healthy roots in the soil when practical. They create channels for air and water. Pull plants with severe disease, such as tomato plants with late blight, and clean tools before moving to another bed.
Fix common raised-bed problems
Most raised-bed problems come from poor drainage, wrong soil, weak construction, or uneven watering. The symptoms often appear weeks after the original mistake, so inspect both the plants and the structure.
The table below covers common signs and practical fixes.
| Symptom | Likely cause | Fix |
|---|---|---|
| Plants wilt in wet soil | Poor drainage or root disease | Reduce watering and inspect roots |
| Frame bows outward | Long unsupported wall | Add stakes or cross braces |
| Soil drops sharply | Compost settling or low fill | Add tested soil and compost |
| Plants grow tall and pale | Low light or excess nitrogen | Improve sun and reduce feeding |
| Leaves scorch at edges | Dry soil or salt buildup | Deep-water and test soil |
| Moldy mulch surface | Excess moisture and poor airflow | Thin mulch and improve airflow |
| Water runs off the surface | Dry, hydrophobic soil | Water slowly in several passes |
| Weeds return through bed | Perennial roots or thin cardboard | Remove roots and mulch well |
Wilted plants do not always need water. A plant with wet soil and limp leaves may have damaged roots. Check the root zone before adding more water.
When the soil becomes too wet
Dig a small hole 6 inches deep. If the soil is glossy, sticky, and holds its shape, drainage may be poor. Remove excess mulch, stop irrigation, and check whether the site receives runoff from a roof or slope.
Do not add gravel beneath a normal raised bed to “improve drainage.” A gravel layer can create a perched water zone above the boundary between soil and gravel. Improve drainage by fixing the site, loosening compacted soil, or using a properly designed drain.
When the bed dries too fast
Thin metal walls, strong wind, sandy soil, and full sun can dry a bed quickly. Add 2 inches of organic mulch, use drip irrigation, and mix compost into the upper soil during the off-season.
Do not add peat moss alone as a quick fix. Peat can become hard to rewet when it dries. Coconut coir holds water well, but it contains little nutrition and may contain salts if poorly rinsed.
When pests move in
Raised beds do not stop pests. Slugs may hide under boards. Cutworms may attack seedlings. Aphids, cabbage worms, flea beetles, and tomato hornworms can still reach plants.
Use row cover over young brassicas, hand-pick visible pests, remove weeds that shelter insects, and encourage predators. Lacewings, lady beetles, birds, ground beetles, and parasitic wasps provide real pest control.
For a small bed, inspect leaves twice a week. Look under leaves for eggs and remove damaged foliage. Use insecticidal soap only when the target pest is present, and spray in the evening to reduce harm to pollinators.
🔧 Quick Fix: If water pools after rain, pull back the mulch and dig a narrow test hole at the bed edge. If the hole stays full, the problem lies below the bed or comes from runoff, not from a lack of surface mulch.
Maintain the frame and soil over time
A well-built raised bed can last for many years, but no frame is maintenance-free. The first parts to fail are usually the bottom edges of wood boards, corner joints, screws, and unsupported long walls.
Inspect the bed twice a year. Press a screwdriver into the wood near ground level. Soft, crumbly wood signals decay. Replace a board before it collapses and spills soil into the path.
Keep soil slightly below the top edge. Soil touching the top of a wood wall stays damp and speeds decay. A 1-inch gap also makes it easier to add compost without spilling over.
Rotate crops and refresh soil
Crop rotation helps reduce disease and nutrient imbalance. Do not plant tomatoes, peppers, eggplants, or potatoes in the same section every year if you have had soil-borne disease. Rotate plant families when space allows.
After each season, add 1–2 inches of compost to the surface. Do not dig deeply around perennial plants. Earthworms and soil organisms will move organic matter downward.
A soil test every two to three years works well for most home beds. Test more often if you use heavy fertilizer, grow in a small enclosed planter, or see repeated nutrient problems.
Store and clean tools
Clean soil from shovels, trowels, pruners, and harvest knives. Wipe metal parts dry. Sharpen pruners and repair irrigation before winter storage.
If you use a battery-powered cultivator or trimmer near the bed, keep mulch and loose soil away from vents. Lithium-ion batteries should stay cool and dry, not in a hot shed or damp garage. Store them according to the manufacturer’s instructions.
| Maintenance check | How often | What to inspect |
|---|---|---|
| Water lines | Weekly in season | Leaks, clogs, dry zones |
| Mulch depth | Monthly | Bare soil and stem contact |
| Frame joints | Spring and fall | Loose screws and gaps |
| Wood condition | Twice yearly | Soft spots and rot |
| Soil level | After heavy rain | Settling and erosion |
| Soil test | Every 2–3 years | pH and nutrient balance |
The bed itself may last 3–7 years with cheap pine, 8–15 years with cedar, and decades with masonry or metal. The soil mix may need small annual additions rather than a full replacement.
Raised bed versus in-ground planting
A raised bed is useful, but it is not always the right choice. In-ground planting costs less, holds moisture better in many climates, and gives deep-rooted plants more room. Raised beds provide better control over soil, access, and layout.
Choose a raised bed when your native soil is compacted, contaminated, rocky, poorly drained, or difficult to work. It also helps gardeners with limited mobility and makes crop spacing easier.
Choose in-ground planting when you have healthy soil, plenty of space, and crops such as corn, pumpkins, asparagus, or fruit trees that need broad root runs. A simple composted row may produce more for less money.
| Growing method | Best fit | Main drawback |
|---|---|---|
| Raised bed | Controlled soil and tidy small gardens | Higher setup cost |
| In-ground bed | Large spaces and deep roots | Soil may need more correction |
| Container | Patios and rentals | Dries out quickly |
| Mounded row | Low-cost drainage improvement | Less defined edge |
| Stone or block bed | Permanent landscape design | Heavy labor and expense |
A raised bed also differs from a container. Most raised beds have open bottoms, while containers hold soil above a hard surface. If your bed sits on concrete, treat it like a large planter and provide enough drainage holes.
Understand the cost and labor
The cost of a raised landscape bed depends on material, height, soil, irrigation, and whether you do the work yourself. Current pricing ranges from roughly $50–$150 for a small, low DIY bed to several hundred dollars for a tall cedar, stone, or metal installation with bulk soil.
Soil often costs more than the lumber. A 4-by-8-foot bed that is 12 inches deep needs about 1.2 cubic yards of mix. Delivery fees can change the total, especially for a single bed.
A simple wood bed may take two people two to four hours, including site preparation. Stone walls take longer. A tall accessible bed may require careful leveling, braces, and more than one day of work.
When the investment pays off
The bed earns its space when it improves harvests, access, drainage, or daily garden use. It may not pay off if you only want to grow a few herbs that fit in containers.
I have seen gardeners build expensive beds and then use poor fill soil. The frame looked perfect, but the plants struggled. Spend first on site preparation and soil quality, then on decorative finishes.
Ways to lower the cost
- Build one 4-by-8-foot bed before adding more.
- Use local bulk soil instead of many small bags.
- Choose cedar or treated lumber only where durability matters.
- Use cardboard from clean boxes under the bed.
- Install a simple soaker hose before you add mulch.
- Grow high-value crops such as salad greens, herbs, peppers, and strawberries.
The cheapest bed is not always the lowest-cost bed over time. A frame that rots in three years may cost more than cedar that lasts a decade.
Learn from common building mistakes
The most common mistake is making the bed too wide. Gardeners want more planting space, but they end up stepping into the bed or leaning across wet soil. Keep the center within reach.
Another mistake is placing the bed too close to a fence, wall, or hedge. You may build it easily but struggle to repair the back side. Leave room for air, tools, and a wheelbarrow.
People also overfill beds with rich compost. Plants may grow fast at first, then suffer from weak stems, nutrient imbalance, or poor water control. Use compost as part of a mix, not as the entire root zone.
Do not line an open-bottom bed with plastic. It can trap water and prevent roots from reaching native soil. Use cardboard for temporary weed suppression and let it break down.
Avoid adding landscape cloth beneath every bed. It can work under gravel paths, but it often becomes tangled with roots and makes future changes difficult.
Do not install a raised bed beneath a roof downspout. Roof runoff can erode soil, flood roots, and carry unwanted minerals into the garden.
Finally, do not ignore access. A beautiful bed that sits far from a hose becomes a chore. Put the garden where you will see it and use it.
When to hire a professional
Most home gardeners can build a low raised bed. Hire a professional when the project involves retaining soil on a slope, a stone wall over 2 feet high, drainage near a foundation, utility work, or a rooftop garden.
A tall wall may hold back more soil than it appears to. Local building rules may apply to retaining walls, permanent masonry, fences, and decks. A landscape contractor can check grading and drainage before water moves toward your home.
Ask for a written plan that lists wall height, footing needs, drainage, soil volume, plant access, and material type. A professional should not simply stack blocks on soft ground and call it finished.
For an accessible bed, consider a height of 24–30 inches, a 3–4-foot width, rounded edges, and a firm path at least 36 inches wide. A physical therapist or accessibility specialist can help match the design to your reach and mobility.
Frequently asked questions
Q: What is the best height for a raised landscape bed?
A: A height of 10–12 inches suits most vegetables and flowers. Use 18–30 inches for easier access or deeper-rooted plants. Low beds cost less, while taller beds need stronger walls and more soil.
Q: Should a raised bed have a bottom?
A: Most beds should remain open to the ground. An open bottom improves drainage and lets roots, earthworms, and soil organisms move into native soil. Add a solid bottom only on a patio, balcony, rooftop, or other hard surface, and include drainage holes.
Q: Can I build a raised bed on grass?
A: Yes, but remove the sod or cover it with overlapping plain cardboard before filling the bed. Perennial weeds such as bermudagrass and bindweed may need extra removal. Do not rely on a thin layer of soil to stop aggressive roots.
Q: Is pressure-treated lumber safe for raised beds?
A: Modern residential pressure-treated lumber is commonly used for garden beds when handled according to the product label. Avoid old treated lumber, railroad ties, utility poles, and boards with an unknown history. Cedar, stone, brick, and galvanized metal are alternatives.
Q: How much soil does a 4-by-8 raised bed need?
A: A 4-by-8-foot bed that is 12 inches deep needs 32 cubic feet, or about 1.2 cubic yards, of soil. Buy 10–15% extra because the mix will settle after watering and rain.
Q: Can I fill a raised bed with compost?
A: Do not use pure compost as the main fill. Mix compost with quality topsoil and an aeration material. Pure compost can settle, hold too much water, or create high salt and nutrient levels.
Q: How often should I water a raised bed?
A: Check the soil 2 inches down. Water when that layer feels dry, then soak the root zone slowly. Seedlings may need frequent light watering, while established plants usually benefit from deeper watering at longer intervals.
Q: Why is my raised bed soil sinking?
A: Compost and organic materials break down, and air pockets collapse after watering. Add more quality soil and compost after the first month, then top-dress with 1–2 inches of compost each year.
Q: How long does a wooden raised bed last?
A: Untreated pine may last three to seven years. Cedar often lasts eight to fifteen years. Lifespan varies with board thickness, soil contact, climate, drainage, and construction quality. Stone, block, and metal beds can last for decades.
Q: What should I plant first in a new raised bed?
A: Choose crops that match your season and sunlight. Lettuce, radishes, herbs, beans, peppers, tomatoes, and flowers such as calendula are friendly choices. Avoid filling the first bed with large pumpkins or spreading squash unless you have plenty of room.
Q: Can I use raised beds in USDA zones 3 and 4?
A: Yes. Raised soil warms earlier, but it may also freeze more deeply. Use sturdy frames, frost cloth, and cold-hardy crops such as kale, spinach, peas, carrots, and radishes. Protect perennial plants from extreme winter exposure.
Q: Do raised beds need crop rotation?
A: Crop rotation helps reduce soil-borne disease and nutrient stress. Rotate tomato-family crops with leafy greens, legumes, or root crops when space allows. Add compost and test the soil instead of replacing all the soil each year.
Final thoughts
The best way to make a raised landscape bed is to start with the site, not the lumber. Choose a sunny, accessible location, prepare the ground, build a square and supported frame, and fill it with a tested soil blend. Keep the bed narrow enough to reach, protect the soil with mulch, and inspect the frame each spring and fall.
Start with one bed if you are new to gardening. A well-built 4-by-8-foot bed can supply herbs, greens, flowers, peppers, and several tomato plants without turning the project into a full construction job. Over two seasons, you will learn how the bed handles sun, rain, roots, and your own watering habits. Then you can expand with confidence.
Meta description: Learn how to make a raised landscape bed with clear steps for site selection, materials, soil, construction, drainage, planting, costs, maintenance, and common problems.