How To Make A Raised Mulch Bed: Easy DIY Guide
A raised mulch bed gives you a neat planting space without the cost of a framed raised bed. You build a low mound of soil and compost, then cover it with mulch to hold moisture, slow weeds, and protect plant roots. This method works well for flowers, shrubs, herbs, pollinator plants, and many vegetables.
I have built raised mulch beds in heavy clay in Ohio, sandy soil in North Carolina, and dry conditions in USDA Zone 8. The basic idea stayed the same, but the soil mix, mulch depth, and watering plan changed. A good bed should drain well, stay level, and match the needs of the plants you want to grow.

Quick answer: how to make a raised mulch bed
To make a raised mulch bed, choose a sunny site, remove weeds, shape the soil into a low mound 6 to 12 inches high, add compost, smooth the surface, and apply 2 to 4 inches of organic mulch. Keep mulch 3 to 6 inches away from plant stems and tree trunks. Water the bed well after building it, then check moisture often during the first four weeks.
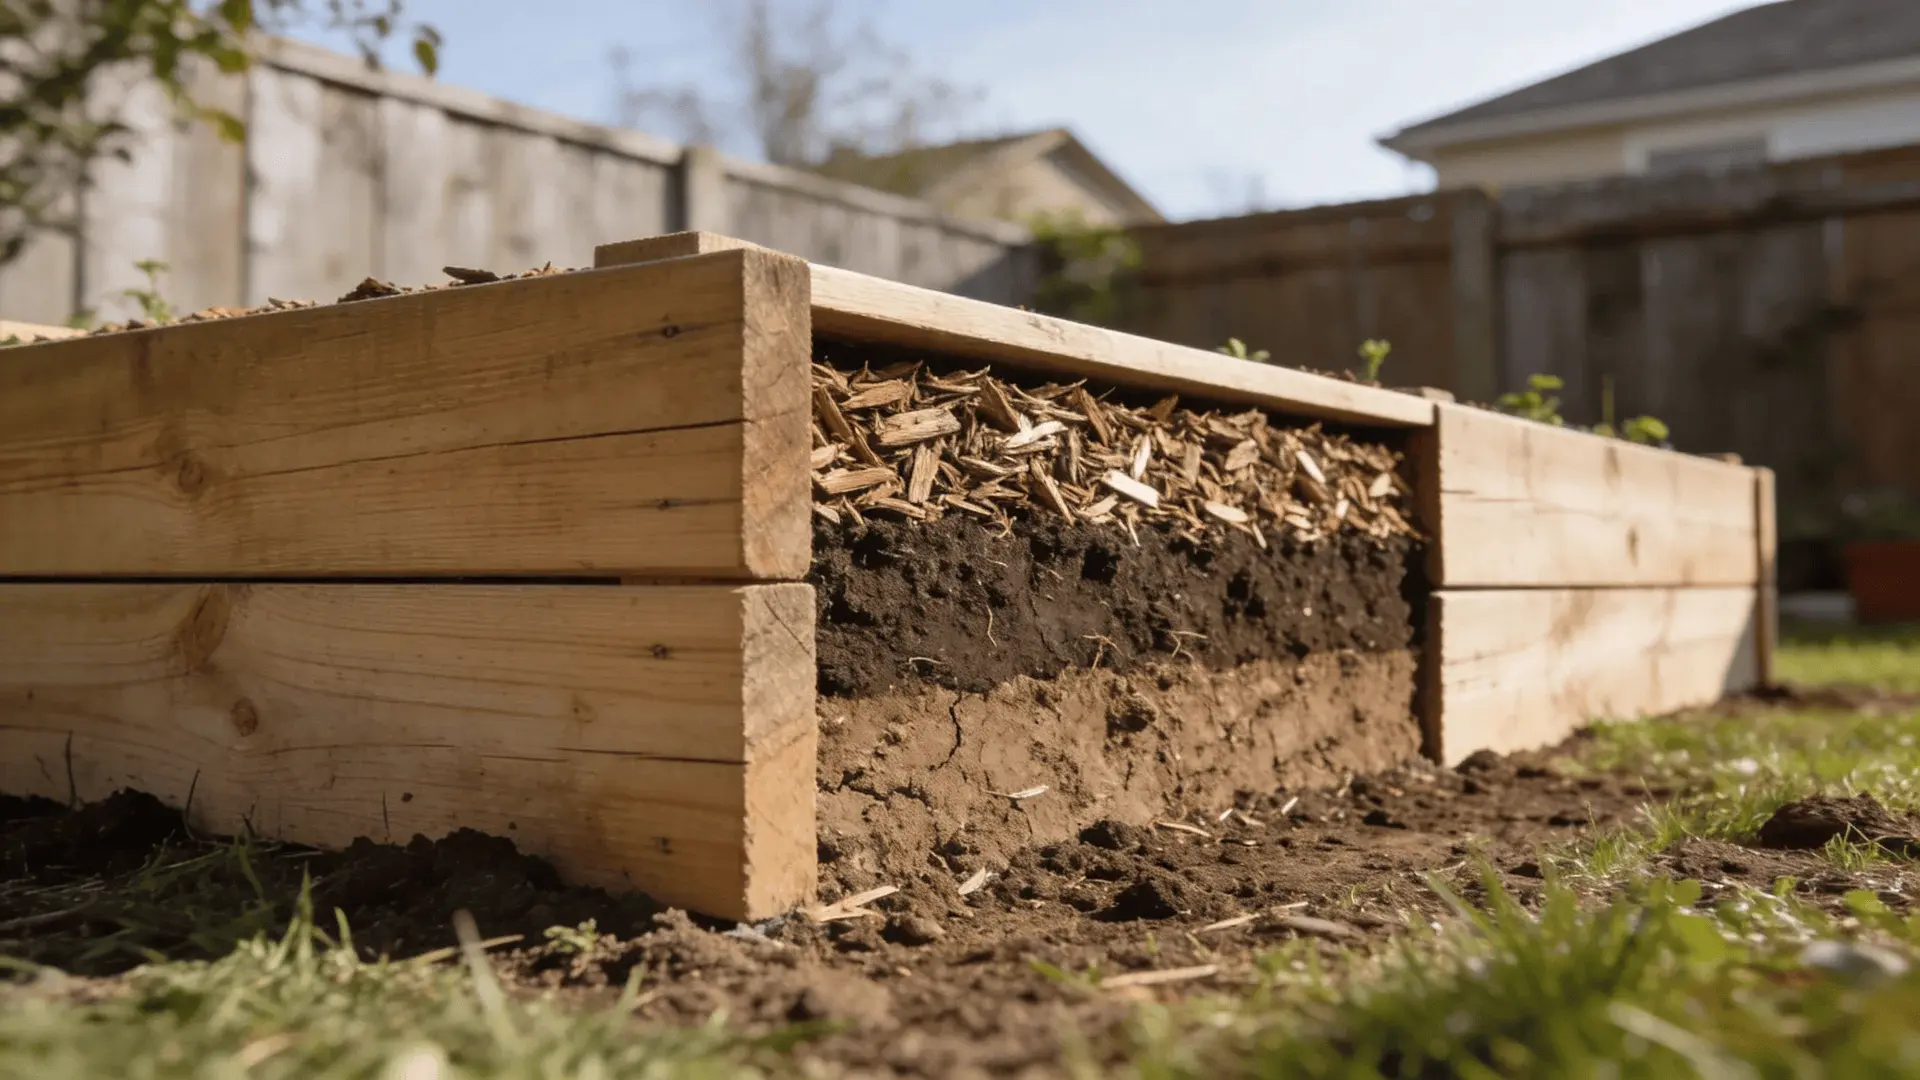
A raised mulch bed is a simple middle ground between a flat garden and a boxed raised bed. It costs less than lumber or stone, needs fewer tools, and can improve drainage in compact soil.
What a raised mulch bed does
A raised mulch bed uses extra soil to create a planting area above the surrounding ground. The bed has no wall, so its edges slope gently into the yard. Mulch covers the soil surface and helps the bed hold water while keeping weeds from taking over.

The mound can be made from native soil, purchased topsoil, compost, or a blend of these materials. The best mix depends on your starting soil. Clay soil needs more organic matter and better drainage. Sandy soil needs compost that helps it hold moisture.
Mulch does not create the raised shape by itself. The soil makes the bed high, while the mulch protects the top layer. This difference matters because a thick pile of mulch can harm plants if you use it as a substitute for soil.
Raised mulch bed vs. framed raised bed
A framed raised bed uses wood, metal, stone, or plastic to hold soil in place. A raised mulch bed has no fixed border. The main difference between the two is edge support.

Framed beds keep a sharper shape and work well in small yards. They also suit gardeners who need a tall bed for mobility reasons. Unframed beds blend into the landscape and cost less, but their sides can spread after heavy rain.
Where this method works best
Raised mulch beds work best in areas with:
- Full sun or light shade, based on the plants
- Poor or compacted soil
- Low spots that need better drainage
- Wide lawn edges
- New foundation plantings
- Pollinator gardens
- Shrub and perennial borders
- Slopes that need a soft transition

Do not build a raised mulch bed where water already collects and has nowhere to drain. Raising the soil may move the water toward a foundation, walkway, or neighboring property.
Tools and materials you need
You can build a small raised mulch bed with hand tools. For a large bed, a wheelbarrow and garden cart will save time and strain. I use a digging fork more often than a shovel in compact soil because it breaks the ground without slicing through as many earthworms.

The table below covers the basic supplies for a bed that is about 4 feet wide and 8 feet long. Adjust the amount of soil and mulch for your own size.
| Item | Suggested amount | Why you need it |
|---|---|---|
| Garden fork or shovel | 1 | Loosen and shape soil |
| Rake | 1 | Smooth the bed surface |
| Wheelbarrow | 1 | Move soil, compost, and mulch |
| Compost | 2 to 4 inches | Adds organic matter |
| Topsoil or garden soil | 1 to 3 cubic yards | Builds the mound |
| Organic mulch | 2 to 4 inches | Protects the soil surface |
| Hose or watering can | 1 | Settles soil and waters plants |
For a 4-by-8-foot bed raised 8 inches above grade, you may need close to 1.5 cubic yards of added soil if you build a full, even mound. A tapered bed needs less. Measure before ordering so you do not pay for a large leftover pile.
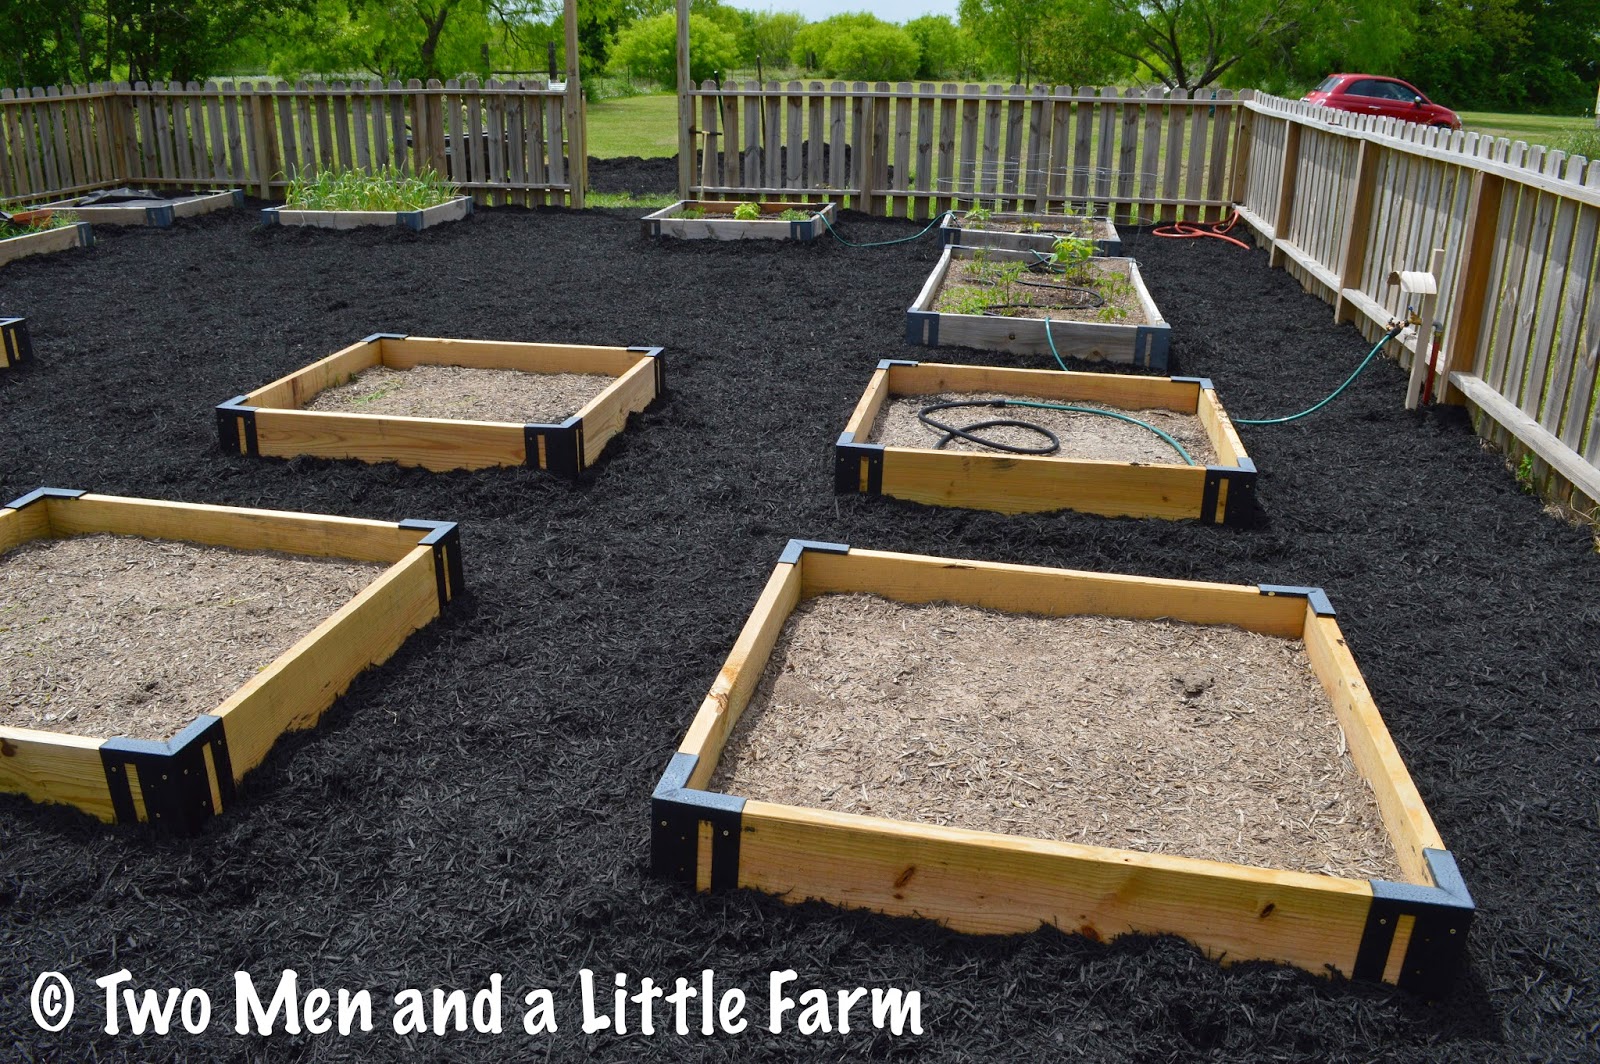
Choosing soil and compost
Use screened topsoil or garden soil made for planting beds. Avoid fill dirt from an unknown source. Fill dirt may contain gravel, construction waste, weed roots, or very little organic matter.
Use finished compost with a dark, crumbly texture and an earthy smell. Do not use fresh manure in a bed with vegetables or tender roots. Fresh manure can burn roots and may contain weed seeds or pathogens.
Choosing mulch
Good mulch choices include:
- Shredded hardwood
- Pine bark
- Arborist wood chips
- Straw
- Leaf mold
- Chopped leaves
- Pine straw
Shredded wood works well around shrubs and perennials. Straw suits vegetable beds but may contain seeds. Fresh wood chips are fine on the surface, but do not mix large amounts into the soil because microbes may use soil nitrogen while breaking them down.
💡 Pro Tip: Ask local tree services for fresh arborist chips, but let them sit for a few weeks if they smell sour or heat up inside the pile. Use them as a surface mulch, not as your main planting soil.
Pick the right site and shape
Site choice controls much of your bed’s success. Watch the area for one full day if possible. Morning sun and afternoon shade may suit lettuce, parsley, and astilbe, while tomatoes, peppers, lavender, and most flowering plants need at least six hours of direct sun.
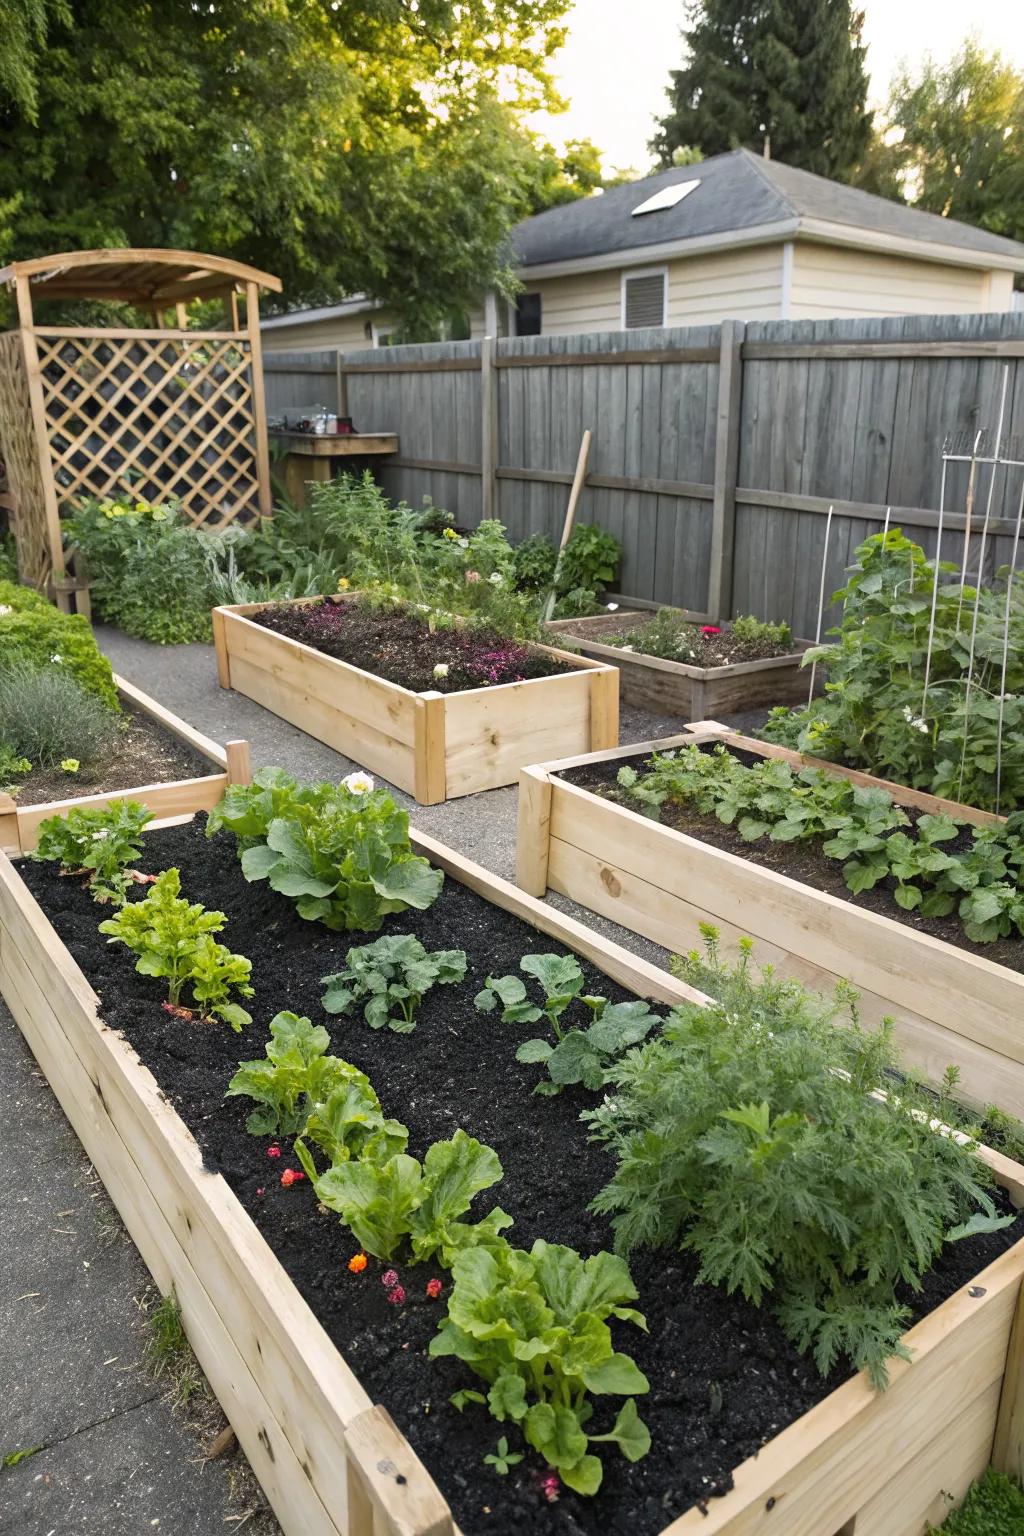
Keep the bed away from large tree roots when you can. Tree roots compete for water and nutrients, and some trees, such as black walnut, release juglone that can harm sensitive plants. If you must plant near a tree, choose tolerant plants and expect more watering.
Check sunlight and drainage
Most vegetables need 6 to 8 hours of sun. Many native perennials grow well with 4 to 6 hours, depending on the species. Note shade from fences, buildings, and mature trees, not just the current view.
Test drainage before adding soil. Dig a hole about 12 inches deep, fill it with water, and let it drain. Fill it again and watch the water level. If water remains after several hours, fix the drainage problem before building the bed.
| Site condition | Suitable plants | Main adjustment |
|---|---|---|
| Full sun, well-drained soil | Tomatoes, peppers, lavender, zinnias | Add compost and use moderate mulch |
| Morning sun, afternoon shade | Lettuce, parsley, coral bells, hostas | Use leaf mulch and water evenly |
| Heavy clay | Coneflower, bee balm, shrubs, many natives | Add compost and avoid overwatering |
| Sandy soil | Rosemary, sedum, thyme, yarrow | Add compost to improve water holding |
| Wet or low area | Iris, cardinal flower, sedges | Improve drainage or choose moisture-loving plants |
The best raised mulch bed sits where water can move away from the mound. A slight slope of 1 to 2 percent is helpful, but avoid making a steep mound that erodes in storms.

Choose the bed outline
Use a hose or rope to mark the shape before digging. Curved lines often look natural in a landscape, but straight beds are easier to measure and mulch. Keep the bed narrow enough to reach the center without stepping on the soil.
A width of 3 to 4 feet works well when you can reach from both sides. A bed against a wall should stay about 2 feet wide. Long beds need access paths every 6 to 8 feet so you can weed, prune, and spread compost without walking on the bed.
Prepare the ground before adding soil
Good preparation prevents most early problems. Mow or cut the existing vegetation low, then remove large weeds, grass clumps, rocks, and woody roots. You do not need to strip every bit of topsoil, but perennial weeds such as bindweed, quackgrass, and nutsedge need serious attention.

For a new bed over lawn, use one of two methods. You can remove the sod with a flat shovel, or cover it with overlapping cardboard. Cardboard works well when the grass is not aggressive and you can wait several weeks.
Remove weeds and turf
Cut the grass as short as your mower allows. Dig out the sod in thin sections and shake the soil back onto the site. Save healthy soil and compost the grass only if it does not contain seed heads or persistent roots.
If you use cardboard, overlap pieces by at least 6 inches. Wet the cardboard before adding soil. Use plain brown cardboard without glossy ink, tape, or plastic coating.
Loosen compacted soil
Use a garden fork to loosen the top 6 to 8 inches. Push the fork in, rock it back, and lift slightly. Do not turn the soil into a fine powder. Soil with some natural structure drains better and supports more soil life.
If the area has construction compaction, you may need a broadfork or small tiller. A rear-tine tiller can break hard ground, but do not till wet clay. Wet clay forms hard clods that may stay for years.
Decide whether to use landscape fabric
I rarely use landscape fabric under a planted raised mulch bed. It can block weeds at first, but roots, earthworms, and soil organisms do better when the soil stays connected to the ground. Fabric also makes future planting and composting harder.
Use cardboard for smothering grass, then let it break down. Use landscape fabric only under paths or decorative rock where you do not plan to plant.
⚠️ Warning: Never place plastic sheeting under a raised bed to “stop weeds.” Plastic can trap water, reduce soil oxygen, and create a bathtub effect during heavy rain.
Build the raised soil mound
Start with a low mound rather than a steep pile. A height of 6 to 12 inches gives many plants better drainage without making the sides unstable. For shrubs or plants with deep roots, you may need more soil, but do not bury existing tree trunks or plant crowns.
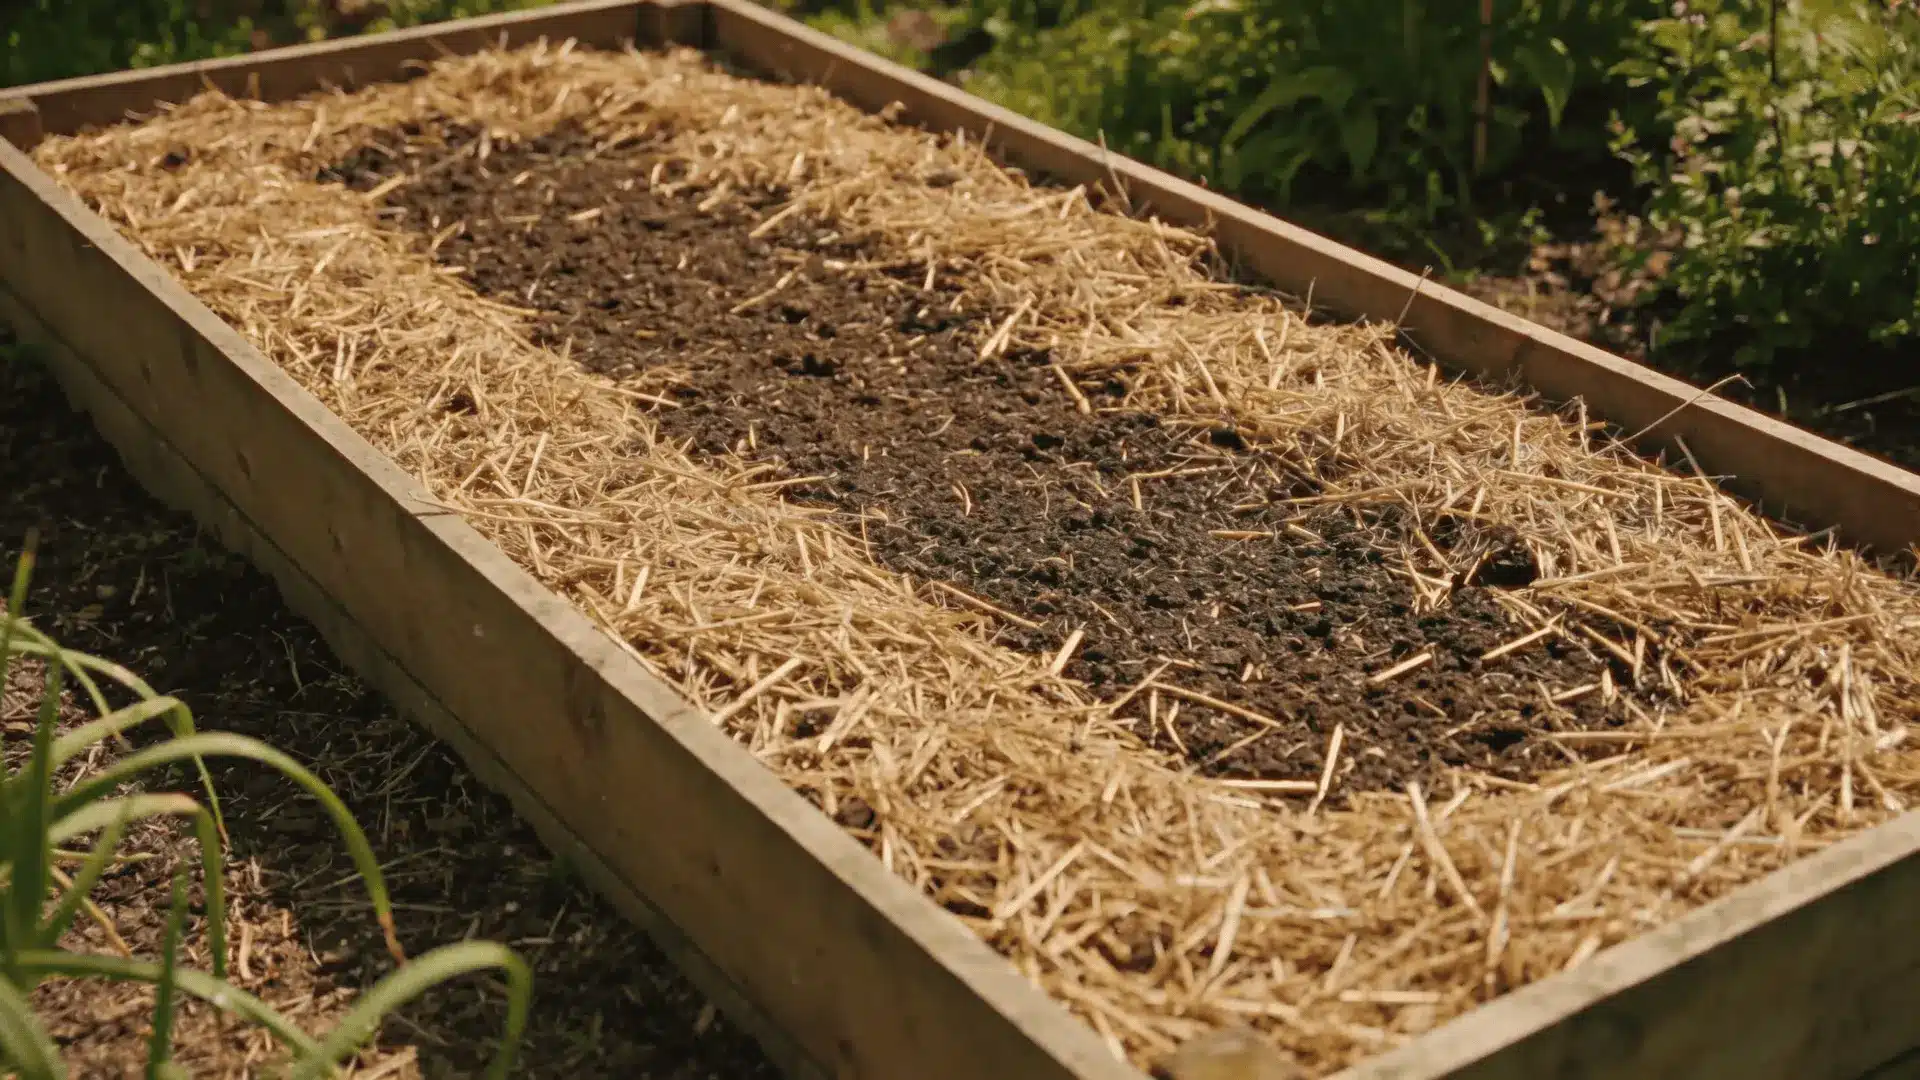
Spread soil in layers no deeper than 4 to 6 inches at a time. Rake each layer into place, then water it lightly. This settles air pockets without packing the soil hard.
Mix the soil correctly
A practical blend for many beds is:
- 60 percent quality topsoil
- 30 percent finished compost
- 10 percent aged bark fines or leaf mold
You do not need an exact recipe. The key is to create soil that holds moisture but still drains. A bed made from pure compost can shrink, dry quickly, and hold too many nutrients.
For clay soil, blend compost into the upper existing soil and use a slightly higher mound. For sandy soil, add compost and leaf mold. Do not add sand to clay unless you are prepared to add a large amount and mix it well; a small amount can make a concrete-like texture.
Shape the slope
Make the top slightly flat or gently rounded. A flat top makes planting easy and holds mulch in place. The sides should slope at about a 3:1 ratio, meaning 3 feet of horizontal width for every 1 foot of height.
A 12-inch mound should therefore have about 18 inches of slope on each side if the center is flat. Steeper sides may wash away in rain, especially in USDA Zones 7 through 10 where summer storms can be intense.
| Bed height | Best use | Slope and erosion concern |
|---|---|---|
| 4 to 6 inches | Bulbs, herbs, annual flowers | Low risk on level ground |
| 6 to 12 inches | Most perennials and vegetables | Good balance for most yards |
| 12 to 18 inches | Drainage improvement or deep-rooted crops | Needs wider sides and firm soil |
| More than 18 inches | Special access or severe site limits | Consider a framed bed |
Most home gardeners get the best result from a 6- to 12-inch mound. Taller beds use more soil and need more care after heavy rain.

Let the bed settle
Water the mound deeply after shaping it. If the soil drops by more than an inch, add more soil and compost. Let the bed rest for a few days before planting when possible.
For a fall bed, you can build it in autumn and plant in spring. Winter rain, frost, and thaw will settle the soil. In cold USDA Zones 3 through 5, this natural settling can improve the shape before the growing season begins.
Add mulch at the right depth
Apply mulch after the soil has settled and after you finish planting. Spread 2 to 4 inches over the bed. Use 2 inches around small annuals and herbs, and up to 4 inches around shrubs and established perennials.

Keep mulch away from stems. A 3-inch gap around small plants and a 6-inch gap around woody trunks reduces the risk of rot, vole damage, and pest shelter. Never pile mulch against a tree trunk in a cone shape.
Match mulch depth to the plant
Small seedlings can struggle under thick mulch. Pull mulch back in a circle around each new plant. As the plant grows, you can move the mulch closer, but the stem should still remain visible.
Straw works well in vegetable beds, especially around tomatoes, squash, and cucumbers. Shredded bark looks better in ornamental beds. Leaf mold suits woodland plants such as ferns, foamflower, and wild ginger.
| Mulch type | Ideal depth | Best use |
|---|---|---|
| Shredded hardwood | 2 to 3 inches | Shrubs, flowers, landscape beds |
| Wood chips | 3 to 4 inches | Paths and established shrubs |
| Straw | 3 to 5 inches | Vegetables and strawberries |
| Chopped leaves | 2 to 3 inches | Perennials and soil building |
| Pine straw | 3 to 4 inches | Acid-loving plants and slopes |
| Compost mulch | 1 to 2 inches | Vegetable beds and annuals |
Organic mulch breaks down over time. That is useful because it feeds the soil, but it means you must refresh the bed each year or two. Do not bury old mulch under a new thick layer without checking the total depth.

🌱 Beginner Note: If you are unsure how much mulch to use, start with 2 inches. It is easier to add more than to rescue a plant buried under 5 or 6 inches.
Plant the bed without causing soil problems
Plant selection should follow the light, drainage, and climate of the site. A raised mulch bed can grow many plants, but it does not turn a shady yard into a sunny one or a wet clay site into a dry prairie.

In USDA Zones 3 through 5, hardy perennials such as coneflower, yarrow, catmint, bee balm, and sedum can work well. In Zones 6 through 8, add rosemary, salvia, tomatoes, peppers, and warm-season annuals where the sun allows. In Zones 9 and 10, choose plants that tolerate heat and use mulch to protect roots from rapid drying.
Space plants by mature size
Read the plant tag for mature width, not just the small size at purchase. A hydrangea that looks tiny in a one-gallon pot can spread 5 feet or more. Crowding increases humidity and can lead to powdery mildew, leaf spot, and poor air flow.
Place tall plants at the back or north side of the bed. Keep low plants near the edge. This plan gives every plant more access to sun and makes watering and pruning easier.
Use companion planting with care
Companion planting can improve garden diversity, but it cannot replace good spacing or pest control. Try basil near tomatoes, alyssum near vegetables to attract hoverflies, and dill or fennel in a separate spot for swallowtail caterpillars.
Avoid planting aggressive mint directly in the bed. Grow mint in a container sunk into the soil or keep it in a pot nearby. Lemon balm, oregano, and some running grasses can also spread faster than expected.
Plant depth matters
Set each plant at the same depth as it grew in its container. Some plants, such as tomatoes, can be planted deeper along the stem, but most perennials should not be buried above the crown.
The crown is the point where roots meet stems. Burying it under wet mulch can cause rot. Plant bulbs at the depth listed for the variety, then cover them with soil before adding mulch.
Water and fertilize the new bed
A new raised mulch bed needs steady moisture while roots spread. Water slowly and deeply after planting. In the first two weeks, check the soil with your finger every day or two, especially in hot weather.
Mulch reduces evaporation, but it does not replace water. A raised bed can dry faster than flat ground because wind reaches the sides and roots sit above the natural water table.
Watering schedule by season
Use the table as a starting point, not a strict rule. Weather, soil texture, plant size, and local rainfall all change the schedule.
| Season or condition | Starting frequency | Watering depth |
|---|---|---|
| First 2 weeks after planting | Every 1 to 3 days | Moisten 6 to 8 inches |
| Weeks 3 to 6 | 2 to 3 times per week | Moisten the root zone |
| Hot summer, sandy soil | 3 to 5 times per week | Water slowly and deeply |
| Cool spring or fall | Once weekly if dry | Check soil first |
| Established perennials | Every 7 to 14 days if dry | Deep soak near roots |
Water in the morning when possible. A soaker hose or drip line sends water to the soil with less leaf wetting than an overhead sprinkler. Wet leaves that stay damp overnight can raise disease risk.
Test moisture below the mulch
Push your finger 2 inches into the soil near the plant. If the soil feels cool and slightly moist, wait. If it feels dry and crumbly, water. For large shrubs, use a trowel or moisture meter because the surface may look moist while the root zone stays dry.
Fertilize only when needed
Compost supplies slow nutrients, but heavy-feeding plants may need more. Test the soil before adding fertilizer. A soil test can show pH, phosphorus, potassium, and organic matter.
Most garden plants prefer a pH between 6.0 and 7.0. Blueberries prefer acidic soil around pH 4.5 to 5.5, while lavender and many Mediterranean herbs prefer lean, well-drained soil and may suffer in rich, wet beds.
Use a balanced fertilizer such as 5-5-5 or 10-10-10 only when the soil test or plant growth suggests a need. Too much nitrogen makes soft, leafy growth that attracts aphids and may reduce flowers or fruit.
Avoid common raised mulch bed mistakes
Most failures come from too much mulch, poor drainage, weak site preparation, or the wrong plants. These errors are easy to make because the bed may look finished before the soil has settled.
| Problem | Likely cause | Practical fix |
|---|---|---|
| Bed washes away | Sides are too steep | Widen the slope and add shredded mulch |
| Plants wilt often | Mound dries too fast | Add compost, use drip irrigation, water deeply |
| Yellow leaves | Poor drainage or excess water | Check soil moisture and drainage |
| Weeds return quickly | Perennial roots were left behind | Dig them out and pull young weeds early |
| Stem turns brown at soil line | Mulch touches the stem | Pull mulch back 3 to 6 inches |
| Soil sinks after rain | Loose fill or too much compost | Add quality topsoil and let it settle |
| Mushrooms appear in mulch | Organic matter is decomposing | Rake lightly; remove only if desired |
Mushrooms in wood mulch are usually part of normal decomposition. They may look alarming, but they do not mean the bed has failed. Remove them if children or pets may eat them, but do not use fungicide on the whole bed.
Do not make a mulch volcano
A mulch volcano is a cone of mulch piled around a tree trunk or plant stem. It keeps the bark wet, creates shelter for insects and rodents, and can cause girdling roots. Spread mulch like a flat blanket, not a mountain.
Do not mix fresh wood chips into the soil
Fresh chips use nitrogen as fungi break them down. On the soil surface, this effect is small. Mixed into the root zone, it can temporarily reduce nitrogen near shallow-rooted plants.
Do not over-till the bed
Tilling creates a loose surface at first, but repeated tilling breaks soil structure and harms fungal networks. Use a fork, broadfork, or hand cultivator for yearly maintenance.
Do not use contaminated compost
Compost made from herbicide-treated grass clippings can damage tomatoes, beans, peas, and other broadleaf plants. If compost causes twisted leaves or poor growth across many species, stop using it and test the material.
Maintain the bed through the seasons
A raised mulch bed needs light care, not constant work. Inspect it after strong rain, top up mulch when it thins, and remove weeds while they are small. Most organic mulch needs refreshing once each year, but the timing depends on its type.
Spring maintenance
In early spring, pull back some mulch from emerging bulbs and seedlings. Check for winter erosion, compacted spots, and vole tunnels. Add 1 to 2 inches of compost if the bed has settled, then replace the mulch.
Do not bury spring plants under fresh mulch. Crocus, daffodils, and daylilies can push through light mulch, but a heavy layer may delay growth.
Summer maintenance
Check moisture near the center and outer edge of the bed. The edge often dries first. Prune crowded plants, remove diseased leaves, and inspect the underside of foliage for aphids, spider mites, and whiteflies.
In hot areas such as USDA Zones 8 through 10, use 3 to 4 inches of mulch around established shrubs. Avoid thick mulch around succulents, lavender, and other plants that need dry crowns.
Fall maintenance
Fall is an excellent time to build or rebuild a raised mulch bed. Soil stays workable, weeds slow down, and rain helps settle new material. Add compost after plants go dormant, then cover it with mulch.
Leave some seed heads on coneflower, black-eyed Susan, and native grasses for birds and winter interest. Cut diseased foliage away, but do not remove every healthy stem from the bed.
Winter maintenance
In cold climates, inspect after freeze-thaw cycles. Frost can lift shallow-rooted plants and push soil down the slope. Gently press loose plants back into place once the soil thaws.
Avoid walking on frozen or wet soil. Foot traffic can compact the bed and damage dormant roots.
| Season | Main task | What to watch for |
|---|---|---|
| Spring | Add compost and refresh mulch | Buried bulbs, erosion, compact soil |
| Summer | Water deeply and inspect plants | Dry edges, pests, wilt, sun stress |
| Fall | Build, reshape, and mulch | Diseased leaves, loose soil, spreading weeds |
| Winter | Check erosion and plant heaving | Freeze-thaw damage and wet soil |
Seasonal care keeps the mound stable and reduces the need for major repairs. A few minutes after heavy rain can prevent hours of reshaping later.
My experience building raised mulch beds
The most successful bed I built started over dense clay beside a garage. I removed the lawn, loosened the clay with a digging fork, added screened topsoil and compost, and built the mound about 8 inches high. I used shredded hardwood mulch and planted coneflower, catmint, oregano, and dwarf blueberry in separate soil zones.
The first version failed in one spot because I made the south side too steep. Two summer storms carved a shallow channel through the mulch. I widened the slope, added a small stone edging at the bottom, and planted creeping thyme to hold the soil. It stayed in place through the next two seasons.
In a sandy Zone 8 bed, my main problem was not weeds. It was drying. The top looked protected under pine straw, but the root zone dried within two days during a heat wave. A drip line solved the issue better than adding more mulch.
I also learned to avoid treating every plant the same. Rosemary and lavender declined in rich, wet soil, while bee balm and cardinal flower grew well. Raised beds improve structure, but they do not erase the natural needs of each plant.
Cost, labor, and expected lifespan
A small DIY raised mulch bed may cost about $50 to $200, depending on the amount and quality of soil, compost, mulch, plants, and tools you already own. Delivery can raise the total, but bulk soil and mulch often cost less per cubic yard than bagged products.
Expect two to six hours for a small 4-by-8-foot bed if the ground is easy to dig. Lawn removal, clay, roots, and hauling can double that time. A large bed may take a full weekend.
The soil mound can last for many years, but it will settle and spread. Organic mulch usually lasts six to eighteen months. Hardwood chips may last longer than shredded leaves, while straw can disappear within one growing season.
| Project size | Typical labor | Common cost range |
|---|---|---|
| Small bed, 4 by 8 feet | 2 to 4 hours | $50 to $150 |
| Medium border, 10 by 20 feet | 6 to 12 hours | $150 to $500 |
| Large bed with delivery | 1 to 2 days | $400 to $1,200 or more |
| Bed with stone edging | Add 2 to 8 hours | Add $100 to $1,000 |
These ranges vary by region and by whether you buy plants, soil, and mulch in bags or bulk. Reusing healthy native soil and free leaf compost can lower the cost.
Raised mulch bed alternatives
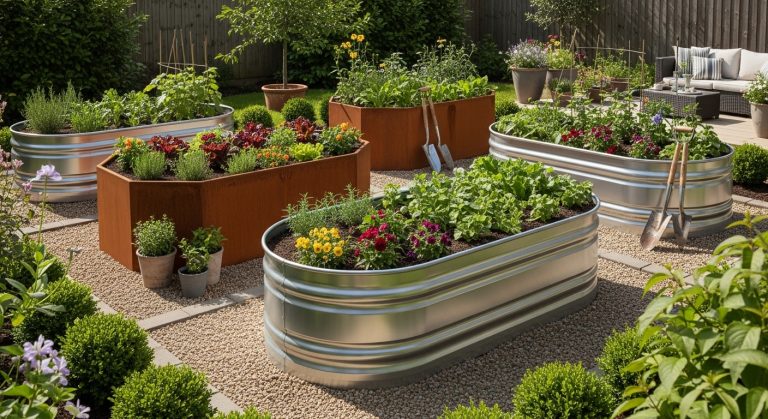
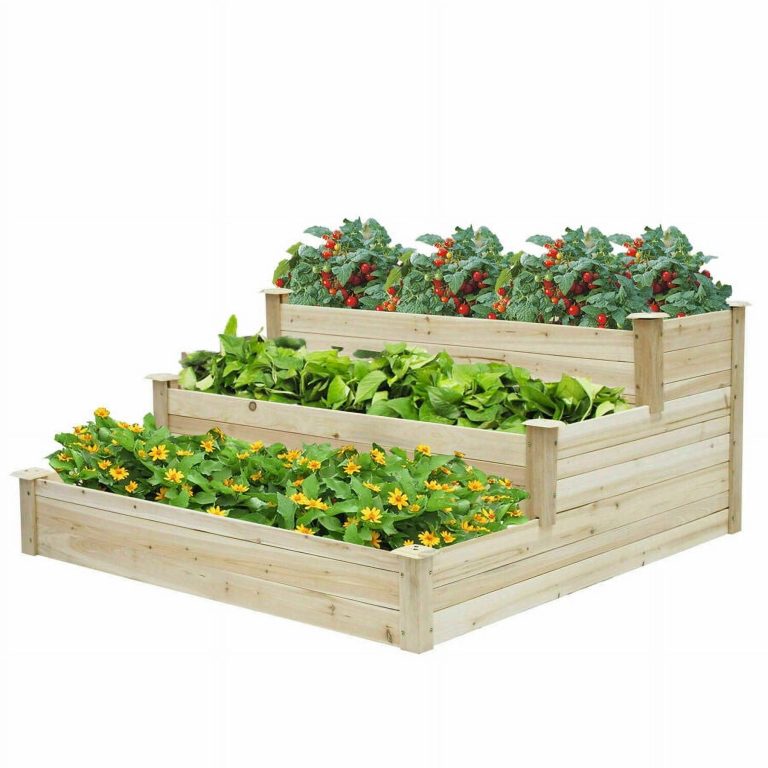
A raised mulch bed is not the right choice for every garden. Consider a framed raised bed if you need a sharp edge, extra height, or protection from aggressive lawn grass. Cedar boards, galvanized steel panels, and stone all have different costs and lifespans.
Use a berm if you want a larger landscape mound with trees, shrubs, and ornamental grasses. Berms often need a wider base and careful drainage planning. A container may work better for a patio, rental home, or invasive herb.
| Option | Best for | Main limitation |
|---|---|---|
| Raised mulch bed | Low-cost planting areas and borders | Edges spread over time |
| Framed raised bed | Vegetables, clean lines, easier access | Higher cost and material upkeep |
| Berm | Large landscape transitions | Needs more soil and careful grading |
| In-ground bed | Low maintenance and native planting | Does not improve poor drainage as much |
| Containers | Patios, rentals, invasive herbs | Dry out faster and need more feeding |
The best alternative depends on your goal. Choose a framed bed for access and structure. Choose an unframed raised mulch bed for a natural look and a lower budget.
When to hire a professional
You can build most small beds yourself. Hire a landscaper or drainage contractor when the project affects a foundation, retaining wall, septic field, utility line, or major slope.
Call before digging if you are unsure where underground utilities run. In the United States, contact your local utility-locate service before excavation. A professional can also help if stormwater leaves the property, erodes a slope, or pools near a basement.
Professional help makes sense when:
- The bed is taller than 18 inches
- The site has severe erosion
- You need a retaining wall
- Water flows toward a building
- Large tree roots block the site
- You need grading for a large yard
- The bed must meet accessibility needs
Do not use a retaining wall as a DIY project without understanding soil pressure and drainage. A short decorative border is one thing. A tall wall holding back wet soil is a structural system.
FAQs about raised mulch beds
Q: How high should a raised mulch bed be?
A height of 6 to 12 inches works for most flowers, herbs, shrubs, and vegetables. Use a wider mound if you build it higher than 12 inches. A steep, narrow mound erodes faster and needs more soil.
Q: Can I build a raised mulch bed over grass?
Yes. Remove the sod or smother it with overlapping plain cardboard. Wet the cardboard, cover it with soil, and check for persistent weeds such as quackgrass or bindweed.
Q: Should I put cardboard under a raised mulch bed?
Cardboard can help kill lawn grass and annual weeds. It should not replace drainage preparation, and it may fail against aggressive perennial weeds. Overlap the sheets and remove tape and plastic.
Q: How much mulch should I put on a raised bed?
Use 2 to 4 inches of organic mulch. Use less around seedlings and plants with sensitive crowns. Keep mulch 3 to 6 inches away from stems and trunks.
Q: Can I use mulch instead of soil in a raised bed?
No. Mulch protects soil but does not provide a stable root zone. Build the mound with soil and compost, then apply mulch on top.
Q: Why does my raised mulch bed dry out so fast?
Raised soil drains faster than flat ground, and the sloped sides lose water to wind and heat. Sandy soil, full sun, and hot weather increase the problem. Add compost, use a soaker hose or drip line, and water deeply.
Q: Why is water pooling in my raised mulch bed?
The native soil may be compacted, or the bed may sit in a low spot. Dig a test hole and check drainage. Break up compaction, lower the bed, redirect runoff, or choose plants that tolerate wet soil.
Q: Will mulch attract termites?
Wood mulch placed against a building can create a damp habitat and may provide access for pests. Keep mulch several inches away from siding and foundations. Mulch does not usually create a termite colony, but poor placement can raise risk.
Q: Can I grow vegetables in a raised mulch bed?
Yes. Tomatoes, peppers, beans, cucumbers, squash, lettuce, kale, and herbs can grow well. Use clean soil and compost, keep mulch away from stems, and rotate crop families when space allows.
Q: What is the best mulch for tomatoes?
Straw, shredded leaves, and fine wood mulch all work. Straw gives fruit good soil separation but may contain weed seeds. Apply about 3 inches and keep it away from the tomato stem.
Q: How often should I replace mulch?
Inspect mulch each spring. Refresh it when the layer drops below 2 inches or bare soil shows. Many hardwood mulches last one to two seasons, while leaves and straw often need replacement each year.
Q: Can I build a raised mulch bed in the fall?
Yes. Fall is one of the best times to shape the bed, add compost, and mulch. Winter weather helps settle the soil before spring planting. Avoid working wet clay because it compacts easily.
Q: Do raised mulch beds need fertilizer?
Not always. Compost may supply enough nutrients for many plants. Test the soil before adding fertilizer, especially phosphorus and nitrogen. Overfertilizing can cause weak growth and water pollution.
Q: How do I stop the sides from eroding?
Make the sides wider and less steep, apply shredded mulch, and plant ground covers or deep-rooted perennials. In a high-flow area, use stones, logs, or a properly designed drainage swale.
Final thoughts
A raised mulch bed is a practical way to improve planting space without building a full box. Start with a well-drained site, build a low and wide mound, mix in finished compost, and use mulch as a protective cover rather than a soil substitute.
The bed will change with time. Rain will settle it, roots will fill it, and mulch will break down. That is normal. If you check moisture, refresh the mulch, and choose plants suited to your sun and soil, the bed can become easier to manage with every season.
Meta description: Learn how to make a raised mulch bed with simple tools, soil, compost, and mulch. Follow step-by-step instructions for site prep, drainage, planting, watering, costs, and maintenance.