How To Build A 3 Tier Raised Garden Bed: Easy DIY Guide
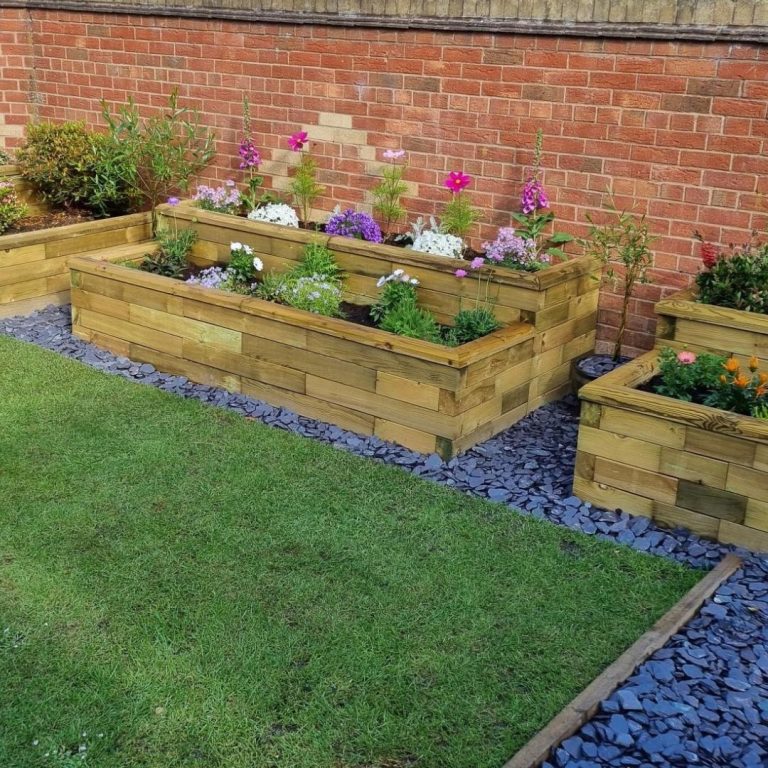
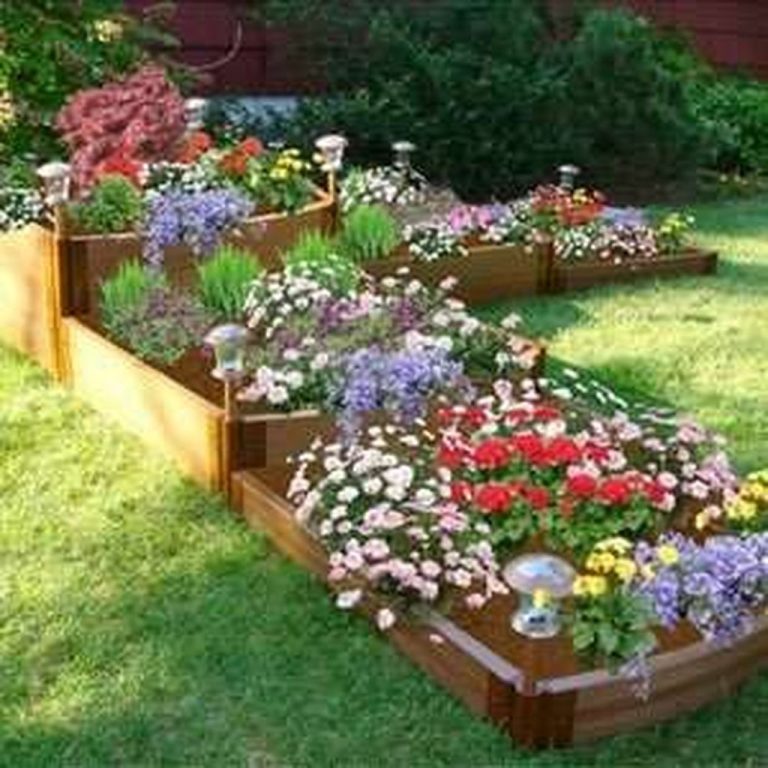
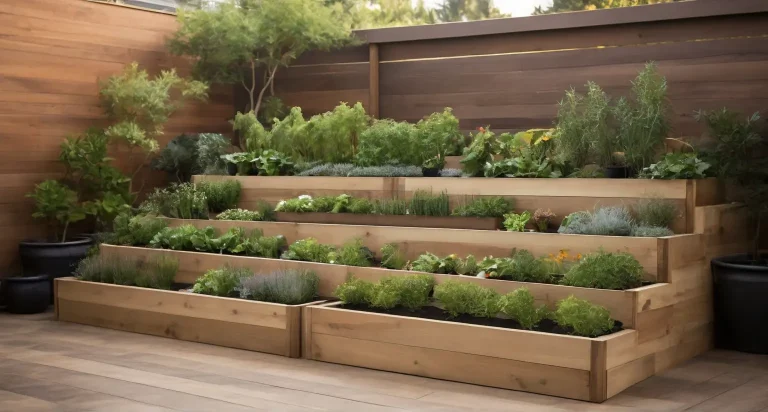
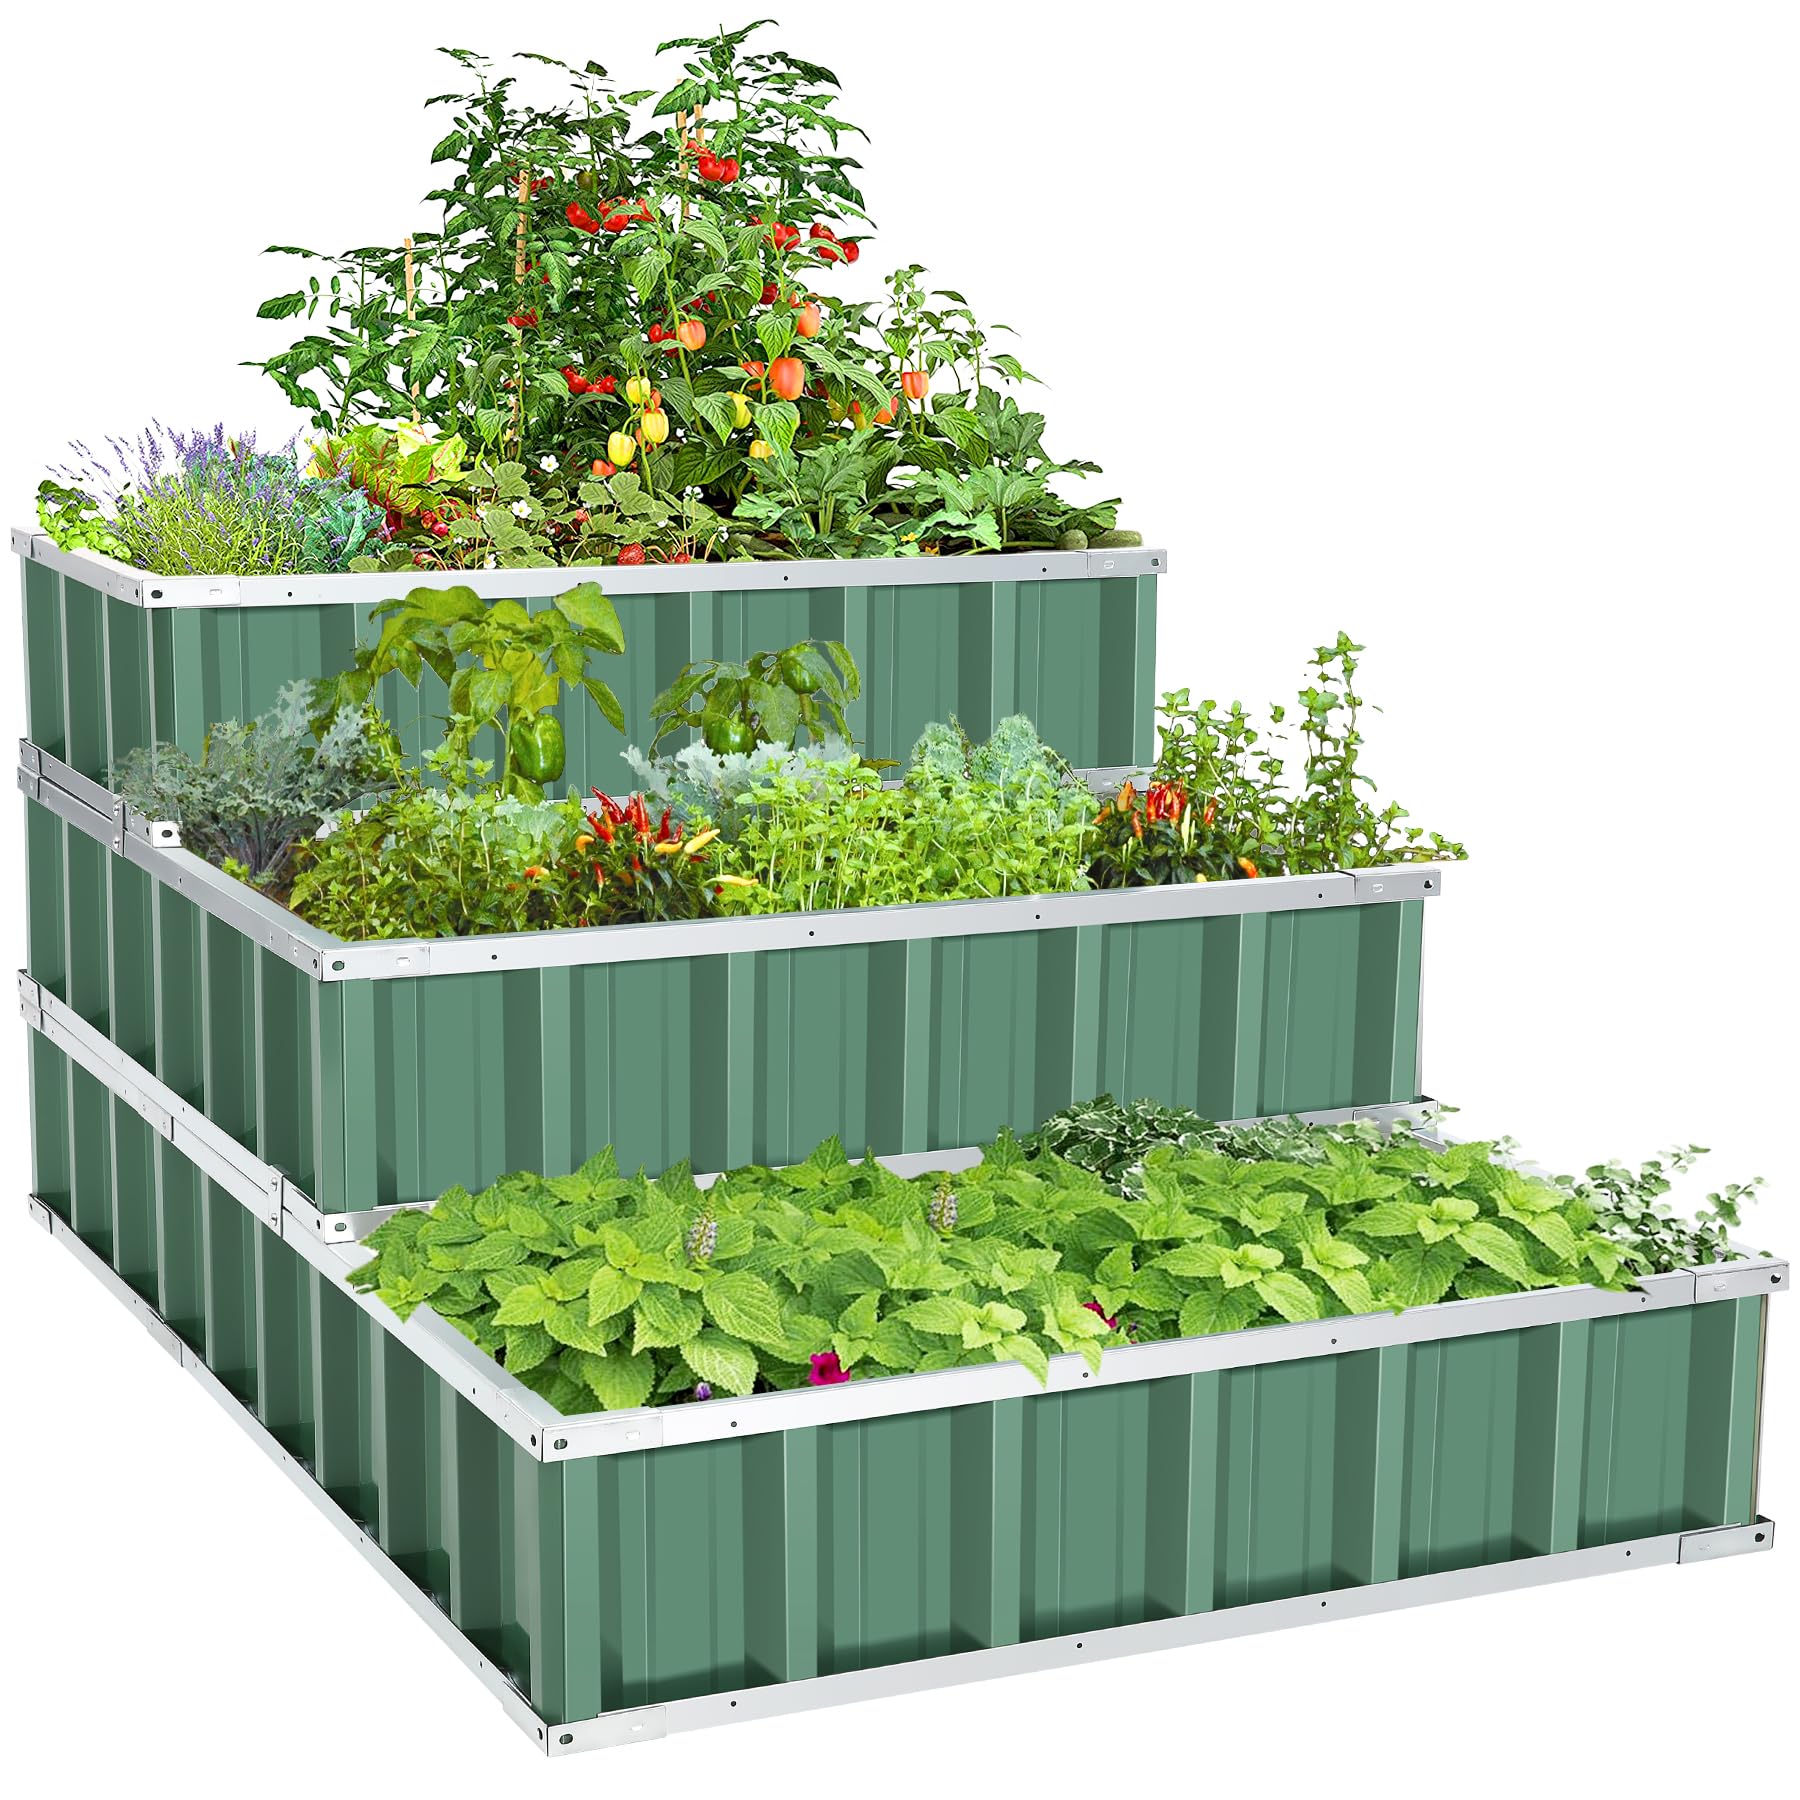
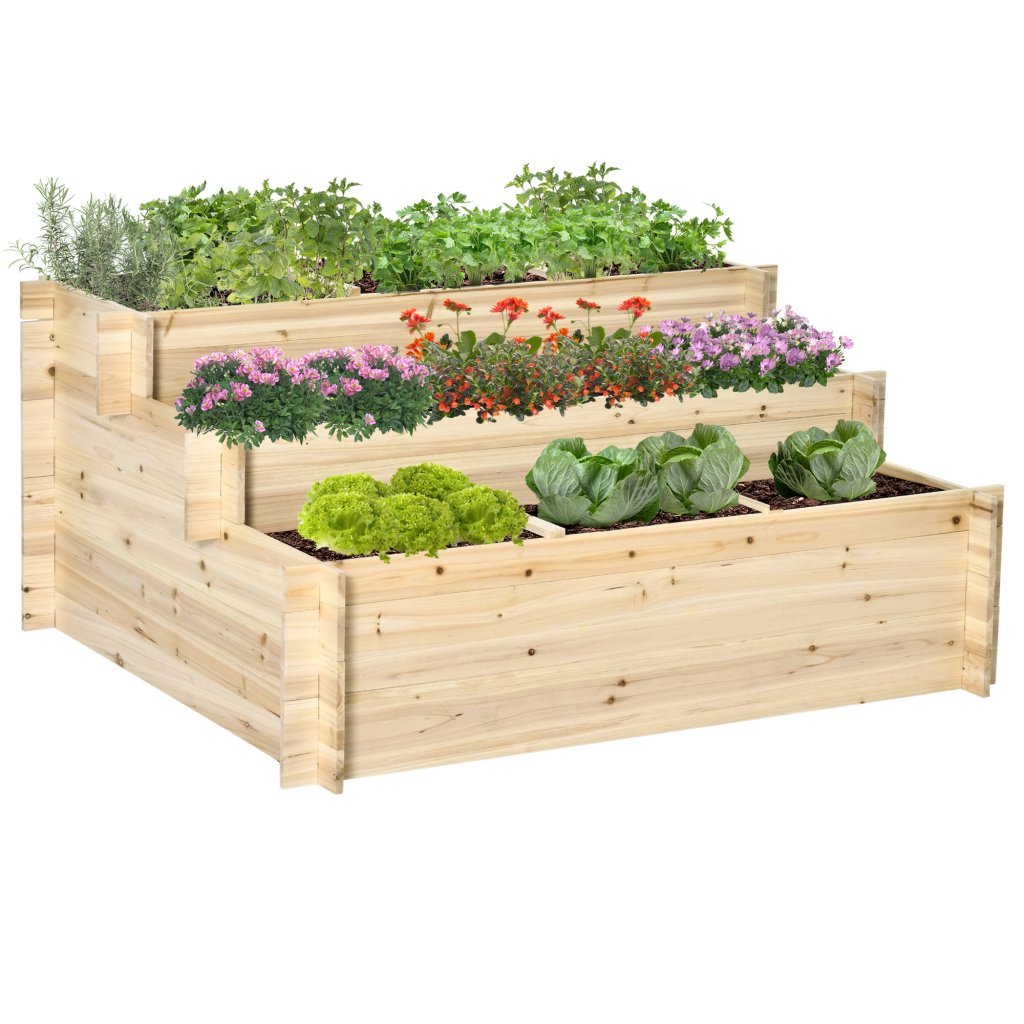
A three-tier raised garden bed turns a small space into a productive growing area. The stepped design gives you three planting levels, better drainage, and easier access than a flat bed. It also looks neat on a patio, lawn, or sloped yard.
I have built tiered beds from cedar, pine, and recycled boards in gardens from USDA Zone 5 to Zone 9. The biggest lessons were simple: use strong corner supports, keep each tier level, and do not fill the bed with poor soil. A well-built bed can grow lettuce, herbs, strawberries, peppers, tomatoes, and flowers for many seasons.
Quick answer: how to build a three-tier raised garden bed
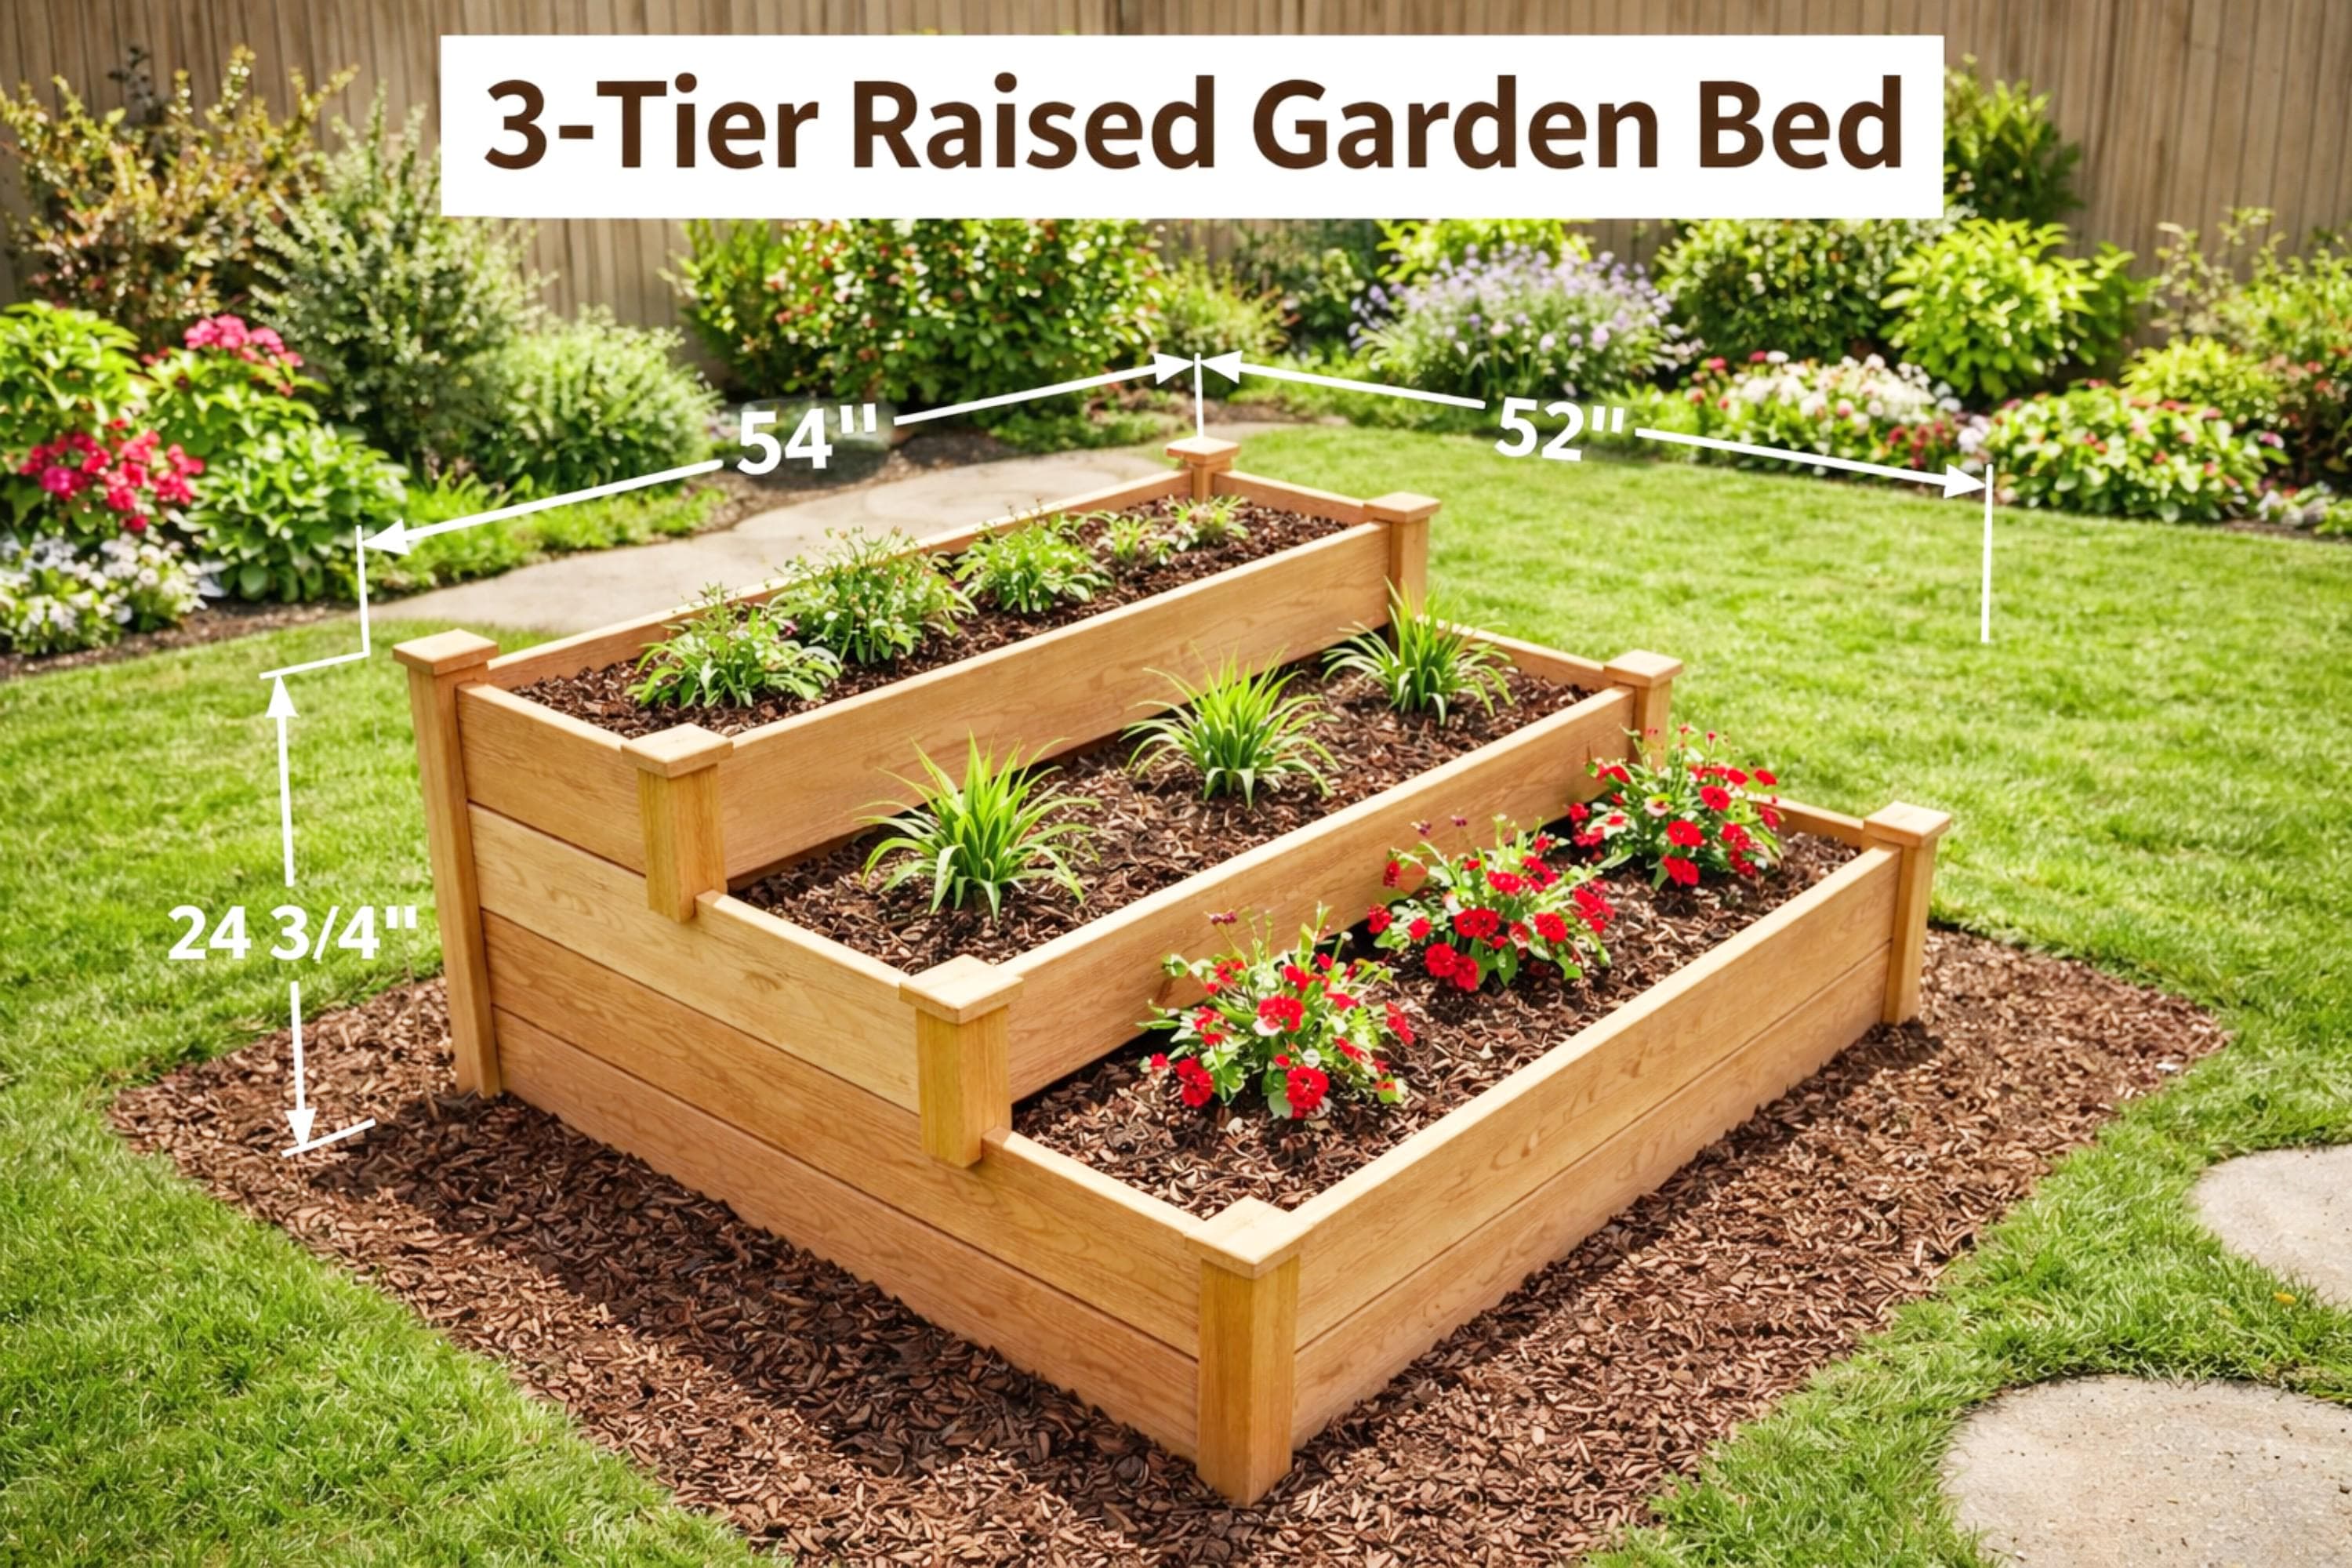
To build a three-tier raised garden bed, make three boxes that step down in height, secure them with stakes or posts, and fill them with a light soil mix. A practical size is 8 feet long, 4 feet wide, and 24 inches high at the back. Use rot-resistant lumber, drainage space, landscape fabric under the bed, and soil with a pH near 6.0 to 7.0.

Plan the bed before you cut wood
A three-tier bed works best when each level gets enough sun and remains easy to reach. Pick a site with at least six hours of direct sun for vegetables. Morning sun and light afternoon shade suit leafy greens in hot USDA Zones 8 and 9.
The bed should sit on firm, well-drained ground. Avoid low spots where rain collects. Do not place it under large trees, since tree roots will steal water and nutrients.
Choose the right size
A good beginner layout is 8 feet long and 4 feet wide. The rear tier may stand 24 inches high, the middle tier 16 inches high, and the front tier 8 inches high. Each step should run the full length of the bed.
This design gives you 3, 4, or 5 feet of planting depth from front to back, depending on how far each box extends. Keep every planting area within about 2 feet of an edge. That lets you weed and harvest without stepping on the soil.
Check sunlight and slope
Mark the bed with stakes and string before you build. Watch the area for one full day if possible. Note where shadows fall at 9 a.m., noon, and 3 p.m.
A mild slope can help water drain, but a steep slope needs extra support. On a slope, place the long side of the bed across the slope, not down it. This reduces soil movement during heavy rain.
Pick a safe wood type
Cedar, redwood, and white oak resist rot better than untreated pine. Cedar costs more, but it often lasts 8 to 15 years when it stays off wet ground. Untreated pine may last 4 to 8 years, depending on rainfall and drainage.
Modern pressure-treated lumber made for residential use is generally used in garden beds. Avoid old salvaged boards with unknown treatments. Never use railroad ties or wood coated with peeling paint, oil, or creosote.
| Material | Typical life | Best use |
|---|---|---|
| Cedar | 8–15 years | Long-term vegetable beds |
| Untreated pine | 4–8 years | Low-cost starter beds |
| Redwood or oak | 10–20 years | Wet climates or premium builds |
Cedar gives the best balance for most home gardens. In dry climates, pine can last much longer if you seal the outer faces and keep the soil from staying wet against the boards.

Tools and materials for a three-tier bed
You need basic carpentry tools, safe fasteners, and enough soil to fill the bed. Measure the full volume before buying soil because tiered beds can hold more mix than they look like they need.
For the example design, plan on about 64 cubic feet of soil if the three tiers each cover an 8-foot by 4-foot section and step upward. You may need less if the upper tiers sit inside the lower footprint. Recheck your measurements before ordering bulk soil.
Tools
- Tape measure
- Carpenter’s square
- Pencil or marking crayon
- Level
- Circular saw or hand saw
- Drill and drill bits
- Impact driver
- Shovel and rake
- Wheelbarrow
- Rubber mallet
- Utility knife
- Safety glasses
- Work gloves
- Hearing protection
A circular saw with a sharp 40-tooth blade makes clean cuts in cedar. A cordless model such as a DeWalt 20V MAX or Makita 18V LXT works well for small projects. You do not need a chainsaw, table saw, or heavy tiller for this build.
Materials
| Item | Suggested amount | Purpose |
|---|---|---|
| 2-by-8 boards, 8 feet long | 6–9 | Tier walls |
| 4-by-4 posts, 24–30 inches long | 6–8 | Corner and support posts |
| 3-inch exterior screws | 1 box | Join boards |
| 4-inch exterior screws | 1 box | Secure posts |
| Landscape fabric or cardboard | As needed | Weed barrier |
| Compost and garden soil | Based on volume | Growing mix |
| Hardware cloth | Optional | Block burrowing pests |
Use exterior-rated screws with a corrosion-resistant coating. Standard indoor screws rust fast in damp wood. Galvanized or coated structural screws hold better than thin drywall screws.

Prepare the ground and mark each tier
Ground preparation controls the life of the bed. Remove weeds, level the main footprint, and make sure water can leave the site after storms.
Clear the planting area
Remove grass, weeds, large roots, and stones from the bed footprint. You can use a flat spade to cut under sod. Roll the sod away and save it for compost if it has no herbicide residue.
For persistent weeds such as bindweed, quackgrass, or Bermuda grass, dig deeper and remove every visible root section. A layer of cardboard can slow regrowth, but it will not stop aggressive perennial weeds forever.
Level the base
Use a level and a straight board to check the ground. You do not need a perfect concrete-flat surface, but the base should not tilt sharply from side to side.
Dig down on the high side instead of piling loose soil on the low side. Loose fill can settle after the first rain and twist the lower boards.
Add a weed barrier
Lay plain brown cardboard or woven landscape fabric under the bed. Overlap cardboard sheets by at least 8 inches. Remove tape, glossy ink, and plastic labels first.
Do not place plastic sheeting under the bed. Plastic can trap water and create a wet root zone. A breathable barrier allows drainage while slowing weeds.
💡 Pro Tip: Place the bed where a hose reaches easily. I once moved a full tiered bed because it sat 60 feet from the spigot. Watering became a chore, and the plants suffered during a hot July.

Build the three-tier frame
Build the lower frame first, then add the middle and upper levels. The lower tier must carry the weight of the upper soil, so use solid corners and do not rely on loose stakes alone.
Step 1: Cut the boards and posts
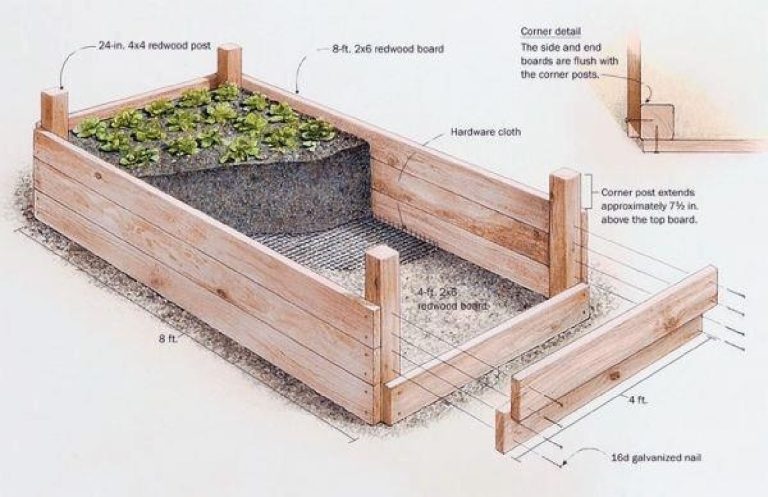
For an 8-foot bed, cut the long boards to 8 feet. Cut the end boards to the width you want. A 4-foot-wide bed needs two 4-foot end boards for each level.
Cut the posts so they extend at least 6 inches below the board stack. For a 24-inch rear tier, use posts about 30 inches long. The extra length anchors the frame in the ground.
If your design uses 2-by-8 lumber, one board is about 7 1/4 inches wide. Three stacked boards create about 21 3/4 inches of wall height, not a full 24 inches.
Step 2: Assemble the lower box
Set the two long boards and two end boards in place. Check each corner with a carpenter’s square. Drill pilot holes, then drive two or three 3-inch screws at each joint.
Attach 4-by-4 posts inside the corners. Drive 4-inch screws through the boards into the posts. The post should reach below the bottom board and into the soil.
Use a level across the front, back, and ends. Correct the frame now. Once the soil goes in, even a small error becomes hard to fix.
Step 3: Add the middle tier
Set the middle box behind or inside the lower box, based on your planned shape. Leave enough front space for the lower planting strip. A 16-inch-high middle tier works well for herbs, greens, and compact flowers.
Fasten the middle tier to the lower frame with long exterior screws or structural brackets. The connection should resist sideways pressure when the soil becomes wet.
Leave a small gap between tiers if water needs to drain from the upper level. A 1-inch gap covered by hardware cloth can reduce soil loss while allowing extra water to escape.
Step 4: Add the upper tier
Build the 8-inch or 16-inch upper box last. Position it where plants will not shade the lower tiers. In the Northern Hemisphere, taller tiers should usually sit on the north side of shorter tiers.
Secure this level to the frame below. Do not place a tall box on top of loose soil without support. Wet soil weighs about 1.2 to 1.5 tons per cubic yard, so even a small box creates heavy side pressure.
Step 5: Brace long walls
Long walls can bow outward, especially with wet compost-rich soil. Add a 4-by-4 post every 4 feet along an 8-foot wall. Screw the board stack to each post.
For beds wider than 4 feet, add cross braces between the long sides. A metal angle bracket or treated 2-by-4 brace can stop the walls from spreading.
Step 6: Smooth and inspect the frame
Sand sharp corners and remove splinters. Check for screw points that stick through the wood. Make sure the frame does not rock.
Water the empty bed with a hose. Watch where water drains. Fix low spots before adding soil.
| Tier | Suggested height | Good crops |
|---|---|---|
| Upper tier | 8–16 inches | Thyme, chives, lettuce, strawberries |
| Middle tier | 16 inches | Bush beans, kale, beets, basil |
| Lower tier | 21–24 inches | Tomatoes, peppers, cucumbers, squash |
The upper tier suits shallow-rooted crops. Use the deepest lower tier for tomatoes, peppers, carrots, and plants that need stable moisture.

Fill the bed with healthy soil
The soil mix matters more than the wood. Good soil holds water but drains excess moisture. It also stays loose after rain and does not form hard clods.
Use a simple soil blend
A reliable mix contains:
- 50% screened topsoil
- 30% finished compost
- 20% aged bark fines, leaf mold, or coarse coconut coir
For containers and raised beds, many gardeners use a 60% topsoil, 30% compost, and 10% aeration material blend. Avoid using pure compost. It can shrink, dry fast, and hold too many soluble salts.
Use compost made from leaves, plant waste, and manure that has fully broken down. Fresh manure can burn roots and may contain weed seeds or pathogens. A dark color alone does not prove that compost is mature.
Test the soil
Send a sample to a local extension soil lab before adding fertilizer. Most vegetables grow well at pH 6.0 to 7.0. Blueberries need a much lower pH, so they do not belong in the same mix as most vegetables.
A soil test may show low phosphorus, potassium, or organic matter. Follow the lab rate instead of adding random fertilizer. Excess phosphorus can harm waterways and does not improve plants that already have enough.
Fill in shallow layers
Add soil in 4- to 6-inch layers. Water each layer lightly to settle air pockets. Do not stomp the soil down, since compaction blocks roots.
Stop the soil 1 to 2 inches below the top board. This keeps mulch and water from spilling over the edge. The soil may settle by 10% to 20% during the first month.
Add mulch
Spread 1 to 2 inches of shredded leaves, straw, or clean compost on top. Keep mulch 2 inches away from plant stems. Thick mulch against stems can invite slugs and rot.
Use straw that has not been treated with persistent herbicides. Hay may contain weed seeds. In wet areas, coarse leaf mulch often works better because it does not form a thick mat.
⚠️ Warning: Never fill a raised bed with soil from a site that may contain lead, arsenic, or industrial waste. Test questionable soil before gardening, especially in older urban yards or beside painted buildings.

Plant each tier for light and access
The best planting plan uses the height of each level to match plant size. Place tall crops where they will not shade short crops for most of the day.
Rear or upper level
Use the highest tier for plants that need strong drainage or are easy to reach from one side. Good choices include:
- Rosemary
- Thyme
- Oregano
- Chives
- Lettuce
- Arugula
- Alpine strawberries
- Calendula
- Nasturtium
Perennial herbs such as rosemary may survive outdoors in USDA Zones 7 through 10 but need protection in colder zones. In Zone 5, grow rosemary as an annual or move it into a pot before hard frost.
Middle level
The middle tier suits crops with medium roots and moderate height. Try:
- Kale
- Swiss chard
- Beets
- Bush beans
- Basil
- Parsley
- Cilantro
- Dwarf marigolds
Plant bush beans after the last frost when soil reaches about 60°F. Cilantro bolts quickly in heat, so grow it in spring and fall in Zones 7 through 9.
Lower level
Use the deepest tier for crops that need room for roots or support. Suitable plants include:
- Cherry tomatoes
- Bell peppers
- Eggplants
- Carrots
- Radishes
- Cucumbers on a trellis
- Compact zucchini
- Bush peas
A determinate tomato such as ‘Roma’ or ‘Celebrity’ fits better than a large indeterminate variety. If you grow ‘Sun Gold’ or another vigorous tomato, add a trellis at the north end so vines do not cover the lower tiers.
| Plant group | Root depth | Best tier |
|---|---|---|
| Lettuce and herbs | 6–10 inches | Upper |
| Beets and kale | 10–14 inches | Middle |
| Tomatoes and peppers | 18–24 inches | Lower |
| Carrots | 12–18 inches | Lower or middle |
| Strawberries | 8–12 inches | Upper edge |
Plant roots often spread wider than expected. Give tomatoes 18 to 24 inches of space, peppers 15 to 18 inches, and lettuce 8 to 10 inches.

Water, feed, and maintain the bed
Raised beds drain faster than garden soil, especially in hot weather. Check moisture with your finger rather than following a fixed schedule.
Water deeply
Push your finger 2 inches into the soil. Water when the top 1 to 2 inches feel dry. Give the bed a slow soak until water reaches the lower root zone.
A drip line or soaker hose saves time. Lay one line along each tier and cover it with mulch. A timer can water for 20 to 40 minutes, but the exact run time depends on flow rate, soil, wind, and temperature.
In Zone 9 during a hot, dry summer, a raised bed may need water every day. In Zone 5 during a cool spring, once or twice a week may be enough.
Feed based on plant need
Compost supplies slow nutrients, but heavy feeders still need more. Tomatoes, peppers, cucumbers, and squash may benefit from a balanced organic fertilizer such as 5-5-5.
Apply fertilizer according to the label. Too much nitrogen creates large leaves and few fruits. Leafy crops can handle more nitrogen than root crops, but no plant benefits from repeated heavy doses.
Rotate plant families
Do not grow tomatoes, peppers, eggplants, or potatoes in the same tier year after year. They all belong to the nightshade family and can share diseases such as early blight and verticillium wilt.
Rotate plant families when possible:
- Nightshades
- Legumes
- Brassicas
- Root crops
- Leafy greens
Rotation is harder in a small bed, so remove diseased plant debris and add fresh compost each season.
Watch for pests and diseases
Common pests include aphids, flea beetles, cabbage worms, slugs, and tomato hornworms. Check the underside of leaves twice a week. Handpick large pests and use row cover over young brassicas.
Good airflow helps prevent powdery mildew and leaf spot. Space plants correctly, water the soil instead of the foliage, and remove yellow leaves that touch the ground.
| Symptom | Likely cause | First fix |
|---|---|---|
| Leaves wilt in wet soil | Poor drainage or root damage | Reduce watering and check outlets |
| Pale lower leaves | Low nitrogen or overwatering | Test soil and improve drainage |
| Chewed leaf edges | Slugs, caterpillars, or beetles | Inspect at dusk and use row cover |
| Tomato leaves spot | Wet foliage or fungal disease | Improve airflow and remove affected leaves |
| Soil dries each day | Heat, wind, or shallow roots | Add mulch and use drip irrigation |
Look at the soil before adding fertilizer. Yellow leaves do not always mean a nutrient shortage. Wet roots can cause the same color change.
Pros and cons of a three-tier raised bed
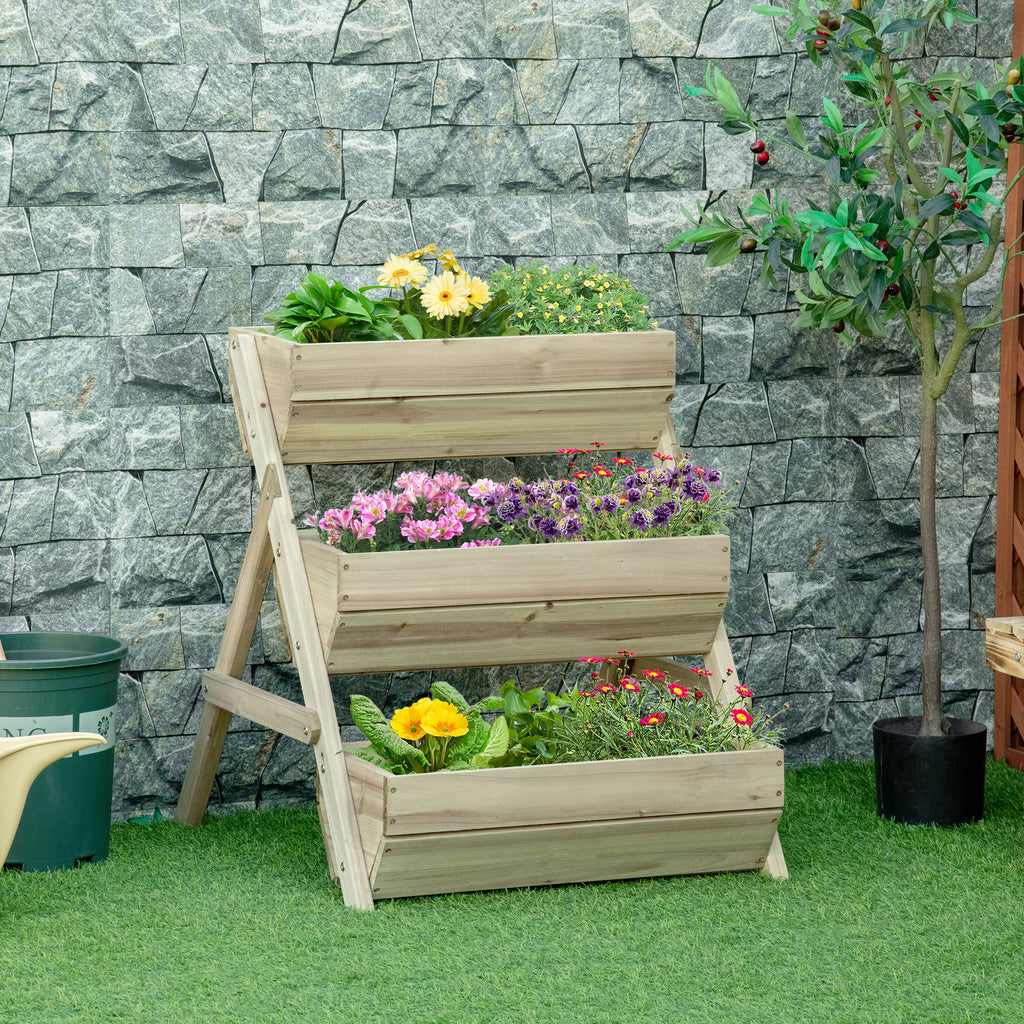
A tiered bed saves space and can make gardening easier, but it also costs more and needs careful construction. Consider the trade-offs before buying lumber.
| Pros | Cons |
|---|---|
| More planting space in a small area | More cuts and joints than a flat bed |
| Easier access to many plants | Upper tiers can shade lower tiers |
| Good drainage and soil control | Soil dries faster in warm weather |
| Strong visual structure | Heavy when filled and hard to move |
| Works well on mild slopes | Requires braces to prevent bowing |
This design suits gardeners who want organized crops and better access. A flat raised bed may be a better choice if you need the lowest cost or plan to move the garden later.

Common building mistakes and simple fixes
Most tiered-bed problems start with poor layout, weak joints, or the wrong soil. Fixing these issues early costs far less than rebuilding a full bed.
The walls bow outward
This usually happens when long boards lack center posts. Add a 4-by-4 support every 4 feet and fasten each board to it with structural screws.
If the soil already pushed the wall out, remove enough soil to reduce pressure before adding braces. Do not force the wall back while it is fully loaded.
Water pools at the bottom
Water may pool because the site is compacted or the frame sits in a low spot. Check the ground outside the bed first. Dig a shallow drain path or raise the low side with compacted mineral soil.
If the bed has plastic underneath, remove it. Plastic blocks drainage and can create sour-smelling, oxygen-poor soil.
Soil washes out between tiers
Heavy rain can carry soil through open gaps. Add a narrow strip of hardware cloth, coir mat, or untreated wood behind the gap. Keep the solution breathable.
A thick layer of mulch also reduces splash and erosion. Avoid fine soil on the surface, since it moves more easily than coarse organic matter.
The upper tier shades the lower crops
Tall plants on the south side cast the longest shadow. Place tall crops on the north side in the Northern Hemisphere. In the Southern Hemisphere, reverse that direction.
You can also grow lettuce, spinach, and cilantro in the shaded section. These crops often appreciate protection from strong afternoon sun.
The soil sinks too far
Soil settles as compost breaks down and air pockets collapse. Add a thin layer of compost and soil each spring. Do not fill the bed with fresh manure or half-finished compost just to increase volume.
A 1-inch top-dress each year often replaces normal settling. If the bed drops more than 4 inches, check for rotting wood or animal tunnels.
🔧 Quick Fix: If a corner shifts, empty soil from that section, reset the frame with a level, and refill in layers. Trying to level a full bed usually breaks boards or strips screws.
Personal lessons from building tiered beds
My first tiered bed looked good but had two faults. I used only one support post on an 8-foot wall, and the wall bowed after a wet spring. I also filled it with a high-compost mix that shrank badly by midsummer.
The second build used posts every 4 feet and a blend of screened topsoil, compost, and bark fines. After four weeks, the soil had settled slightly but stayed loose. Carrots grew straighter, and the lower tier held moisture longer than the first bed.
In a Zone 6 garden, I grew ‘Sungold’ tomatoes in the deep tier, basil and chard in the middle tier, and lettuce with alpine strawberries on top. The tomato roots stayed cool under straw mulch, but the upper lettuce needed extra water during a week of 95°F heat.
I also learned that tiered beds are not ideal for large pumpkins, sprawling melons, or vigorous indeterminate tomatoes unless you add strong trellises. Those crops can cover the entire structure and make lower levels hard to reach.
Cost, work time, and expected lifespan
A three-tier bed costs more than a simple box because it uses more lumber, posts, screws, and soil. Current pricing ranges from about $180 to $600, depending on wood type, bed size, soil delivery, and whether you already own tools.
A small 4-by-4 cedar version may take one weekend. An 8-foot version with three levels usually takes 6 to 12 hours for one person, not counting soil delivery and planting.
| Build choice | Approximate cost | Expected service life |
|---|---|---|
| Pine, small bed | $100–$220 | 4–8 years |
| Cedar, medium bed | $220–$450 | 8–15 years |
| Redwood or oak, large bed | $400–$800+ | 10–20 years |
These are planning ranges, not fixed quotes. Local lumber prices, delivery fees, and wood thickness can change the total.
Wood breaks down first at ground contact, inside corners, and places where water stays against the boards. Keep the outside walls clear of wet leaves, repair loose screws, and replace one damaged board instead of waiting for the full frame to fail.

Seasonal care and storage
A permanent bed needs light care in every season. Good upkeep protects the wood, keeps soil fertile, and reduces pest problems.
Spring
- Remove old stems and weeds.
- Add 1 inch of mature compost.
- Check boards, posts, and screws.
- Repair drip lines.
- Plant cool crops such as peas, lettuce, radishes, and spinach.
Do not work very wet soil. If it sticks to your boots or shovel, wait a few days. Working wet soil creates hard clumps that stay compacted all season.
Summer
- Check moisture every day during heat waves.
- Refresh mulch when it thins.
- Tie tomatoes and cucumbers to supports.
- Harvest herbs often.
- Inspect plants for aphids, hornworms, and fungal spots.
Water early in the day when possible. Morning watering gives leaves time to dry and reduces stress during afternoon heat.
Fall
- Remove diseased plants and discard them away from the compost pile.
- Leave healthy roots to decompose or pull them for the compost.
- Plant garlic, onions, or cover crops where suitable.
- Add a light layer of compost.
- Check that the frame drains after fall rain.
In Zones 5 through 7, cover empty soil with chopped leaves or straw. In Zones 8 through 10, cool-season crops can continue through winter.
Winter
Do not cover the bed with plastic unless you build a proper low tunnel with ventilation. Sealed plastic can trap moisture and promote rot.
In cold climates, leave the soil in place. Plant roots and mulch protect the soil better than repeated digging. Move potted herbs indoors before hard frost if the variety cannot survive your zone.
| Season | Main task | Timing |
|---|---|---|
| Spring | Compost, repairs, cool crops | After soil is workable |
| Summer | Water, mulch, pest checks | Weekly or daily in heat |
| Fall | Cleanup and soil cover | After final harvest |
| Winter | Protect soil and wood | Before hard frost |
The bed does not need to be emptied each winter. Remove diseased plant material, protect exposed soil, and inspect the frame before spring planting.

Alternatives to a three-tier raised bed
A three-tier bed is not the only way to grow in limited space. The best alternative depends on your budget, mobility, yard shape, and crop list.
Flat raised bed
A flat 4-by-8-foot bed costs less and takes less time to build. It works well for mixed vegetables and has fewer joints that can fail.
Choose it if you want the simplest beginner project. It also gives more even watering than a stepped design.
Garden boxes at different heights
Instead of connecting the tiers, build three separate boxes. You can place them where each gets the best light. This makes repairs and crop rotation easier.
The trade-off is less visual unity and more walking space between boxes.
Straw bale garden
Straw bales can grow annual crops for one or two seasons. They suit renters or gardeners who want a temporary setup. They need careful conditioning and frequent watering.
Metal raised beds
Galvanized steel beds last for many years and resist rot. They heat faster in full sun, though, and may need extra water in hot Zones 8 and 9.
Masonry or stone terraces
Stone lasts longer than wood and suits a permanent slope. It costs more, needs a stable base, and may require skilled construction. Use this option when erosion control matters as much as planting space.
When to hire a professional
Most gardeners can build a small three-tier bed with hand tools. Hire help when the structure must hold back a steep slope, sit near a foundation, or manage major drainage.
A professional can also help when the bed is more than 24 inches high, retains a large volume of soil, or connects to a retaining wall. A failed structure can damage paths, fences, or buildings.
Call an electrician if you plan permanent lighting or powered irrigation near the bed. Call a soil lab before gardening in a former industrial area or beside an old painted structure.

Questions gardeners often ask
Q: How deep should a three-tier raised garden bed be?
A: Make the lowest tier 18 to 24 inches deep for tomatoes, peppers, carrots, and other deep-rooted crops. The middle tier can be 12 to 16 inches deep. The upper tier can be 8 to 12 inches deep for lettuce, herbs, and strawberries.
Q: Do I need to put anything under a raised garden bed?
A: Remove grass and weeds first, then add cardboard or breathable landscape fabric if needed. Do not use plastic sheeting because it can block drainage. On compacted ground, loosen the top 6 to 8 inches before placing the frame.
Q: Can I build a tiered bed on concrete?
A: Yes, but drainage needs special care. Use a bottomless frame, add a drainage gap, and place the bed where water can run away. A concrete patio may require a shallower bed because the plants cannot send roots into the ground below.
Q: How much soil does a three-tier raised bed need?
A: Calculate each section with this formula: length × width × soil depth. Add the volumes together, then buy 10% to 15% extra for settling. A bulk soil supplier can often deliver a cubic-yard load at a lower cost than bags.
Q: Should I line the inside of the wood?
A: You usually do not need plastic liner. Plastic can hold moisture against the boards and reduce drainage. A breathable geotextile fabric on the outside of a soil-contact wall may slow rot without sealing the bed.
Q: How do I stop cats, dogs, and rodents from entering?
A: Use hardware cloth over the soil until seedlings establish. Bend the cloth down along the outside edge to block digging. For voles and moles, place galvanized hardware cloth under the entire bed before adding soil.
Q: Can I grow strawberries in the top tier?
A: Yes. Alpine strawberries and compact everbearing types work well near the edge. Give each plant 12 to 18 inches of room, keep fruit off wet soil, and watch for slugs.
Q: Why does my raised bed dry out so fast?
A: Tiered beds dry faster because they have more exposed edges and better drainage. Add 1 to 2 inches of mulch, use a soaker hose, and check moisture near the plant roots. Dark wood and metal sides can increase heat in sunny climates.
Q: Can I use treated lumber for vegetables?
A: Modern residential pressure-treated lumber is widely used for garden structures, but avoid old or unknown treated wood. If you prefer a cautious approach, use cedar, redwood, or untreated hardwood. Do not burn treated scraps.
Q: How long will a cedar tiered bed last?
A: A cedar bed often lasts 8 to 15 years. Wet climates, poor drainage, and soil contact shorten its life. Dry climates and good airflow can extend it. The bottom boards and corner posts usually fail first.
Q: What should I plant in a tiered bed for pollinators?
A: Add calendula, alyssum, borage, nasturtium, thyme, chives, and dwarf sunflowers. Include flowers with different bloom times. Avoid broad-spectrum insecticides when bees and other pollinators are active.
Q: Can I put a three-tier bed on a slope?
A: Yes, if you level each tier and anchor the frame well. Place the long side across the slope and add drainage behind the bed. A steep slope may need a designed retaining wall rather than a simple garden frame.
Q: Is a three-tier raised bed worth the cost?
A: It is worth the cost for gardeners who need more growing space, easier access, or a tidy design. A flat bed or separate boxes cost less and may work better for large crops, renters, or gardeners who expect to move soon.
Final thoughts
The best three-tier raised garden bed is sturdy, easy to water, and sized for the crops you truly plan to grow. Start with a simple 8-foot design, use strong posts, and fill it with tested soil instead of cheap fill dirt.
Build the frame level, protect the wood from standing water, and keep tall crops on the north side. With those details in place, the bed can produce food for years while making planting, weeding, and harvesting much easier.
Meta description: Learn how to build a three-tier raised garden bed with clear steps, tools, materials, soil tips, crop ideas, costs, drainage advice, and maintenance guidance.