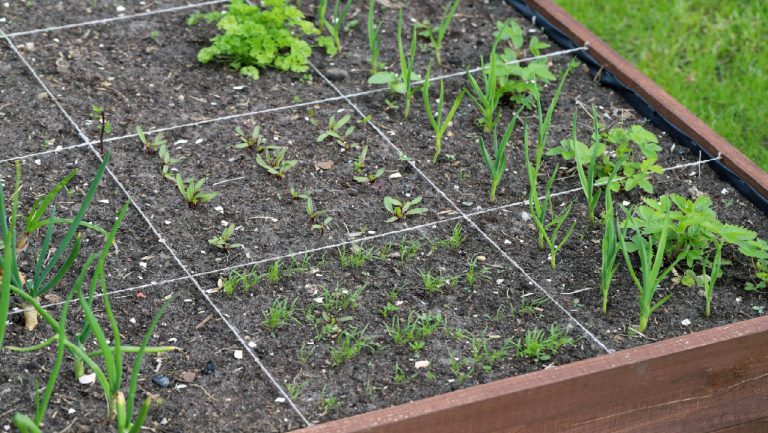
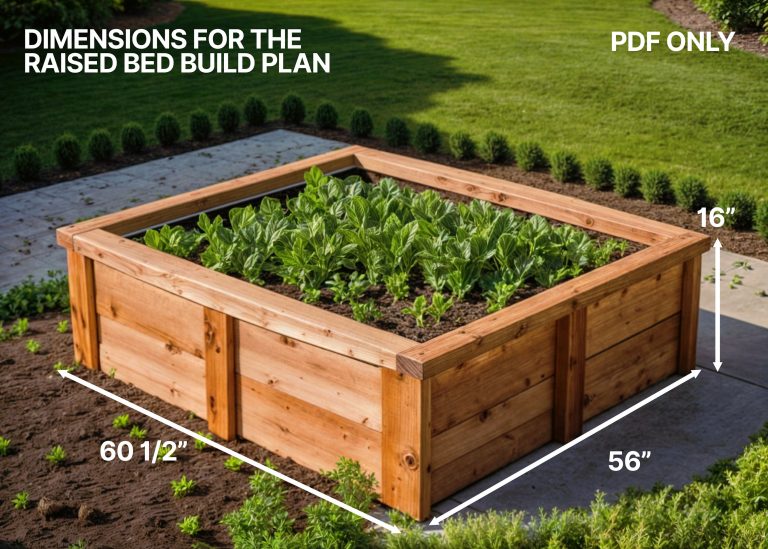
How To Design A Corner Garden: Space-Smart Ideas
A corner garden can turn a forgotten patch into the most useful part of your yard. The key is to treat the corner as a small room, not as leftover space. Start with the light, measure the area, improve the soil, and choose plants that fit the shape and climate.
I have designed corner beds in dry Texas yards, damp Pacific Northwest gardens, and cold Zone 5 plots. The same lesson comes up each time: good structure matters more than buying many plants. A simple path, one strong focal plant, and three layers of greenery can make a small corner feel calm, deep, and complete.

Quick answer: how to design a corner garden
The best way to design a corner garden is to measure the space, track sunlight for one full day, solve drainage issues, and build a clear focal point. Use tall plants at the back, medium plants in the middle, and low plants along the edge. Choose plants for your USDA hardiness zone, soil type, and water supply. Leave enough room to weed, prune, and walk.

Start with the corner’s basic conditions
A corner garden works best when its design responds to the site. Before choosing flowers, check the light, wind, water, soil, nearby walls, and views from inside the house. A beautiful plan can fail if the corner stays wet, dries out near a wall, or receives less sun than expected.

Measure the shape and slope
Measure both sides of the corner and note the distance from the corner to nearby paths, fences, doors, windows, and utility covers. Mark the measurements on paper or in a simple phone note. A right-angle corner may seem easy, but many yards have curved edges or uneven fence lines.
Check the slope with a long board and a level. Water often collects where two fences meet, especially after heavy rain. If the soil stays wet for more than a day, you may need a shallow swale, a drain, a raised bed, or plants that tolerate wet soil.
Keep at least 18 to 24 inches of access space where you need to prune or clean. A garden that looks full on planting day can become hard to reach after two growing seasons.
Watch the sun before planting
Track sunlight from morning to evening. Note whether the corner gets full sun, part shade, bright shade, or deep shade. Full sun usually means six or more hours of direct light, while part shade often means four to six hours.
Walls can change the light and heat. A south-facing wall may reflect strong heat onto lavender, rosemary, tomatoes, or ornamental grasses. A north-facing corner may stay cool and dim, which suits hostas, ferns, heucheras, and some hydrangeas.
Morning sun is often gentler than late afternoon sun. In USDA Zones 8 through 10, a plant that handles full sun in Maine may need afternoon shade in Georgia or Arizona.
Check soil, roots, and drainage
Dig three small holes about 8 inches deep. Look for compacted clay, gravel, tree roots, construction debris, or a sour smell. Squeeze a handful of moist soil. Sandy soil falls apart, clay soil forms a sticky ribbon, and loam holds together lightly without feeling slick.
A soil test can show pH and key nutrients. Most garden plants grow well between pH 6.0 and 7.0, but blueberries prefer acidic soil near pH 4.5 to 5.5. Do not add lime or sulfur by guesswork.
Tree roots are a common issue in corner gardens. Large roots may steal water from shallow plants, while small feeder roots can make digging difficult. Avoid cutting major roots. Build a shallow raised bed or use containers if a nearby tree controls the soil.
| Site factor | What to check | Design response |
|---|---|---|
| Sunlight | Hours of direct light and time of day | Match plants to full sun, part shade, or shade |
| Drainage | Standing water after rain | Add a drain, mound, raised bed, or wet-site plants |
| Soil | Texture, pH, roots, and compaction | Add compost, loosen soil, or use containers |
| Wind | Fence gaps and exposed edges | Add shrubs, screens, or sturdy plants |
The main takeaway is simple: the corner tells you what it can support. Work with its limits instead of forcing a plant list that belongs in another climate.
Choose a corner garden style
A clear style makes plant shopping easier. You can create a formal bed with straight edges, a cottage corner with loose curves, a wildlife patch with native plants, or a productive garden with herbs and vegetables.

Use a layered design
Layering gives a small garden depth. Place the tallest plants near the fence or wall, medium plants in the center, and low plants at the front. If the corner is visible from more than one side, place tall plants toward the center rather than hiding everything along the back.
A useful height pattern is:
- Tall structure: 5 to 8 feet
- Middle layer: 2 to 4 feet
- Low edge: 6 to 18 inches
- Ground cover: under 8 inches
Use repeated shapes instead of one of every plant. Three dwarf ornamental grasses often look stronger than three unrelated shrubs. Repeating color, leaf form, or plant texture helps the space feel planned.
Design for the main viewing angle
Stand where you spend time. That may be a kitchen window, patio chair, driveway, or front walk. Draw the view with the tallest plants at the side or back so they frame the scene without blocking it.
A corner garden beside a patio may need soft, low plants and herbs that release scent when touched. A front-yard corner may need year-round structure, clear edges, and plants that do not spill into the sidewalk.
Pick a focal point
Every small corner needs one main feature. This could be a Japanese maple, a birdbath, a large pot, a boulder, a trellis, or a specimen rose. A focal point gives the eye a place to rest.
Choose one strong feature, not five. I once added a birdbath, three pots, a metal arch, and a large stone to a narrow corner. Each item looked good alone, but together they made the garden feel busy. Removing two pieces improved the whole design.
| Garden style | Strong focal feature | Plants that fit |
|---|---|---|
| Cottage | Obelisk, old pot, or small rose | Catmint, salvia, foxglove, yarrow |
| Modern | Large boulder or geometric planter | Grasses, sedges, agave, clipped shrubs |
| Wildlife | Birdbath or shallow water dish | Native asters, coneflowers, milkweed |
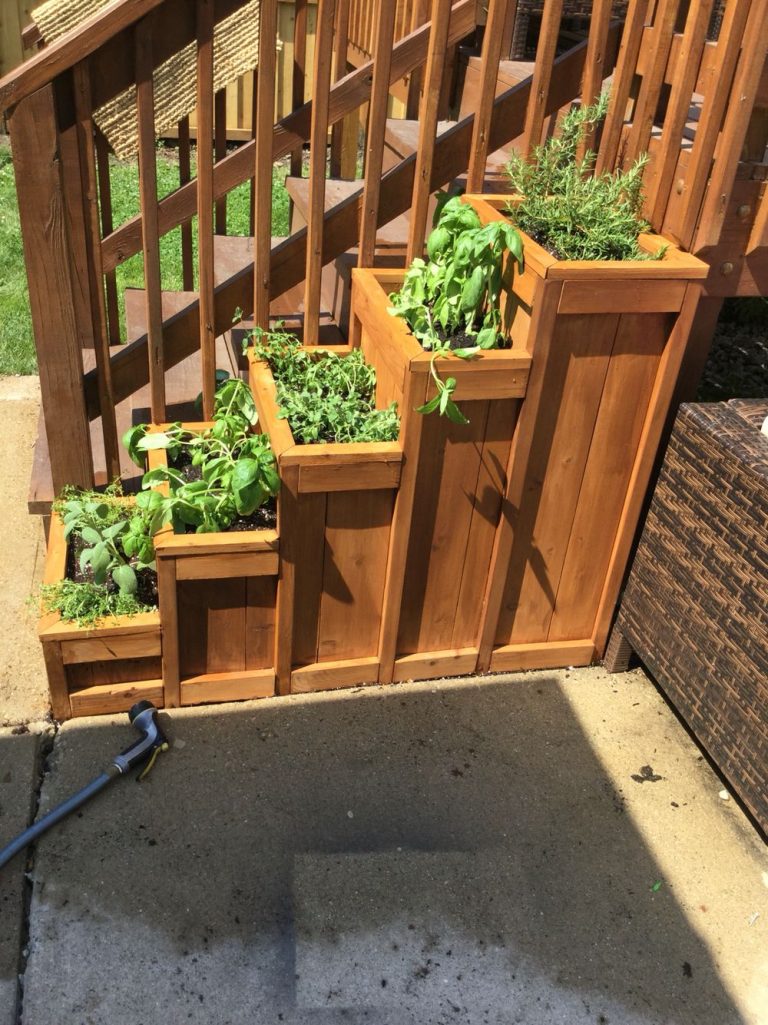
| Productive | Trellis or raised bed | Herbs, beans, peppers, chard |
A style does not need to be strict. It only needs to guide your choices. If every plant and object competes for attention, the corner will look smaller.
Build the layout before you plant
The best way to test a corner garden is to lay out the shapes before digging. Use a garden hose for curves, string for straight lines, and empty pots for plant locations.

Mark the bed edge
Keep the bed shape simple. A wide triangular bed can soften a sharp corner, while a narrow rectangular bed works well beside a fence. Curved edges suit informal gardens, but curves should be wide enough to mow and maintain.
Avoid tiny points at the end of a triangular bed. They dry out quickly and are hard to weed. Round the point or end the bed with a low plant, stone, or small container.
Use a spade to cut the edge, then step back 10 to 15 feet. The shape may look different from a distance. Adjust it before removing sod.
Plan spacing for mature size
Read the plant label for mature width, not just the pot size. A shrub listed as 5 feet wide needs room to grow. Planting it 18 inches from a fence may cause poor air flow, difficult pruning, and bent branches.
For most perennials, use this rough guide:
- Small plants: 8 to 12 inches apart
- Medium plants: 18 to 24 inches apart
- Large perennials: 30 to 36 inches apart
- Small shrubs: 3 to 5 feet apart
- Large shrubs: 5 to 8 feet apart
You can plant closer for a fast, full look, but expect more watering and division later. I prefer modest spacing in dry regions because crowded plants compete for moisture.
Add a path or stepping stones
A narrow corner may not need a full path. Two or three flat stepping stones can give access for pruning and prevent soil compaction. Set each stone firmly so it does not rock underfoot.
Place stones before planting. Walk on them with a full watering can or a bag of compost. If they shift, correct the base now. A path that looks decorative but feels unsafe becomes a nuisance.
Use repetition and odd groupings
Groups of three, five, or seven plants often look natural. Repeat a plant at least twice in a small corner so it connects one area to another. For example, use blue fescue at the front and repeat it near the focal shrub.
Do not repeat invasive plants or aggressive spreaders without checking local guidance. Mint, lemon balm, bishop’s weed, and some running bamboo can escape their space.
Select plants for light and climate
Plant selection should follow the site, not the color chart at the garden center. Choose plants that can handle your USDA zone, summer heat, winter cold, soil moisture, and available light.

Full-sun corner plants
For six or more hours of sun, consider plants such as:
- Lavender, especially in well-drained soil
- Salvia nemorosa
- Coneflower, including Echinacea purpurea
- Catmint, such as ‘Walker’s Low’
- Yarrow
- Daylily
- Sedum
- Switchgrass
- Blue fescue
- Rosemary in Zones 7 through 10
Full-sun plants still need water while they establish. Deep watering once or twice a week is often better than a little water each day, but sandy soil may need more frequent irrigation.
Part-shade corner plants
For four to six hours of sun or bright shade, try:
- Coral bells, including Heuchera hybrids
- Bigleaf hydrangea
- Japanese forest grass
- Hellebore
- Astilbe
- Foxglove
- Columbine
- Oakleaf hydrangea
- Ferns
- Hosta
In hot climates, afternoon shade can protect hostas and coral bells from scorched leaves. In cool, damp climates, give these plants enough air flow to reduce fungal disease.
Shade-corner plants
Deep shade does not mean no design. Use foliage, texture, and bark for interest. Try:
- Christmas fern
- Lady fern
- Hosta
- Brunnera
- Pulmonaria
- Hakone grass
- Tiarella
- Japanese painted fern
- Evergreen ground covers suited to your region
White or silver foliage can brighten a dark corner. Light-colored hardscape, such as pale gravel or a limestone pot, can also reflect light.
Add year-round structure
A corner garden often looks empty in winter if all plants die back. Add at least one evergreen or strong winter form. Options include dwarf conifers, inkberry holly, boxwood where suitable, evergreen sedges, yucca, or a small broadleaf evergreen.
Avoid boxwood in areas where box tree moth or boxwood blight causes problems. A dwarf conifer may offer a better low-care alternative, but check its mature width before planting near a fence.
| Plant role | Examples | Main purpose |
|---|---|---|
| Tall anchor | Dwarf conifer, hydrangea, serviceberry | Adds height and structure |
| Seasonal show | Coneflower, salvia, rose, daylily | Provides flowers and color |
| Texture layer | Grass, fern, coral bells | Fills the middle and adds leaf form |
| Low edge | Thyme, sedum, ajuga, creeping phlox | Softens borders and covers soil |
A strong plant mix usually has one anchor, two or three middle-layer plants, and one or two low edge plants. More variety is not always more beauty.
Prepare the soil and planting area
Soil preparation decides how well the garden performs after the first month. Improve poor soil before planting, but avoid creating a rich pocket that differs sharply from the surrounding ground.

Remove sod and weeds
Cut the turf into strips with a sharp spade. Roll the strips and shake off extra soil. Do not bury perennial weeds such as bindweed, quackgrass, or nutgrass in the new bed.
For a no-dig method, cover the grass with overlapping cardboard and add 4 to 6 inches of compost and mulch. This can work well, but persistent weeds may grow through gaps. Keep cardboard away from plant stems and tree trunks.
Improve compacted soil
Spread 1 to 2 inches of finished compost over the bed and mix it into the top 6 to 8 inches. Do not add large amounts of sand to clay soil. That mix can create a dense, concrete-like texture.
If the soil has poor drainage, organic matter alone may not solve the issue. Raise the bed, redirect water, or choose plants that tolerate wet roots. Compost improves structure, but it does not replace a drainage plan.
Add mulch after planting
Apply 2 to 3 inches of shredded bark, leaf mold, pine straw, or another suitable mulch. Keep mulch 2 to 3 inches away from stems and trunks. Thick mulch against bark can lead to rot, pest shelter, and rodent damage.
Mulch reduces weeds and slows moisture loss. It also moderates soil temperature, which helps new roots during hot summers and cold snaps.
Use fertilizer with care
Most new beds need compost more than strong fertilizer. A soil test should guide lime, sulfur, phosphorus, and potassium use. Too much nitrogen can create soft growth that attracts aphids and suffers in winter.
If a test shows low nutrients, use a slow-release fertilizer that matches the plants. A balanced product such as 5-5-5 may suit a mixed ornamental bed, but native plants often need little fertilizer once established.
⚠️ Warning: Never mix fertilizer into the planting hole around bare roots or young transplants. High salt levels can damage tender roots. Spread the product over moist soil and follow the label rate.
Plant the corner garden step by step
Planting is easier when you work from structure to detail. Set all pots in place first, then adjust the design before removing containers.

1. Water the plants
Water every plant a few hours before planting. Dry root balls can repel water after planting, which leaves the center of the root mass dry even when the surrounding soil is wet.
2. Set the tallest plants first
Place the anchor shrub, tree, trellis, or large grass. Check its distance from the fence, wall, path, and windows. Rotate the plant so its best side faces the main view.
For a small tree, keep the root flare at soil level. The root flare is the point where the trunk widens into major roots. Never bury it under soil or mulch.
3. Arrange the middle layer
Set medium plants in loose groups. Step back often. Plants look farther apart in pots than they will after growth begins, so avoid filling every open patch.
Mix leaf shapes. Pair narrow grass blades with round hosta leaves or fine fern fronds with broad hydrangea leaves. Contrast makes a small bed feel rich without adding many species.
4. Add low plants at the edge
Use low plants to soften the border. Creeping thyme and sedum suit dry, sunny corners. Sweet woodruff may suit shade but can spread fast in moist soil. Choose a ground cover that matches your climate and maintenance level.
5. Dig wide holes
Dig each hole two to three times wider than the root ball and no deeper than its height. Loosen circling roots gently. If the roots form a tight mat, make three or four shallow cuts down the sides with a clean knife.
6. Backfill with native soil
Return the soil you removed. Mix in a small amount of compost if the ground is poor, but do not create a soft, rich pocket that encourages roots to stay in one place. Press lightly to remove large air gaps.
7. Water slowly
Water each plant at the base until the soil is wet through the root zone. A 1-gallon shrub may need several gallons during the first watering. Let the water soak in rather than running off the bed.
8. Mulch and label
Apply mulch after planting and label plants that you may not recognize when dormant. Labels help when a perennial disappears in winter or when a shrub needs a special pruning time.
🌱 Beginner Note: Plant fewer specimens than you think you need. A new corner can look bare for a few weeks, but most perennials expand. Empty space is easier to fill than an overcrowded bed is to rescue.
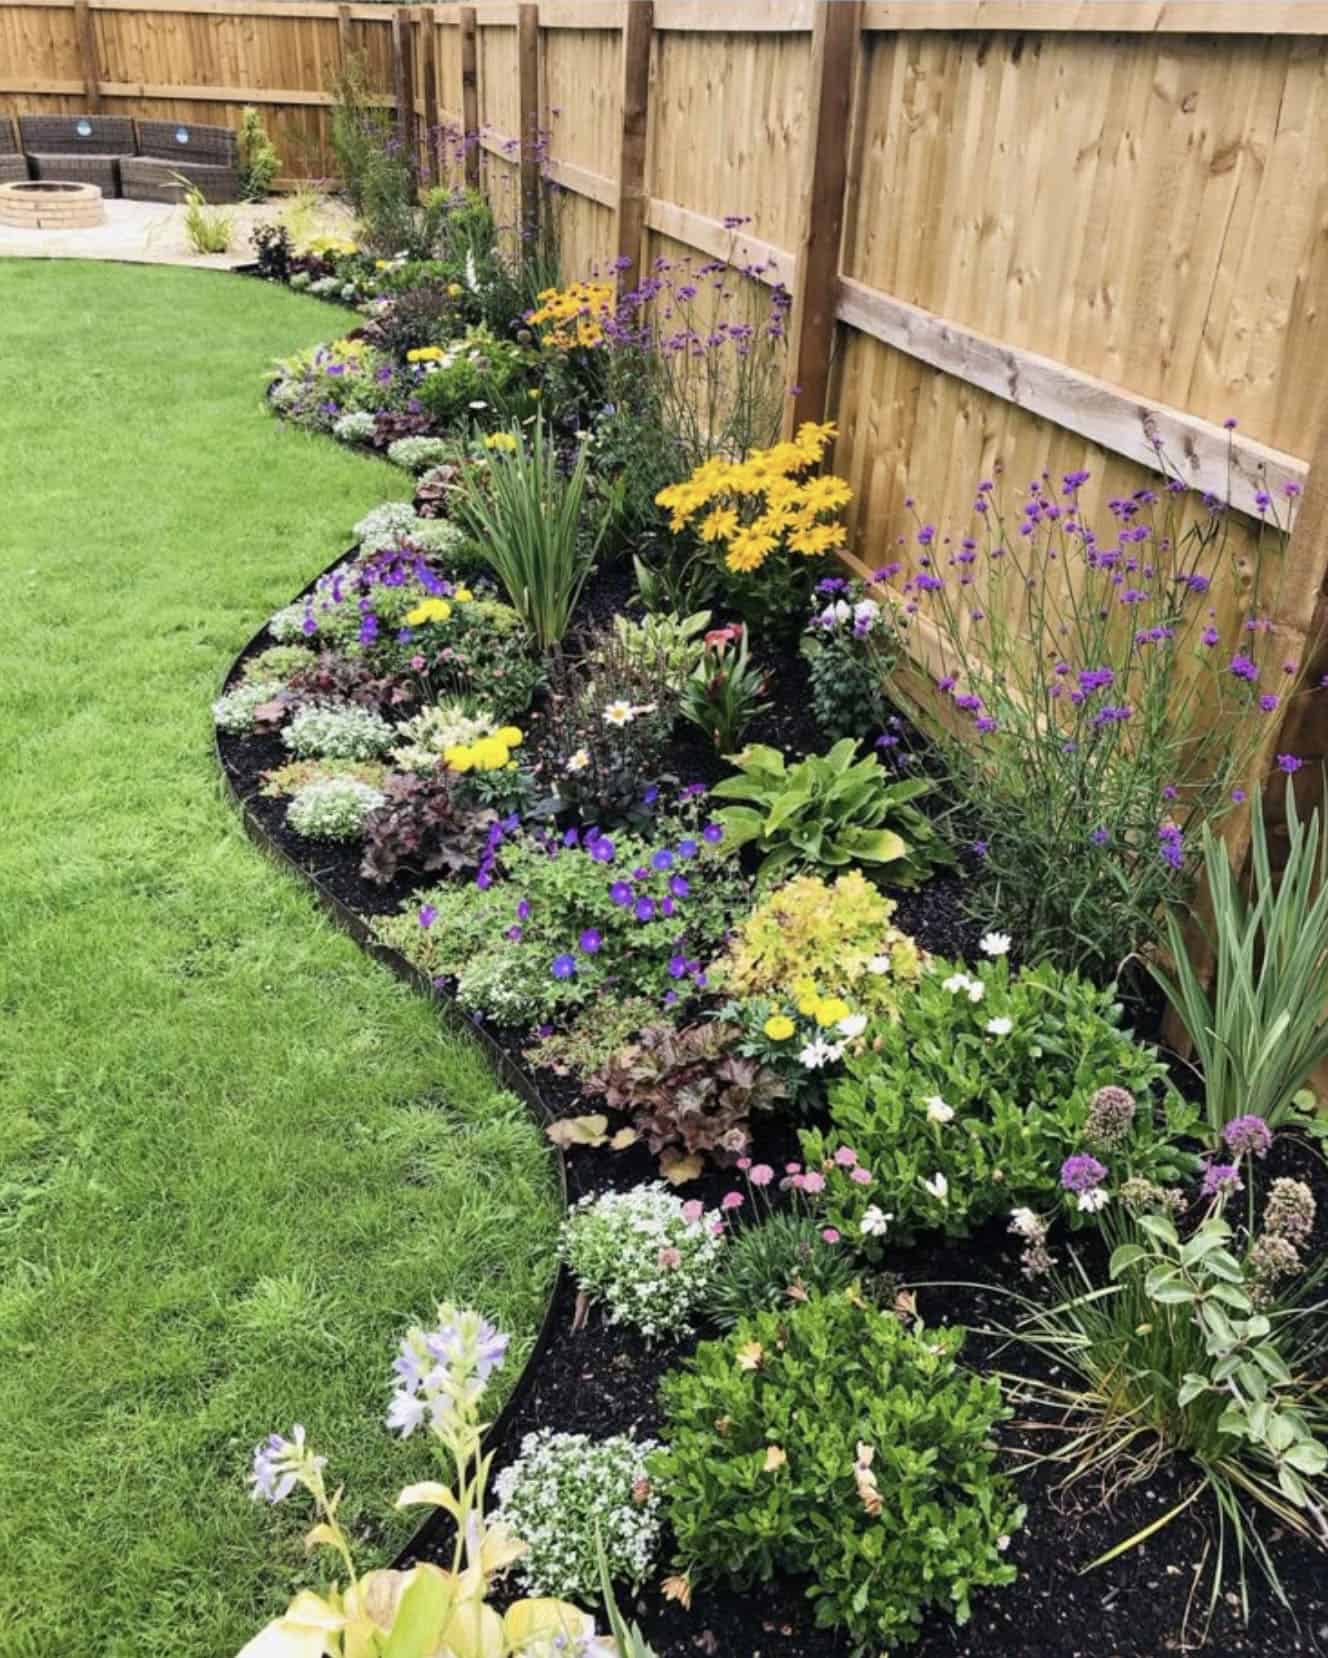
Compare common corner garden layouts
Different layouts suit different yards. The right choice depends on how the corner looks, how you use the space, and how much maintenance you can provide.
| Layout | Best for | Main limitation |
|---|---|---|
| Triangular bed | Sharp fence corners and open lawns | The point can dry out and be hard to weed |
| L-shaped bed | Corners beside patios or paths | Inside angles can become hard to reach |
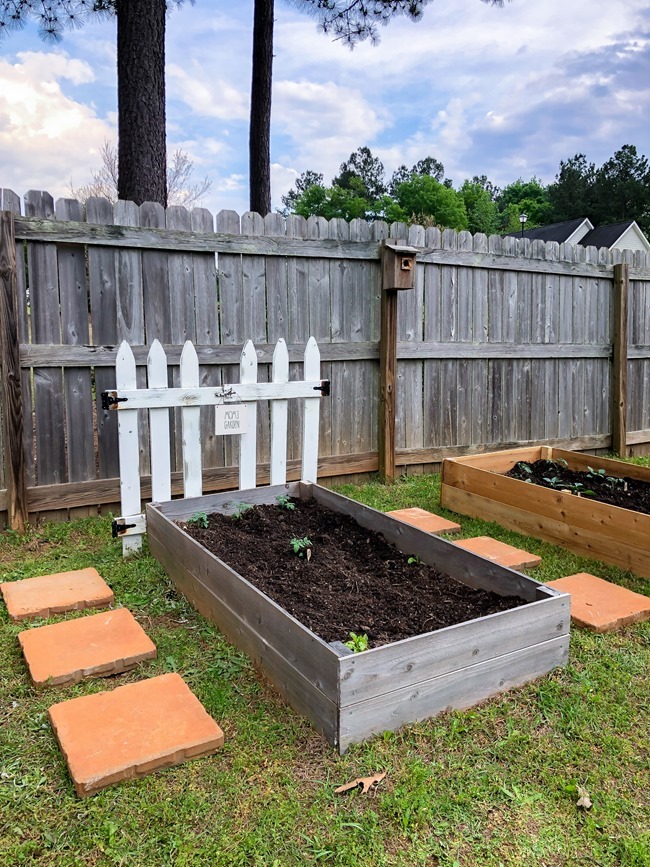
| Raised corner bed | Poor soil, roots, or drainage problems | Costs more and needs regular watering |
| Container cluster | Renters, balconies, and paved areas | Pots dry out faster and need winter care |
| Vertical trellis | Tiny spaces and wall-side gardens | Needs secure support and regular pruning |
A triangular bed makes the corner feel intentional, while an L-shaped bed connects two borders. Containers offer the most control but also the most watering work.
Plan water, feeding, and maintenance
A corner garden needs less care when the plants share similar needs. Do not place a thirsty hydrangea beside drought-loving lavender just because their flowers match.

Water during establishment
For the first two weeks, check the soil every day or two. Water when the top 1 to 2 inches feels dry, unless the plants prefer consistently moist soil. From weeks three through eight, water deeply when needed and slowly reduce the frequency.
A useful starting schedule is below, but weather and soil change the answer.
| Plant stage | Typical watering pattern | What to watch |
|---|---|---|
| First 2 weeks | Check daily; water when needed | Wilting, runoff, or dry root balls |
| Weeks 3–8 | Deep water 1–3 times weekly | Soil moisture 3–6 inches down |
| After 2 months | Water during dry spells | New growth and leaf color |
| Established plants | Based on species and rainfall | Heat, drought, and winter dryness |
Clay soil may need less frequent watering than sandy soil. In a Zone 9 heat wave, even established plants may need extra water, while a cool Zone 6 spring may need very little.
Control weeds early
Walk the garden once a week during the growing season. Pull small weeds before they seed. A narrow hand hoe works well in open soil, while a hand fork helps around perennial crowns.
Do not cultivate deeply near shrubs. You can cut fine roots and bring new weed seeds to the surface. Mulch and hand pulling usually work better in a small corner.
Prune at the right time
Prune spring-flowering shrubs after they bloom. Prune summer-flowering shrubs during late winter or early spring, depending on the plant. Remove dead, damaged, or crossing stems at any time.
Do not shear every plant into a ball. Natural forms often make a small garden look larger. Use clean bypass pruners for stems and a folding saw for branches too thick for pruners.
Watch for pests and disease
Common problems include aphids, spider mites, slugs, powdery mildew, leaf spot, and root rot. Signs of trouble include sticky leaves, fine webbing, ragged holes, white leaf coating, black spots, or sudden wilt.
Start by checking water, air flow, light, and plant stress. Spray only after identifying the problem. Insecticidal soap can help with soft-bodied pests, but it must contact the insects and may burn leaves in hot sun.
| Symptom | Likely cause | First response |
|---|---|---|
| Yellow leaves and wet soil | Overwatering or poor drainage | Check roots and reduce irrigation |
| Dry brown leaf edges | Heat, wind, or dry roots | Water deeply and add mulch |
| White coating on leaves | Powdery mildew | Improve air flow and remove badly affected leaves |
| Large ragged holes | Slugs, snails, or chewing insects | Inspect at night and hand-pick pests |
| Sticky leaves | Aphids or scale insects | Spray water, inspect stems, and use insecticidal soap if needed |
Healthy plants resist many problems better than stressed plants. Avoid crowding and water the soil rather than wetting leaves late in the day.
Add hardscape, wildlife features, and containers
Hardscape gives the corner form during winter and between bloom cycles. Use one or two durable materials, such as stone and wood, rather than mixing many finishes.

Add a trellis or screen
A trellis can add height without taking much ground space. Use it for clematis, climbing roses, annual beans, cucumbers, or native honeysuckle suited to your area. Anchor it well before vines become heavy.
Avoid planting a vigorous vine against siding or a weak fence. Some vines twist into small gaps and make repairs difficult. A freestanding trellis gives you better control.
Use a pot as a movable focal point
A large container can hold a tender plant, seasonal color, or a small citrus tree in Zones 8 through 10. Choose a pot with a drainage hole and raise it slightly on feet so water can escape.
Terracotta dries fast, while glazed ceramic and plastic hold moisture longer. In cold climates, frost-resistant pots last longer. Bring tender containers into a protected space before hard freezes.
Support pollinators
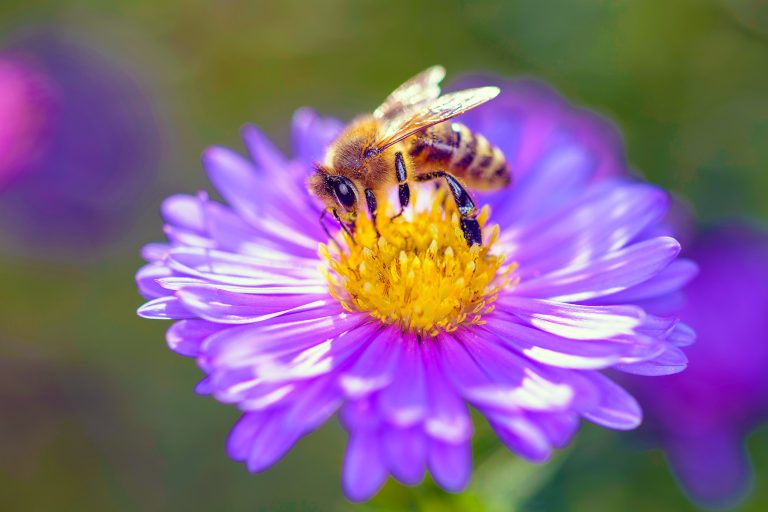
Choose flowers with open centers that let bees and other insects reach pollen and nectar. Coneflower, bee balm, asters, goldenrod, salvia, yarrow, and native milkweed can support pollinators when suited to your region.
Avoid treating every insect as a pest. A few leaf holes may be a fair trade for birds and beneficial insects. Remove diseased plant material, but leave some hollow stems and seed heads for overwintering wildlife.
Add a small water feature
A shallow birdbath can attract birds, but clean it often. Change the water every few days in hot weather and scrub algae before it builds up. Add a stone or stick so insects can climb out.
Do not place standing water where children or pets may fall in. A saucer with shallow water is safer than a deep decorative basin.
💡 Pro Tip: Place the focal object slightly off-center. A birdbath or pot directly in the middle can make the corner look stiff. An off-center object feels more natural and gives nearby plants room to frame it.
Learn from common design mistakes
Many corner gardens fail for predictable reasons. Correcting these mistakes early saves money and keeps the space enjoyable.

Planting only one season of interest
A bed that looks great in June may look empty in November. Add evergreen structure, winter stems, seed heads, bark, or ornamental grasses. Choose plants with different bloom times from spring through fall.
Ignoring the fence or wall
A fence can reflect heat, block airflow, or create deep shade. Paint, wood color, and wall texture also affect how plants look. Leave space behind shrubs so branches do not scrape against the surface.
Making the bed too deep
A corner bed more than 6 feet deep can be hard to reach from the lawn. If you cannot reach the center without stepping into the bed, add a path or reduce the depth.
Using too many plant types
A long plant list often creates a patchwork look. Start with five to seven plant types, then add more only if the design needs them. Repetition creates calm.
Choosing plants that spread too fast
Research mature size and growth habit. A plant labeled “vigorous” may need division every two years or may spread under a fence. Ask a local nursery about invasive behavior in your county.
Forgetting winter access
In cold climates, snow shovels, firewood, and roof runoff may affect the corner. Keep fragile shrubs away from snow piles and downspouts. Use flexible stakes only when needed, and remove them after the plant roots in.
Estimate time and cost
A small corner garden can cost about $150 to $500 when you reuse materials and choose young plants. A raised bed with stone, irrigation, large shrubs, and professional labor can cost $1,000 to several thousand dollars.

| Project size | DIY time | Typical cost range |
|---|---|---|
| Small container corner | 2–5 hours | $75–$300 |
| 40–80 square feet | 1–2 weekends | $200–$900 |
| Raised or hardscaped corner | 2–5 weekends | $800–$3,000+ |
| Large tree and drainage work | Several days | $1,500–$5,000+ |
Costs vary by region, plant size, soil work, and material choice. Native plants from local sales can lower the plant bill, while mature shrubs create instant impact but cost much more.
Use basic tools
You do not need a large tool collection. A sharp spade, garden fork, hand pruners, rake, hose, level, tape measure, gloves, and wheelbarrow cover most corner garden projects.
For compacted ground, a broadfork can loosen soil with less damage than repeated rototilling. A battery string trimmer can clean the edge, but keep the line away from young stems and mulch.
Set a realistic timeline
A small bed can be planned in one day and planted over a weekend. Soil repair may take a season. Shrubs often need two to three years to fill their space, while perennials may settle after one full growing season.
Do not judge the design in the first month. Take photos after planting, at midsummer, in fall, and in winter. These views reveal gaps and overcrowded spots better than memory.
🔧 Quick Fix: If the corner looks flat after planting, add one vertical feature before buying more flowers. A trellis, narrow evergreen, tall grass, or large pot can create height in less than an hour.
Improve the design after the first season
A garden is a living design. After one season, you will know which areas dry out, which plants lean, and where paths become muddy.

Review what grew well
Record plant names, bloom dates, watering needs, and pest issues. A simple note such as “salvia bloomed from May to July and needed no extra water after June” helps guide future choices.
Remove plants that struggle for reasons you cannot fix. A shade plant in full afternoon sun may never look good, even with extra water. Replacing it is often kinder than constantly rescuing it.
Thin crowded plants
Perennials often expand faster than expected. Divide crowded hostas, daylilies, ornamental grasses, and some asters in spring or fall when weather is mild. Water divisions well after replanting.
Do not divide plants during a heat wave. Wait for cool weather or a cloudy day. Keep roots moist during the work.
Refresh mulch and edges
Add a thin layer of mulch when the old layer breaks down. Do not pile new mulch on top of a thick, matted layer. Rake it lightly so water can enter.
Redefine the edge once or twice a year. A clean line can make an ordinary garden look finished.
Adjust for winter and summer extremes
In cold Zones 3 through 6, protect marginal plants with wind protection and avoid late nitrogen. In hot Zones 8 through 10, use afternoon shade, drip irrigation, and heat-tolerant plants.
In rainy regions, improve air flow and avoid wetting leaves at night. In dry regions, group plants by water need and use organic mulch to reduce evaporation.
Know when to hire a professional
DIY design works well for small beds with stable soil and simple planting. Hire help when the corner includes large tree roots, retaining walls, electrical lines, drainage problems, steep slopes, or heavy stone.

A landscape designer can solve circulation and view problems before you buy plants. An arborist should assess major tree roots and branches. A licensed professional should handle electrical work, irrigation backflow devices, and structural retaining walls.
Call 811 before digging in the United States. Utility lines may pass through places that seem safe. Hand digging around marked lines is still important.
FAQs about corner garden design
Q: What is the best shape for a corner garden?
A: A rounded triangular bed suits a sharp lawn corner, while an L-shaped bed works well beside two paths or a patio. Round the point of a triangle so it does not become dry and difficult to weed. The best shape is one you can reach without stepping into the soil.
Q: How deep should a corner garden bed be?
A: A bed 4 to 6 feet deep is easy for most people to maintain from one side. If the bed is deeper, add a path or access stones. Shrubs and small trees may need more room, but access still matters.
Q: What can I plant in a shady corner?
A: Try hosta, coral bells, ferns, hellebore, brunnera, Japanese forest grass, tiarella, and oakleaf hydrangea. Choose plants based on moisture as well as shade. Dry shade under trees needs different plants from damp shade beside a downspout.
Q: How do I design a corner garden with poor soil?
A: Test the soil first, remove debris, add 1 to 2 inches of compost, and improve drainage if needed. For severe compaction or tree roots, use a raised bed or containers. Avoid adding large amounts of sand to clay soil.
Q: Can I grow vegetables in a corner garden?
A: Yes, if the space gets at least six hours of sun and has good access to water. Herbs, lettuce, chard, peppers, bush beans, and compact tomatoes work well. Use a trellis for cucumbers or beans, but keep vigorous vines away from weak fences.
Q: How do I design a corner garden on a budget?
A: Start with a small bed, use divisions from healthy perennials, collect leaves for mulch, and buy young native plants. Reuse stones or containers as focal points. Spend first on soil improvement and drainage rather than decorations.
Q: Should I use landscape fabric under mulch?
A: Usually not in a planted perennial bed. Fabric can slow new planting, restrict soil life, and become exposed as mulch breaks down. Thick compost mulch and regular hand weeding work better for most small corner gardens.
Q: How often should I water new plants?
A: Check the soil daily during the first two weeks and water when the root zone begins to dry. After that, water deeply one to three times per week as needed. Sandy soil, hot wind, and summer heat increase the need for water.
Q: How can I make a small corner garden look bigger?
A: Use fewer plant types, repeat colors, keep the edge clean, and add height near the back or center. Light-colored gravel or foliage can brighten a dark corner. Avoid filling every gap with small decorations.
Q: What should I do with a corner that stays wet?
A: Test whether a downspout, slope, or compacted soil causes the water. Redirect runoff, raise the bed, or choose moisture-tolerant plants such as certain ferns, sedges, astilbes, and red-twig dogwood. Do not plant lavender or rosemary in waterlogged soil.
Q: How long does a corner garden take to fill in?
A: Annuals can fill a bed in one season, while perennials often need one to two years. Shrubs and small trees may take two to three years to reach a strong shape. Mature plant size, climate, watering, and soil fertility all affect the timeline.
Final thoughts
A corner garden succeeds when it has a clear shape, one focal point, layered plants, and enough access for care. Start with the site, not the shopping list. Improve the soil, match plants to light and water, and leave room for mature growth.
The best corner garden is not the one with the most plants. It is the one that feels finished from the window, works well from the path, and still looks inviting after the first hard winter or dry summer.
Meta description: Learn how to design a corner garden with simple layouts, plant ideas, soil tips, hardscape features, watering plans, and low-maintenance advice for every yard.