How To Build A Tiered Raised Garden Bed: Easy DIY Guide
A tiered raised garden bed adds growing space without taking over the yard. Each level sits above the one below it, like a small set of garden steps. This design works well on slopes, in small yards, and for gardeners who want clear zones for herbs, vegetables, flowers, or strawberries.
I have built tiered beds with cedar, pine, and reclaimed boards in gardens from USDA Zone 5 to Zone 9. The frame is not the hard part. Good drainage, strong joints, safe wood, and the right soil mix decide whether the bed lasts one season or many years. A well-built bed can produce food for five to 15 years, depending on the wood, climate, and care.

Quick answer: build each tier as a strong, level box
The best way to build a tiered raised garden bed is to make two or three sturdy boxes, place them in a stepped layout, anchor them, and fill them with well-drained soil. Use untreated cedar or another rot-resistant wood, keep each tier 12 to 18 inches deep, and leave enough room to walk and water. Check the slope, drainage, sunlight, and final height before adding soil.

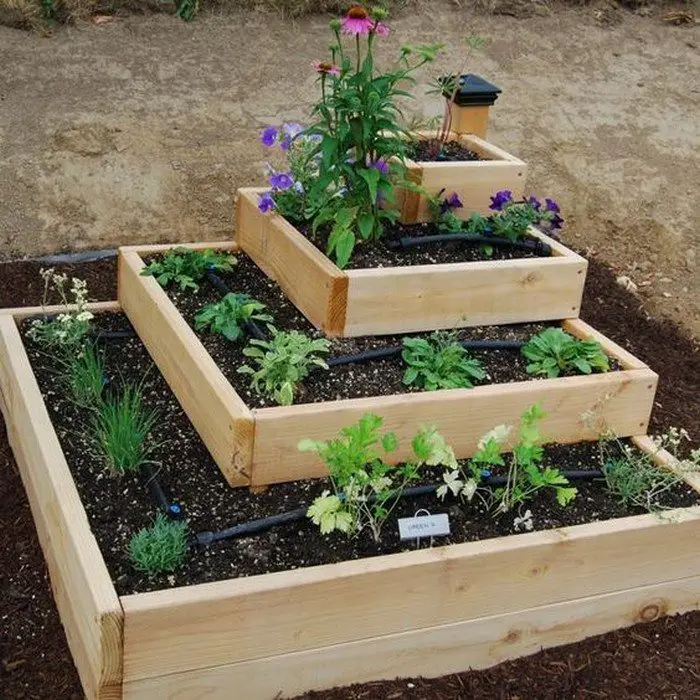
A simple two-tier bed is enough for most home gardens. A three-tier design gives more planting area but needs more lumber, more soil, and stronger support on sloped ground. For beginners, I suggest starting with two levels measuring about 4 feet wide by 8 feet long.
The key idea is simple: the lower tier holds soil at the bottom of the slope, while the upper tier sits behind or above it. The tiers must not push against each other. Each one needs its own frame and support.
Choose the right place before you cut wood
Place the bed where plants can get at least six to eight hours of direct sun. Leafy greens such as lettuce and spinach can handle four to six hours, but tomatoes, peppers, cucumbers, squash, and strawberries need more light for strong growth.

Walk around the area at different times of day. Watch for shade from fences, trees, sheds, and your home. In my Zone 6 garden, a spot that looked sunny in April lost two hours of afternoon light once the trees filled out in June.
Avoid low spots where rain pools. Raised beds improve drainage, but a bed built in standing water can still stay too wet. Keep the structure away from large tree roots, roof runoff, septic fields, and underground utility lines.
Measure slope, access, and working space
A tiered bed works best when you can reach every plant without stepping into the soil. Keep each level no more than 4 feet wide if you can reach it from both sides. A bed against a wall should usually stay 2 to 3 feet wide.

Leave at least 24 inches between beds for walking. Thirty-six inches feels much better if you use a wheelbarrow. Allow extra room at the lower end for drainage and at the upper end for carrying soil.
Use a long level, a straight board, and a tape measure to check the slope. Measure the height difference from the top of the site to the bottom. This tells you how many tiers you need.
Check the sun and water source
Put the tallest crops on the north side of the bed. This reduces shade on shorter crops. A north-to-south layout also helps each tier receive more even light.

Place the bed near a hose or install drip irrigation before filling it. A full bed can hold hundreds of pounds of soil. Moving it later is not realistic.
In hot climates such as USDA Zones 8 and 9, afternoon shade can help cool lettuce and cilantro. In Zones 3 through 5, full sun and a wind-protected site help the soil warm faster in spring.
Select safe materials and useful tools
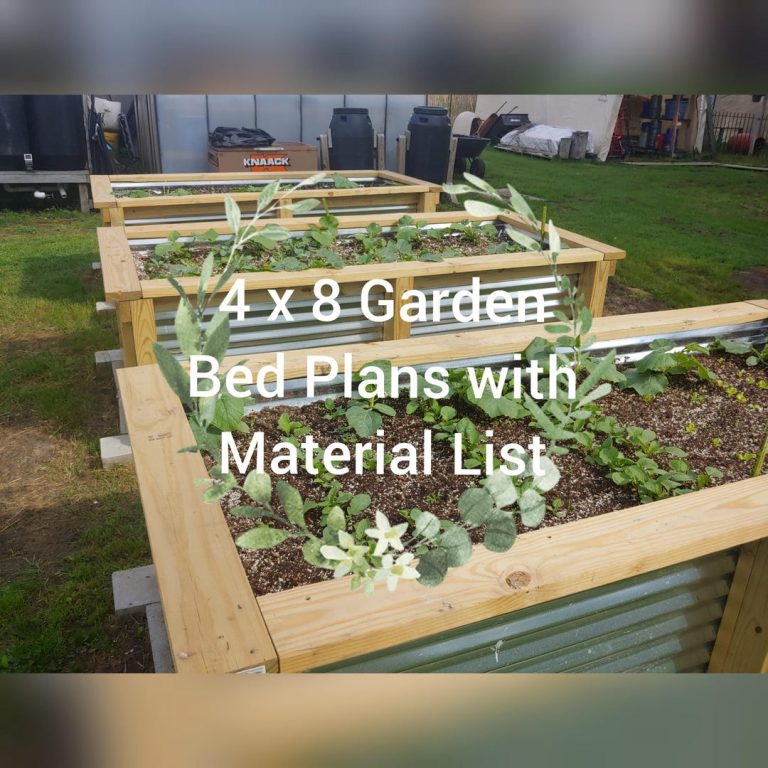
Use untreated cedar, redwood, black locust, or another naturally durable wood for the frame. Cedar costs more than pine, but it resists decay and often lasts longer. Untreated pine works well on a tight budget, though it may last only four to seven years in wet climates.
Never use wood treated with old formulas that contain arsenic. Avoid railroad ties, painted scrap wood, pallets of unknown origin, and boards that smell strongly of chemicals. If you use reclaimed lumber, find out how it was treated and stored.
You do not need a large tool collection. A circular saw, drill, long level, tape measure, shovel, rake, and mallet can handle most builds. A miter saw makes square cuts faster, but it is not required.
Tools and materials table
The list below fits a basic two-tier bed. Adjust the amounts for your own length, width, and height.
| Item | Suggested amount or size | Main use |
|---|---|---|
| Cedar boards | 2-by-8 or 2-by-10 lumber | Build the tier walls |
| Exterior screws | 3-inch coated screws | Join boards |
| Corner posts | 2-by-2 or 4-by-4 posts | Add strength and alignment |
| Landscape fabric | Enough for paths | Suppress weeds under paths |
| Compost | 25% to 35% of soil mix | Add nutrients and organic matter |
| Garden soil | 65% to 75% of soil mix | Provide body and minerals |
| Drill and bits | One drill, 1/8-inch bit | Pre-drill screw holes |
| Level and tape | 2-foot or 4-foot level | Set square, level frames |
| Shovel and rake | One each | Grade ground and mix soil |
Use exterior-rated screws, not drywall screws. Galvanized or coated deck screws resist rust better, especially in beds that stay damp.
A 2-by-8 board is about 7 1/4 inches wide, not a full 8 inches. Two boards stacked give a wall close to 14 1/2 inches. This small detail matters when you calculate soil volume.
Pick a layout that matches your yard
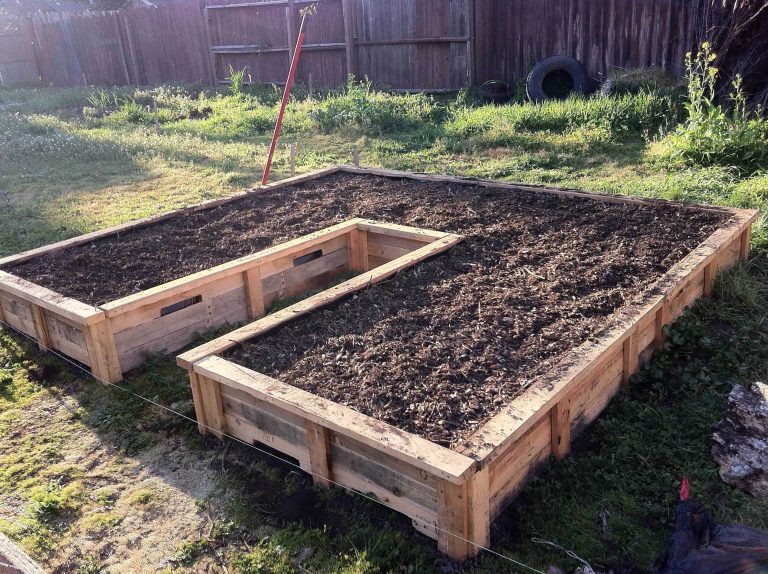
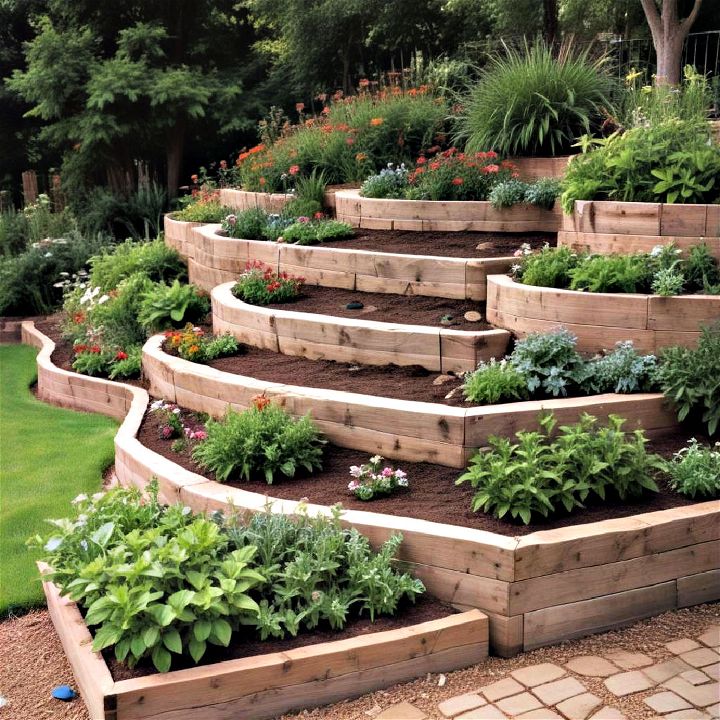
A straight stepped bed is the easiest design. The upper box sits behind the lower box, with a retaining wall between them. This layout suits a gentle slope and makes irrigation simple.

A nested design uses smaller boxes inside a larger frame. It looks neat but wastes some growing space and can make watering harder. A corner design works well in small yards and lets you grow different crops in each arm.
The best layout depends on access, slope, and the plants you want to grow. Do not choose a complex pattern just for looks. Every extra corner creates another place for water, soil, and boards to fail.
Common tier layouts
| Layout | Best use | Main drawback |
|---|---|---|
| Straight stepped tiers | Slopes and simple builds | Needs strong back support |
| Corner or L-shaped tiers | Small yards and patios | More cuts and corner joints |
| Nested boxes | Formal gardens | Less usable soil space |
| Pyramid bed | Herbs, flowers, strawberries | Small upper planting area |
For most vegetables, choose straight stepped tiers. You can grow tomatoes and peppers in the lower bed, herbs in the upper bed, and trailing strawberries along the front edge.
Prepare the ground and control the slope
Clear grass, weeds, rocks, and roots from the site. Remove the sod instead of burying it under the bed. Thick grass can grow through gaps and compete with young plants.
Mark the footprint with stakes and string. Measure both diagonals of each rectangle. If the two diagonal measurements match, the layout is square.
On nearly level ground, remove soil from the high side until the base is flat. Do not simply raise the low side with loose soil. Loose fill can settle and twist the frame.
Use a level base
Dig a shallow trench under the lowest wall. Set the first board into the trench and check it from side to side and front to back. Add or remove soil until it sits level.

For a bed on a slope, the lower tier needs the strongest support. Bury part of the wall or add posts that extend 12 to 18 inches into firm soil. On a steep slope, use 4-by-4 posts and consider advice from a landscape contractor.
A retaining wall that holds more than about 2 feet of soil can create serious pressure. Local rules may also require drainage or a permit. Do not treat a tall garden bed like a small planter box.
Add a weed barrier only where it helps
Cardboard can smother grass under a bed for a season or two. Use plain brown cardboard with no glossy coating, tape, or colored ink. Overlap pieces by at least 6 inches and soak them before adding soil.

Landscape fabric works better in paths than under a vegetable bed. Roots need access to the soil below, and fabric can block earthworms and water movement. If the site has aggressive roots from bamboo or running grass, a barrier may be useful, but it should not replace good site prep.
Build the lower tier first
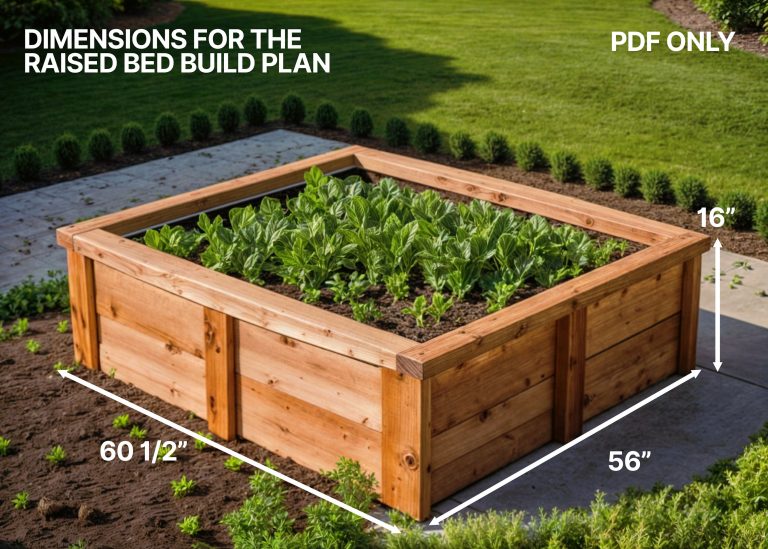
The lower tier carries the most soil and water, so build it before the upper tier. For a practical starter bed, cut two 8-foot boards for the long sides and four 4-foot boards for the ends and supports.

Lay the boards in place and check the corners. Pre-drill holes to reduce splitting, then drive two exterior screws at each corner. Add a vertical post inside each corner if the wall is more than 12 inches tall.
Do not rely on one screw per joint. Soil pushes outward all season. A weak corner may look fine when empty and bow after the first heavy rain.
Reinforce long walls
Long walls need support every 3 to 4 feet. Use interior stakes or posts that connect the wall to the soil. Sink them below the bottom board and screw the boards to them.
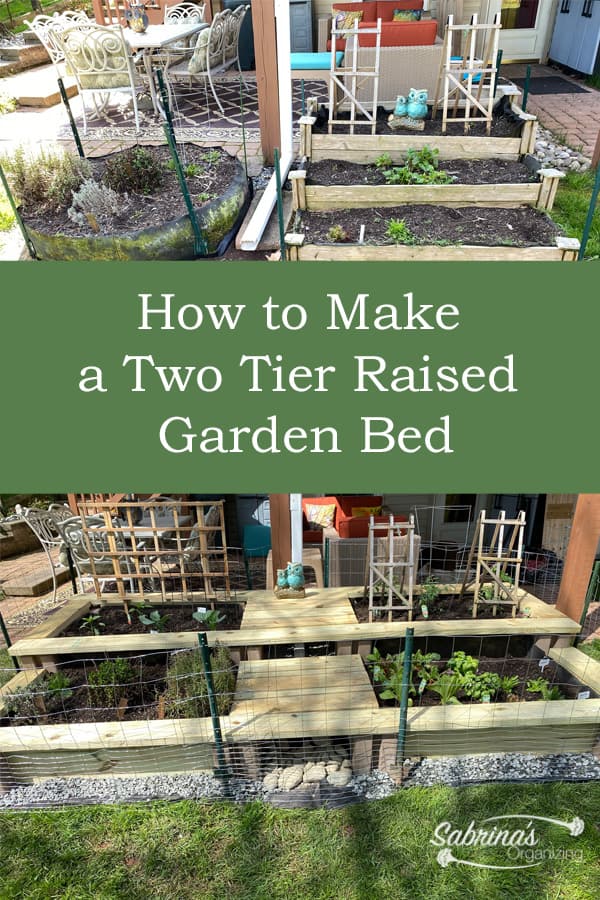
For a 16-foot lower tier, I use at least four support points along each long side. In wet clay soil, I add more because saturated soil weighs much more than dry soil.
You can also install threaded rod or a cross brace between long walls. This keeps the sides from spreading. Make sure any brace sits low enough that it does not block roots or tools.
⚠️ Warning: Do not build a tall tier against a foundation, fence, or retaining wall without leaving a drainage gap. Water pressure can damage nearby structures and push the bed out of shape.
Build and anchor the upper tier
Set the upper tier behind the lower one, leaving a path or soil gap between them. The upper frame should sit on firm, level ground. Do not place it on loose soil that you just dug from the slope.

Anchor the upper tier with posts driven into the ground. Attach the lower edge of the upper frame to those posts with exterior screws. On a mild slope, 2-by-2 posts may work. On a steep slope or for walls over 18 inches, use larger posts.
Keep the upper tier slightly shorter or narrower than the lower one. This creates a step and keeps the upper frame from shading the lower plants.
Check every tier before filling
Measure the height, width, and level of each frame. Look for gaps under the boards. A gap larger than 1 inch can let soil wash out during heavy rain.
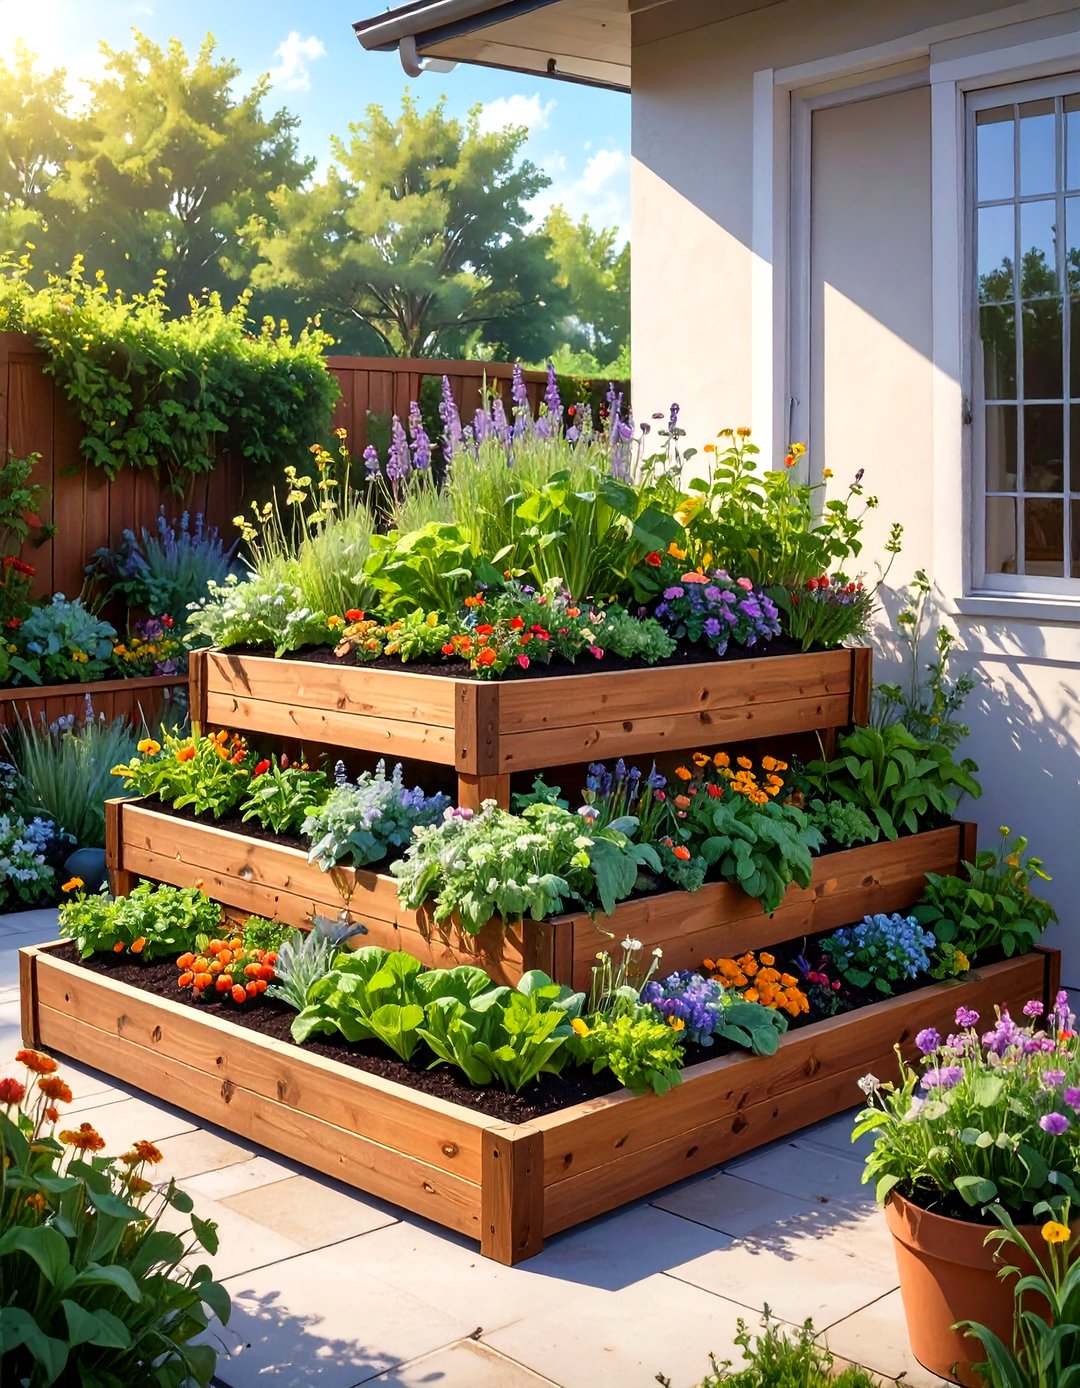
Spray the inside of the frame with a hose before filling it. Water will reveal low spots, leaks, and areas where the ground settles. Fix these problems while the bed is empty.
If the bed moves when you push it, add posts or braces. Soil will not make a weak frame stronger. It will make the failure harder to repair.
Fill the beds with the right soil mix
Use a mix of quality topsoil, finished compost, and an aeration material such as aged bark fines. A practical blend is 60% topsoil, 30% compost, and 10% bark fines or leaf mold.
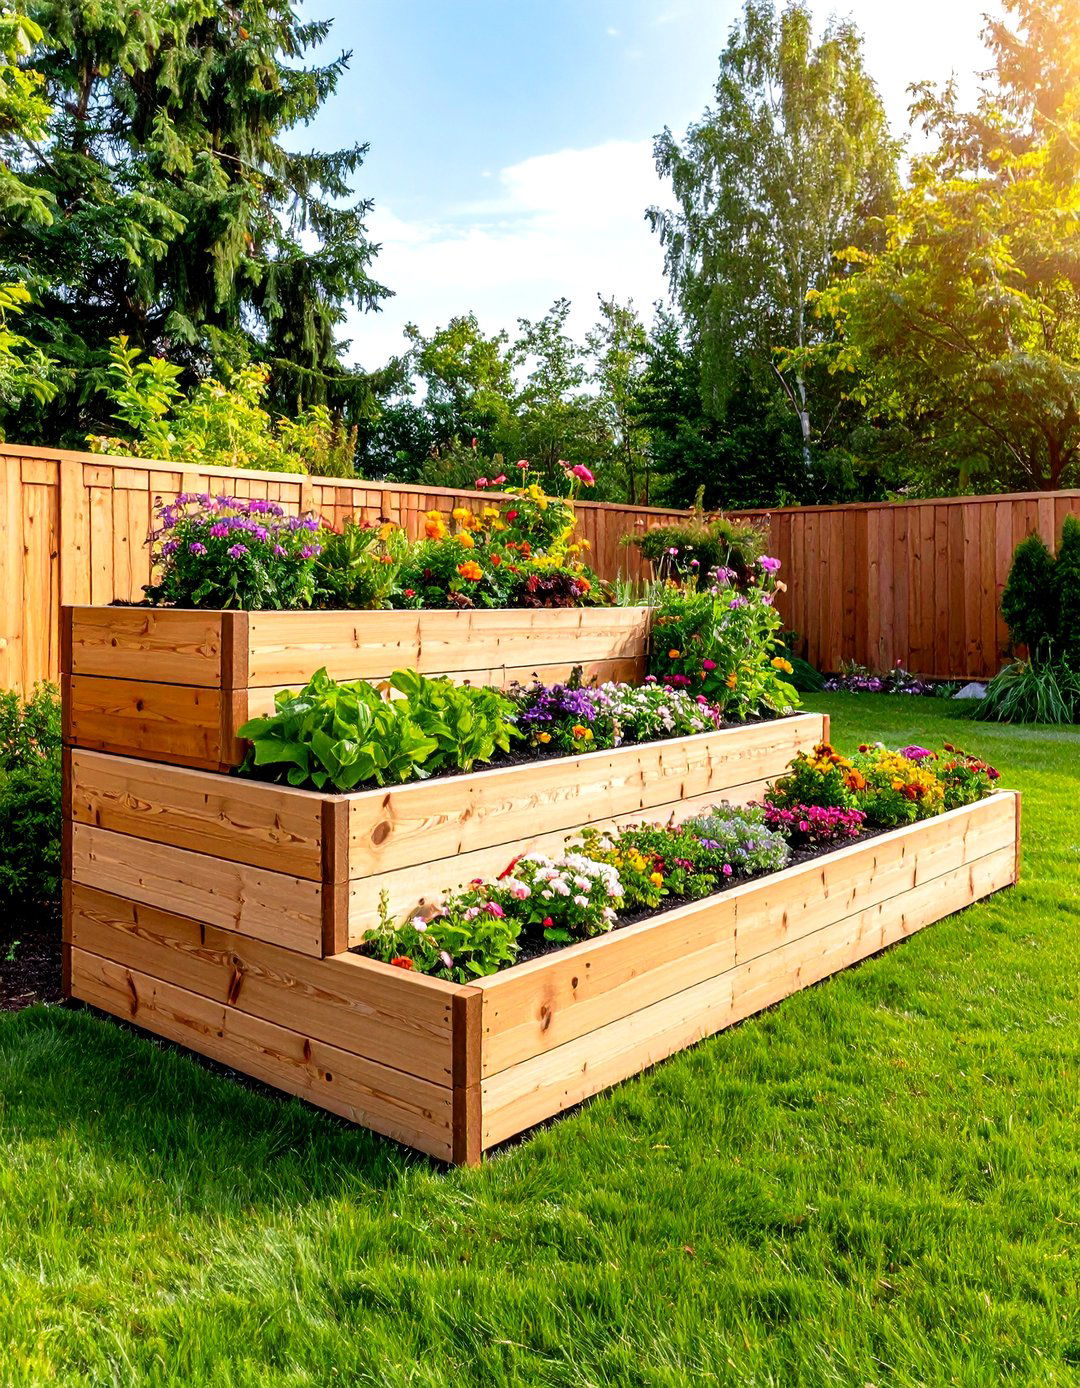
Avoid filling the bed with pure compost. Compost shrinks as it breaks down, holds more water than many roots need, and can contain high salts if it is not mature. Avoid cheap bagged “garden soil” as the only ingredient because it may become dense or drain poorly.
A soil test gives better results than guessing. Most vegetables grow well at a pH of 6.0 to 7.0. Blueberries need much more acidic soil, so grow them in a separate container or dedicated bed.
Soil amounts for common bed sizes
Calculate volume with this formula:
Length × width × soil depth = cubic feet
A 4-by-8-foot bed that is 1 foot deep needs 32 cubic feet of soil. Order extra because soil settles. I usually add 10% to 15% more for the first fill.
| Bed size | Soil depth | Approximate volume |
|---|---|---|
| 4 by 8 feet | 12 inches | 32 cubic feet |
| 4 by 8 feet | 18 inches | 48 cubic feet |
| 3 by 6 feet | 12 inches | 18 cubic feet |
| 2 by 8 feet | 12 inches | 16 cubic feet |
| 4 by 4 feet | 12 inches | 16 cubic feet |
One cubic yard equals 27 cubic feet. A 4-by-8-foot bed that is 12 inches deep needs about 1.2 cubic yards after allowing for settling.
Use a tarp to mix soil if you are combining bulk materials. Fill the lower tier first, then the upper tier. Do not fill the lower bed so high that it blocks drainage from the upper one.
Use hugelkultur with care
Some gardeners place logs or branches under deep beds. This can reduce soil costs, but fresh wood steals nitrogen as it breaks down and may cause the soil to settle sharply.
If you use this method, choose small, well-rotted logs and keep them below the root zone. Add soil above them and expect the level to drop over the first two seasons. I prefer a full soil fill for annual vegetables because it gives more predictable root space.
Add irrigation and protect the soil surface
A tiered bed dries at different rates. The upper level may dry first because it receives more wind and drains toward the lower level. Hand watering works for a small bed, but drip irrigation saves time as the garden grows.
Lay drip tape or 1/2-inch dripline along each row before planting. Use pressure-compensating emitters on sloped sites. Add a filter and pressure regulator if your system connects to a hose bib.
Water at the soil surface, not over the leaves. Wet foliage can increase fungal diseases such as powdery mildew, early blight, and downy mildew.
Watering guide by season
Weather, soil type, and plant size change water needs. Check the soil with your finger before turning on the system.
| Season or condition | Typical watering pattern | What to check |
|---|---|---|
| Cool spring | 1 to 2 times per week | Soil should stay lightly moist |
| Hot summer | 2 to 4 times per week | Water 6 to 12 inches deep |
| After heavy rain | Skip watering | Check for pooling |
| New seedlings | Small amounts often | Do not let the surface crust |
| Fruiting tomatoes and peppers | Deep, steady watering | Avoid wide swings in moisture |
Sandy soil may need more frequent watering. Clay soil needs slower watering with longer pauses. Mulch with 1 to 2 inches of shredded leaves, straw, or untreated grass clippings to reduce evaporation.
Keep mulch away from tomato stems and the base of woody herbs. Thick, wet mulch can shelter slugs and cause rot.
Plant each tier for light, reach, and water
The lower tier usually has the easiest access and the deepest soil. Use it for tomatoes, peppers, eggplant, cucumbers on a trellis, carrots, beets, and bush beans.
Use the upper tier for herbs, lettuce, spinach, radishes, onions, and compact flowers. Trailing plants such as alpine strawberries, nasturtiums, and thyme can spill over the edges.
Do not plant mint directly in the bed. It spreads through underground stems and can take over a tier. Grow mint in a pot set near the bed instead.
Match crops to root depth
| Crop group | Examples | Suggested soil depth |
|---|---|---|
| Shallow roots | Lettuce, radish, chives | 6 to 8 inches |
| Medium roots | Beans, beets, basil, kale | 10 to 12 inches |
| Deep roots | Carrots, tomatoes, peppers | 12 to 18 inches |
| Vining crops | Cucumber, squash, melons | 18 inches plus space |
Rotate plant families from year to year. Do not grow tomatoes, peppers, eggplant, or potatoes in the same tier every season. They all belong to the nightshade family and can share diseases such as verticillium wilt and early blight.
Plant marigolds, calendula, alyssum, dill, and borage near vegetables to support pollinators and beneficial insects. These plants do not replace pest control, but they make the bed more useful to bees, hoverflies, and predatory wasps.
Avoid these common construction mistakes
Most failed tiered beds suffer from poor leveling, weak corners, or the wrong soil. Fixing those issues after planting is hard, so take time before the first seed goes in.
The most common mistake I see is building a beautiful frame on an uneven base. The boards look square until rain settles the soil. Then doors, paths, and irrigation lines no longer line up.
Another mistake is making tiers too tall. A 24-inch wall may look attractive, but it creates high soil pressure and makes the center hard to reach. Keep the growing surface within comfortable reach.
Problems and practical fixes
| Problem | Likely cause | Fix |
|---|---|---|
| Wall bows outward | Too few posts or weak screws | Add interior stakes and braces |
| Soil washes out | Poor level or open gaps | Reset the frame and close gaps |
| Plants wilt often | Fast drainage or shallow roots | Add compost and mulch; water deeply |
| Bed stays wet | Clay soil or blocked drainage | Improve soil and remove low spots |
| Soil drops after filling | Compost or logs decomposing | Top up with soil-compost mix |
| Wood rots early | Wet wood or poor drainage | Improve airflow and replace boards |
If the wall bows after one season, remove some soil before adding support. Do not force a post against a full wall. The pressure can split the board or injure you.
🔧 Quick Fix: If soil spills through a small gap, pack the outside with a strip of untreated cedar, then screw it into the frame. For a large gap, reset the board instead of stuffing it with plastic or loose mulch.
Protect the bed through the seasons
A tiered raised bed needs different care in each season. Spring is for checking structure and soil. Summer is for water and mulch. Fall is for cleanup and winter protection.
After snow or heavy rain, inspect the lower tier first. Look for leaning posts, washed soil, standing water, and cracks near the corners. In cold USDA Zones 3 through 5, freeze-thaw cycles can lift shallow posts.
In mild Zones 8 through 10, the bed may grow year-round. Replace summer crops with kale, chard, carrots, cilantro, and cool-season lettuce. In hot areas, add shade cloth over the upper tier during heat waves.
Seasonal maintenance schedule
| Time | Main task | Why it matters |
|---|---|---|
| Early spring | Check screws, posts, and level | Repair movement before filling |
| Late spring | Add compost and mulch | Feed plants and reduce weeds |
| Summer | Inspect drip lines and soil moisture | Prevent drought stress |
| Fall | Remove diseased plants | Reduce pest and disease carryover |
| Winter | Protect empty beds from erosion | Preserve soil and frame strength |
Do not leave diseased tomato or squash vines on the soil surface. Remove them from the garden. Healthy leaves and stems can go into a hot compost pile, but weeds with mature seed heads may spread.
Personal lessons from building tiered beds
My first tiered bed looked good but lacked enough support along the long wall. By late summer, the lower board bowed nearly an inch after several heavy rains. I removed the soil near the wall, added three stakes, and rebuilt the corner with longer screws.
That repair taught me to build for wet soil, not dry soil. Dry soil seems light and harmless. Saturated soil acts more like a heavy, slow-moving block.
I also filled one bed with too much compost. Lettuce grew fast, but the leaves tasted harsh, and the soil crusted after watering. A soil test showed high nutrient levels. I diluted the bed with topsoil and used less compost the next season.
In another bed, I placed strawberries on the upper tier. That worked well because the fruit stayed cleaner and the runners hung over the edge. However, the upper soil dried faster than expected, so I added dripline and straw mulch.
Decide whether a tiered bed fits your garden
A tiered raised bed suits gardeners who want more growing space, better access, and a clear design on a slope. It also works well for renters if built as separate boxes that can be moved.
It may not suit a very low budget. Soil often costs more than lumber, especially for deep beds. A flat in-ground garden remains cheaper if your native soil drains well and does not contain heavy clay, rubble, or contaminants.
Container gardening is a good alternative for patios. Grow bags cost less at first and provide excellent drainage, but they dry out faster and may last only three to six seasons. A single raised bed is simpler if you have a flat site.
Advantages and limits
| Benefits | Drawbacks |
|---|---|
| Adds space on a slope | Needs careful leveling |
| Improves drainage | Soil and lumber can cost a lot |
| Makes planting easier to reach | Upper tiers may dry quickly |
| Separates crops and soil types | Walls can bow or rot |
| Warms earlier in spring | Requires yearly inspection |
The design is worth the money when poor soil or a sloped yard limits your harvest. It is less useful if you already have deep, fertile, level ground.
Estimate time, cost, and lifespan
A basic two-tier bed can take one weekend for two people. Cutting and assembly may take four to eight hours. Site leveling and soil filling often take as long as the carpentry.
Current pricing ranges from about $150 to more than $700, depending on lumber, soil, irrigation, and delivery. A small pine bed may cost less than $150. A large cedar design with bulk compost, drip irrigation, and hardware can pass $1,000.
Cedar may last 10 to 15 years in many climates. Pine may last four to seven years, while redwood and black locust can last longer. Lifespan varies with soil contact, rainfall, termites, drainage, and the quality of the lumber.
Cost by build level
| Build type | Typical cost range | Good for |
|---|---|---|
| Small pine tiers | $100–$250 | Beginners and short-term gardens |
| Cedar two-tier bed | $250–$600 | Most home vegetable gardens |
| Large cedar or redwood system | $600–$1,200+ | Long-term gardens and slopes |
| Masonry or stone tiers | $800–$3,000+ | Permanent landscape projects |
Painting or sealing the outside of the frame may slow weathering, but do not coat the inside with products not labeled for garden use. Good drainage usually protects wood better than paint.
Know when to hire a professional
You can build most low tiered beds yourself. Hire a professional if the structure will retain more than 2 feet of soil, sits beside a foundation, borders a steep slope, or could affect a neighbor’s property.
Call before digging if you are unsure about buried electrical, gas, water, or irrigation lines. A local utility marking service can prevent a serious accident.
A landscape contractor can also help with grading and drainage. This matters more than the frame when your yard has clay, runoff, or a steep grade.
Frequently asked questions
Q: How deep should a tiered raised garden bed be?
A: Make each tier 12 to 18 inches deep for most vegetables. Leafy greens and herbs can grow in 6 to 10 inches, but tomatoes, peppers, carrots, and parsnips perform better with 12 inches or more. Deep beds also give roots more stable moisture.
Q: Can I build a tiered raised bed on a slope?
A: Yes. A slope is one of the best reasons to build one. Level each tier separately, anchor the lower wall with posts, and add drainage where water collects. Do not stack loose boxes on a slope without securing them.
Q: Should I put rocks in the bottom of a raised bed?
A: No. A layer of rocks does not improve drainage in most raised beds. It can create a perched water layer where water stops moving between fine soil and coarse rock. Use well-structured soil and correct the site grade instead.
Q: Can I use pressure-treated wood for a vegetable bed?
A: Modern pressure-treated wood is regulated and is commonly used in outdoor construction, but some gardeners still prefer cedar or untreated lumber for food beds. Avoid old reclaimed treated wood because its chemicals may be unknown. Never use railroad ties or lumber with an oily smell.
Q: How do I stop a raised bed from bowing?
A: Add interior stakes or posts every 3 to 4 feet, use two or three exterior-rated screws at each joint, and keep the wall level. If the wall already bows, remove soil pressure before adding braces. Repairing a full bed is risky and less effective.
Q: What is the best soil mix for a tiered raised bed?
A: Mix about 60% quality topsoil, 30% finished compost, and 10% aged bark fines or leaf mold. Test the soil after mixing. Most vegetables prefer pH 6.0 to 7.0, but crops such as blueberries need separate acidic soil.
Q: How often should I water a tiered raised bed?
A: Check the soil two inches below the surface. Water deeply when it feels dry, often one to two times per week in cool weather and two to four times per week during hot summer weather. The upper tier may need water sooner because it gets more wind and sun.
Q: Can I use a tiered bed for strawberries?
A: Yes. Strawberries work well along the edge of an upper tier. Use June-bearing varieties for one large crop or everbearing varieties for smaller crops over a longer season. Mulch with straw and protect fruit from birds.
Q: How do I keep weeds out of a tiered bed?
A: Remove sod before building, use cardboard under the bed when suitable, and add 1 to 2 inches of mulch. Pull weeds while small. Avoid deep tilling because it brings buried weed seeds to the surface.
Q: How long will a cedar tiered garden bed last?
A: Cedar often lasts 10 to 15 years, though wet climates may shorten that time. Inspect the lower boards each spring. Replace any board that feels soft, splits under light pressure, or no longer holds screws.
Q: Can I grow fruit trees in a tiered raised bed?
A: Small fruits such as strawberries, blueberries, raspberries, and dwarf figs may work, but large fruit trees usually need more root room and stronger support. Keep aggressive raspberries in a separate area because their runners can spread into nearby tiers.
Q: What should I plant in the top tier?
A: Plant herbs, lettuce, spinach, radishes, onions, strawberries, and compact flowers in the top tier. These crops are easy to reach and do not cast much shade. Put tall tomatoes and trellised cucumbers on the north side.
Final thoughts
A tiered raised garden bed succeeds when the structure, soil, and site work together. Start with a sunny place, level each tier, anchor the walls, and use soil that drains well but holds moisture. Keep the design simple enough to repair.
For most home gardeners, two cedar tiers with 12 to 18 inches of soil offer the best balance of cost, strength, and growing space. Add drip irrigation, mulch, and yearly inspections, and the bed can become a reliable garden for many seasons.
Meta description: Learn how to build a tiered raised garden bed with safe materials, strong supports, soil calculations, drainage tips, irrigation advice, planting plans, costs, and maintenance steps.