How To Make Raised Beds For Free: Easy DIY Guide
A raised bed can turn poor soil, a patch of grass, or a small patio into a productive garden. The good news is that you do not need to buy cedar boards or a ready-made kit. With careful scavenging, you can build raised beds for free from fallen branches, old logs, stones, bricks, broken concrete, untreated pallets, or reclaimed lumber.
I have built beds in heavy clay, sandy soil, and wet ground across several USDA hardiness zones. The best free material depends on your climate, drainage, pests, and what you can find nearby. A branch bed may last two seasons, while stone or brick can last for decades.
The goal is simple: make a stable border, fill it with healthy soil, and give plant roots good drainage. This guide shows how to do that safely, with little or no money.
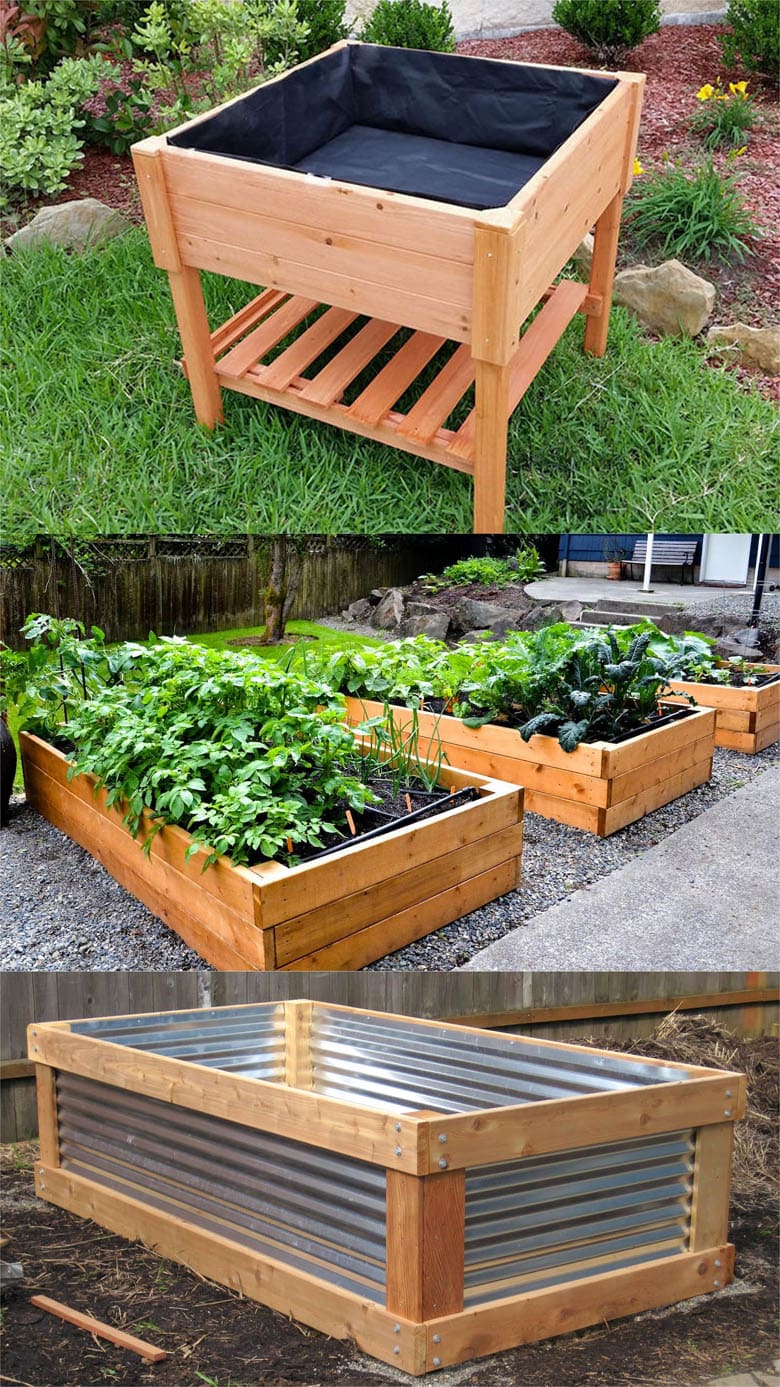
Quick answer: How do you make raised beds for free?
To make a raised bed for free, use safe reclaimed materials such as untreated lumber, logs, branches, stones, bricks, or concrete blocks. Clear the site, level the ground, build a border 6–12 inches high, and fill it with topsoil, finished compost, and aged organic matter. Avoid painted, stained, chemically treated, or unknown industrial wood.
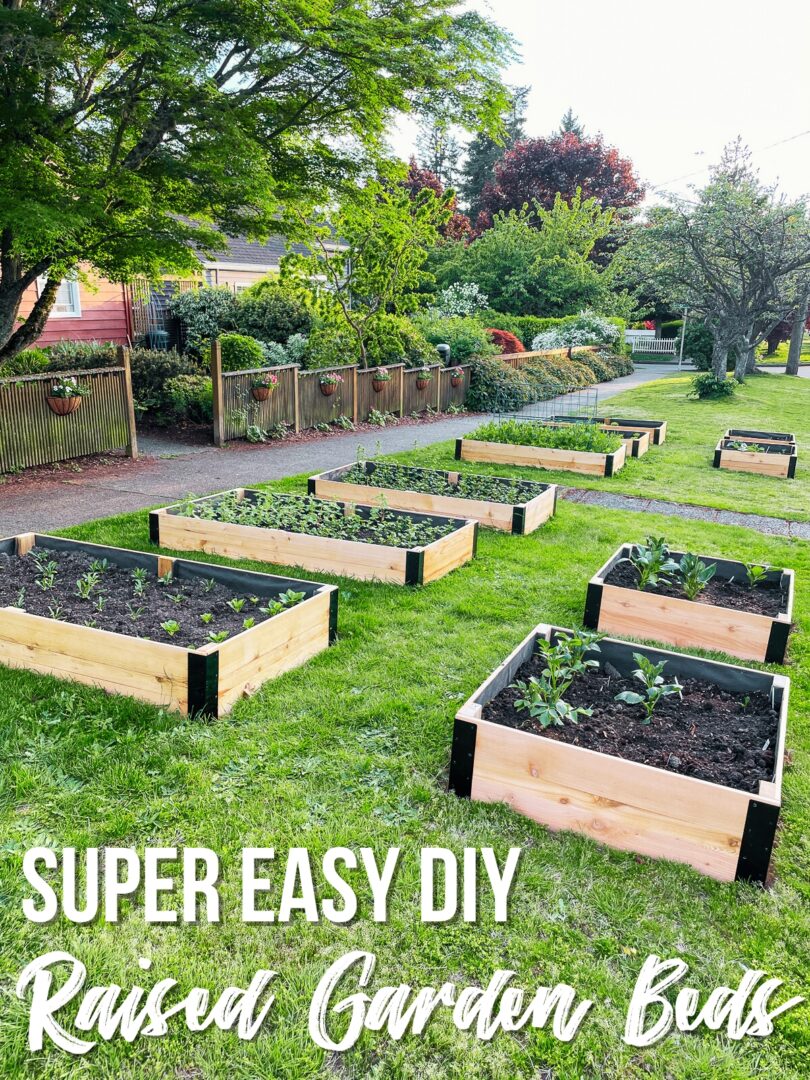
A free raised bed works best when the material is local, strong, and safe for food crops. Start small. A bed that measures 3 feet wide by 6 feet long is easy to reach from both sides and usually needs less soil than a large bed.
The best time to build is often late winter or early spring, before planting. In hot USDA Zones 8–10, fall is also a good time because the soil can settle through winter.
Choose free materials that will not harm your garden
The safest free raised-bed materials are untreated wood, natural stone, brick, and clean concrete. Each option has a different lifespan, look, and level of effort. Before you carry anything home, ask where it came from and what it touched.
Food gardens need special care because some chemicals can move from old materials into soil. Do not use wood with peeling paint, oily stains, a strong chemical smell, or an unknown history. Skip railroad ties, utility poles, and old landscape timbers treated with creosote or other preservatives.
Free wood and logs
Untreated boards from a dismantled shed, old fence, or interior building project can make excellent bed walls. Look for boards made from pine, fir, spruce, cedar, or redwood. Cedar and redwood last longer, but even pine can provide several useful growing seasons when it stays above wet soil.
Logs are another good choice. Use straight sections with a diameter of about 4–10 inches. Place the largest logs at the bottom and wedge smaller pieces into gaps. Fresh logs may rob a small amount of nitrogen as they decay, but this matters less when the logs form the outside wall and do not mix into the root zone.
Branches can form a woven “wattle” bed. Push sturdy sticks into the soil as posts, then weave flexible branches between them. Willow, hazel, young maple, and many fruit-tree prunings work well. Avoid branches from diseased trees or plants that spread easily from cuttings.
Stones, bricks, and concrete
Stone is one of the longest-lasting free materials. Fieldstone, flat rocks, broken masonry, and clean concrete chunks can all form a strong border. A stone bed suits a sloped garden because you can build it like a low retaining wall.
Bricks are easy to stack, but do not use bricks covered in flaking paint or mortar dust from a site with unknown contamination. Clean concrete blocks work well too. Old cinder blocks may contain residues from storage or industrial use, so wash them and avoid blocks with oily stains.
Pallets and reclaimed boards
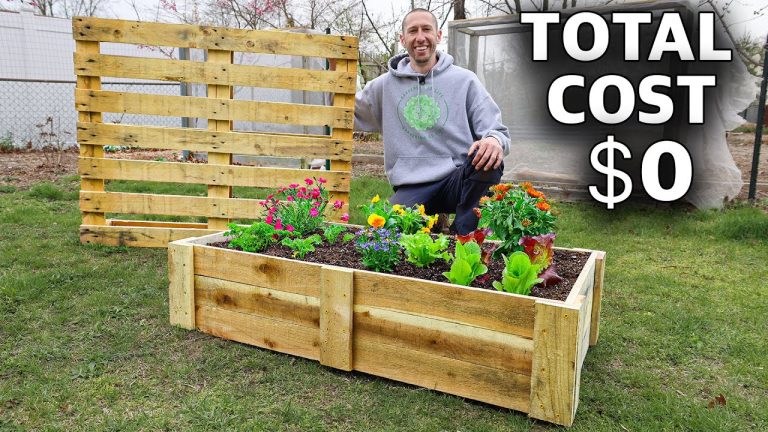
Pallets can work, but they require more checking than most people expect. Use only pallets stamped HT, which means heat treated. Avoid pallets marked MB, which means methyl bromide fumigation. Do not use pallets with missing stamps, black stains, mold, chemical odors, or signs that they carried pesticides, solvents, fuel, or animal products.
A pallet itself is not a complete raised bed. You can take it apart for boards, or place two pallets together and add a safe liner. However, pallet slats often have cracks and nails, so they need careful inspection.
| Material | Typical useful life | Main concern |
|---|---|---|
| Natural stone or clean brick | 15–50+ years | Heavy lifting and poor drainage if stacked tightly |
| Untreated cedar or redwood | 8–15 years | Harder to find for free |
| Untreated pine or spruce | 3–7 years | Rot at ground contact |
| Logs and branches | 1–5 years | Settling, insects, and decay |
| Heat-treated pallet boards | 2–6 years | Unknown cargo history and hidden nails |
Stone and brick give the longest life, while branches offer the fastest free build. Use what fits your site, but never trade food safety for a neat appearance.
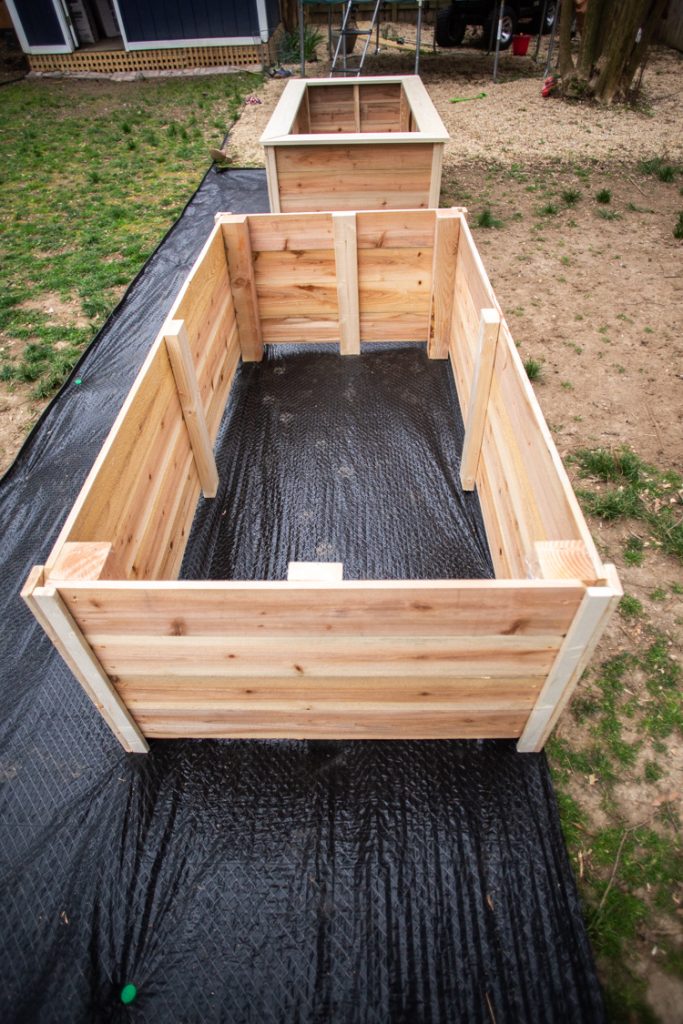
Materials and tools you can gather without spending money
You can build a basic raised bed with hand tools already found in many homes. Ask neighbors, local repair groups, tree crews, farms, demolition sites, and community gardens before buying anything. Always ask permission before taking materials from a curb pile or work site.
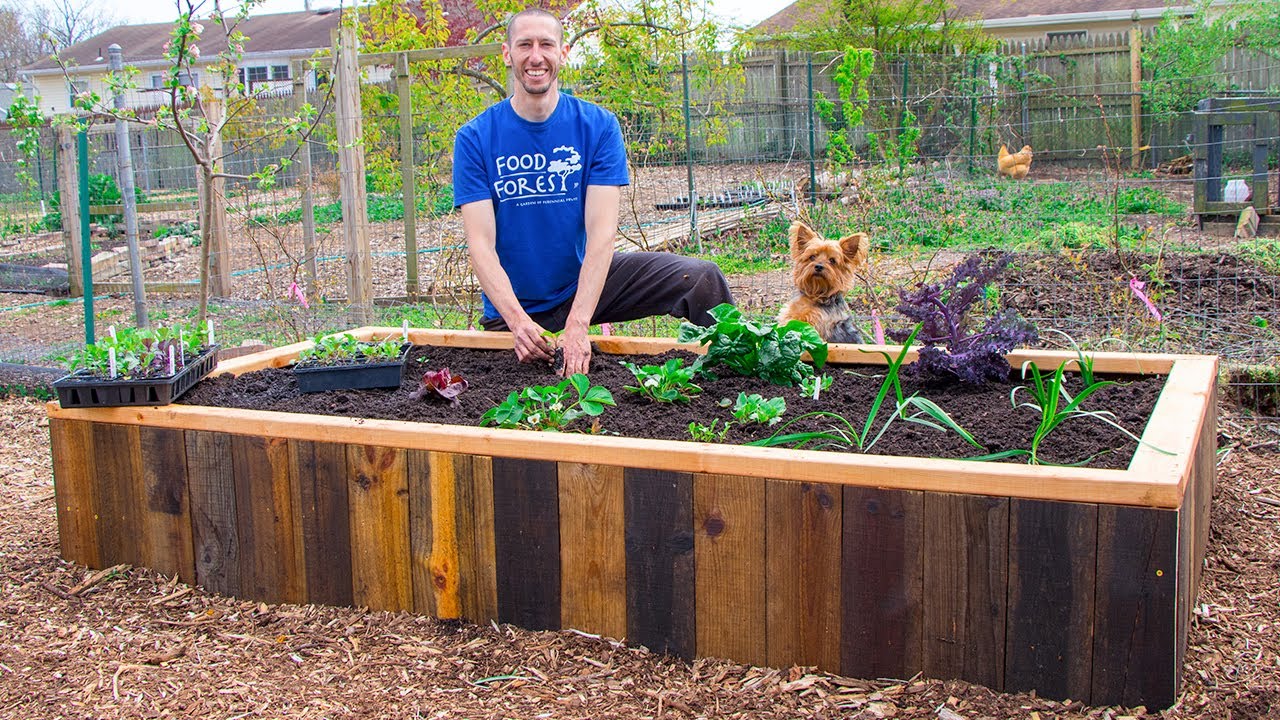
A shovel, garden fork, hand saw, tape measure, level, hammer, and gloves cover most projects. A cordless drill helps with reclaimed boards, but you can also use nails, wooden pegs, or simple stacking.
Basic free-bed materials checklist
| Item | Free sources | Use |
|---|---|---|
| Boards, logs, stones, or bricks | Old fences, tree work, farm piles, remodels | Bed walls |
| Cardboard | Grocery stores and moving boxes | Grass and weed suppression |
| Leaves and grass clippings | Your yard or neighbors | Compost and mulch |
| Finished compost | Home compost pile or community sites | Soil fertility |
| Sticks and branches | Pruning or storm cleanup | Wattle walls and support |
| Wooden stakes | Scrap wood or broken tool handles | Holding walls in place |
Use plain brown cardboard with tape, labels, and plastic removed. Avoid glossy paper, waxed boxes, and cardboard that smells like chemicals. Shredded leaves, aged manure, and finished compost can improve the bed, but fresh manure may burn roots and attract flies.
Tools that make the work easier
A digging fork loosens compacted soil with less effort than a shovel. A handsaw cuts small logs and pallet boards. A mason’s line helps you keep stone walls straight, while a level prevents one side from sinking.
If you use reclaimed lumber, wear safety glasses while pulling nails. A magnetic nail finder or strong magnet can help locate hidden metal. For stone, use work gloves and closed-toe shoes because sharp edges can cut skin.
💡 Pro Tip: Put a straight board across the top of the bed and place a level on it. Check several points before filling the bed. A small slope is fine, but a leaning wall will shift faster after heavy rain.

Pick the right size and location
A raised bed should sit in a place with enough sun, good access, and safe drainage. Most vegetables need at least six hours of direct sun each day. Tomatoes, peppers, cucumbers, squash, beans, and eggplant often perform better with eight hours.
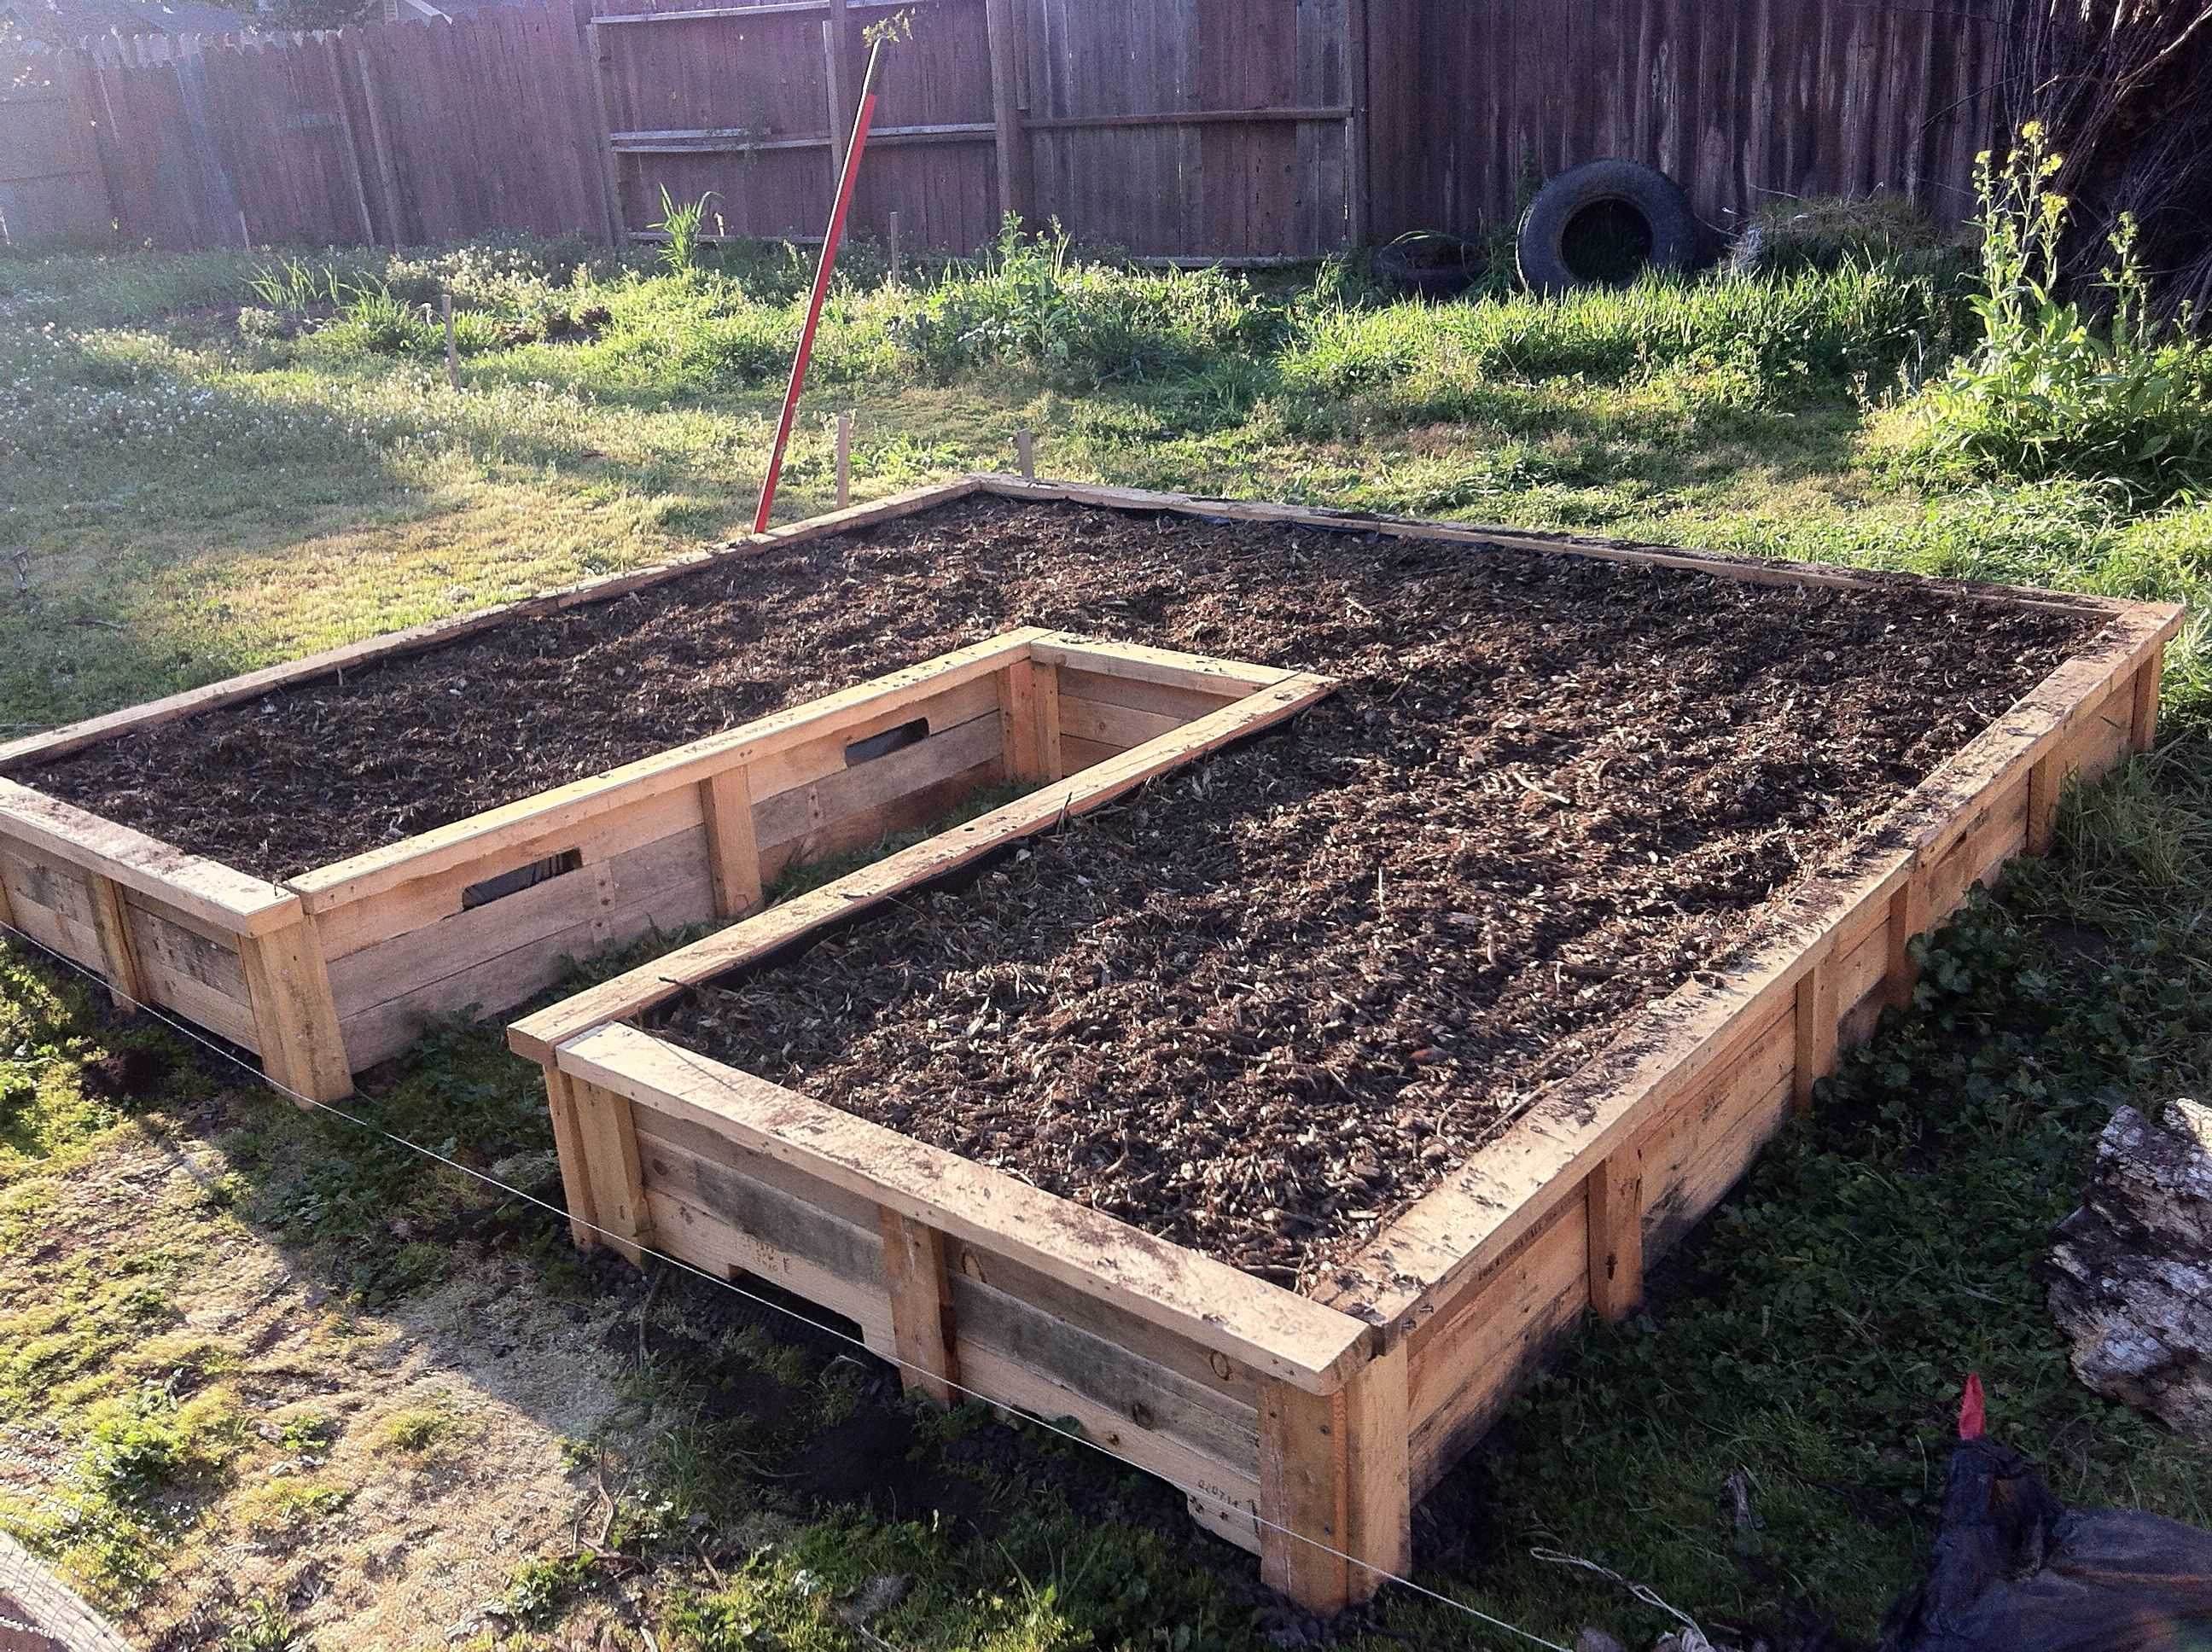
Keep the bed no wider than 4 feet if you can reach both sides. A 3-foot width is even easier for children, older gardeners, and anyone with back pain. If the bed touches a wall or fence, keep it 2 feet wide so you can reach the back row.
Length matters less than width. A 3-by-6-foot bed gives you 18 square feet of growing space and stays easy to manage. A 4-by-8-foot bed holds more plants, but it needs more fill and can become hard to weed if you plant too densely.
How deep should a free raised bed be?
A 6-inch bed works for lettuce, spinach, radishes, onions, strawberries, and many herbs. Use 8–12 inches for carrots, beets, bush beans, peppers, and tomatoes. A bed 18 inches deep suits long-rooted crops or gardeners who need a high work surface.
Do not fill a tall bed with costly bagged soil unless you have no other choice. Use clean logs, branches, leaves, and coarse organic matter in the bottom of deep beds. This is known as a woody-fill method, though it is not the same as a carefully built hugelkultur mound.
Site conditions to check
| Site condition | What to look for | Good action |
|---|---|---|
| Sunlight | Six or more hours of direct light | Track shade before building |
| Drainage | Water drains within 24 hours | Choose a slight slope or amend soil |
| Roots | Tree roots near the surface | Move the bed or use a bottom barrier |
| Access | Space for a wheelbarrow and hose | Leave 2–3 feet around the bed |
| Wind | Strong gusts or exposed corners | Use low walls and sturdy stakes |
| Water source | Hose or rain barrel nearby | Reduce carrying and wasted water |
The best location has morning sun, easy water access, and enough room to walk around the bed. Avoid the drip line of large trees when possible. Tree roots can steal water and nutrients, while dense shade reduces vegetable growth.

Build a free raised bed step by step
The basic process takes one afternoon for a small wood bed and one to three days for a stone bed. The time changes with the material, site, and amount of digging. Build the wall first, then fill it in layers.

1. Mark the bed
Mark the outline with sticks, twine, a garden hose, or flour. Measure the width from the outside edges. Keep corners square if you plan to use boards, but natural curves work well with logs and stone.
Remove large weeds and mow grass as short as possible. You do not need to remove every root if you use cardboard beneath the bed. However, remove perennial weeds such as bindweed, bermudagrass, quackgrass, and horsetail when you can.
2. Prepare the ground
Dig down 2–4 inches inside the outline if the site has thick grass or a slight slope. Use that soil in the bed. A shallow trench helps the first row of boards, logs, or bricks stay in place.
If the soil drains poorly, do not place a raised bed in a low spot and hope height will fix it. Water may collect under the bed. Choose a better site, or build a shallow bed and improve drainage with compost and organic matter.
3. Lay cardboard or newspaper
Place overlapping sheets of plain cardboard across the ground. Overlap the edges by at least 6 inches. Wet the cardboard so it stays in place and begins to soften.
This layer blocks light from grass and many weeds. It will break down over several months and feed soil organisms. Do not use plastic sheeting under a soil bed because it can trap water and reduce root growth.
4. Build the wall
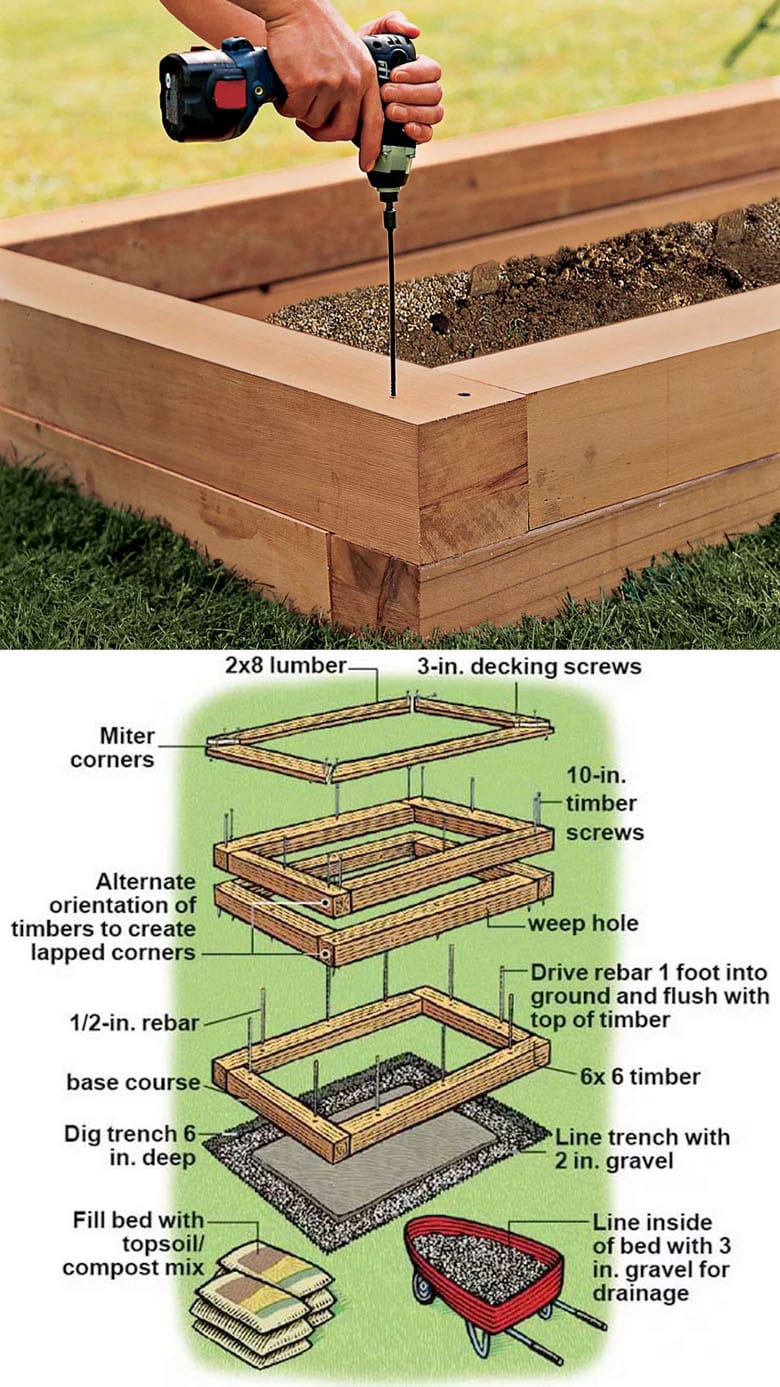
Set the first row of material on firm ground. For boards, overlap the corners and connect them with screws or nails. For logs, use stakes driven into the ground on the outside. For stone or brick, stagger the joints like a small wall.
Keep the wall low if the material is loose. A dry-stacked stone wall over 12 inches high may fall, especially after freeze-thaw cycles in USDA Zones 3–6. A low wall is safer and easier to repair.
5. Add coarse material to deep beds
For a bed deeper than 12 inches, add rotting logs, branches, leaves, and straw to the bottom. Use clean, untreated wood only. Leave about 8–12 inches of quality soil above the coarse layer for most annual vegetables.
Do not use thick layers of fresh wood chips in the root zone. They can tie up nitrogen while they decompose and may make the bed settle sharply. Fine wood chips work better as a surface mulch after they age.
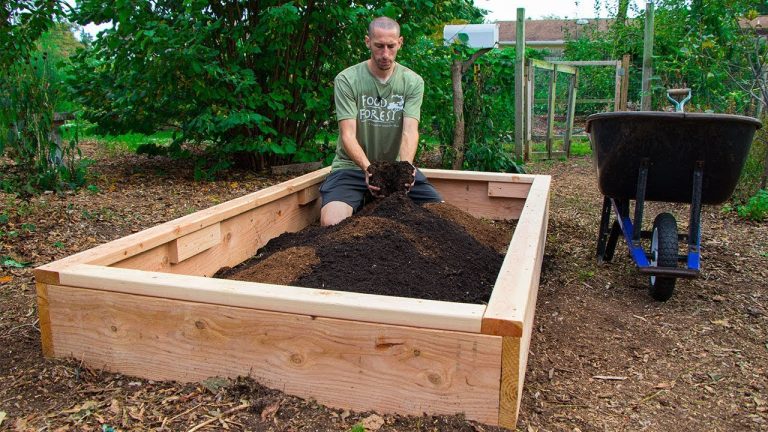
6. Fill with living soil
A practical free soil mix uses native topsoil, finished compost, leaf mold, and aged organic matter. A common starting blend is two parts topsoil to one part compost. If your native soil is heavy clay, add compost and shredded leaves rather than a large amount of sand.
Do not create a perched water table by adding a thin layer of gravel under the soil. Gravel does not improve drainage in a raised bed unless the entire site drains well. It only takes away root space.
7. Water and let the bed settle
Water the bed slowly until the soil is evenly moist. Add more soil if the level drops by several inches. Wait one to two weeks before planting if you used fresh organic material, especially leaves or partially decomposed compost.
Test the soil after the bed settles. Most vegetables prefer a pH between 6.0 and 7.0. Blueberries need a much more acidic soil, usually about pH 4.5–5.5, so they should not share a standard vegetable bed.
8. Plant and mulch
Plant crops according to mature size, not the size of the seedling. Lettuce can grow 6–8 inches apart, while indeterminate tomatoes need 18–24 inches and sturdy support. Bush beans, carrots, beets, kale, basil, parsley, and chives make good starter crops.
Add 1–2 inches of shredded leaves, straw, or finished compost as mulch. Keep mulch 2 inches away from tomato stems and other soft plant bases. Mulch holds moisture, reduces weeds, and protects soil from hard rain.
🌱 Beginner Note: Start with one 3-by-6-foot bed. A small bed teaches you how quickly your soil dries, which pests visit, and how much compost your garden really needs.

Three free raised-bed designs that work
Different materials suit different yards. A branch bed costs nothing and looks natural, while a stone bed takes more labor but lasts much longer. Choose the design based on the material you can find and the time you want to spend.
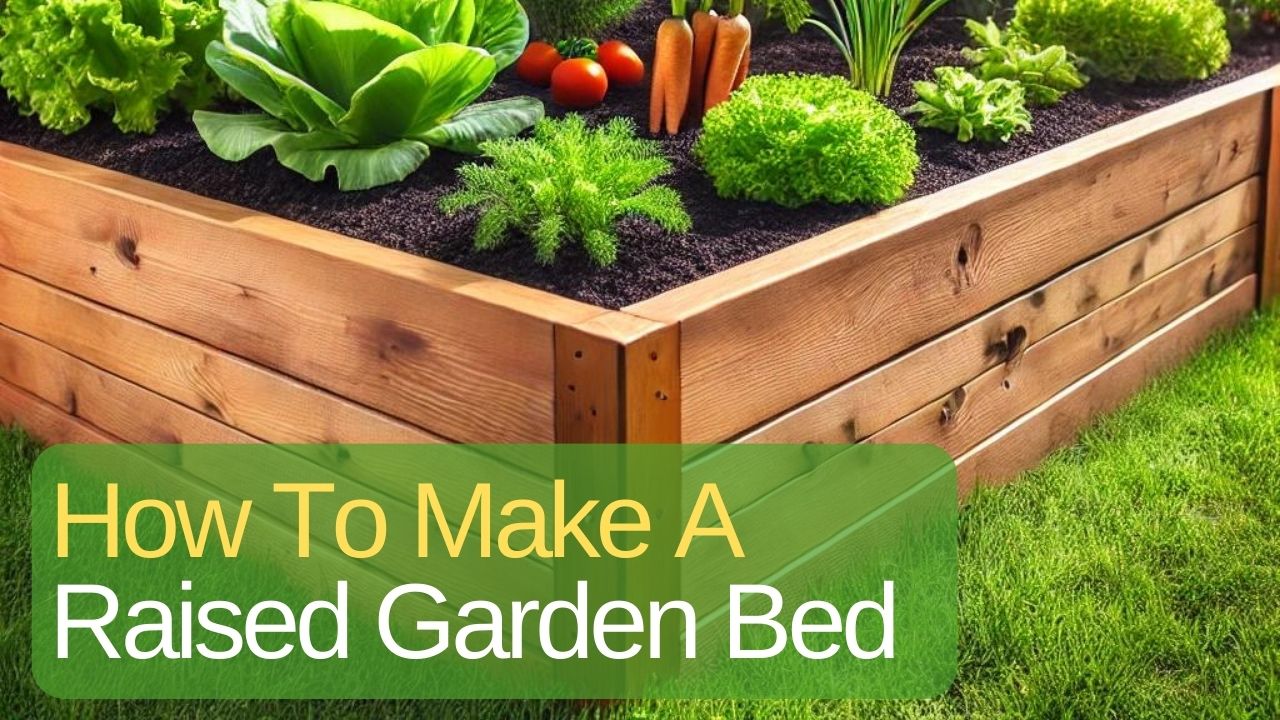
Design 1: Reclaimed board bed
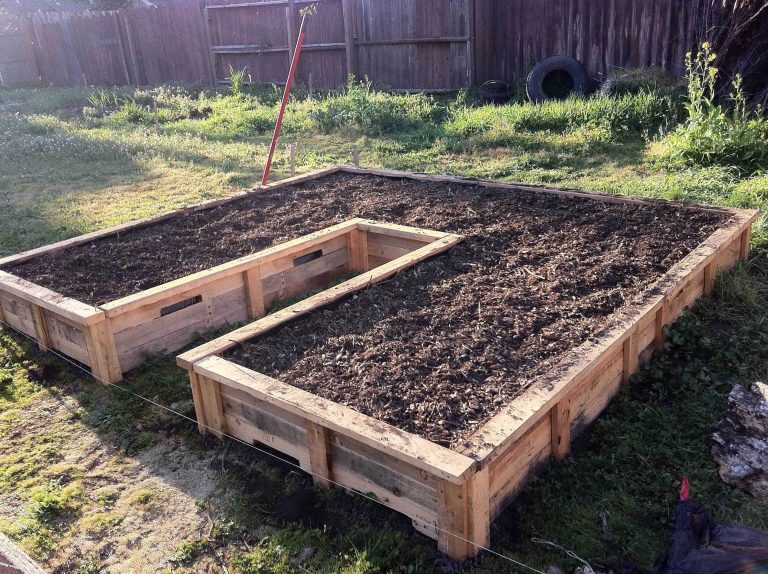
Use four untreated boards to make a simple rectangle. A board 8–12 inches wide gives enough depth for many vegetables. Screw or nail the corners, then add a stake at each outside corner.
If the boards are thin, add a center brace on the long sides. Soil pressure can bow a wall outward after watering. A scrap 2-by-4, a stout branch, or a piece of old broom handle can act as a brace.
This design suits beginners because it is easy to level and repair. It also gives clean edges for mowing around the bed. The main drawback is rot at the bottom, especially in wet climates such as the Pacific Northwest.
Design 2: Log and branch bed
Set two long logs on each side and wedge smaller logs at the ends. Add stakes if the bed sits on a slope. You can build the wall 6–12 inches high without much cutting.
For a woven branch bed, drive vertical stakes every 12–18 inches. Weave flexible branches between the stakes, alternating the thick and thin ends. Pack soil against the outside if gaps allow soil to spill.
This design feels at home in woodland gardens and wildlife-friendly yards. It may attract woodlice, beetles, and some slugs, so keep the bed open, avoid excess moisture, and check plants at dusk.
Design 3: Stone, brick, or concrete bed
Start with the largest, flattest pieces. Place them so each stone overlaps the joint below. Fill large gaps with smaller stones. Keep the wall wider at the base than at the top if it rises above 12 inches.
This method works well in dry climates and on gentle slopes. Stone absorbs heat, which can help peppers and eggplant in cool spring weather. In hot USDA Zones 9–10, dark stone may raise soil temperatures and increase water needs.
| Design | Best use | Limitation |
|---|---|---|
| Reclaimed boards | Fast, neat beds for vegetables | Rot and hidden nails |
| Logs and woven branches | Natural gardens and free materials | Short life and more settling |
| Stone, brick, or concrete | Permanent beds and slopes | Heavy work and slower building |
| Pallet-board bed | Temporary or small beds | Requires strict safety checks |
The simplest design is not always the cheapest in labor. Use boards when you want speed, branches when you have abundant pruning waste, and stone when you want a long-term structure.
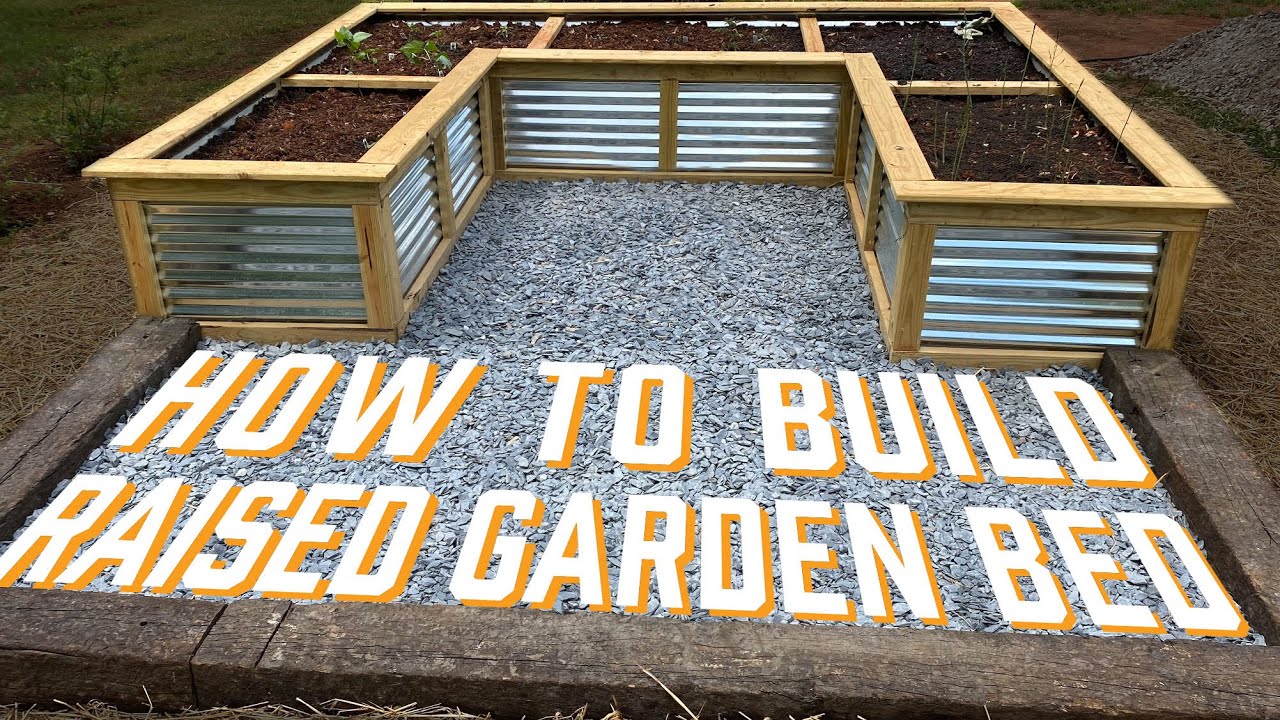
Fill a raised bed without buying soil
Soil is often the largest cost of a raised bed. You can lower it to zero by combining clean native soil with compost, leaf mold, aged manure, and decayed plant matter. The key is to know what each material does.
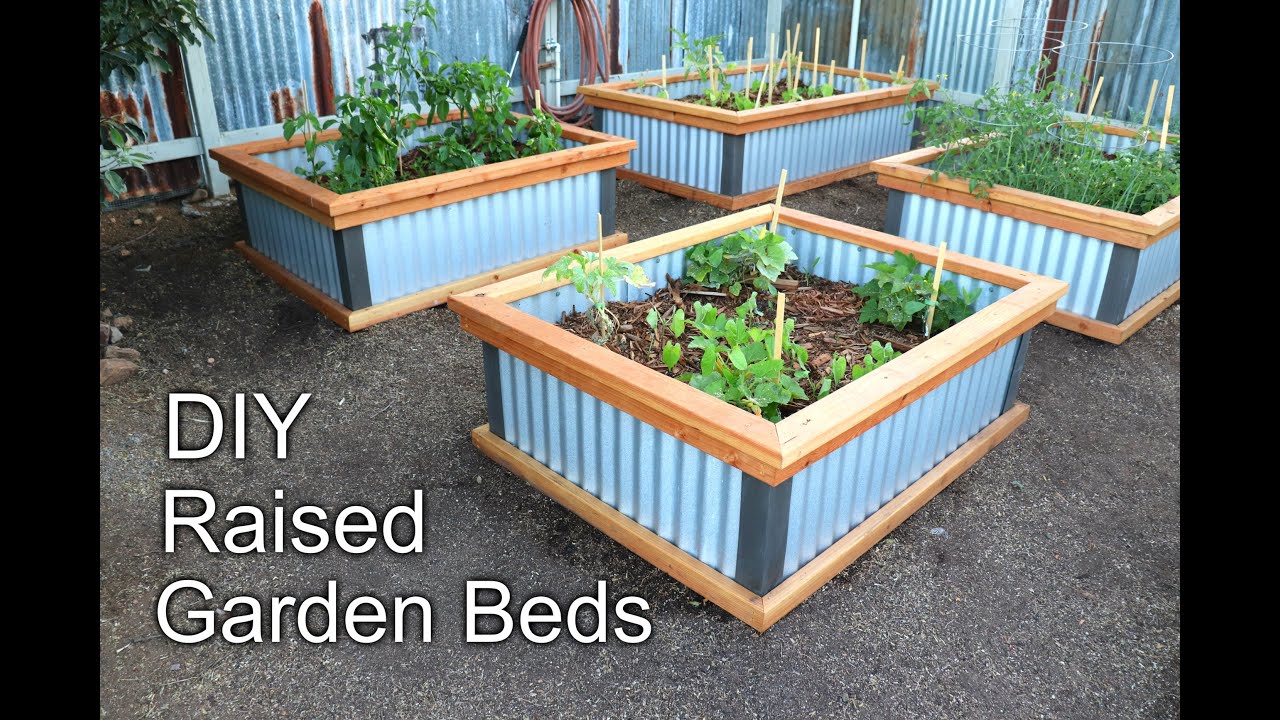
Topsoil provides mineral particles and structure. Compost adds nutrients and helps hold water. Leaf mold, which is fully decomposed leaves, improves moisture control but usually has less fertilizer value than compost.
Aged manure can benefit corn, squash, kale, and other hungry crops. Use only well-aged manure from a known source. Fresh manure can burn roots, add weed seeds, and carry pathogens. Never use cat or dog waste in a food garden.
A low-cost soil recipe
For a bed that is 3 feet by 6 feet and 10 inches deep, you need about 45 cubic feet of loose material before settling. That is roughly 1.7 cubic yards. You can reduce the amount of purchased soil by using coarse logs and branches in the bottom.
Use this approximate blend for the top 8–10 inches:
- 2 parts clean native topsoil
- 1 part finished compost
- 1 part leaf mold or aged organic matter
- A small amount of shredded leaves if the mix feels dense
Do not obsess over an exact ratio. Squeeze a handful of moist soil. It should hold together briefly, then crumble when touched. If it forms a sticky ball, add more dry organic matter and compost. If it falls apart like dust, add compost and water.
Free soil sources and risks
Ask neighbors who are digging a pond, leveling a yard, or cleaning a garden. Tree companies may offer chipped branches, but fresh wood chips should stay on paths or mature around shrubs. Local municipal compost can be useful, but ask whether it contains herbicide residues or biosolids.
Some lawn herbicides, especially aminopyralid and clopyralid products, can remain active in manure and compost. They may distort tomatoes, beans, peas, and peppers. If the source is uncertain, grow grass or corn in a test pot before using the material in your main bed.
⚠️ Warning: Never use compost or manure that causes twisted new leaves, cupped growth, or narrow stems in a test plant. Those signs can point to persistent herbicide contamination.
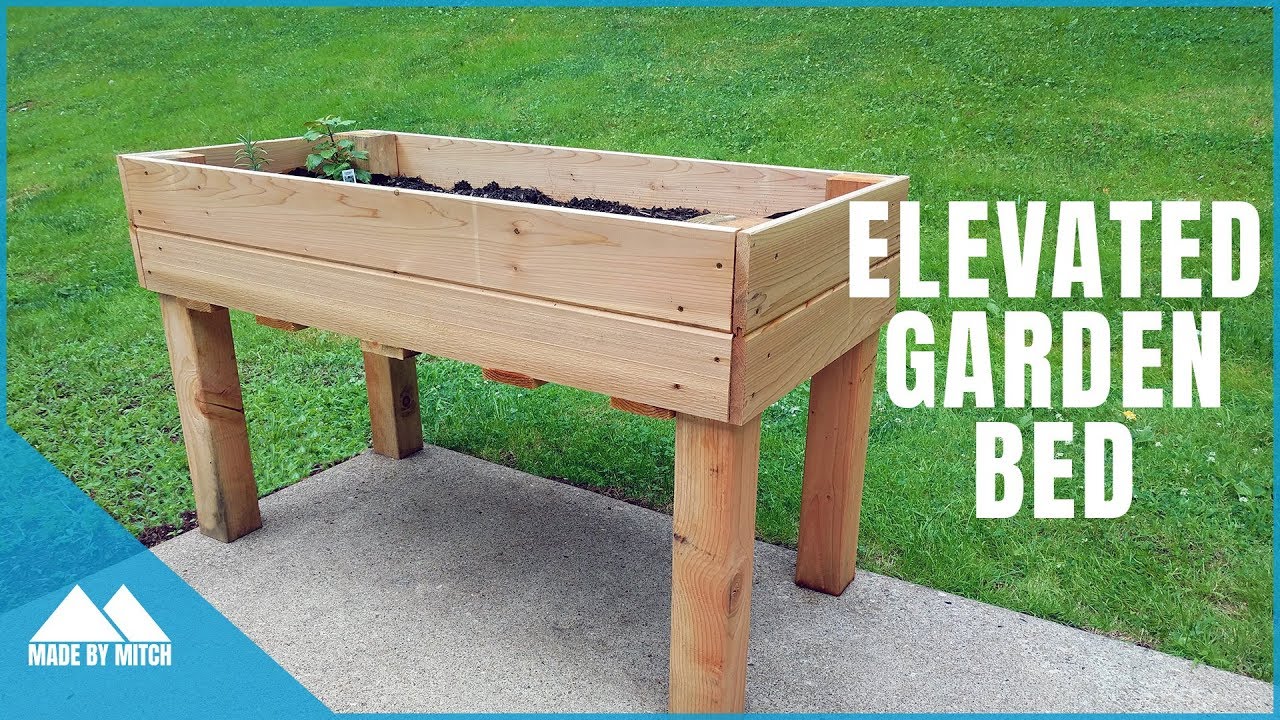
Plant a free raised bed for steady harvests
A raised bed saves space, but it does not remove the need for crop planning. Plant tall crops on the north side so they do not shade shorter plants. Use succession planting to replace crops as they finish.
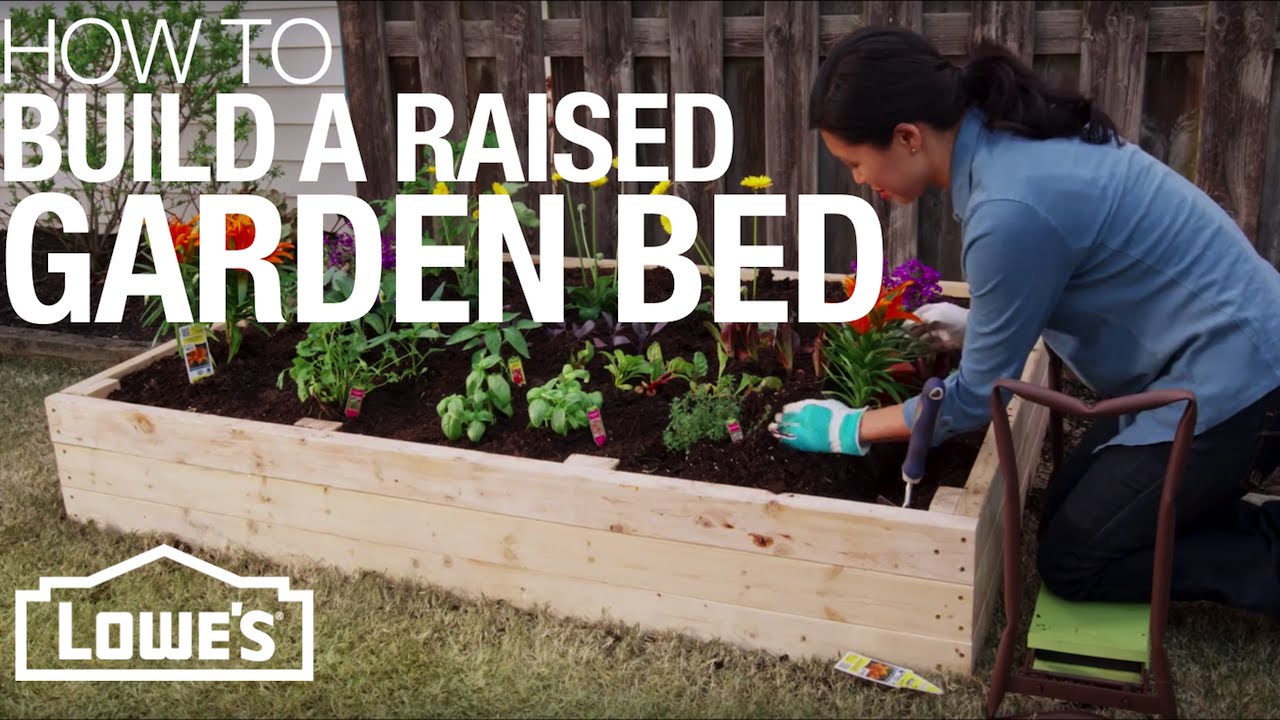
In a 3-by-6-foot bed, you might grow spring lettuce, radishes, spinach, and green onions. After harvesting the radishes, plant bush beans or basil. In late summer, replace tired lettuce with kale, cilantro, or fall carrots if your climate allows.
Companion planting can help you use space, but it does not replace pest control. Pair tomatoes with basil and marigolds if you like the combination, yet still inspect for tomato hornworms and fungal disease. Plant flowers such as calendula, alyssum, borage, and dill nearby to support pollinators and beneficial insects.
Simple crop spacing guide
| Crop | Spacing in a raised bed | Helpful note |
|---|---|---|
| Leaf lettuce | 6–8 inches | Harvest outer leaves often |
| Carrots | 2–3 inches | Use loose, stone-free soil |
| Bush beans | 6 inches | Add support if plants lean |
| Kale | 12–18 inches | Watch for cabbage worms |
| Peppers | 18–24 inches | Needs warmth and full sun |
| Tomatoes | 18–30 inches | Support before growth gets tall |
Planting too close is one of the most common raised-bed mistakes. Crowded leaves stay damp longer, which can increase powdery mildew, downy mildew, and leaf spot. Air movement matters as much as fertilizer.
Keep free raised beds healthy through the seasons
Raised beds warm earlier in spring, but they also dry faster than ground soil. Check moisture with your finger 2 inches below the surface. Water deeply when that layer feels dry, rather than sprinkling a little every day.
In USDA Zones 3–5, add leaf mulch before deep winter freezes. In Zones 6–7, a layer of shredded leaves protects roots and soil life. In Zones 8–10, mulch helps slow evaporation during long, hot summers.
Rotate plant families when possible. Do not grow tomatoes, peppers, eggplant, and potatoes in the same spot year after year because they all belong to the nightshade family and can share diseases. Follow legumes such as beans with leafy crops because beans add some nitrogen through root bacteria, though they do not replace compost.
Seasonal maintenance plan
| Season | Main task | Why it matters |
|---|---|---|
| Spring | Add 1–2 inches of compost | Replaces nutrients and fills settling |
| Early summer | Check walls and moisture | Heat increases drying and movement |
| Fall | Remove diseased plants and mulch | Reduces pests and protects soil |
| Winter | Inspect loose stones and boards | Repairs are easier before planting |
Check wood walls after heavy rain and freeze-thaw weather. The bottom edge usually fails first because it stays wet. Replace one board or add a stone brace before the whole wall collapses.
Fix common raised-bed problems
Free materials often have quirks. A wall may shift, soil may settle, or the bed may dry faster than expected. Most problems have simple fixes if you catch them early.
Soil settles too much
Fresh compost, leaves, and logs shrink as they decompose. A new bed may drop 2–6 inches during its first season. Add finished compost and topsoil in thin layers rather than filling it once to the rim.
If the soil drops near a wall, check whether the cardboard or soil is washing out through gaps. Pack straw, small sticks, or stones into large openings. Do not seal every gap if the bed needs to drain.
Water runs off the surface
Dry peat-free mixes and beds with too much fine compost may repel water at first. Apply water slowly with a hose wand or soaker hose. Mulch with leaves or straw to reduce surface crusting.
If water pools for more than 24 hours, the issue may be the site, not the bed. Move the bed, lower one side, or improve the surrounding drainage. Adding gravel under the soil will not solve a compacted clay base.
Plants wilt even when soil is wet
Wet soil can damage roots and cause the same wilt seen during drought. Check for a sour smell, gray roots, fungus gnats, or yellow lower leaves. These signs may point to poor drainage or root disease.
Reduce watering and remove any clogged mulch. If the bed remains wet, open a drainage path around it or rebuild it in a better location. Tomatoes and peppers are especially sensitive to wet roots.
Pests use the bed as a bridge
Slugs can hide under logs, boards, and thick mulch. Hand-pick them at dusk, remove wet hiding places, and water in the morning. Copper tape may help on a small bed, but it works poorly when leaves touch the ground outside the barrier.
Rabbits can jump into low beds. Chicken wire or scrap fencing around a 24-inch frame usually works better than hoping plants will outgrow the damage. Deer need a much taller fence, often 7–8 feet, because raised beds do not stop them.
| Problem | Likely cause | Free fix |
|---|---|---|
| Wall leans outward | Wet soil pressure or weak joints | Add stakes, braces, or a wider base |
| Soil drops quickly | Fresh organic matter or logs | Top up with mature compost and soil |
| Leaves turn yellow | Poor drainage or low nitrogen | Check roots and add finished compost |
| Plants wilt in wet soil | Root stress or disease | Reduce water and improve drainage |
| Slugs chew seedlings | Damp cover and mulch | Remove hiding places and hand-pick |
Look at the whole bed before adding fertilizer. Many problems come from too much water, poor light, or crowded plants, not a lack of nutrients.
My experience with free raised beds
The first free bed I built used old pine fence boards. The boards were untreated and sound, but I set them directly on damp ground. By the third spring, the bottom edges had softened and carpenter ants had moved into one corner.
I rebuilt that bed on a shallow gravel-free rise, added cardboard, and held the corners with scrap stakes. It lasted several more seasons. The lesson was simple: free wood can work well, but the ground contact and drainage matter more than the board’s appearance.
I also tried a branch bed made from willow cuttings. It looked good at first, but the willow rooted in the wet soil and produced new shoots. I had to pull the stems out twice. Wattle beds work better with dead, dry branches from trees that do not root easily.
A stone bed has been the most reliable option in my dry Zone 7 garden. It warms early and needs little repair, but moving the stone took more effort than building three wooden beds. In a small backyard, I would choose reclaimed boards for speed and stone for permanence.
Make a free bed safer and longer-lasting
A free raised bed can last longer when you protect its weak points. Keep wood off standing water, brace long walls, and reduce soil pressure with a wide base. Small repairs cost no money when you use branches, stones, or spare boards.
Do not line wood beds with plastic. Plastic can trap moisture against the boards and speed decay. If you need a liner for a bed on concrete, use a permeable landscape fabric or several layers of cardboard, then provide drainage openings.
For a bed on a patio or balcony, first confirm that the surface can hold the weight. Wet soil weighs far more than dry soil. A 3-by-6-foot bed filled 10 inches deep can weigh well over 1,000 pounds, so a balcony garden may need a professional structural check.
Use a simple support system for climbing crops. Tie tomatoes to a sturdy branch, use old fencing for cucumbers, or make a bean trellis from poles and twine. Install supports before roots fill the bed, so you do not crush plants later.
🔧 Quick Fix: If a wooden wall bows, do not remove all the soil. Drive two stout stakes outside the wall, connect them with a crosspiece, and add soil slowly after the wall returns to shape.
Know when free materials are not worth using
Free is not always the same as safe or economical. A pile of cracked, treated lumber may require hours of cleaning and still pose a risk. A stack of heavy stone may be perfect for one gardener and impossible for another.
Avoid reclaimed material when you cannot identify its history. This includes old railroad ties, painted furniture, pressure-treated boards with unknown age, and wood from industrial sites. For ornamental flowers, risk may be lower, but contaminated soil can still harm pets, children, and wildlife.
Choose another method if you rent and need a temporary garden. Fabric grow bags, large food-safe containers, and straw bales can work without digging. They are not free in every area, but they may be cheaper than repairing a collapsing bed.
A ground-level garden may also suit you better. Remove weeds, loosen the soil, add compost, and cover paths with cardboard and leaves. The plants receive the same sun, and you avoid the cost of building walls.
Frequently asked questions
Q: Can I make a raised bed directly on grass?
A: Yes. Mow the grass, cover the area with overlapping plain cardboard, wet it, and build the bed on top. For persistent grass such as bermudagrass or quackgrass, remove the sod first or use a deeper barrier and watch for shoots around the edges.
Q: What is the cheapest way to fill a raised bed?
A: Use clean native soil as the main fill and mix in finished compost, leaf mold, and aged organic matter. In beds deeper than 12 inches, place rotting logs and branches at the bottom, then leave at least 8–10 inches of good soil for plant roots.
Q: Can I use pallets to build a vegetable garden bed?
A: Use pallets only when they carry an HT heat-treatment stamp and have no stains, odor, mold, or unknown cargo history. Never use pallets marked MB. Remove hidden nails and avoid planting food crops against questionable wood.
Q: Are old fence boards safe for raised beds?
A: They are safe only when you know they are untreated and free from paint, stain, oil, and chemical residue. Old pressure-treated boards may contain preservatives, so use them for paths or ornamental beds if their history is unclear.
Q: How high should a raised bed be for vegetables?
A: Six inches supports shallow-rooted crops such as lettuce and radishes. Eight to 12 inches suits most vegetables. Use 18 inches or more for long roots, poor native soil, or easier access for gardeners who cannot bend easily.
Q: Should I put rocks or gravel under a raised bed?
A: No. Gravel usually does not improve drainage under a soil bed and takes away root space. Fix wet conditions by choosing a better site, raising the surrounding ground, or creating a real drainage path.
Q: Can I use fresh wood chips in a raised bed?
A: Do not mix fresh wood chips into the main root zone. They can tie up nitrogen while they decompose. Use them on paths, or let them age before applying a thin layer as mulch around established plants.
Q: How often should I water a free raised bed?
A: Check the soil 2 inches down. Water when that layer feels dry, and soak the bed deeply until water reaches the lower root zone. Sandy beds may need water every day during hot weather, while clay-rich beds may need water less often.
Q: What vegetables grow well in a first raised bed?
A: Lettuce, kale, radishes, carrots, bush beans, basil, parsley, green onions, and peppers are good choices. Tomatoes also grow well, but they need strong support, steady water, and enough space for airflow.
Q: Can I build a raised bed on concrete?
A: Yes, if the surface drains and can support the weight. Use a shallow bed, leave drainage openings, and confirm that the patio or balcony can hold wet soil. Do not place a large deep bed on a balcony without checking its load rating.
Q: How long do free raised beds last?
A: Stone and brick can last for decades. Untreated cedar may last 8–15 years, while pine often lasts 3–7 years. Branches and small logs may last one to five years, depending on moisture, insects, and climate.
Q: How do I stop a raised bed from rotting?
A: Keep the site well drained, use untreated but durable wood, avoid plastic liners, and brace long walls. Replace the bottom board when it starts to soften instead of waiting for the whole structure to fail.
Final thoughts
The best free raised bed is the one built from safe material that fits your site. Start with a small rectangle, use cardboard to block grass, fill it with clean soil and mature compost, and watch how water moves after rain.
Reclaimed boards offer speed. Branches offer a natural look. Stone offers the longest life. Whatever you choose, healthy soil and sensible plant spacing will matter more than a perfect frame.
A free garden bed will not remove every task. You still need to water, mulch, check pests, repair walls, and add compost each season. But with careful material choices, you can grow tomatoes, beans, greens, herbs, carrots, peppers, and flowers without buying a raised-bed kit.
Meta description: Learn how to make raised beds for free using reclaimed wood, logs, stones, bricks, cardboard, compost, and safe DIY methods for productive vegetable gardens.