How To Start A Raised Garden Bed: Easy Guide
A raised garden bed gives you control over soil, drainage, weeds, and planting space. You can grow vegetables in a small yard, on poor ground, or even on a patio. The basic idea is simple: build or place a frame, fill it with good soil, and grow plants above the native ground.
The hard part is not the frame. It is choosing the right spot, avoiding poor soil mixes, and planning the bed so you can reach every plant. I have built beds in sandy soil in USDA Zone 8, heavy clay in Zone 6, and short-season gardens in Zone 4. The same few choices made the biggest difference each time.

Quick Answer: How Do You Start a Raised Garden Bed?
To start a raised garden bed, choose a sunny, level site, build a 6- to 12-inch frame from untreated rot-resistant lumber, remove grass, add a quality soil mix, and water the bed before planting. Most vegetables need 6–8 hours of sun, loose soil, steady moisture, and a soil pH near 6.0–7.0. Keep the bed no wider than 4 feet so you can reach the center.
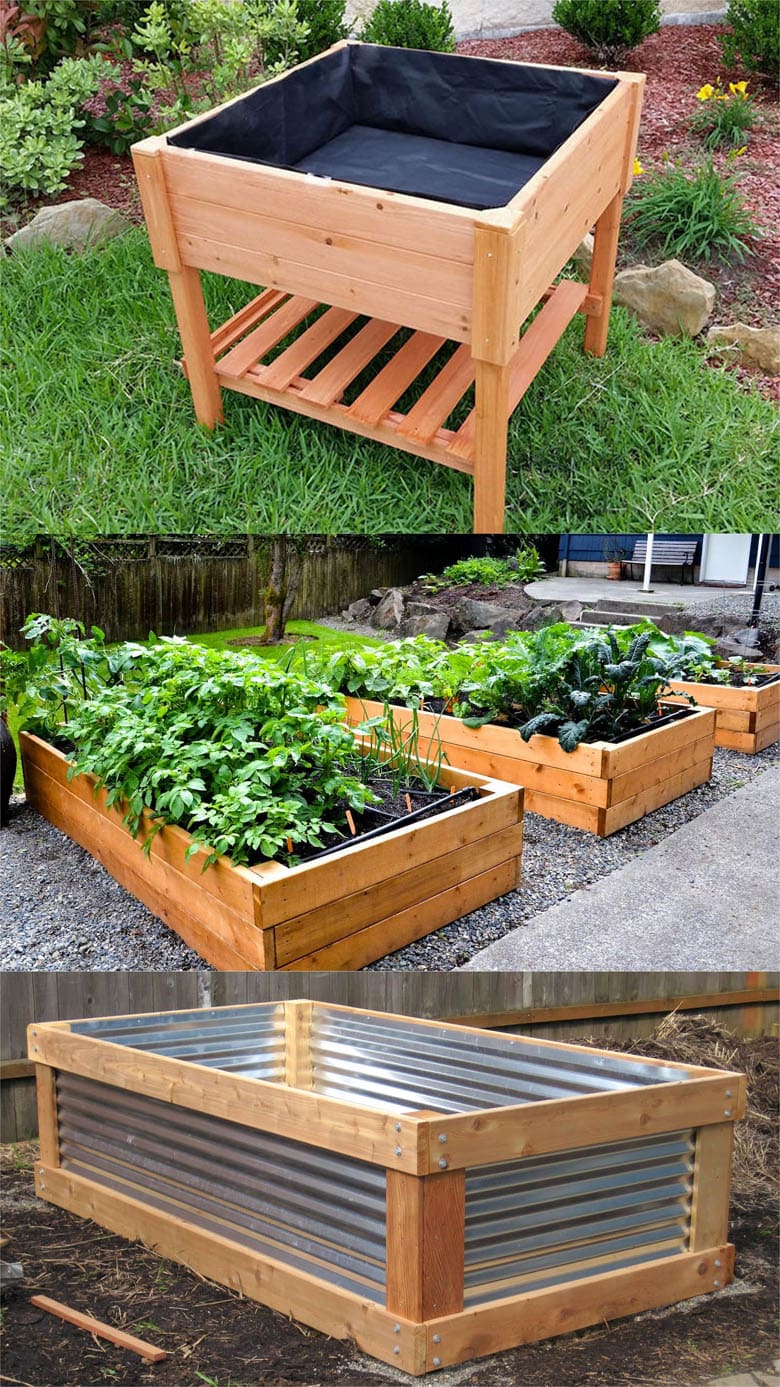
Choose the Right Site Before You Build
The best place for a raised bed gets at least six hours of direct sun each day, has easy access to water, and does not collect standing water after rain. Leafy greens can handle some afternoon shade, but tomatoes, peppers, cucumbers, squash, and melons need strong sun for good yields.
Watch the site for a full day if possible. A spot that looks sunny at 9 a.m. may sit in shade by 2 p.m. Trees also create root competition. Their roots can pull moisture and nutrients from the bed, while large branches may drop leaves and block light.
A level site makes the bed easier to build and water. A slight slope is workable, but a steep slope may need terracing. Never place a raised bed where rain flows toward your home or where water remains for more than a day.
How Much Sun Does a Raised Bed Need?
Most fruiting crops need 8 or more hours of sun. Root crops and leafy greens can produce with 4–6 hours, though growth may be slower.
| Plant group | Minimum daily sun | Good choices |
|---|---|---|
| Fruiting crops | 8 hours | Tomato, pepper, eggplant, cucumber |
| Root crops | 6 hours | Carrot, beet, radish, onion |
| Leafy crops | 4–6 hours | Lettuce, kale, spinach, arugula |
Use the sunniest part of the yard for tomatoes and peppers. Put lettuce, chives, parsley, and spinach where they receive morning sun and light afternoon shade in hot climates.

Can You Put a Raised Bed on Grass?
Yes, but remove or smother the grass first. Grass left below the bed can grow into the soil, especially species such as Bermuda grass, quackgrass, and creeping bentgrass.
For a shallow bed, cut the sod close to the soil line and turn it upside down. You can also cover the area with overlapping cardboard, then add soil. Use plain brown cardboard with no glossy coating, tape, or colored ink.
For beds deeper than 12 inches, grass is less likely to cause trouble, but removing the sod still helps. It reduces weeds and keeps the soil level from settling unevenly.
💡 Pro Tip: Place the bed at least 2 feet away from fences and walls. This gives you room to walk, inspect plants, and repair the frame. It also improves air movement, which helps reduce fungal disease.
Pick a Bed Size and Material
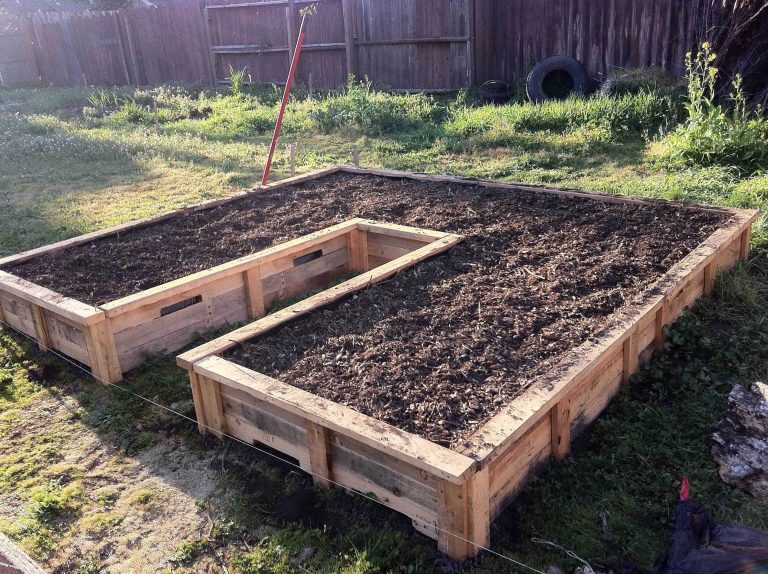
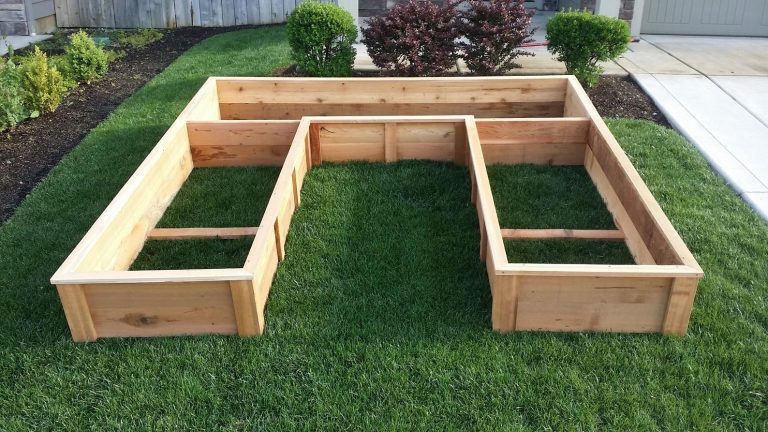
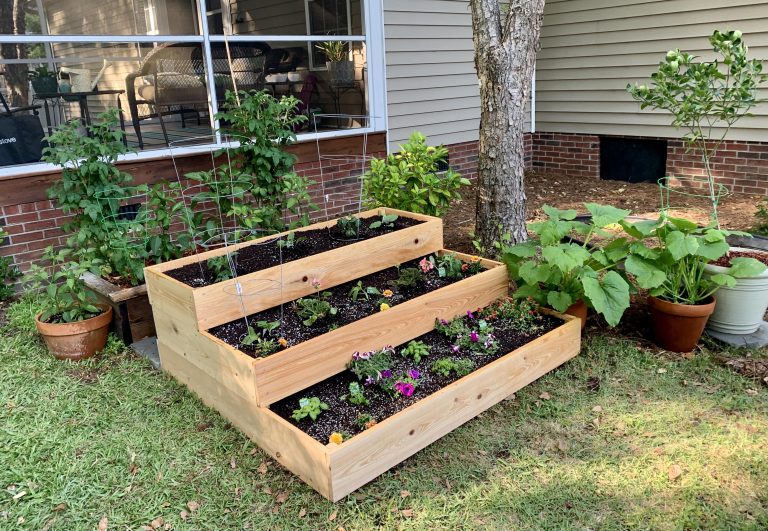
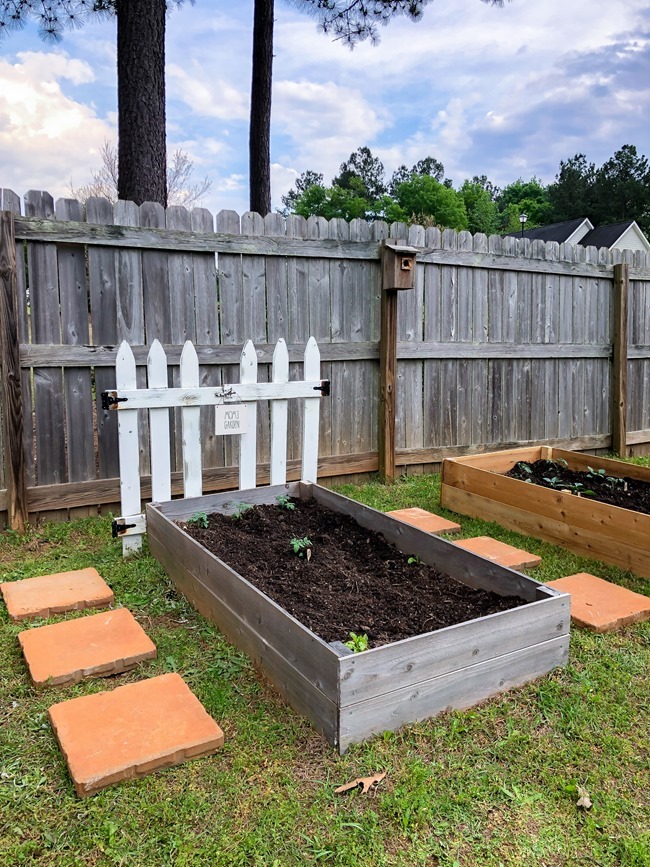
A raised bed can be a simple wooden box, a metal trough, a stone wall, or a mound of soil without a frame. For most new gardeners, a rectangular wood bed is easy to build, affordable, and simple to repair.
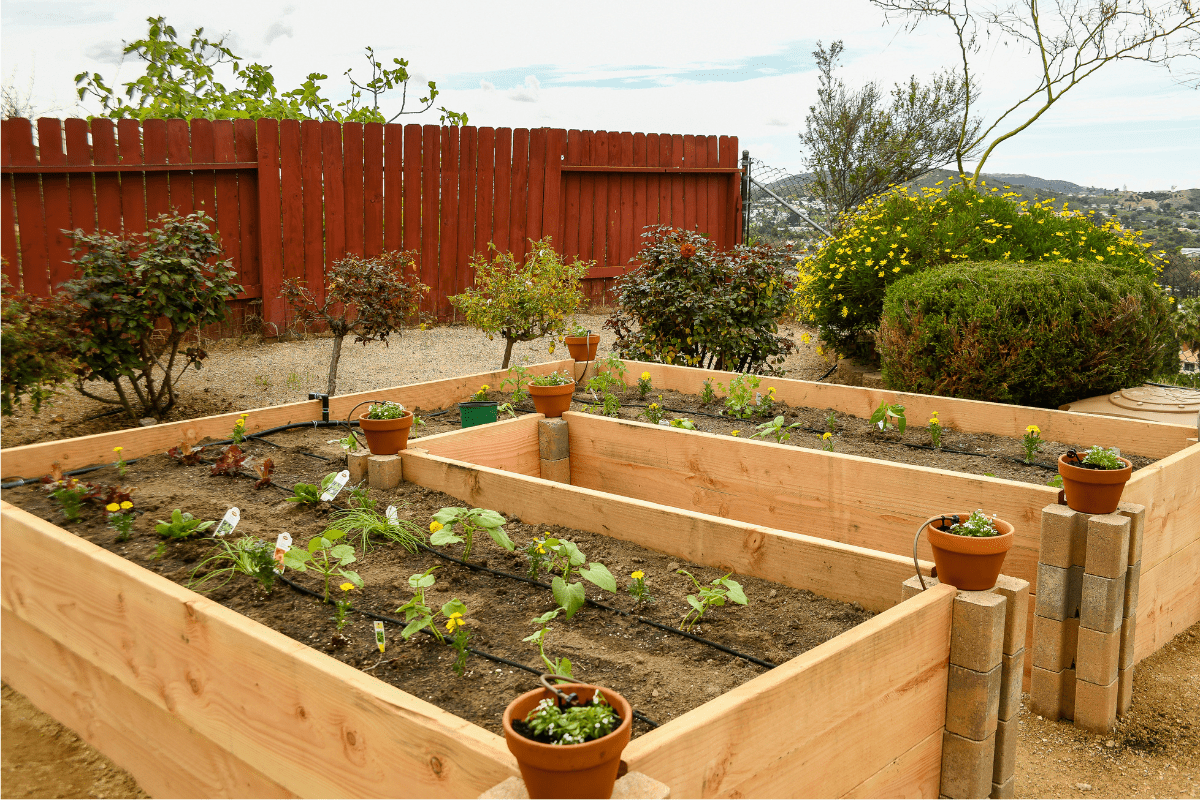
The most useful width is 3 to 4 feet. This lets you reach the middle from either side without stepping on the soil. A bed that is 8 feet long works well, but shorter beds fit small yards and are easier to fill.
A depth of 6–8 inches suits lettuce, herbs, radishes, and many shallow-rooted crops. Use 10–12 inches for tomatoes, carrots, beets, onions, and larger plants. If the bed sits on concrete, aim for at least 12 inches of soil.
| Bed material | Expected service life | Main strength |
|---|---|---|
| Cedar or redwood | 8–15 years | Rot resistance and easy repair |
| Untreated pine | 3–7 years | Low cost and easy cutting |
| Galvanized steel | 15–30 years | Long life and clean edges |
| Stone or masonry | 25+ years | Permanent structure |
Actual life depends on rain, soil contact, sun, and wood quality. Cedar lasts longer in a wet climate than pine, but even cedar eventually softens at the bottom edge.
Safe Wood for Raised Garden Beds
Use untreated cedar, redwood, cypress, hemlock, or untreated pine. Avoid old railroad ties, painted boards, unknown reclaimed wood, and lumber treated with older preservatives.
Modern pressure-treated lumber is regulated for residential use, but many gardeners still choose untreated wood for peace of mind. If you use treated lumber, buy new material labeled for current residential use and do not burn scraps.
Do not line the inside with plastic. Plastic can hold moisture against the wood and speed rot. It can also reduce drainage. A breathable landscape fabric may help separate soil from a paved surface, but it is not needed on ordinary ground.
A Simple Bed Size That Works
A 4-by-8-foot bed holds 32 square feet of growing space. That is enough for a small family harvest when you use succession planting and vertical supports.
A 2-by-4-foot bed suits balconies, patios, and first-time gardeners. Two 3-by-6-foot beds often work better than one 3-by-12-foot bed because you can rotate crops and reach all sides.
| Bed size | Soil volume at 12 inches deep | Good use |
|---|---|---|
| 2 × 4 feet | About 0.30 cubic yard | Patio or starter bed |
| 3 × 6 feet | About 0.67 cubic yard | Small family garden |
| 4 × 8 feet | About 1.19 cubic yards | Main vegetable bed |
Buy a little extra soil because it settles after the first few rains. A 10–15% cushion is usually enough.

Gather the Tools and Materials
You do not need a full workshop to build a raised bed. A tape measure, pencil, drill, screws, level, shovel, rake, and wheelbarrow cover most projects.
Use exterior-rated screws rather than indoor drywall screws. Two-and-a-half-inch or 3-inch coated deck screws work well for 2-inch-thick boards. A cordless drill with a fresh battery makes the work much easier.
| Item | Suggested choice | Why it helps |
|---|---|---|
| Boards | 2 × 6 or 2 × 8 untreated cedar | Gives 6–8 inches of wall height |
| Fasteners | 2½- or 3-inch exterior deck screws | Resists rust and holds joints |
| Weed barrier | Plain cardboard or landscape fabric | Blocks grass and separates surfaces |
| Soil | Topsoil, compost, and aeration material | Builds a fertile, loose mix |
| Tools | Drill, saw, level, shovel, rake | Covers basic construction and filling |
A circular saw speeds up cuts, but a handsaw works for one small bed. Wear safety glasses when cutting or drilling. Keep hands away from the blade, and support long boards so they do not pinch the saw.
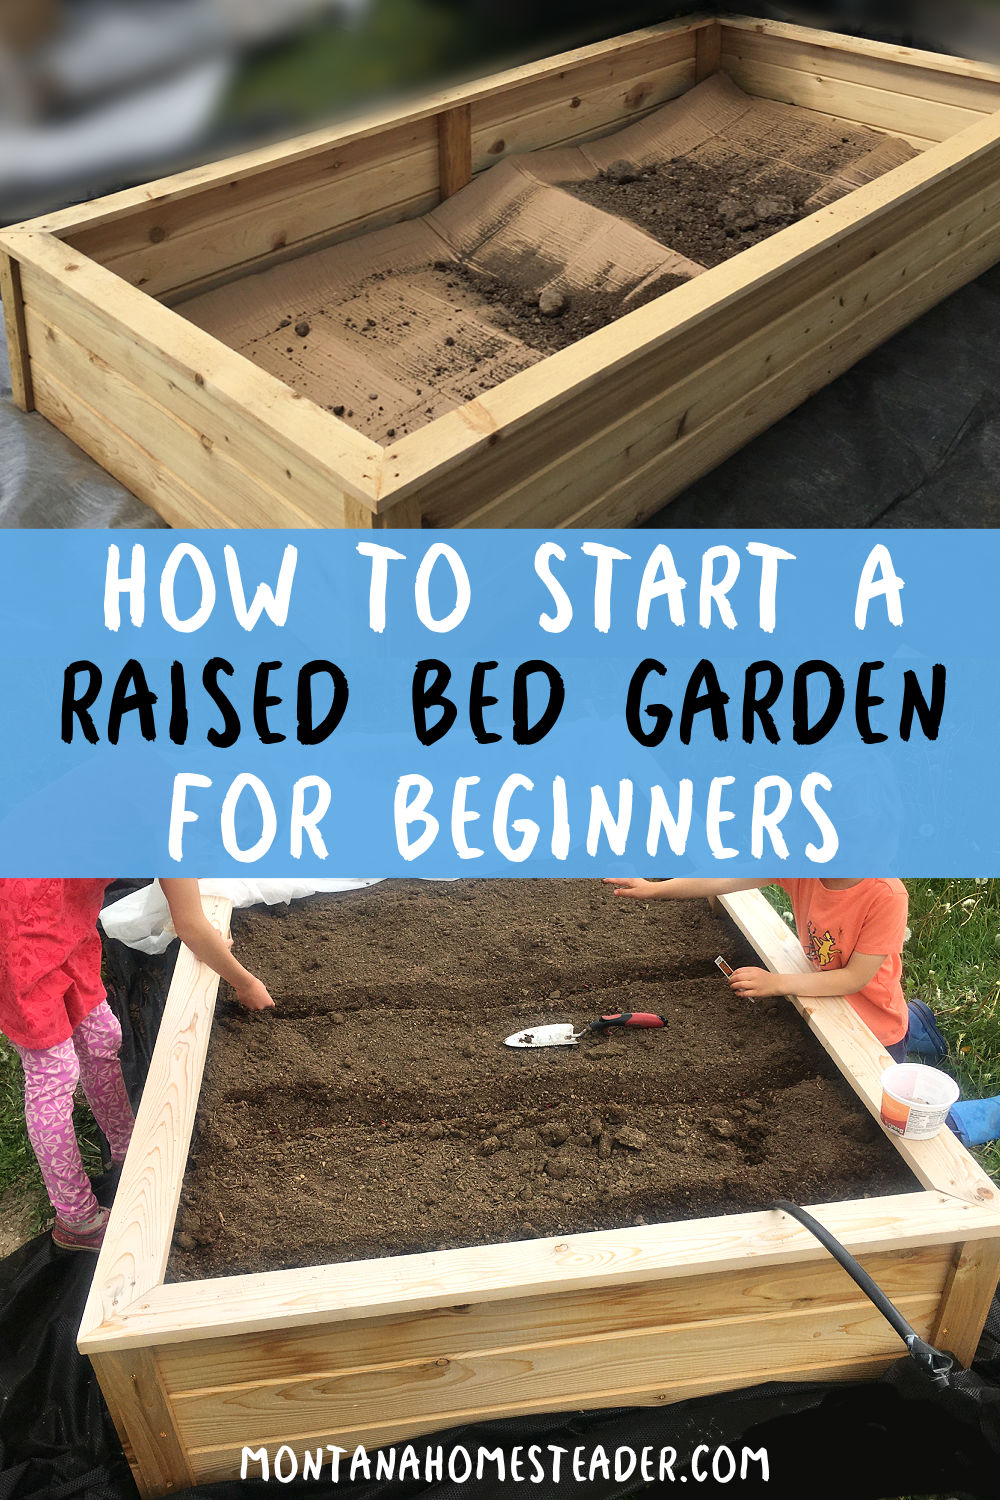
Prepare the Ground and Build the Frame
Preparation takes longer than most people expect, but it prevents many problems later. A bed that sits on weeds, slopes sharply, or lacks a firm corner may shift during its first wet season.
1. Mark the Bed Footprint
Set stakes at the four corners and run string between them. Measure both diagonals. If the diagonals match, the bed is square.
Remove rocks, roots, sod, and large weeds within the footprint. Dig down 2–4 inches if needed so the frame sits firmly. Save clean topsoil for another garden area instead of burying it under cardboard.
2. Level the Site
Use a long board and a level to check the ground. For a small slope, remove soil from the high side. Do not bury one side of the frame several inches deep unless you plan to build a retaining structure.
A level bed spreads water more evenly. It also keeps soil from washing out during heavy storms.
3. Cut and Assemble the Boards
Cut two long boards and two short boards for a simple rectangle. Stand the boards on edge and join each corner with two or three exterior screws.
Check the frame for square before driving every screw. If you want a 12-inch-tall bed, stack two 2-by-6 boards and connect them with short inside cleats or exterior brackets.
4. Add Corner Support
Beds longer than 6 feet benefit from a center brace or corner post. Soil creates strong outward pressure, especially when wet. A cheap bed can bow if the boards are thin and unsupported.
Use a 2-by-2 or 2-by-4 post inside each corner. For an 8-foot bed, add a center support on the long sides. Keep metal brackets and untreated wood above the soil line when possible.
5. Set the Frame in Place
Put the frame on the prepared ground. Check each side with a level and add or remove soil under the low corners.
Do not force the frame flat by driving screws into a twisted board. A small adjustment now is easier than correcting a warped box after it is full of soil.
6. Cover the Bottom
On open ground, use overlapping cardboard if grass or weeds are a concern. Wet the cardboard so it stays in place, then cover it with soil.
On concrete or a deck, use a raised planter with drainage holes. Add a sturdy tray or protect the surface from constant dampness. A sealed box without drainage can drown plant roots.
🌱 Beginner Note: Do not add a layer of gravel at the bottom of a raised bed. This creates a perched water layer in many soils instead of improving drainage. A well-drained soil mix works better.
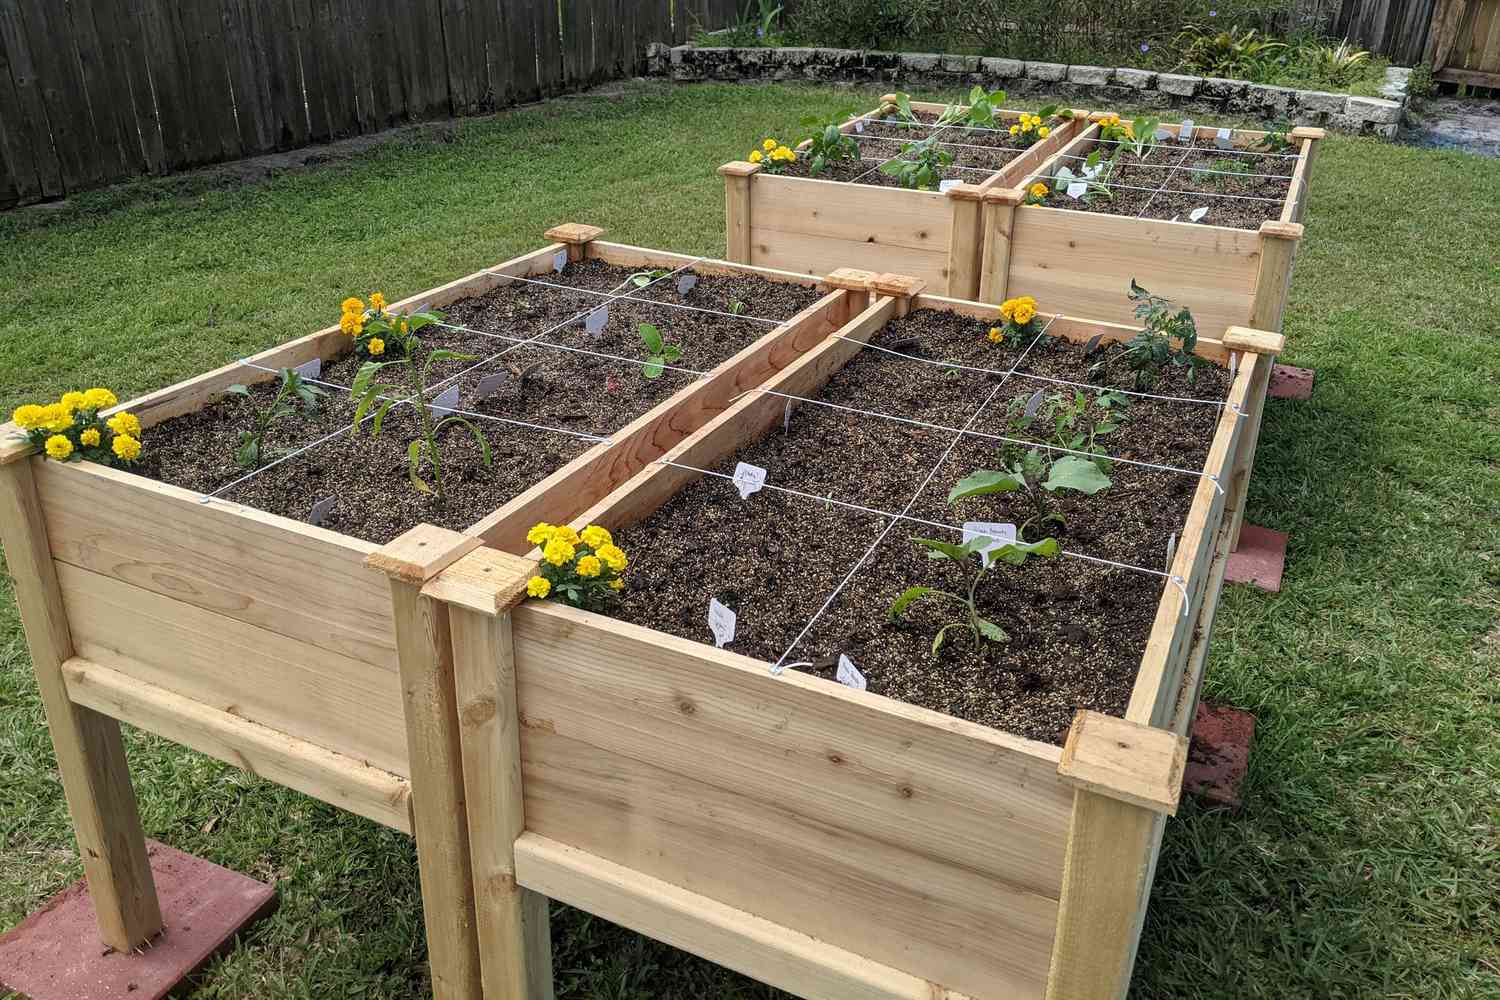
Fill the Bed With the Right Soil Mix
The best raised bed soil is loose, fertile, and able to hold water without staying soggy. A common starting mix uses about 60% quality topsoil, 30% finished compost, and 10% aeration material such as aged pine fines.
Some gardeners use equal parts topsoil, compost, and coarse vermiculite. That mix can work, but it becomes expensive in a large bed. Avoid pure compost. Compost shrinks, dries fast in some climates, and may contain excess salts or nutrients.
Buy soil from a supplier that can explain its source. If the soil smells sour, contains chunks of plastic, or feels like wet clay, do not use it. Bagged “garden soil” is often too heavy for a deep bed, while potting mix costs too much for large volumes.
How Much Soil Do You Need?
Multiply length by width by depth, then divide by 27 to find cubic yards.
For example:
4 feet × 8 feet × 1 foot = 32 cubic feet
32 ÷ 27 = 1.19 cubic yards
A 4-by-8-foot bed that is 12 inches deep needs about 1.2 cubic yards of soil. A 3-by-6-foot bed at 12 inches needs about 0.67 cubic yard.
| Soil component | Share of mix | Purpose |
|---|---|---|
| Quality topsoil | 50–60% | Adds body and mineral soil |
| Finished compost | 25–35% | Adds organic matter and nutrients |
| Pine fines or coarse bark | 10–20% | Improves air space and drainage |
For root crops, sift out large wood pieces. For tomatoes and peppers, add compost but avoid excess nitrogen, which can cause lush leaves and few fruits.

Test the Soil Before Adding Fertilizer
A soil test measures pH, phosphorus, potassium, calcium, and other nutrients. Test the finished bed after mixing, not just one bag of soil.
Most vegetables prefer a pH of 6.0–7.0. Blueberries need a much lower pH, around 4.5–5.5, so they usually need a separate container or dedicated bed. Do not acidify an entire vegetable bed for a few blueberry plants.
A basic fertilizer with an NPK ratio such as 5-5-5 may help a new bed, but the soil test should guide the amount. Too much phosphorus can build up and run into waterways.
Plan the First Planting
Start with crops that match your season and your available space. Bush beans, lettuce, basil, kale, radishes, carrots, chard, and compact tomatoes are forgiving choices.
Read seed packets for days to maturity and spacing. Raised beds warm earlier in spring, but they can also dry faster during summer. Planting dates still depend on your USDA hardiness zone and local frost dates.
In Zone 4, cool crops may go in several weeks before tomatoes. In Zone 8, you may grow lettuce in winter and tomatoes in spring and fall. Heat changes both the schedule and the best varieties.
Use the Center for Tall Crops
Put tall crops on the north side of the bed. This keeps tomatoes, trellised cucumbers, and pole beans from shading shorter plants.
A 4-by-8-foot bed can hold one or two indeterminate tomatoes with a trellis, several basil plants, a row of carrots, and leafy greens. Do not crowd plants simply because the bed looks empty at first. Mature plants need air space.
Try Succession Planting
Succession planting means replacing a finished crop with a new one. For example, plant radishes in early spring, bush beans in late spring, and fall spinach after the beans finish.
This keeps the bed productive without adding more space. It also reduces the chance that one pest or disease will dominate the whole season.
Include Pollinators and Helpful Neighbors
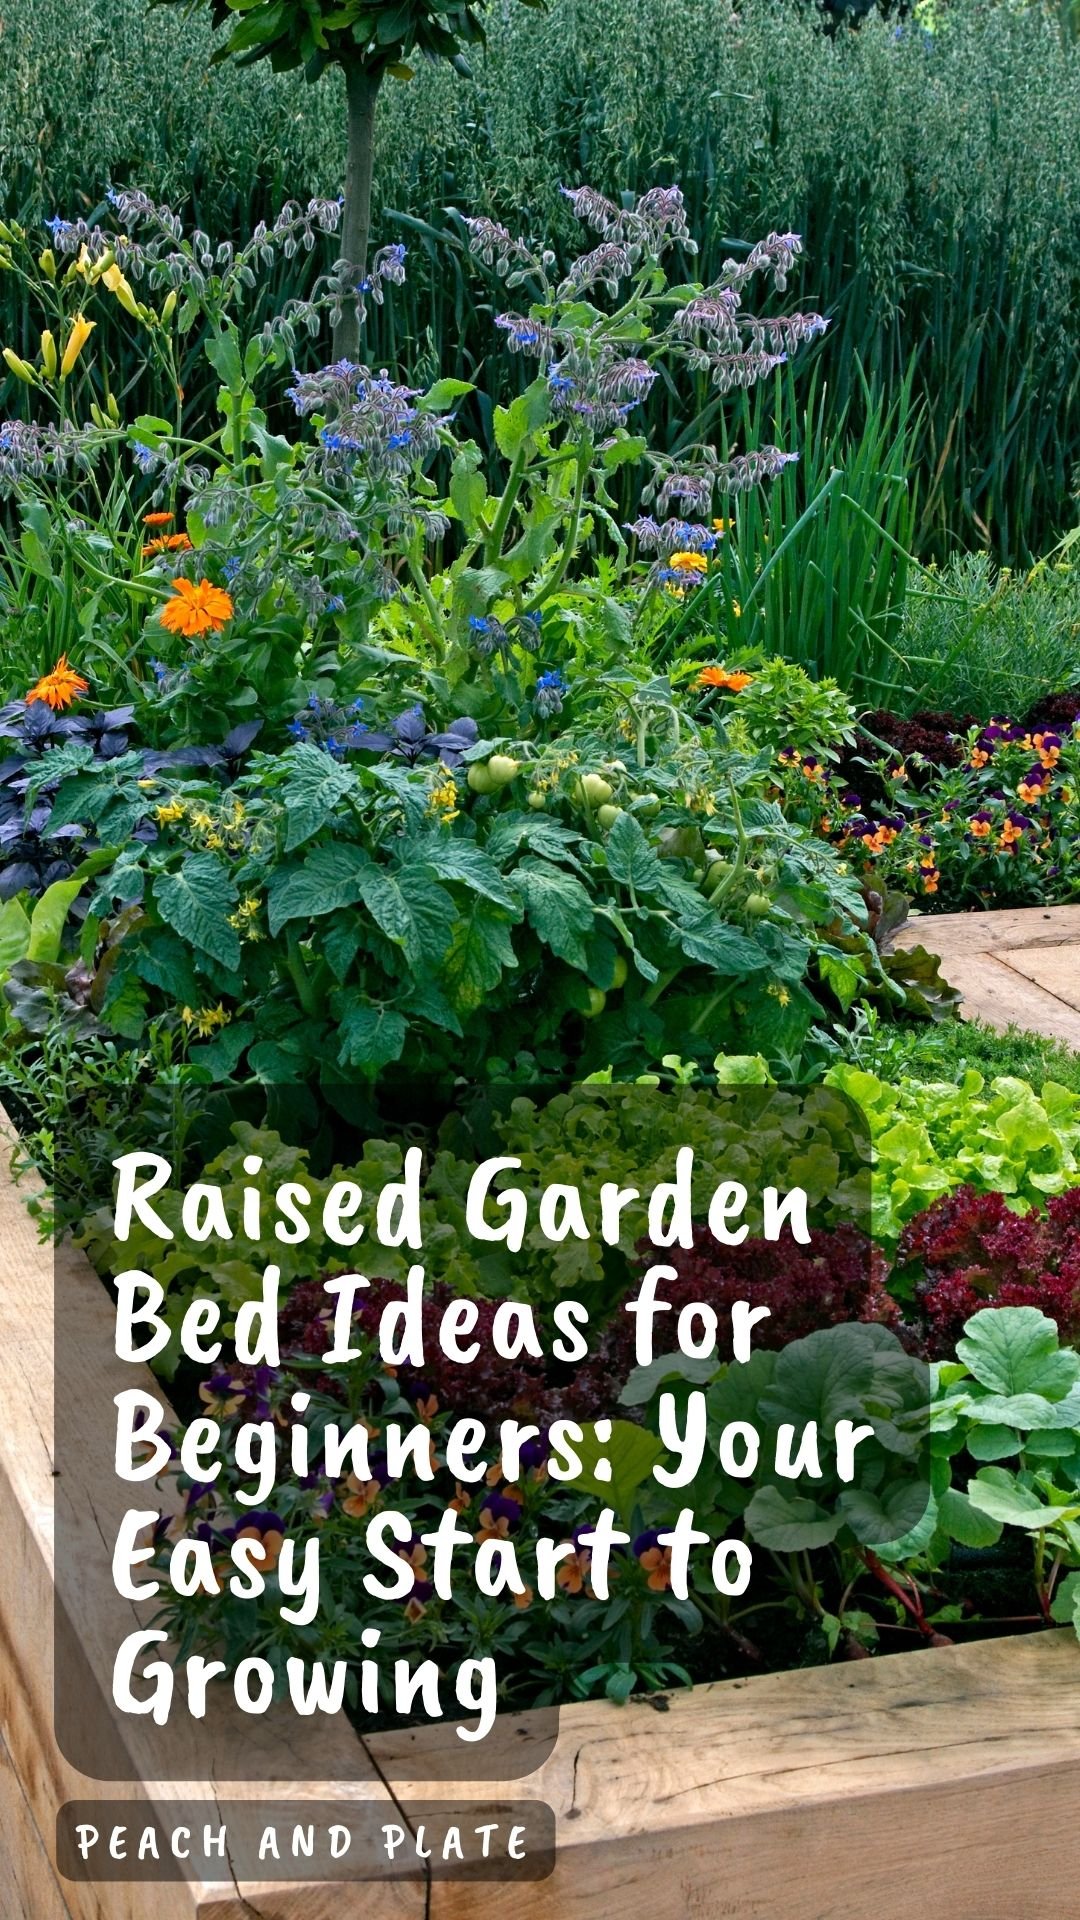
Flowers such as calendula, alyssum, nasturtium, and borage attract bees and other pollinators. Herbs such as dill, cilantro, and parsley provide food for beneficial insects when allowed to flower.
Companion planting is useful when it improves space, habitat, or harvest timing. It is not a cure for pests. Good soil, crop rotation, row cover, and regular inspection work better than relying on plant pairings alone.

Plant, Water, and Mulch the New Bed
Water the soil mix deeply before planting. Dry soil can repel water at first, while pre-moistened soil settles more evenly around roots.
Plant seedlings at the depth listed on the label. Tomatoes are an exception: you can bury part of the stem because it forms roots along the buried section. Do not bury peppers, lettuce, or most herbs deeply.
Water at the soil line. A soaker hose or drip line wastes less water than a sprinkler and keeps tomato and cucumber leaves dry. In hot weather, check moisture with your finger 2 inches below the surface.
| Crop | Typical spacing | Watering clue |
|---|---|---|
| Lettuce | 6–10 inches | Leaves wilt in afternoon heat |
| Bush bean | 6–8 inches | Soil dries during flowering |
| Tomato | 18–24 inches | Leaves wilt or fruit cracks |
| Carrot | 2–3 inches | Top inch dries after germination |
Add 1–2 inches of shredded leaves, straw, or clean compost as mulch. Keep mulch 2 inches away from plant stems to reduce rot and slug shelter.

Keep the Bed Productive Through the Season
A raised bed needs less digging than an in-ground garden, but it still needs care. Check moisture, weeds, pests, and plant growth at least twice each week during the main season.
Pull small weeds while they are easy to remove. Large weeds can disturb crop roots and leave gaps where new weeds sprout. Do not till the bed each year. Tilling breaks soil structure and harms earthworms.
Feed plants based on growth and soil results. Heavy feeders such as tomatoes, corn, squash, and peppers may benefit from compost or a balanced fertilizer during the season. Beans and peas make their own nitrogen with help from soil bacteria and usually need less nitrogen.
A Seasonal Raised Bed Schedule
The right timing changes by climate, but the basic work stays similar. Cool-season crops tolerate light frost, while warm-season crops need warm soil and frost-free nights.
| Season | Main tasks | Crops to consider |
|---|---|---|
| Early spring | Add compost, test soil, plant cool crops | Peas, spinach, lettuce, radish |
| Late spring | Install trellises, plant after frost | Tomato, pepper, bean, cucumber |
| Summer | Mulch, water deeply, harvest often | Basil, squash, carrots, chard |
| Fall and winter | Remove diseased plants, protect soil | Kale, garlic, cover crop |
In mild Zones 7–10, fall may be the main season for lettuce, broccoli, carrots, and cilantro. In cold Zones 3–5, use row cover or a low tunnel to extend harvests.
Leave healthy roots in the soil after harvest when practical. Cut plants at the soil line and let roots decay in place. Remove tomato vines, squash vines, and any plant with serious disease.
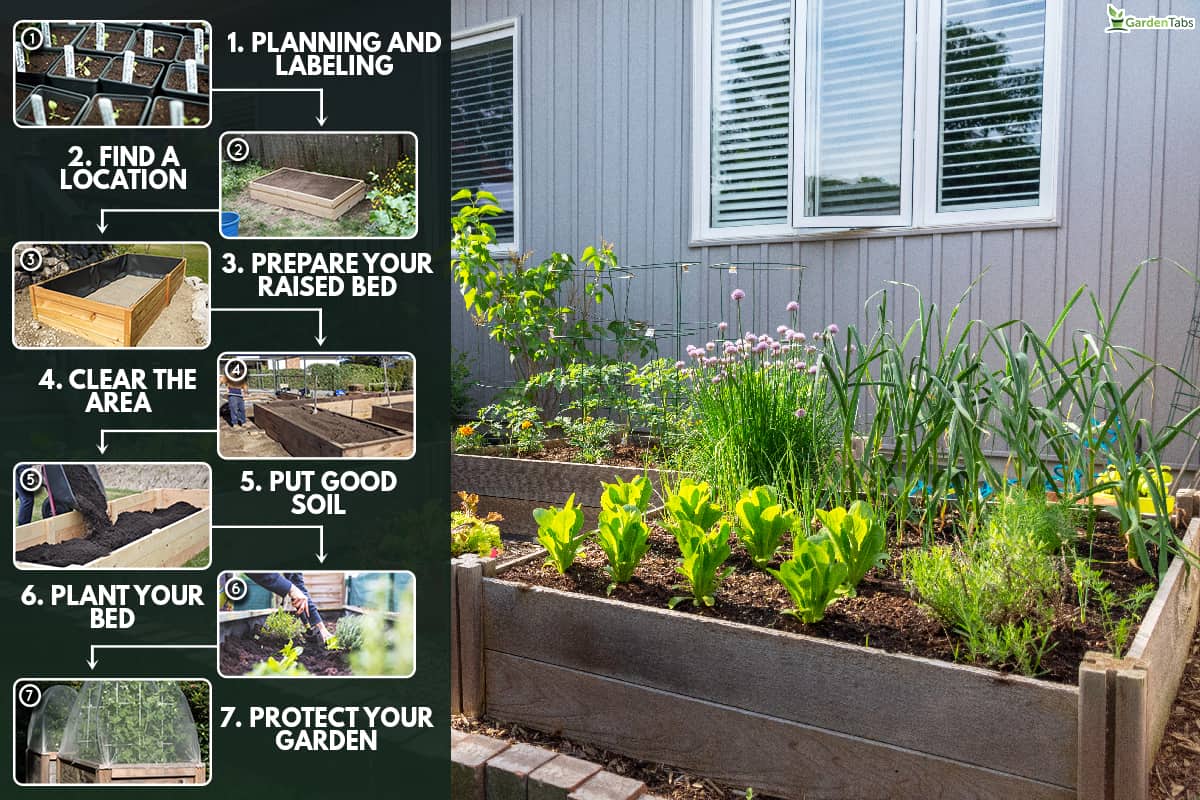
Common Raised Bed Mistakes and Fixes
Most raised bed problems come from poor drainage, overfilled beds, weak frames, or plants placed too close together. The good news is that most can be fixed without rebuilding the entire garden.
| Problem | Likely cause | Practical fix |
|---|---|---|
| Soil dries in one day | Too much bark, wind, or small bed | Add compost, mulch, and deeper watering |
| Bed sides bow outward | Thin boards or no brace | Add corner posts and center supports |
| Plants turn yellow | Poor roots, excess water, or low nutrients | Check moisture and run a soil test |
| Water pools on top | Compacted mix or blocked drainage | Loosen the top layer and improve soil texture |
| Many weeds appear | Contaminated compost or windblown seeds | Pull young weeds and inspect soil source |
If water pools after a light rain, check the bottom and surrounding ground first. A raised bed cannot fix a site with a high water table or severe drainage problem.
If the plants look pale but the soil stays wet, do not immediately add fertilizer. Roots need oxygen. Let the bed drain, then check for root rot, damaged stems, or compacted soil.
🔧 Quick Fix: If your bed settles by several inches, top it up with a blend of compost and quality topsoil. Add no more than 2–3 inches at once around established plants so you do not bury their stems.
My Hands-On Lessons From Building Raised Beds
My first raised bed was too wide. It measured 5 feet across, and I could not reach the center without leaning on the soil. After one season, I rebuilt it at 4 feet wide. That small change made weeding and harvesting much easier.
I also used too much fresh compost in an early bed. The plants grew fast, but the soil dried unevenly and some leaves showed signs of nutrient stress. A soil test later showed high phosphorus. Since then, I use mature compost in smaller amounts and let the test guide fertilizer use.
In a wet Zone 6 garden, cedar boards lasted more than a decade, but the bottom edge eventually softened where it stayed against damp soil. In a dry Zone 8 garden, untreated pine performed better than expected but needed replacement sooner at the corners.
The most useful improvement was not an expensive frame. It was installing a simple drip line under mulch. Water use dropped, tomatoes stopped cracking as often, and I spent less time dragging a hose across the bed.
Raised Bed Cost, Time, and Lifespan
A small DIY raised bed may cost less than $100 if you use inexpensive lumber and make your own soil mix. A 4-by-8-foot bed with cedar, bulk soil, compost, hardware, and irrigation can cost several hundred dollars.
Current pricing ranges from about $50–$150 for a small starter bed to $250–$700 or more for a large cedar or steel setup with soil. Delivery fees can change the total more than the lumber.
Plan on 2–4 hours to build and fill a small bed if the site is ready. A 4-by-8-foot bed may take most of a day, especially if you move soil by hand.
The frame may last 3–7 years with untreated pine, 8–15 years with cedar, and 15–30 years with galvanized steel. The soil does not need full replacement each year. Add compost, remove roots, and top up settled areas.
| Project type | Typical time | Typical cost range |
|---|---|---|
| Small 2 × 4-foot wood bed | 2–4 hours | $50–$150 |
| Cedar 4 × 8-foot bed | 4–8 hours | $250–$700 |
| Metal stock-tank bed | 2–5 hours | $200–$800 |
These ranges vary by region, soil delivery, lumber prices, and whether you already own tools. A local bulk soil supplier may cut the soil cost sharply.
Raised Beds Versus Containers and In-Ground Gardens
A raised bed sits between a container and a traditional garden. It offers more control than native soil but uses less material than filling many large pots.
Containers suit renters, patios, and people who need a portable garden. They dry faster and limit root space, but they require no permanent construction. An in-ground garden costs less to fill and can support large crops, but clay, rocks, weeds, and poor drainage may create more work.
Choose a raised bed when you want easier access, cleaner soil, and a clear planting area. Choose in-ground beds when you have good soil and plenty of space. Choose containers when mobility matters most.
Who Should Build a Raised Garden Bed?
Raised beds work well for beginners, gardeners with compact yards, and anyone dealing with heavy clay, contaminated soil concerns, or poor drainage. They also help people with back or knee limits because the soil can be raised 18–30 inches.
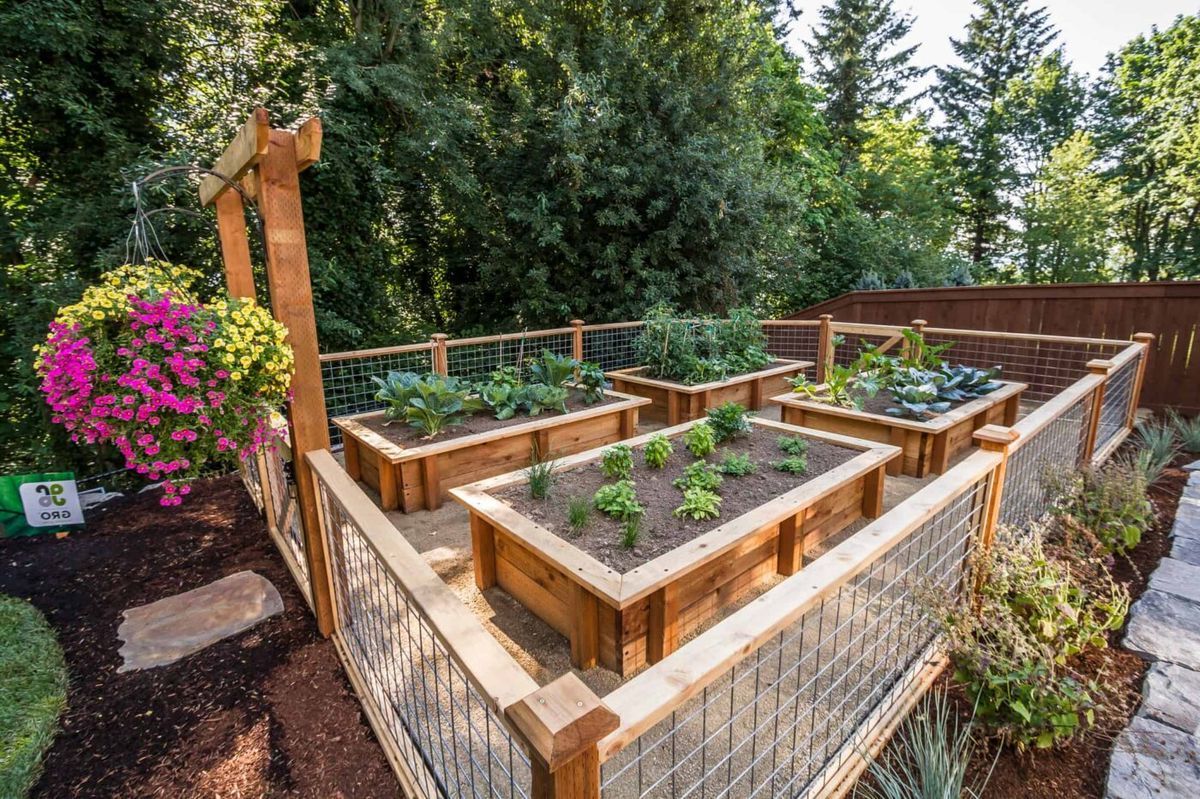
A tall bed costs more and may need stronger walls. For wheelchair access, leave at least 36 inches of clear space between beds and consider a 30–34-inch bed height. Make sure the bed width allows easy reach from a seated position.
Avoid raised beds if you cannot provide water, if the site has almost no sun, or if you plan to grow large crops such as sweet corn, pumpkins, or sprawling winter squash. These crops may need more ground space than a small bed can provide.
Safety and Accessibility Tips
Wear gloves when handling lumber, soil, and compost. Compost can contain bacteria, fungi, and sharp debris. Wash produce before eating and wash hands after working with soil.
Do not use manure from an unknown source. Fresh manure can burn roots and may contain pathogens. Use composted manure from a reliable supplier and follow local food safety guidance.
Keep tools stored under cover. A wet shovel handle can split, and rusty pruners make rough cuts. If you use power tools, wear eye protection and keep children away from the work area.
For older gardeners, a 24-inch-high bed often reduces bending without making the soil volume excessive. Add a stable sitting edge only if the frame can support body weight.
⚠️ Warning: Never place a raised bed against a house foundation without checking drainage and moisture risk. Soil can hold water against siding, block access, and attract termites in some regions.
Frequently Asked Questions
Q: What is the best depth for a raised vegetable bed?
A: Use 6–8 inches for lettuce, herbs, radishes, and many shallow-rooted crops. Use 10–12 inches for carrots, onions, beets, and tomatoes. A bed on concrete should usually have at least 12 inches of soil.
Q: Can I fill a raised bed with only compost?
A: No. Pure compost may shrink, dry quickly, hold too many nutrients, or contain excess salts. Mix compost with quality topsoil and a coarse material that creates air space.
Q: Should I line a raised bed with plastic?
A: Usually no. Plastic can trap moisture and reduce drainage. Use cardboard on grass or breathable landscape fabric on a hard surface. Always provide drainage for beds on patios or decks.
Q: How often should I water a raised garden bed?
A: Check the soil 2 inches down. Water when that layer feels dry, then water slowly until moisture reaches deeper roots. Hot, windy weather may require daily checks, while cool spring weather may need watering only once or twice a week.
Q: What can I plant first in a raised bed?
A: Lettuce, radishes, carrots, kale, chard, bush beans, basil, and compact tomatoes are good first crops. Choose varieties suited to your USDA zone and frost dates.
Q: Why is my raised bed soil sinking?
A: Soil settles as air pockets collapse and organic matter breaks down. Add 2–3 inches of compost and topsoil each season. Avoid adding large amounts of fresh, fluffy compost because it can shrink again.
Q: How do I stop ants from nesting in a raised bed?
A: Check for dry soil, boards touching the ground, and aphids on plants. Ants often follow aphids for their honeydew. Water deeply, control aphids with a strong spray of water, and avoid broad insecticides that kill beneficial insects.
Q: Can I grow potatoes in a raised bed?
A: Yes. Use loose soil and plant seed potatoes 3–4 inches deep. Add soil as stems grow, but do not bury more than one-third of the plant at a time. A deep bed or grow bag makes harvest easier.
Q: Can a raised bed prevent plant diseases?
A: It can reduce some soil problems, but it does not prevent all disease. Good spacing, crop rotation, clean tools, drip irrigation, and removal of diseased leaves still matter. Fungal diseases can spread through rain splash and poor airflow.
Q: How long does a raised garden bed last?
A: Untreated pine may last 3–7 years, cedar often lasts 8–15 years, and galvanized steel may last 15–30 years. Climate, soil moisture, board thickness, and construction quality affect the result.
Q: Do raised beds need crop rotation?
A: Rotation helps most when you grow the same plant family repeatedly. Move tomatoes, peppers, and eggplants away from their old spot when possible. In small beds, replace part of the soil only when a serious soil-borne disease persists.
Q: Are raised beds worth the money?
A: They are worth it when native soil is poor, drainage is bad, or you need easier access. They may not be worth the cost if you already have deep, fertile soil and plenty of room for an in-ground garden.
Final Steps for a Strong First Bed
Start small. One 3-by-6-foot bed is easier to fill, water, and learn than four large beds built at once. Choose a sunny site, keep the bed 4 feet wide or less, use clean materials, and invest in good soil before adding decorative features.
Build the frame with strong corners, provide drainage, and mulch after planting. Test the soil before adding heavy fertilizer, and watch how the bed handles rain and heat during its first season.
A raised garden bed is not a magic shortcut, but it gives you a clean starting point. With thoughtful placement and steady care, you can harvest lettuce in weeks, beans in about two months, and tomatoes throughout summer while building better soil year after year.
Meta description: Learn how to start a raised garden bed with expert steps for site choice, materials, soil mix, construction, planting, watering, costs, mistakes, and seasonal care.