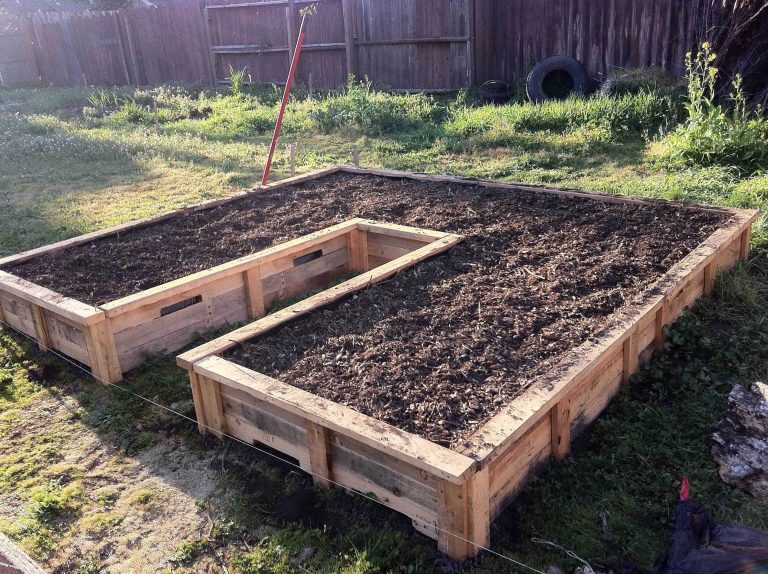
How To Assemble Raised Garden Beds: Easy DIY Guide
Raised garden beds make it easier to grow vegetables, herbs, flowers, and fruit in small or poor spaces. They warm up early in spring, drain better than compacted ground, and let you control the soil from the start. A well-built bed also reduces bending and helps keep paths, weeds, and spreading grass under control.
I have assembled raised beds from cedar, pine, recycled plastic, and galvanized steel in gardens from USDA Zone 5 to Zone 9. The frame is rarely the hard part. Most problems come from poor leveling, weak corners, bad soil depth, or filling the bed with dense topsoil that drains like a brick.
This guide explains how to assemble raised garden beds step by step. You will learn how to choose a site, select safe materials, build strong corners, prepare the ground, fill the bed, protect it from pests, and maintain it through several growing seasons.
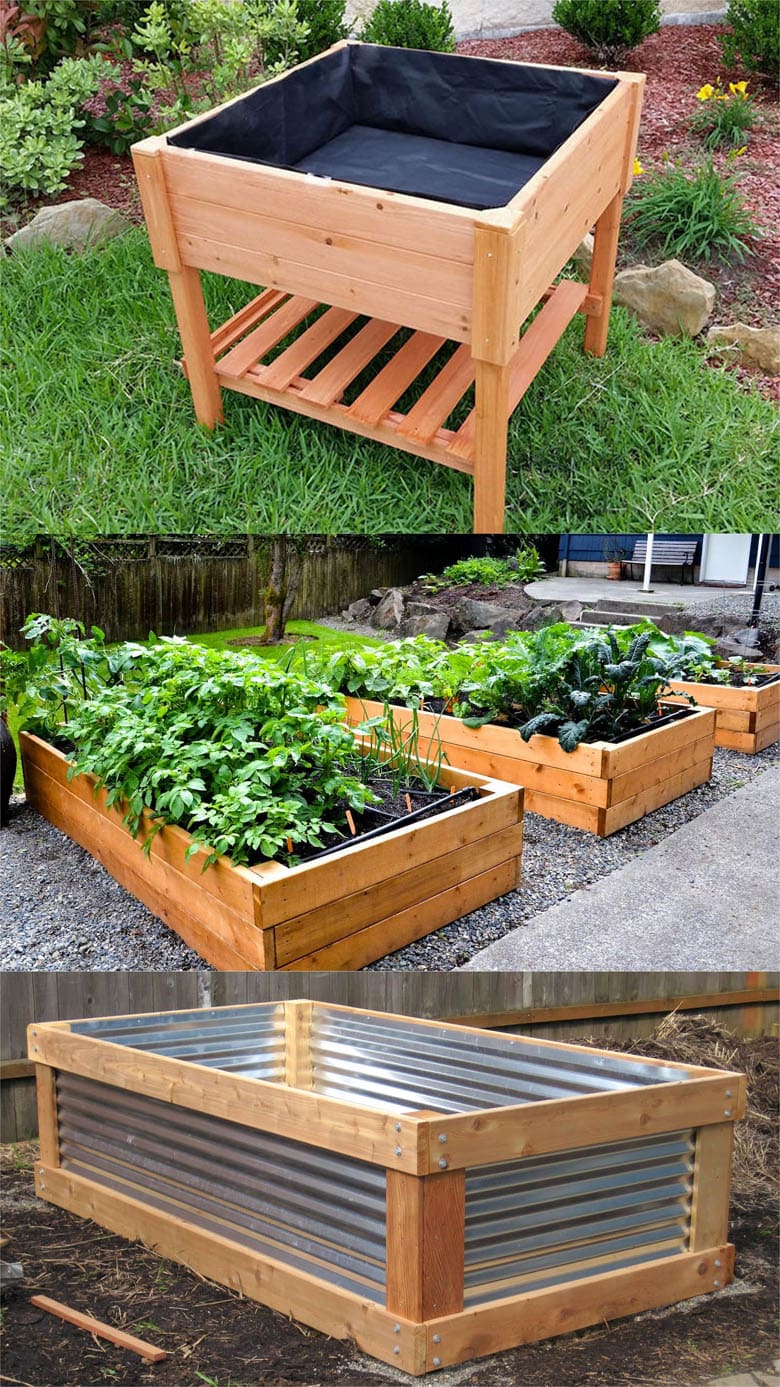
Quick answer: How do you assemble a raised garden bed?
To assemble a raised garden bed, choose a level site with at least six hours of sun, place the frame on prepared ground, connect the boards with approved hardware, check the corners and diagonals, and fill the bed with quality soil and compost. Most vegetable beds work well at 8 to 12 inches deep, while root crops need 18 to 24 inches.

A basic raised bed can take one to three hours to assemble. A simple 4-by-8-foot cedar bed may cost about $100 to $250, depending on lumber and soil prices. Galvanized steel kits often cost more at first but assemble faster and can last for decades.
What you need before building
The best raised garden bed starts with a clear plan. Decide what you want to grow, how much space you have, and whether you want a simple open-bottom frame or a deeper bed with a base. Measure the site before buying boards. A bed that looks small in a store can take up a surprising amount of room once you add paths.

Choose the right bed size
Keep most beds no wider than 4 feet if you can reach from both sides. This lets you weed, plant, and harvest without stepping on the soil. A bed against a wall should stay closer to 2 feet wide.
Length has no strict limit, but long beds need stronger support. For beds longer than 8 feet, add a center brace or divide the space into two sections. This helps stop the boards from bowing after you add wet soil.

Plan the height
An 8-inch bed works for lettuce, onions, bush beans, strawberries, and most annual flowers. A 12-inch bed gives better root space and holds more moisture. I use 18 to 24 inches for carrots, parsnips, potatoes, tomatoes, and gardens designed for easier access.
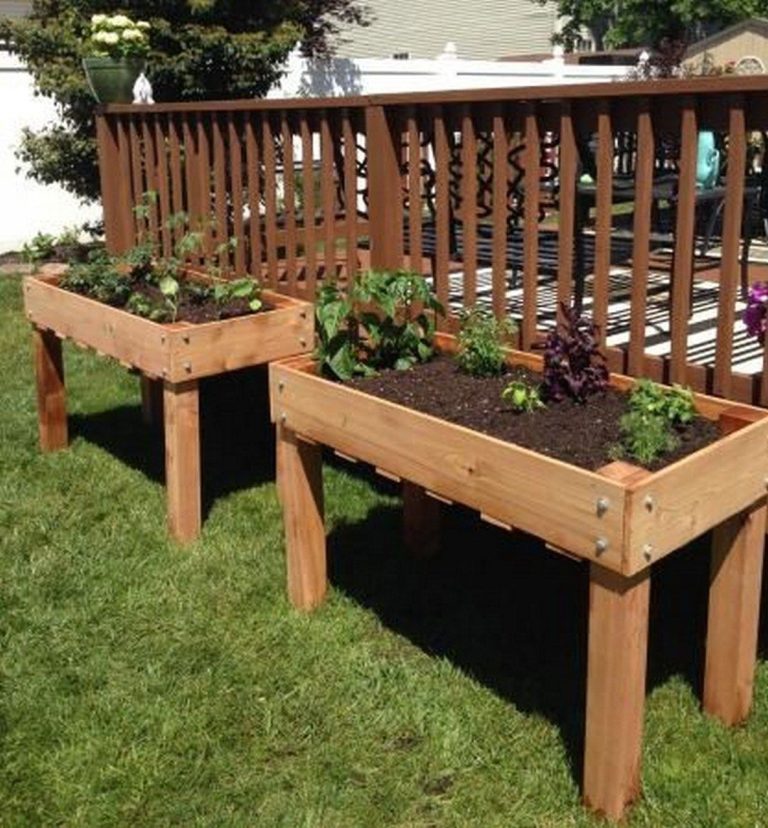
Tall beds help people who have back or knee pain, but they need more material and soil. They also dry out faster in hot, windy sites because the soil sits above ground on all sides.

Check sunlight, drainage, and access
Most vegetables need six to eight hours of direct sun. Tomatoes, peppers, cucumbers, squash, melons, and eggplants prefer the brightest location. Leaf crops such as spinach, arugula, and lettuce can handle some afternoon shade, especially in USDA Zones 8 and warmer.
Leave at least 18 to 24 inches between beds for walking. Use 30 to 36 inches if you want to push a wheelbarrow through the garden. Avoid low spots where rain collects, even if the site looks convenient.
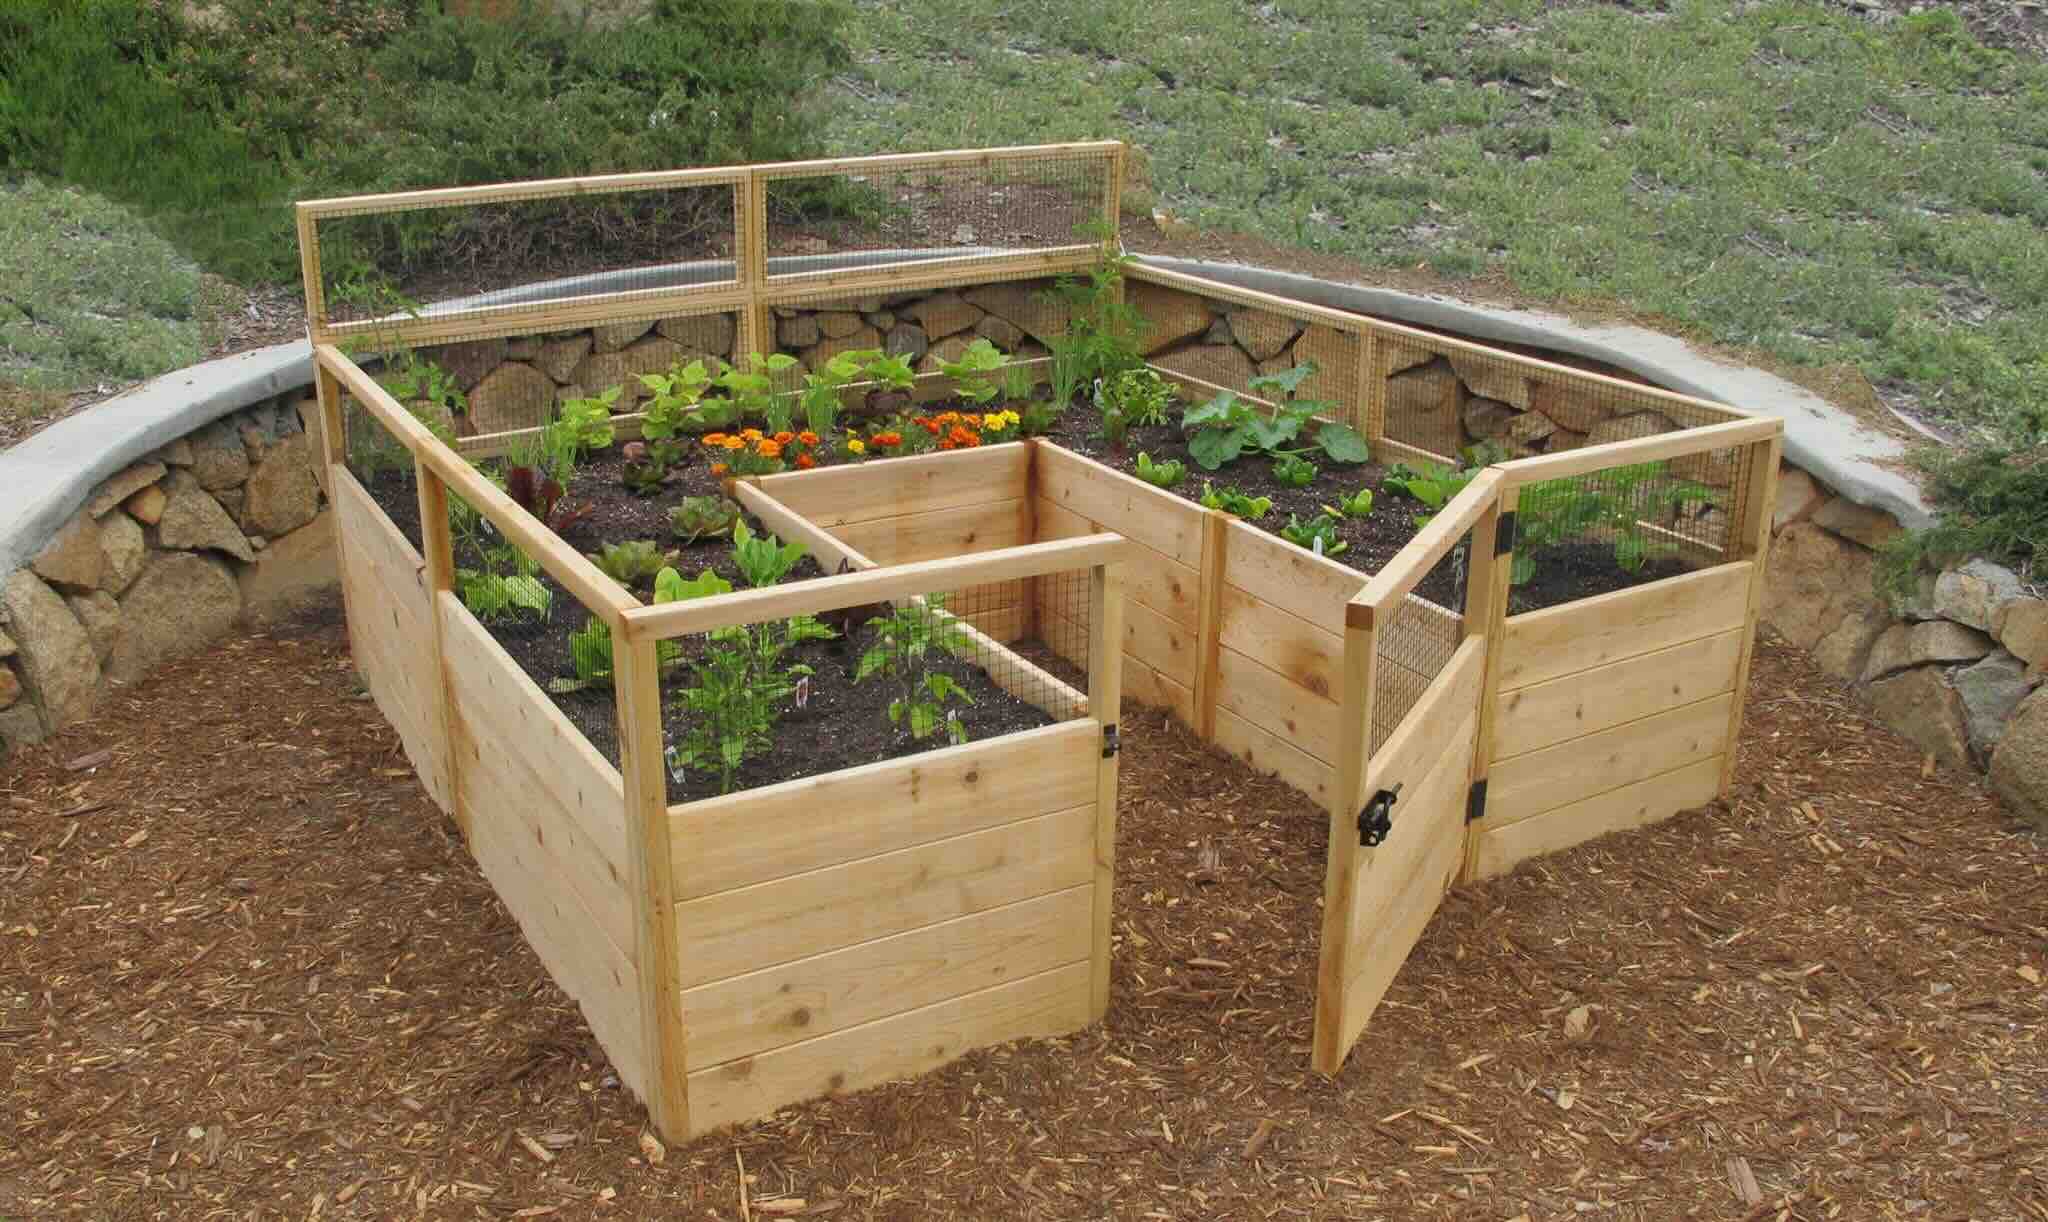
The following table gives a practical starting point for bed dimensions and crop use.
| Bed size or height | Good use | Main limitation |
|---|---|---|
| 2 feet wide by any length | Walls, fences, narrow spaces | Reachable from one side only |
| 4 feet wide by 4 to 8 feet long | Most home vegetables and herbs | Needs a clear path on all sides |
| 8 to 12 inches high | Lettuce, beans, onions, flowers | Not deep enough for long roots |
| 18 to 24 inches high | Carrots, tomatoes, accessibility | Costs more and needs more soil |
A 4-by-8-foot bed is a strong choice for beginners because it gives 32 square feet of growing area without forcing you to reach too far. For a small patio, two 2-by-4-foot beds may work better than one large bed.
Select safe and durable materials
The best material depends on your budget, climate, and expected lifespan. Cedar and redwood resist rot well, while untreated pine costs less and often lasts three to seven years when kept off wet ground. Galvanized steel lasts longer, but it can heat up in full sun during hot summers.

Wood boards
Use untreated lumber for food-growing beds. Common choices include:
- Western red cedar
- Eastern red cedar
- Redwood
- Douglas fir
- Untreated pine
- Larch
Use boards at least 1 inch thick. I prefer 2-inch-thick cedar for beds that need to last. A 2-by-6 board is about 1 1/2 inches thick and 5 1/2 inches wide after milling. Two stacked 2-by-6 boards create a bed about 11 inches high.
Avoid painted, stained, or chemically treated scrap wood unless you know its full history. Do not use railroad ties, old utility poles, or boards with an oily smell. Older treated lumber may contain preservatives that are not suited to vegetable beds.
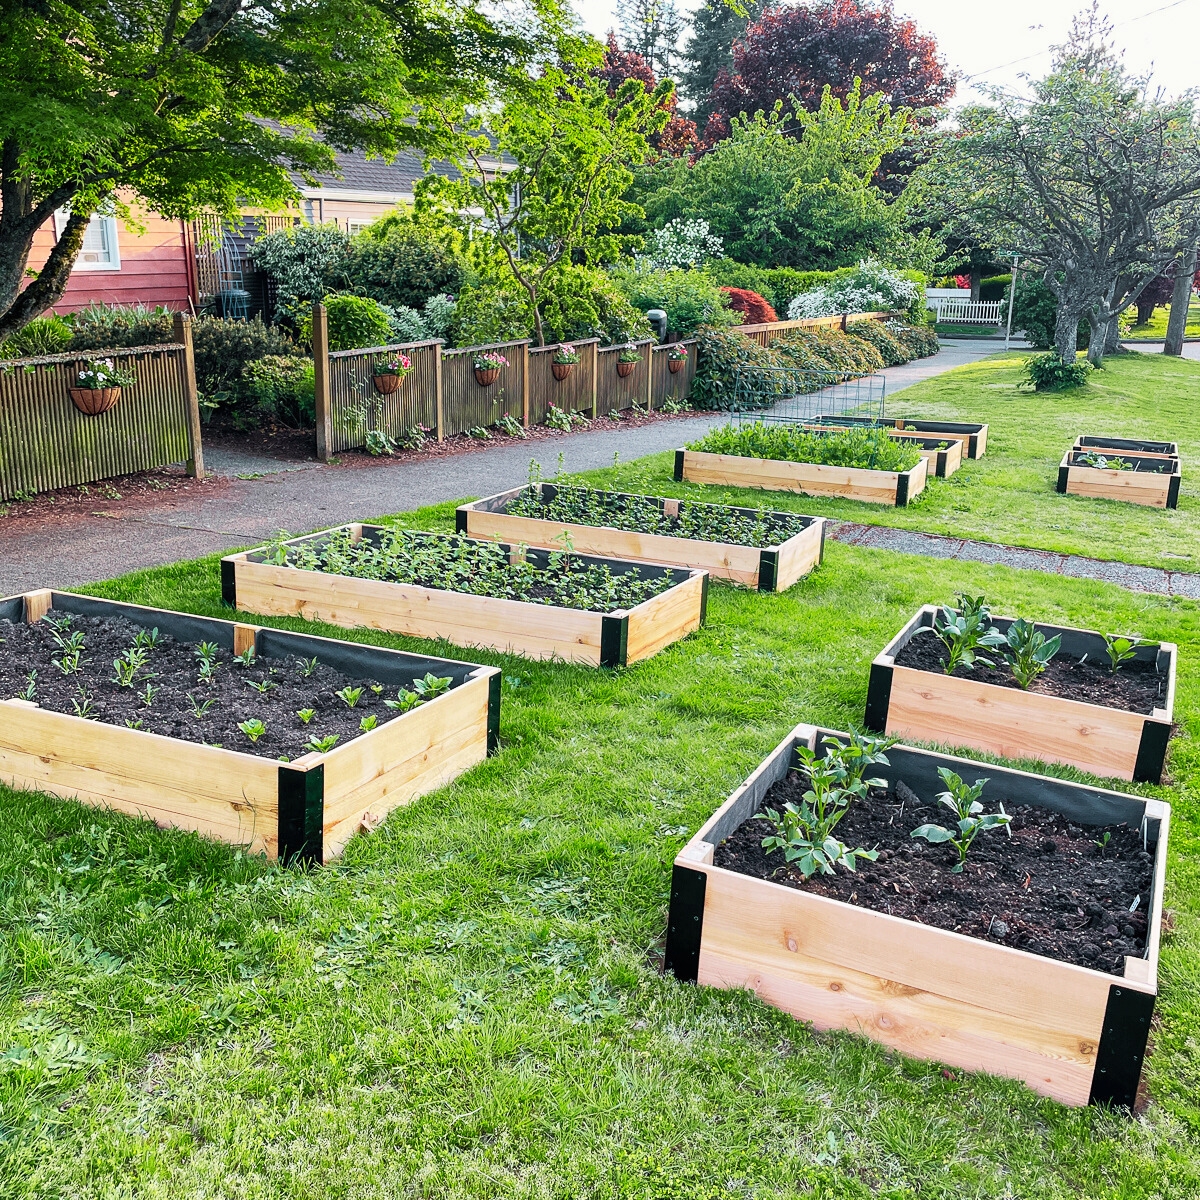
Metal and composite panels
Galvanized steel beds are light, fast to assemble, and resistant to rot. Look for rounded edges, strong rolled rims, and a frame that does not flex when you push on it. Thin metal can dent during delivery or buckle under soil pressure.
Composite boards made from recycled plastic and wood fibers do not rot, but they can sag if the bed has no internal support. They often cost more than cedar. In my experience, composite beds make sense in wet regions where wood decays quickly.

Hardware and supports
Use exterior-rated screws, bolts, or the hardware supplied with the kit. Stainless steel screws resist rust best. Coated exterior screws are less expensive and work well in most gardens.
For a wood bed, gather corner posts, metal angles, or interior stakes. Tall beds need more support than low beds. A 24-inch bed may push outward with hundreds of pounds of soil after rain.
| Material | Typical life | Best fit |
|---|---|---|
| Untreated pine | 3–7 years | Low-cost, temporary beds |
| Cedar or redwood | 8–15 years | Long-term vegetable gardens |
| Galvanized steel | 15–30+ years | Fast setup and wet climates |
| Recycled composite | 10–25 years | Low-rot, low-maintenance beds |
Lifespan changes with climate and care. Wood lasts longer in dry regions and on gravel than it does in wet soil. Metal can outlast wood, but its fasteners and thin panels may fail first.
Gather tools and calculate materials
A simple bed needs few tools, but the right ones improve accuracy. A tape measure, square, level, drill, and outdoor screws cover most wood projects. A rubber mallet helps with metal kits without scratching the finish.
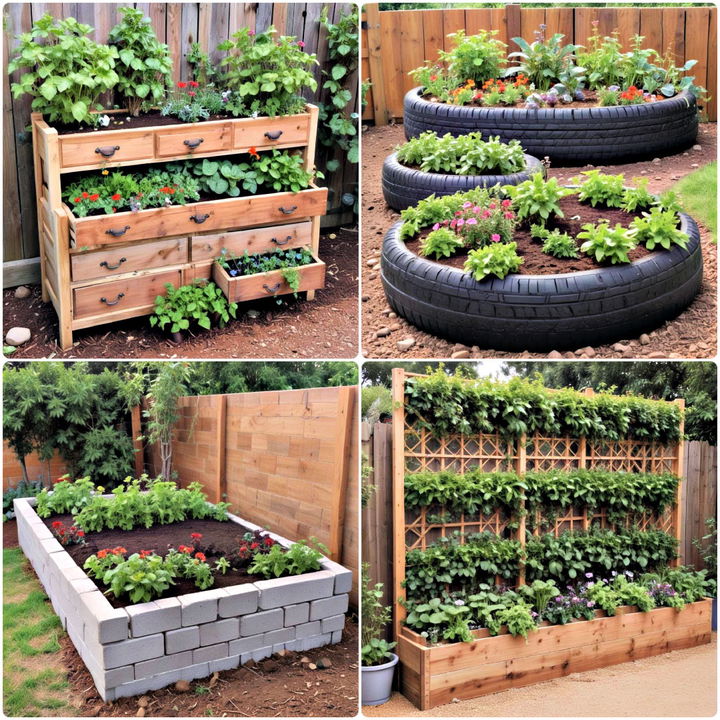
Use this basic materials list for a 4-by-8-foot bed made from two layers of 2-by-6 boards.
| Item | Amount | Purpose |
|---|---|---|
| 8-foot 2-by-6 boards | 6 | Four long sides and four short sides after cuts |
| 4-foot 2-by-6 boards | 4 | Short sides, depending on cuts |
| Exterior screws, 3 inches | 24–40 | Join boards and braces |
| Corner posts or stakes | 4–8 | Strengthen corners |
| Compost and soil mix | About 1.2 cubic yards | Fill a 4-by-8-by-12-inch bed |
| Level and tape measure | 1 each | Check the frame |
A 4-by-8-foot bed that is 12 inches deep holds 32 cubic feet of material. One cubic yard equals 27 cubic feet, so you need about 1.2 cubic yards after allowing for settling. A 6-inch bed needs about 0.6 cubic yards.
Use this formula:
Length in feet × width in feet × height in feet = cubic feet
Then divide the result by 27 to estimate cubic yards. Soil settles over time, so buy 10 percent extra if the bed will sit high and full.

For a 4-by-8-foot bed, you can use two 8-foot boards for the long sides and cut four 4-foot pieces for the short sides. If you stack two layers, you need twice as many boards. Check the actual board length before cutting because some lumber is shorter than its advertised size.
Prepare the site before assembly
Site preparation affects drainage, stability, and weed control. Do not place the frame on grass and assume the soil will solve every problem. Grass can grow through gaps, bind with the garden soil, and spread into the paths.
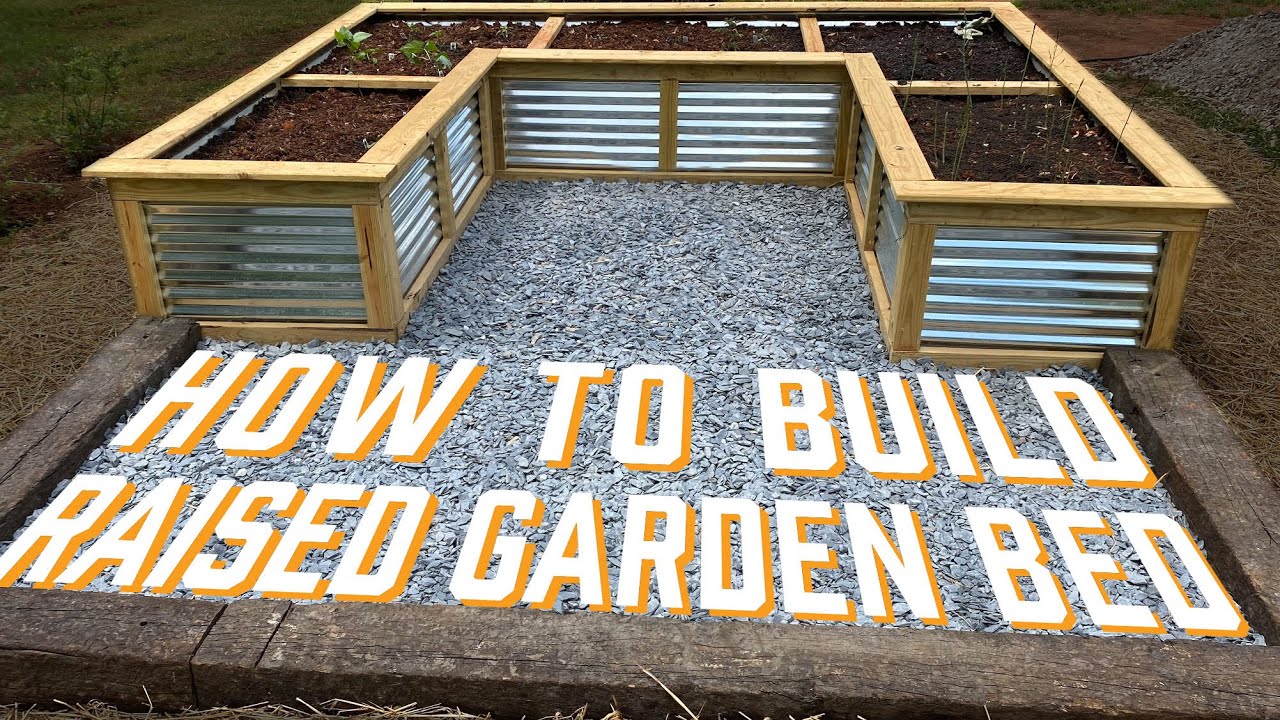
Mark the footprint
Set stakes at the four corners and run string between them. Measure both diagonals. A rectangle is square when both diagonals match.
For a 4-by-8-foot bed, measure from one outside corner to the opposite outside corner. Repeat in the other direction. If the measurements differ by more than about 1/2 inch, adjust the strings before digging.
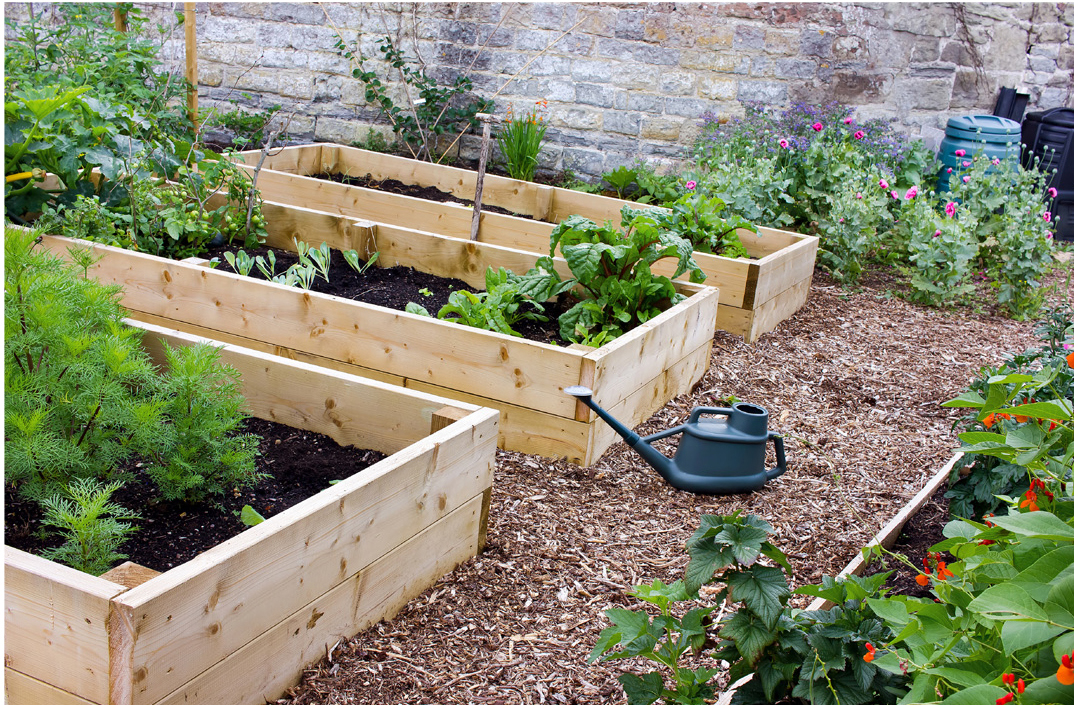
Remove sod and perennial weeds
Cut the grass short, then remove the sod inside the footprint. Dig out roots from plants such as Bermuda grass, quackgrass, bindweed, and creeping buttercup. These weeds can cross under a bed and return through the soil.
For a bed on compacted ground, loosen the top 6 to 8 inches with a garden fork. Do not turn wet clay soil with a tiller. It can create hard clods that stay poor for years.
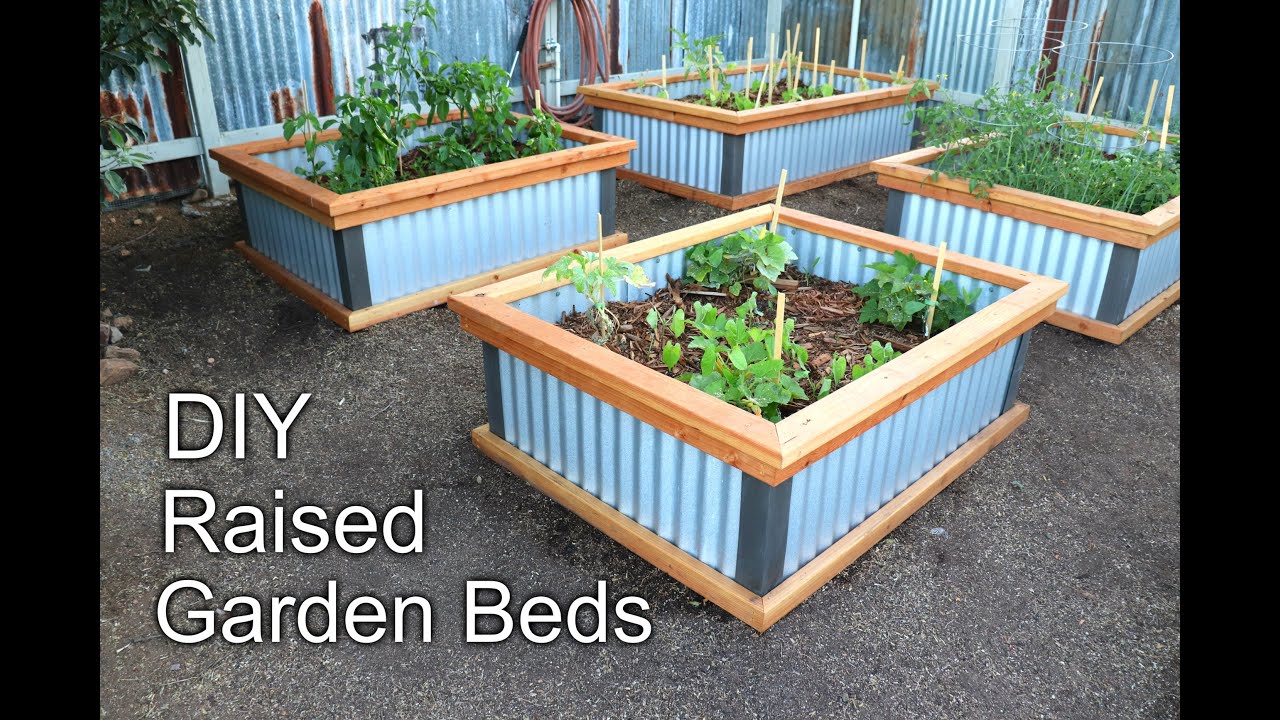
Level the ground
Use a flat shovel to remove high spots and fill low spots. Check the surface with a long board and a level. The bed does not need to be perfectly level for plants, but it must sit evenly so the frame does not twist.
A slight slope is acceptable on a large site, but a steep slope needs terracing or a retaining structure. Do not build a tall raised bed on a slope without planning for soil pressure and erosion.
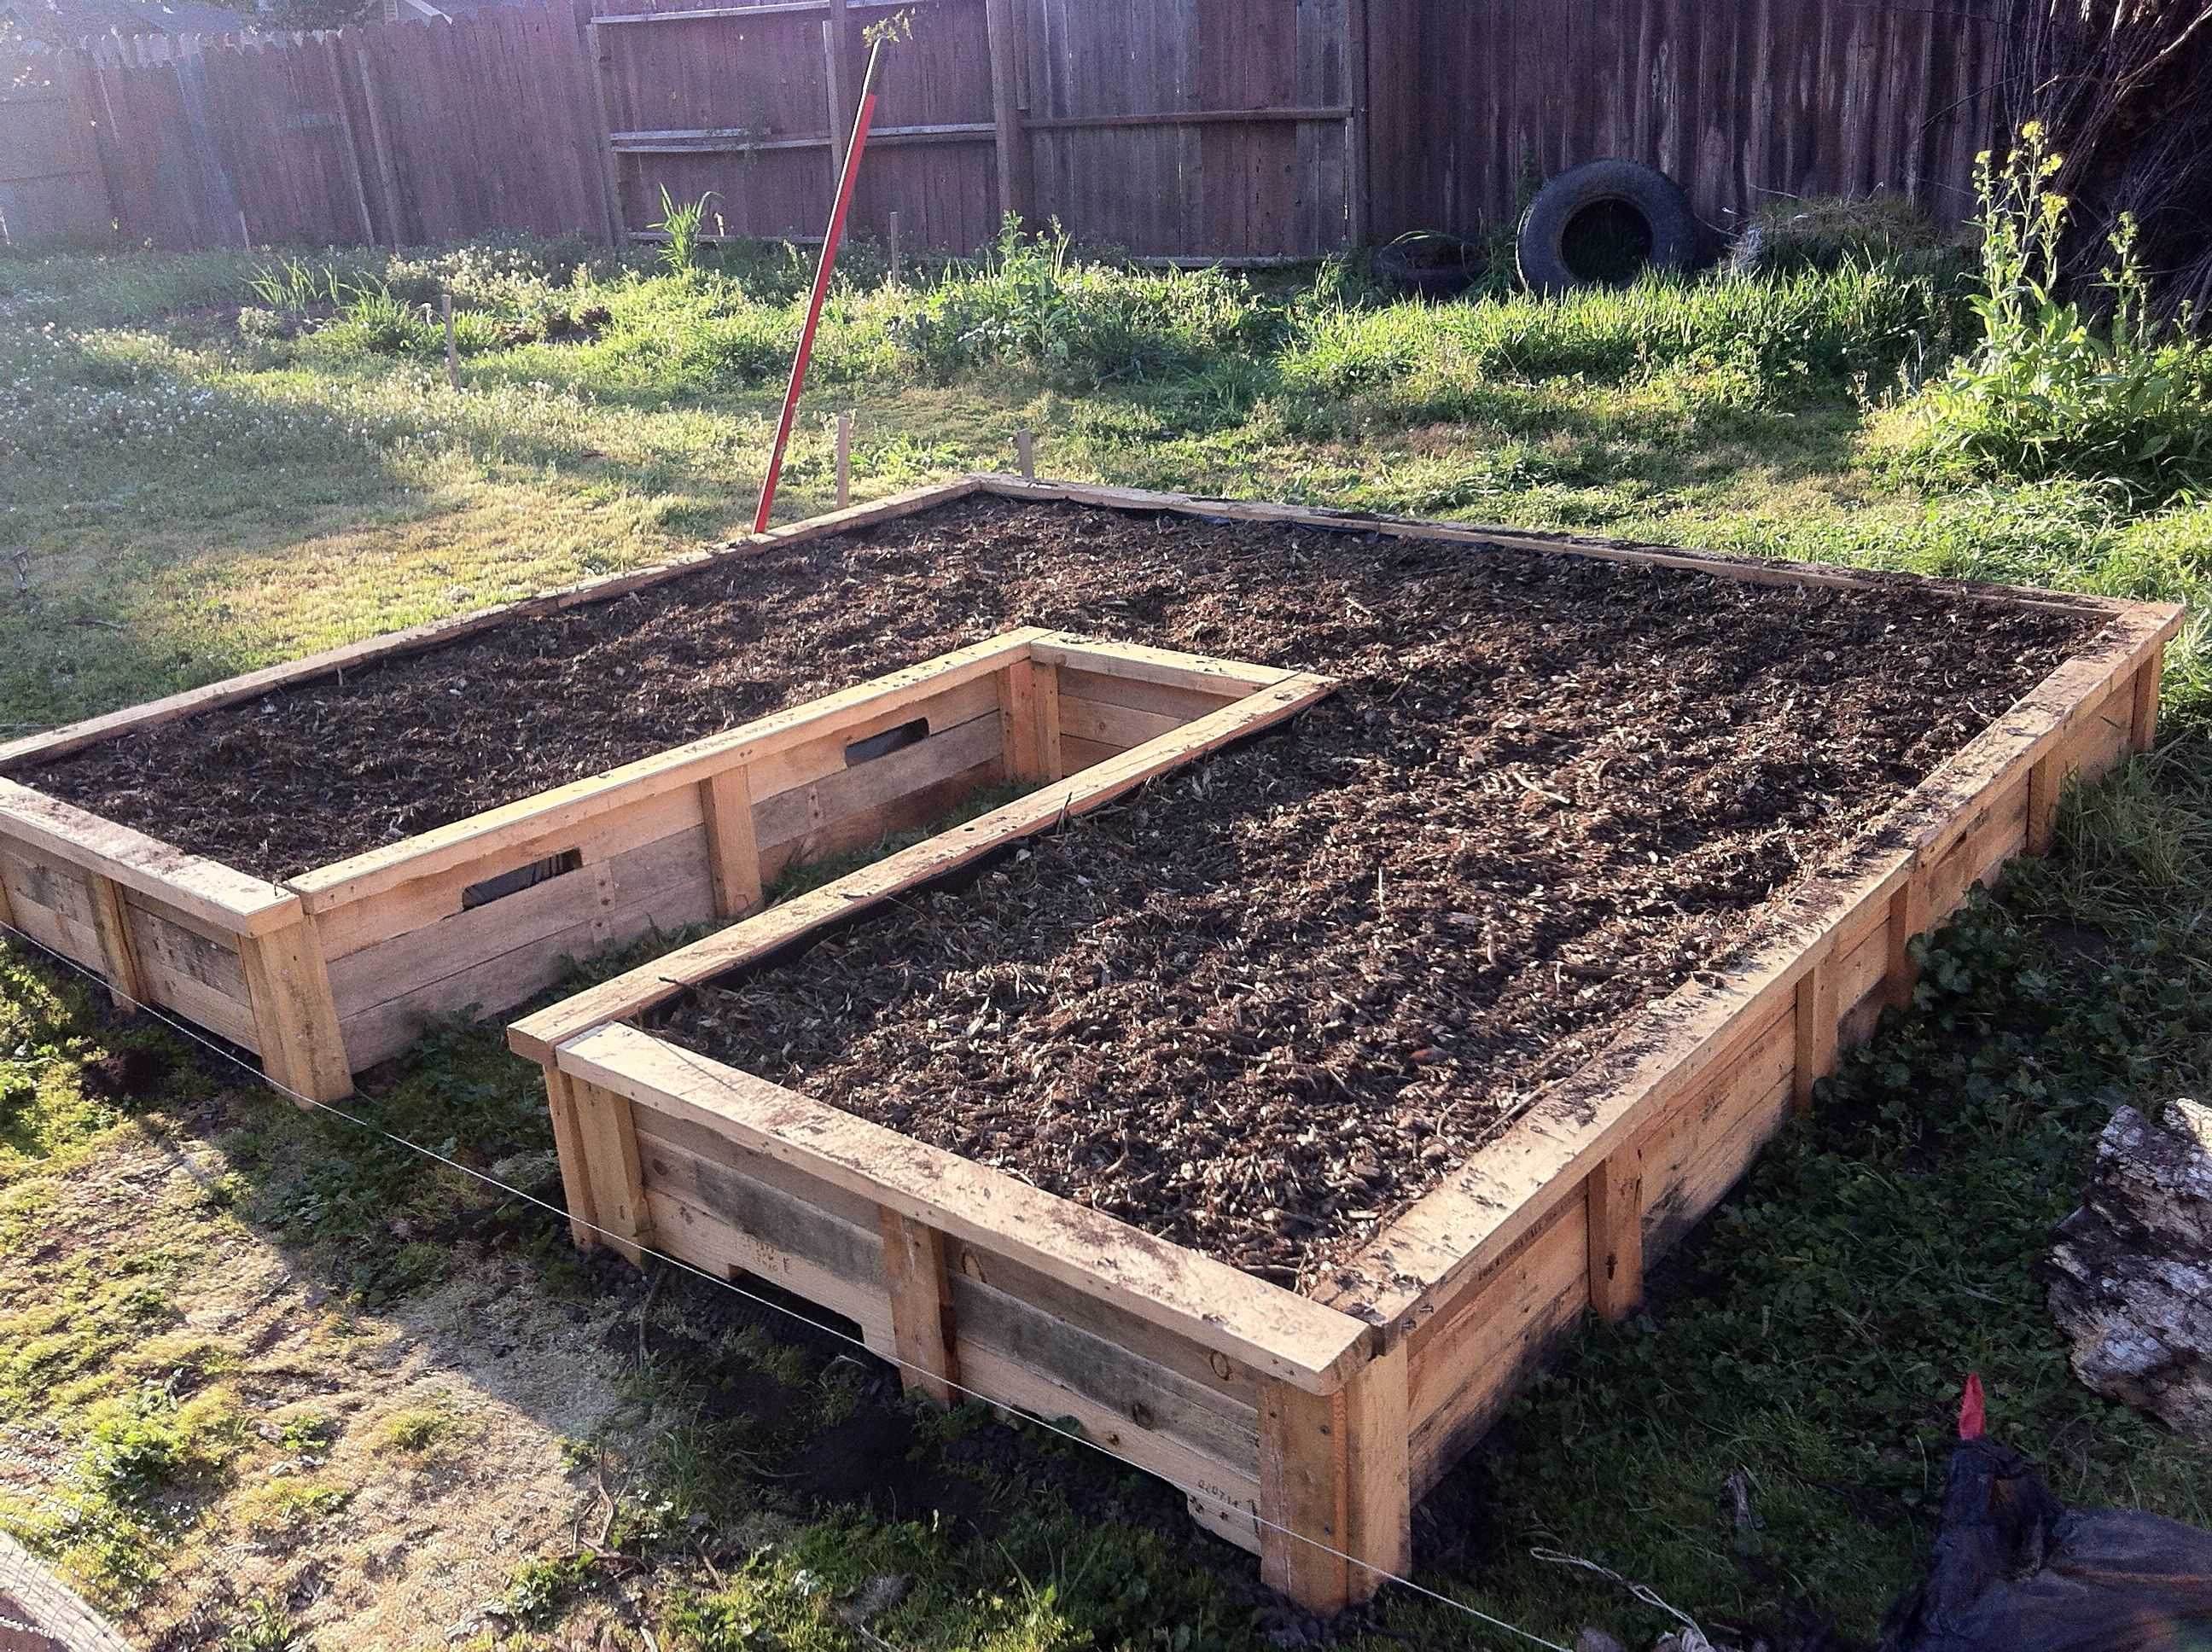
Add a weed barrier when needed
For a bed placed over lawn, lay overlapping cardboard beneath the frame. Remove tape and glossy labels first. Plain cardboard will break down and attract earthworms as it stays damp.
Landscape fabric can block weeds, but it may slow earthworm movement and make later soil improvement harder. Do not place plastic sheeting under an open-bottom bed unless you are building a container on a hard surface.
💡 Pro Tip: Put cardboard down on the same day you fill the bed. Wind can lift dry sheets, and gaps under the frame become an easy path for grass.
Assemble the raised garden bed frame
The best way to build a strong frame is to assemble it on a flat surface, connect one corner at a time, and check square before adding soil. Do not tighten every screw fully until the frame sits in its final position.
Step 1: Lay out the boards
Place the long and short boards near the prepared site. Set the best-looking face outward. Match the ends so the corners form a clean rectangle.
If the boards have a slight bow, place the crown outward. The soil will push against the boards and may help hold them in line. Reject boards with deep cracks near the ends because screws can split them.
Step 2: Build the first corner
Hold one short board against one long board. Keep the top edges flush. Drive two exterior screws through the long board into the end grain of the short board.
End-grain screws can pull loose over time, so add a corner post or metal angle when possible. A 2-by-2 or 4-by-4 post on the inside of each corner gives the screws more wood to grip.
Step 3: Connect the remaining corners
Attach the second short board to the other end of the long board. Add the opposite long board to complete the rectangle. Use a carpenter’s square to check each corner.
Do not stand on the boards or force them with a hammer. If a corner will not meet, check for a bowed board or incorrect cut. Fix the cause before driving more screws.
Step 4: Check the diagonals
Measure both diagonals. Tap one corner gently with a rubber mallet until the measurements match. This step matters because a frame that is out of square can create uneven paths and poor support for hoops or covers.
Once the diagonals match, drive the remaining screws. Use two or three fasteners at each corner, depending on board thickness.
Step 5: Add a second layer if needed
For an 18- to 24-inch bed, stack another frame on top of the first. Stagger the seams so the joints do not line up. Connect the layers with long screws through the upper board and into the lower board.
Add internal stakes every 4 to 6 feet on long beds. You can also install a cross brace from one long side to the other. This prevents the sides from spreading when the soil becomes wet.
Step 6: Install a liner only for specific conditions
An open-bottom bed should drain into the ground. You usually do not need a liner. A liner may help when the bed sits on concrete, a roof terrace, or a contaminated surface.
For a hard surface, use a container-safe liner with drainage holes. Keep the holes open and direct water away from walls or foundations. Do not seal the bottom of a bed that sits over natural soil.
Step 7: Make the frame safe
Sand sharp wood edges and cover exposed bolts. Check that no screw point extends into the planting area. Metal beds need special care around corners and cut edges.
If children use the garden, choose rounded corners and stable frames. Wear safety glasses when drilling and gloves when handling metal panels or rough lumber.
⚠️ Warning: Never use a raised bed as a retaining wall for a steep slope unless it was designed for that load. Saturated soil is heavy, and a failed wall can move suddenly.
Fill the bed with healthy soil
Raised beds work best with loose soil that drains well but still holds water. Do not fill the bed with pure compost. Compost shrinks as it breaks down and may hold too much water or release too many nutrients.
Use a balanced soil blend
A practical mix contains:
- About 50 percent screened topsoil
- About 30 percent finished compost
- About 20 percent aged bark fines, leaf mold, or coarse material
The exact mix can change by climate. In dry areas, add more compost or coconut coir to improve water holding. In wet clay regions, use coarse organic matter and avoid fine, muddy soil.
A raised bed soil blend should feel crumbly when moist. It should form a loose ball when squeezed, then break apart with a light touch. If it stays in a hard lump, it contains too much clay or moisture.
Check pH and nutrient levels
Most vegetables grow well at a soil pH of 6.0 to 7.0. Blueberries need a more acidic range near pH 4.5 to 5.5, so they deserve a separate container or bed. Most herbs prefer well-drained soil, while parsley and cilantro tolerate more moisture.
A soil test can show pH, phosphorus, potassium, and organic matter. Do not add lime, sulfur, or fertilizer by guesswork. Too much phosphorus can harm waterways and reduce the availability of some micronutrients.
Calculate the fill volume
A 4-by-8-foot bed at 12 inches deep holds 32 cubic feet. Soil sold in 1.5-cubic-foot bags would require about 22 bags, though bulk delivery usually costs less.
Fill the bed in layers and water each layer lightly. This removes large air pockets before planting. Leave 1 to 2 inches below the top edge so mulch and rain do not wash soil over the boards.
| Bed dimensions | Soil volume | Approximate bulk amount |
|---|---|---|
| 4 × 4 × 8 inches | 10.7 cubic feet | 0.4 cubic yard |
| 4 × 8 × 12 inches | 32 cubic feet | 1.2 cubic yards |
| 4 × 8 × 18 inches | 48 cubic feet | 1.8 cubic yards |
| 4 × 8 × 24 inches | 64 cubic feet | 2.4 cubic yards |
These figures show the space inside the frame before settling. After four weeks, the soil may drop several inches, especially if the mix contains fresh compost or loose bark.
Plant the bed with a simple layout
A raised bed gives you control, but crowded plants still struggle. Start with a plan based on mature plant size, sun direction, and watering needs. Put tall crops on the north side so they do not shade shorter plants.
Match crops to bed depth
Use shallow beds for:
- Lettuce
- Radishes
- Green onions
- Bush beans
- Strawberries
- Most herbs
Use deeper beds for:
- Carrots
- Parsnips
- Tomatoes
- Peppers
- Cucumbers
- Potatoes
- Asparagus
Tomatoes need about 18 inches of soil depth and strong support. Determinate varieties such as ‘Roma’ or ‘Celebrity’ fit smaller beds better than sprawling indeterminate types unless you add a trellis.
Use spacing instead of rows
Square-foot spacing can work well in raised beds. Plant one large cabbage, four lettuce plants, nine onions, or 16 radishes in a square foot, depending on the variety. Always check the seed packet because mature size changes spacing.
Do not crowd plants to get more from the bed. Poor airflow raises the risk of powdery mildew, downy mildew, early blight, and aphids. A little empty soil is cheaper than a failed crop.
Add support before plants need it
Install tomato cages, trellis panels, bean poles, or cucumber supports before plants become large. Driving stakes later can damage roots and disturb soil.
A strong trellis needs its own support. Do not fasten a heavy cucumber or melon trellis only to thin bed boards. Anchor it to posts driven beside or inside the frame.
Companion planting can help with space and pollinators, but it does not replace crop rotation or pest control. Marigolds may attract beneficial insects, while basil can share space with tomatoes. Avoid planting mint directly in the bed because it spreads through underground stems.
Water, mulch, and feed the new bed
New raised beds often dry faster than in-ground gardens. Their exposed sides lose moisture, and fresh soil may drain quickly. Check the soil with your finger before watering instead of following a fixed schedule.
Water deeply when the top inch feels dry. Seedlings may need light watering more often, while established tomatoes, peppers, and fruiting crops benefit from slow, deep soaking. Drip irrigation or a soaker hose keeps foliage dry and reduces disease.
Apply 1 to 2 inches of straw, shredded leaves, or finished compost around plants. Keep mulch away from plant stems to reduce rot and slug damage. Avoid thick layers of fresh wood chips in the planting area because they can tie up nitrogen as they break down.
| Plant stage | Watering approach | Feeding approach |
|---|---|---|
| Seeds and new seedlings | Keep the top inch evenly moist | No strong fertilizer |
| Established leafy crops | Water when the top 1–2 inches dry | Light compost or balanced feed |
| Flowering and fruiting crops | Deep soak as soil dries | Feed based on soil test and crop |
| Late season | Reduce only when plants slow down | Stop high-nitrogen feeding |
A balanced fertilizer such as 5-5-5 can suit many beds when used at the label rate. Heavy feeding can create lush leaves but fewer tomatoes, peppers, or beans. Organic fertilizer releases more slowly, especially in cool soil.
Avoid common assembly mistakes
Most raised bed failures come from small decisions made before planting. A weak frame, poor drainage, or wrong soil can waste more money than the lumber itself.
| Common mistake | What happens | Better fix |
|---|---|---|
| Building on uneven ground | Frame twists or rocks | Level the footprint first |
| Using pure compost | Soil shrinks and may hold too much water | Mix compost with topsoil and coarse organic matter |
| Making the bed too wide | You step on or lean across soil | Keep width near 4 feet |
| Skipping internal braces | Long sides bow outward | Add posts or cross braces |
| Filling over live grass | Grass returns through the bed | Remove sod or use overlapping cardboard |
| Adding plastic under open soil | Water cannot drain well | Keep the bottom open |
One mistake I made early on was using a very rich compost blend from a bulk supplier without testing it. The first crop grew fast, but the tomatoes showed curled leaves and the lettuce tasted overly strong. A soil test showed high soluble salts. I replaced part of the mix and watered deeply over several weeks.
Another common problem appears after a wet winter. Soil settles more on one side, and the frame looks tilted. Add soil in spring, but first check whether the bed itself moved. If the frame shifted, empty enough soil to reset it rather than forcing the boards back into place.
Maintain the bed across the seasons
A raised garden bed needs simple checks each season. Inspect the corners, fasteners, soil level, drainage, and irrigation before planting. Early repairs take minutes. Delayed repairs may require removing mature plants.
Spring maintenance
Remove old stems and diseased plant debris. Do not compost plants that had severe tomato blight, cucumber downy mildew, or other persistent disease unless your compost pile reaches a reliable hot temperature.
Top up settled soil with screened compost and a little garden soil. Check that the pH remains suitable every few years, or sooner if plants show repeated nutrient problems.
Summer maintenance
Look under leaves for aphids, whiteflies, spider mites, flea beetles, and tomato hornworms. Hand-pick larger pests and use row cover over young brassicas to block cabbage worms and cabbage moths.
Inspect hoses and drip lines for leaks. A small leak beside the bed can wash out soil and expose roots. In hot USDA Zones 8 and 9, use shade cloth over lettuce and spinach during intense afternoon heat.
Fall and winter maintenance
Remove diseased plants and add a cover crop or mulch. Oats, field peas, crimson clover, and winter rye can protect soil, but choose a crop that fits your climate and remove it before it sets seed.
In cold zones, do not leave loose boards or tools against the bed where freeze-thaw movement can push them out. Galvanized steel beds may need no winter storage, while removable fabric covers should be cleaned and stored dry.
| Season | Main task | Check for |
|---|---|---|
| Spring | Add compost and inspect frame | Settling, loose screws, damaged boards |
| Summer | Water deeply and monitor pests | Dry soil, wilt, insects, disease |
| Fall | Remove debris and mulch soil | Diseased plants and exposed roots |
| Winter | Protect covers and supports | Snow load, rot, frost movement |
Wood usually fails first at the bottom edges and corners. Replace a board when it feels soft, splits around fasteners, or pushes outward under soil pressure. You can often replace one board without rebuilding the whole bed.
Compare raised beds with other garden options
Raised beds are useful, but they are not right for every site. In-ground beds cost less and support deep-rooted plants, while containers work better on balconies and paved patios. A hugelkultur-style mound can reduce soil purchases but needs space and careful material selection.
| Garden type | Main advantage | Main drawback |
|---|---|---|
| Raised bed | Controlled soil and easy access | Higher setup cost and faster drying |
| In-ground garden | Low cost and deep root room | More weeds, poor soil, and bending |
| Container garden | Works on patios and balconies | Limited root space and frequent watering |
| Grow bags | Cheap and portable | Dry quickly and may last only a few seasons |
Choose a raised bed if your native soil is compacted, contaminated, rocky, or hard to work. Choose in-ground rows if you have good loam, plenty of space, and a low budget. Choose containers if you rent or need to garden above concrete.
Decide whether to buy a kit or build from lumber
Raised bed kits save cutting time and often include corner brackets or bolts. They make sense for renters, beginners without saws, and gardeners who want a clean look. DIY lumber beds offer more size options and can cost less when you already own a drill and saw.
A kit should have clear dimensions, strong connections, safe edges, and replacement hardware. Avoid kits with very thin panels, vague material descriptions, or corners that rely on friction alone. Read the assembly instructions before placing the order so you know whether the listed dimensions are inside or outside measurements.
DIY construction gives you control over bed height, wood thickness, and internal braces. It also creates more chances for uneven cuts or weak joints. If you are not comfortable using a saw, a local lumberyard may cut boards to length for a small fee.
Fix problems after assembly
Even a careful build can develop problems. The most common signs include bowing sides, standing water, dry corners, settling soil, and pest damage. Find the cause before adding more water, fertilizer, or soil.
Bowed or spreading sides
Bowing usually means the boards are too thin, the bed is too long, or the frame lacks internal support. Add corner posts, stakes, or a cross brace. For a badly bowed bed, remove some soil before tightening or replacing the hardware.
Standing water
Standing water points to compacted soil, a blocked liner, or a site that drains poorly. Check the bottom and surrounding ground. Do not simply add sand to clay soil; coarse compost, organic matter, and better site grading work more reliably.
Soil settling
Fresh compost, bark, and loose soil settle as they decompose. Add a thin layer of finished compost and soil each spring. Do not fill the bed with fresh manure, which can burn roots and add excess salts.
Pests from below
Voles, moles, and gophers may enter from the open bottom. Install 1/2-inch galvanized hardware cloth below the frame before adding soil. Secure it under the boards and overlap seams by several inches.
Slugs and snails
Slugs hide under boards, mulch, and dense foliage. Water early in the day, reduce excess shelter, and hand-pick pests at dusk. Beer traps can help in small areas, but they do not replace habitat control.
🔧 Quick Fix: If one corner sinks, remove the soil beside that corner, lift the frame with a lever, add compacted gravel, and reset the bed. Do not pack loose soil against the outside and hope it holds.
Use a practical safety routine
Wear gloves when moving lumber, soil, or metal panels. Safety glasses protect your eyes from drill bits, wood chips, and broken fasteners. Use a dust mask when handling dry compost, potting mix, or soil that may contain fungal spores.
Keep power tools away from wet soil and use outdoor-rated extension cords. Unplug a saw or drill before changing bits or blades. Lift soil bags with your legs, or split large bags into smaller loads.
Do not burn treated lumber, painted boards, or composite material. Dispose of damaged wood according to local rules. If you suspect contaminated soil, have it tested before growing food.
Know when to hire help
You can assemble most small raised beds without professional help. Hire a carpenter or landscape contractor when the bed is part of a retaining wall, sits on a steep slope, exceeds about 24 inches in height, or must support a wheelchair-accessible design.
Professional help also makes sense for rooftop gardens, beds near foundations, and projects that require drainage changes. A contractor can check load limits and prevent water from moving toward a building.
For a standard 4-by-8-foot bed on level ground, paying for labor may cost more than the frame and soil. The tradeoff is speed and fewer mistakes. Ask for a clear quote that separates lumber, soil, delivery, labor, and irrigation work.
Frequently asked questions
Q: How deep should a raised garden bed be?
A: Use 8 to 12 inches for lettuce, herbs, onions, beans, and many flowers. Use 18 to 24 inches for carrots, parsnips, tomatoes, potatoes, and accessibility. If the bed sits on concrete, the full bed depth must contain usable soil because roots cannot grow below it.
Q: Should a raised garden bed have a bottom?
A: An open bottom works best over natural soil because it drains well and lets roots reach deeper. Add a bottom only when the bed sits on concrete, a balcony, or another hard surface. Any closed-bottom bed needs drainage holes.
Q: Do I need landscape fabric under a raised bed?
A: Usually no. Remove grass and use plain cardboard when needed. Use hardware cloth under the bed if gophers, voles, or other burrowing pests are common.
Q: Can I use pressure-treated wood for a raised bed?
A: Modern pressure-treated lumber uses preservatives that differ from older formulas, but many food gardeners still choose untreated cedar or redwood. If you use treated lumber, confirm the product is approved for the intended outdoor use and follow local guidance. Never use old railroad ties or unknown reclaimed wood.
Q: What is the best soil mix for raised beds?
A: A useful starting mix is about 50 percent screened topsoil, 30 percent finished compost, and 20 percent aged bark fines, leaf mold, or another coarse organic material. Adjust the blend for your climate and test pH and nutrients when possible.
Q: Can I put a raised bed on grass?
A: Yes, but cut the grass short, remove perennial weeds, and cover the footprint with overlapping plain cardboard. A very shallow bed may still allow grass to return, so deeper beds and careful site preparation work better.
Q: How much soil does a 4-by-8-foot raised bed need?
A: A 4-by-8-foot bed that is 12 inches deep needs 32 cubic feet, or about 1.2 cubic yards, of soil. Add around 10 percent extra because the mix will settle after watering and decomposition.
Q: How long does a wooden raised garden bed last?
A: Untreated pine may last three to seven years, while cedar or redwood often lasts eight to 15 years. Wet climates shorten wood life. The bottom boards, corners, and fasteners usually fail before the upper boards.
Q: Should I line a wooden raised bed with plastic?
A: Do not line an open-bottom bed with plastic. Plastic can trap water and speed wood decay. A liner may help protect wood beside concrete or masonry, but it must include open drainage.
Q: How often should I replace the soil?
A: You usually do not need to replace all the soil. Add compost, rotate crops, remove diseased debris, and test the soil every few years. Replace soil only when it contains contaminants, severe salt buildup, or a persistent disease problem.
Q: What can I grow in a 12-inch raised bed?
A: You can grow lettuce, spinach, kale, beans, onions, strawberries, herbs, peppers, bush cucumbers, and many flowers. Tomatoes and root crops may grow, but deep varieties need more soil or access to the ground below.
Q: Why is my raised bed drying out so fast?
A: Raised beds dry faster because air moves around the sides and the soil drains freely. Add 1 to 2 inches of organic mulch, use drip irrigation, water deeply, and check whether the soil contains too much coarse material or fresh compost.
Q: Can I grow perennials in a raised bed?
A: Yes, but choose plants that match the bed depth and winter climate. Asparagus, strawberries, herbs, and some flowers can stay for years. Perennial plants need room, so do not place them where annual crop rotation is important.
A raised garden bed is a simple structure, but good results depend on the details. Choose a sunny site, keep the frame narrow enough to reach, level the base, use strong corners, and fill it with a balanced soil mix rather than pure compost.
For most home gardens, a 4-by-8-foot bed that is 12 inches high offers a useful balance of cost, access, and growing space. Add deeper soil for root crops, hardware cloth for burrowing pests, and drip irrigation for hot or dry climates. Build slowly, check the frame before filling it, and your bed can support productive crops for many seasons.
Meta description: Learn how to assemble raised garden beds with clear steps for choosing materials, preparing the site, building a strong frame, calculating soil, planting, watering, and fixing common problems.