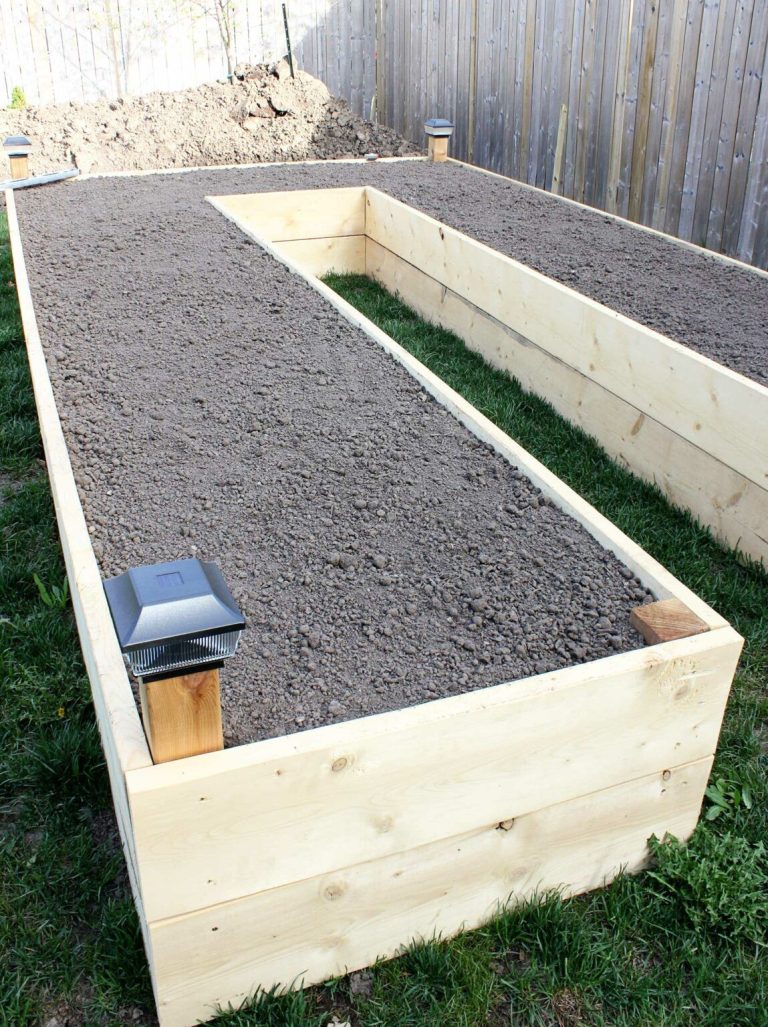
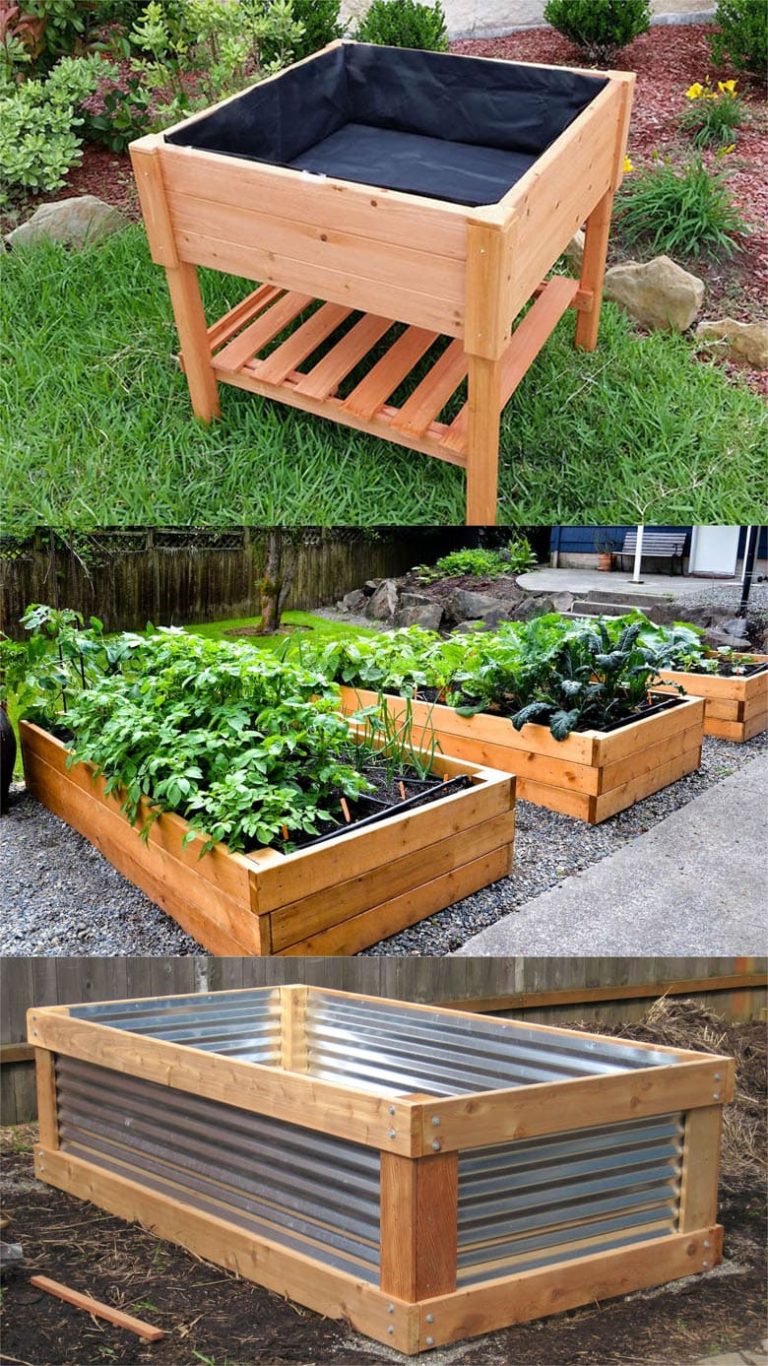
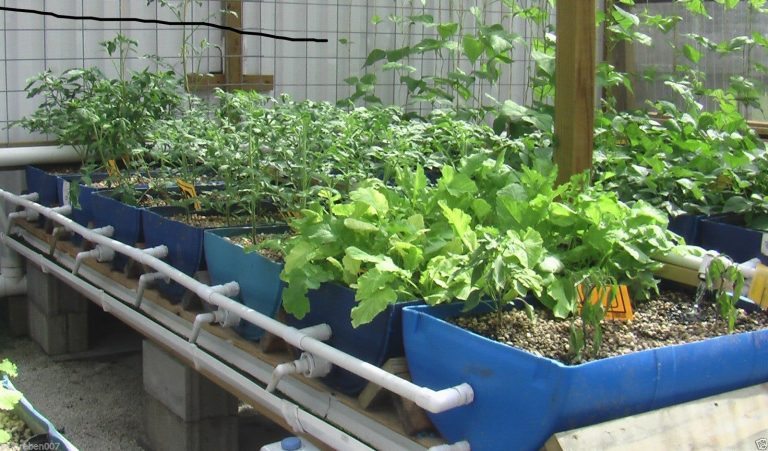
How To Build An In Ground Garden Bed: Easy DIY Guide
An in-ground garden bed is one of the simplest ways to grow vegetables, herbs, flowers, and berries. You plant directly into the soil instead of building a box or filling containers. That means less cost, more room for roots, and better moisture control once the soil improves.
The work starts before you plant. You need a site with enough sun, good drainage, safe soil, and easy access to water. In my gardens across USDA Zones 5b, 7a, and 9b, the best beds came from careful layout and soil prep, not from expensive tools or fancy amendments.
This guide shows how to build an in-ground garden bed from bare lawn or poor soil. You will learn where to place it, how deep to dig, how to improve clay or sand, when to use cardboard, how to control weeds, and how to maintain the bed through each season.
Quick Answer: How to Build an In-Ground Garden Bed
To build an in-ground garden bed, choose a level site with 6–8 hours of sun, remove grass and weeds, loosen the soil 8–12 inches deep, and mix in 2–4 inches of finished compost. Shape the bed without walking on it, water it well, and cover the surface with 2–3 inches of mulch. Test soil pH before adding lime or fertilizer.

What an In-Ground Garden Bed Is and How It Works
An in-ground garden bed is a defined planting area made directly in native soil. You may mark it with a hose, stones, logs, or a simple edging material, but the bed does not need a raised frame. Plant roots grow into the ground below, so the bed can support large crops such as tomatoes, pumpkins, asparagus, and fruit bushes.
The soil acts like a living system. Earthworms, fungi, bacteria, roots, air, and water work together in the top layer. When you add compost and avoid compacting the soil, this system becomes easier to work over time.
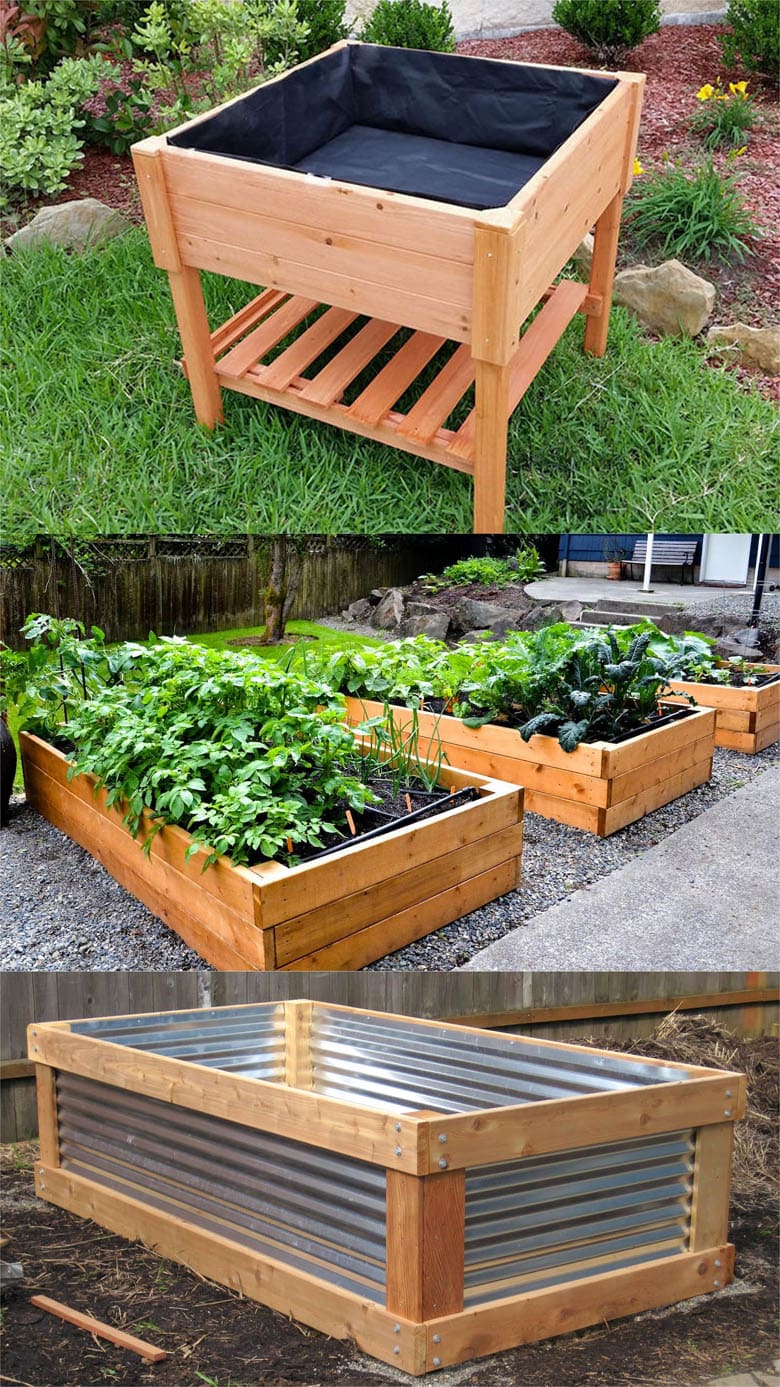
Unlike a raised bed, an in-ground bed does not need lumber, brackets, landscape fabric, or a large soil delivery. It also warms more slowly in spring and may drain poorly in wet sites. Your local soil type and climate matter more than any single garden method.
In-Ground Beds Compared With Raised Beds and Containers
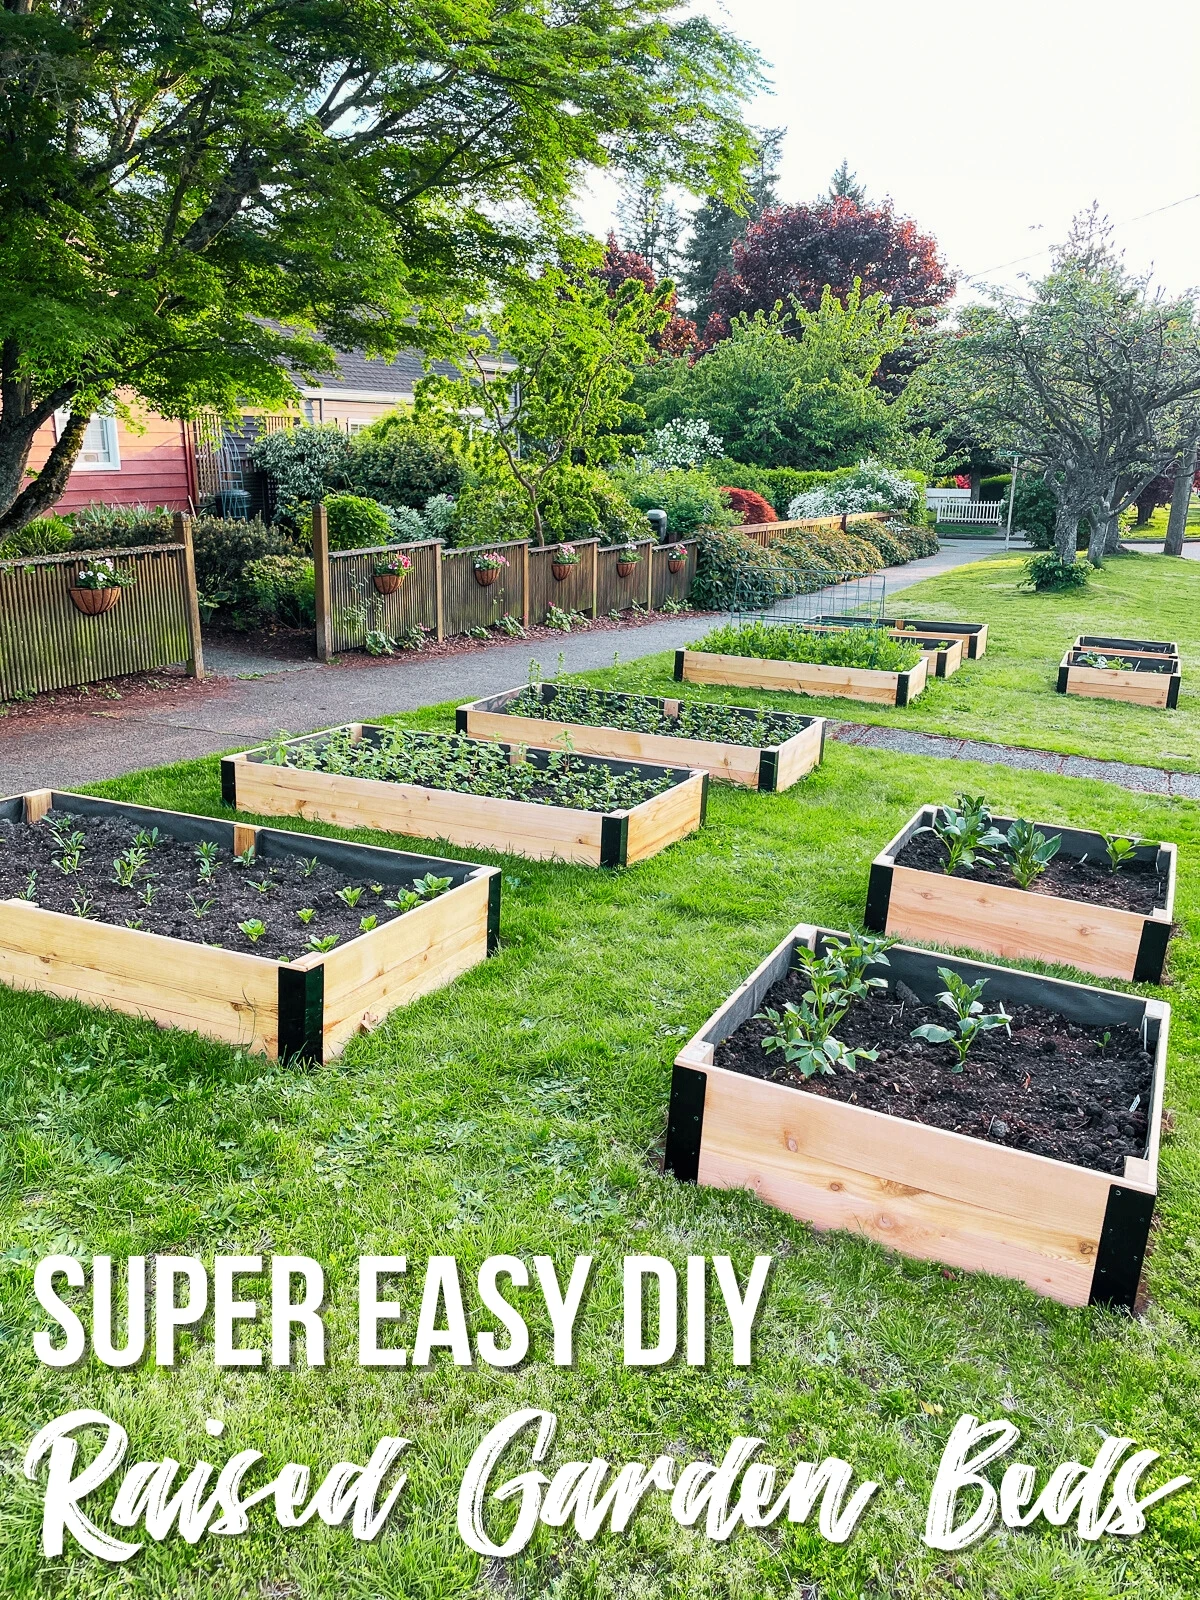
In-ground beds work best when native soil drains well and has no known contamination. Raised beds give you more control over soil depth and drainage. Containers suit renters, patios, balconies, and gardeners who need a small growing area.
The key difference between an in-ground bed and a raised bed is the root zone. An in-ground bed connects to deep native soil, while a raised bed depends on the soil placed inside its frame.
| Garden method | Main strength | Main limitation |
|---|---|---|
| In-ground bed | Low cost and deep root space | Native soil may contain clay, rocks, or contaminants |
| Raised bed | Easy soil control and access | Costs more and dries faster |
| Container | Works in small spaces | Limited root space and frequent watering |
For most homeowners with safe, sunny ground, an in-ground bed offers the best value. Choose a raised bed if your site floods, your soil is contaminated, or bending down causes pain.
How Much Space a New Bed Needs
Start with a bed that matches your time, not your ambition. A 4-by-8-foot bed gives good growing space, but a 3-by-6-foot bed feels easier for a first season. Keep the bed narrow enough that you can reach the center without stepping inside.
A 3- to 4-foot width works well for most crops. The length can vary. Leave at least 2 feet between beds for walking, a wheelbarrow, and hose movement.
| Bed size | Growing area | Good starting use |
|---|---|---|
| 3 × 6 feet | 18 square feet | Herbs, lettuce, beans, and a few tomatoes |
| 4 × 8 feet | 32 square feet | Mixed vegetables for a small household |
| 4 × 12 feet | 48 square feet | Larger harvests and succession planting |
A smaller bed is not a failure. It is easier to weed, water, and protect from pests. You can always add another bed after one full growing season.
Tools and Materials for Building the Bed
You do not need a rototiller for most garden beds. A spade or garden fork, rake, shovel, wheelbarrow, hose, measuring tape, and soil test kit will handle the main work. A broadfork can loosen deep soil with less mixing and less damage to soil structure.
Use finished compost, not fresh manure. Fresh manure can burn roots, add weed seeds, and raise the risk of harmful bacteria on edible crops. Use clean mulch such as shredded leaves, straw, pine bark, or untreated grass clippings.

Basic Tools and Supplies
Gather all supplies before you start. This saves time and prevents the common mistake of leaving loosened soil bare while you search for mulch.
| Item | Purpose | Suggested amount for a 4 × 8-foot bed |
|---|---|---|
| Spade or digging fork | Break compacted soil | 1 |
| Garden rake | Level and shape soil | 1 |
| Finished compost | Improve soil structure | 8–11 cubic feet |
| Hose or watering can | Settle soil and water plants | 1 |
| Cardboard or newspaper | Smother turf and weeds | Enough to cover the site |
| Organic mulch | Slow weeds and water loss | 2–3 cubic feet |
| Soil test kit | Check pH and nutrients | 1 |
To calculate compost, multiply bed length by width by compost depth. A 4-by-8-foot bed covered with 3 inches of compost needs about 8 cubic feet. Buy a little extra because loose compost settles.
Safety Gear and Soil Testing
Wear gloves, sturdy shoes, and eye protection when breaking hard soil or using a mattock. If you work in dry soil, a dust mask helps reduce dust from soil particles and old mulch. Keep children away from sharp tools when tools are not in use.
Test soil before adding lime, sulfur, or strong fertilizer. A soil test can show pH, phosphorus, potassium, and organic matter. Most vegetables grow well around pH 6.0–7.0, while blueberries prefer a much lower pH of about 4.5–5.5.
⚠️ Warning: Do not grow food in soil near old painted structures, treated railroad ties, industrial lots, or busy roads until you test for lead and other contaminants. Use a raised bed with clean soil if contamination is found.
Choose the Right Site Before You Dig
The best site gets at least 6 hours of direct sun. Fruiting crops such as tomatoes, peppers, cucumbers, squash, and eggplant often need 8 hours for strong growth. Leaf crops such as lettuce, kale, and spinach can handle some afternoon shade.
Watch the site after heavy rain. If water remains for more than 24 hours, the area may need drainage work or a different garden method. Avoid low pockets, areas under large trees, and places close to walnut trees, whose roots and leaves may affect some plants.
Sun, Slope, and Water Access
Place the bed near a water source, but not where a leaking hose will flood it. A site 20 feet from the spigot may be easier to maintain than one 100 feet away. Gardens that are hard to reach often become dry and weedy by midsummer.
A gentle slope can work if you run beds across the slope rather than straight downhill. This slows runoff and reduces soil loss. On steep ground, use terraces or raised beds instead.
| Site condition | Target | Reason |
|---|---|---|
| Sunlight | 6–8 hours daily | Supports strong vegetable growth |
| Distance to water | Easy hose access | Encourages regular watering |
| Slope | Level to gently sloped | Limits erosion and runoff |
| Tree distance | Outside major root zones | Reduces shade and root competition |
Spend one day observing the site before you mark it. Sun patterns change from spring to summer, and a place that looks sunny in March may sit under shade in June.
Check for Roots, Utilities, and Standing Water
Call your local utility marking service before digging. Underground electric, gas, water, and communication lines can cross even small yards. Do not assume that shallow digging is safe.
Probe the soil with a shovel after rain. If the blade stops at a dense layer, rock, or thick root mat, plan to improve the site slowly. You can still build the bed, but you may need compost, a drainage channel, or a different location.
Step-by-Step: Build the Garden Bed
The best way to build an in-ground garden bed is to remove competition, loosen the root zone, add modest amounts of organic matter, and keep the soil covered. Do not pulverize the soil or mix in large amounts of a single amendment.

1. Mark the Bed
Use a tape measure and stakes to mark straight lines. For curved beds, lay out a garden hose and adjust the shape until it looks balanced. Keep the bed narrow enough to reach the center from both sides.
Mark paths before you dig. A path covered with wood chips, gravel, or stepping stones helps keep mud out of the house and reduces soil compaction around the bed.
For a family vegetable garden, I often use 4-foot-wide beds with 2-foot paths. This layout leaves enough room for a wheelbarrow while keeping most plants within reach.
2. Remove Grass and Existing Weeds
For a clean start, cut grass as low as possible with a mower or string trimmer. Then remove the sod with a flat spade. Slice below the roots and lift the turf in strips.
You can also smother grass with overlapping cardboard. Remove tape and glossy paper, wet the cardboard, and cover it with compost. This method takes about 6–10 weeks during warm, moist weather, though tough perennial weeds may need longer.
Do not till live quackgrass, bermudagrass, bindweed, or creeping buttercup into the bed. Small root pieces can create many new plants.
3. Loosen the Soil
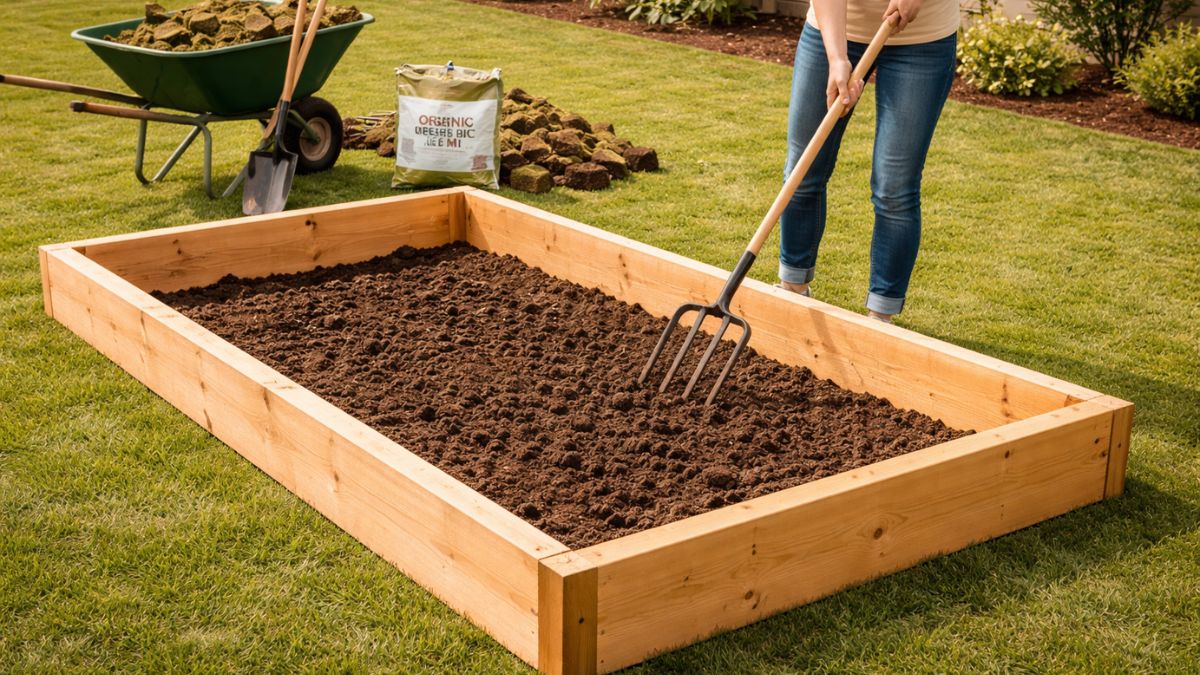
Loosen the top 8–12 inches with a garden fork or broadfork. Push the fork straight down, rock it back slightly, and lift without turning the soil over. Work when the soil is moist but not wet.
A simple squeeze test helps. Grab a handful of soil and press it. If it forms a shiny mud ball, wait. If it falls apart like dust, water lightly and wait a day.
Deep loosening helps carrot, parsnip, beet, and tomato roots. It also improves air movement and drainage. Do not dig deeply into a wet clay soil, because you may create hard clods that last for months.
4. Add Compost and Soil Amendments
Spread 2–4 inches of finished compost over the bed. Mix it into the top 6–8 inches if the soil is poor or compacted. If your soil already has good structure, leave some compost on top and let rain and soil life move it downward.
Clay soil benefits from compost, leaf mold, and roots. Sand needs compost and regular organic mulch to hold water and nutrients. Do not add sand to clay unless you can add very large amounts; small amounts can create a concrete-like mix.
Apply lime, sulfur, rock phosphate, or high-nitrogen fertilizer only when a soil test supports it. More amendment does not mean more growth. Excess phosphorus can run into waterways and harm plant nutrient balance.
🌱 Beginner Note: Compost improves soil structure, but it does not replace every nutrient. Think of compost as a steady meal, not a complete fertilizer for heavy feeders such as tomatoes, corn, and squash.
5. Shape the Bed Without Compacting It
Rake the soil into a flat or gently rounded surface. A slightly raised center helps shed excess rain, but do not create steep edges that wash away.
Once the bed is shaped, stay on the paths. Each step compresses air spaces and reduces pore space for roots. If you must reach the center, use a plank to spread your weight.
A living soil bed should feel loose, crumbly, and slightly springy. It should not feel like a hard floor after rain.
6. Water, Mulch, and Let the Soil Settle
Water the bed slowly until the soil is damp 6–8 inches down. Let it settle for a few days before planting if the soil was heavily disturbed. Fill low spots with compost rather than walking across the bed.
Add 2–3 inches of mulch after planting. Keep mulch 2–3 inches away from tomato stems, pepper stems, and woody plant trunks. Direct contact can hold moisture against stems and invite rot or pests.
Use shredded leaves, weed-free straw, pine bark, or composted wood chips. Avoid thick layers of fresh grass clippings, which can mat and heat up.
| Mulch type | Best use | Caution |
|---|---|---|
| Shredded leaves | Vegetables and soil building | Whole leaves can form a wet mat |
| Straw | Paths and vegetable beds | May contain weed seeds |
| Pine bark | Long-lasting bed cover | Can be slow to break down |
| Composted wood chips | Paths and perennial beds | Keep fresh chips off annual seedlings |
Mulch should look like a blanket, not a deep pile. Pull it back when direct-seeded seedlings emerge.
Soil Preparation for Clay, Sand, and Poor Ground
The best amendment depends on the soil problem. Clay has tiny particles that hold water and compress easily. Sandy soil has large particles that drain fast and lose nutrients. Both can improve with compost, plant roots, and time.
You may see changes after one season, but major improvement often takes two to three years. Soil structure develops through repeated additions of organic matter rather than one large dump of material.

Improving Heavy Clay Soil
Work clay when it is moist enough to crumble. Add compost, shredded leaves, and roots from cover crops such as oats, crimson clover, or daikon radish. Avoid walking on the bed, especially after rain.
Gypsum helps some sodic soils, but it does not magically fix ordinary clay. A soil test can show whether sodium is a problem. For most home gardens, compost and better drainage provide more value.
Choose crops that tolerate heavier soil while you improve it. Kale, Swiss chard, bush beans, potatoes, and many flowers can perform well if the soil drains.
Improving Sandy or Rocky Soil
Sandy soil needs frequent organic matter. Add compost each season and leave mulch on the surface. Grow cover crops during unused months so roots hold nutrients and feed soil organisms.
Remove large rocks from the top 8–10 inches, but do not chase every small stone. A few stones rarely harm plants. If the bed contains many rocks, screen soil only in the planting rows rather than processing the entire yard.
Water sandy beds more often but for shorter periods. Drip irrigation or a soaker hose can reduce runoff and keep the root zone steady.
Managing Soil pH and Fertility
Most vegetables prefer a slightly acidic to neutral soil. Potatoes can grow at a lower pH, while blueberries need acidic soil and are usually easier in a separate bed or container.
| Plant group | Preferred soil pH | Main fertility need |
|---|---|---|
| Most vegetables | 6.0–7.0 | Balanced nutrition and compost |
| Blueberries | 4.5–5.5 | Acid soil and low salt levels |
| Potatoes | 5.0–6.5 | Loose soil and steady potassium |
| Lavender and thyme | 6.0–8.0 | Sharp drainage and low moisture |
Do not use coffee grounds as a major soil acidifier. Their effect is small after brewing, and thick layers can repel water. Compost them first and use them as one part of a broader organic matter plan.
Planting the New Bed
Plant according to your USDA hardiness zone and local frost dates. Hardiness zones help with perennial survival, but they do not tell you the exact spring planting date. Use local frost records and soil temperature for annual vegetables.
Cool-season crops such as peas, spinach, radishes, lettuce, onions, and kale tolerate chilly soil. Warm-season crops such as tomatoes, peppers, cucumbers, beans, and basil need warmer ground and protection from frost.

A Simple First-Year Planting Plan
Avoid filling every inch of a new bed with one crop. A mixed bed spreads risk and gives you harvests over a longer period.
Try this 4-by-8-foot layout:
- One or two cherry tomato plants, such as ‘Sungold’ or ‘Juliet’
- Two pepper plants
- A row of bush beans
- A short row of carrots or beets
- Lettuce between slower-growing crops
- Basil, dill, or cilantro near the edge
- Marigolds or alyssum for flowers and pollinators
Give tomatoes at least 18–24 inches of space, depending on the variety and support system. Crowded plants stay damp and face higher risk from early blight, powdery mildew, and aphids.
Direct Sowing and Transplanting
Sow carrots, radishes, beans, peas, and greens directly into the soil. These crops dislike root disturbance or grow fast enough that transplanting offers little advantage.
Transplant tomatoes, peppers, eggplant, broccoli, and cabbage after hardening them off. Hardening off means slowly exposing indoor-grown plants to outdoor sun, wind, and cool nights over 7–10 days.
Water transplants at the soil line. A deep drink every few days works better than a light sprinkle several times a day.
Watering and Feeding an In-Ground Bed
New beds need steady moisture while roots establish. Water deeply enough to wet the root zone, then allow the top inch of soil to dry slightly before watering again. Frequency varies with soil, temperature, wind, crop size, and rainfall.
Check soil with your finger or a small trowel. If the soil is dry 2 inches down and plants look dull, water. If it stays wet and smells sour, improve drainage before adding more water.

Watering Guide by Season
Morning watering reduces evaporation and gives leaves time to dry. Drip lines and soaker hoses put water near roots and reduce leaf wetness.
| Season or weather | Typical timing | What to check |
|---|---|---|
| Cool spring | Every 4–7 days | Seedlings and crusted soil |
| Hot summer | Every 2–3 days | Soil 2 inches below mulch |
| Heat wave | Daily checks | Wilting and dry root zones |
| Rainy period | Pause as needed | Standing water and disease |
These are starting points, not fixed rules. Sandy beds may need water more often, while clay beds may need less. A rain gauge helps you avoid watering by guesswork.
Fertilizer Choices
Start with a soil test and plant needs. Leafy greens often respond to modest nitrogen, while tomatoes need balanced nutrition and good potassium. Too much nitrogen creates large, soft leaves with fewer flowers and fruits.
A slow-release organic fertilizer with an analysis such as 4-4-4 can support mixed crops when used at the label rate. Do not apply fertilizer to dry soil or pile it against plant stems.
Compost top-dressing in spring and fall often provides enough support for herbs and many flowers. Heavy feeders may need a second light feeding during the growing season.
💡 Pro Tip: In my beds, I get better tomato harvests from 1 inch of compost plus a measured fertilizer application than from repeated handfuls of fertilizer. Excess feed produced huge vines but fewer ripe fruits.
Weeds, Pests, and Disease Control
Most weeds are easiest to control when they are small. Pull them after rain, hoe the top inch of soil on a dry day, or cover bare soil with mulch. Do not let weeds form seed heads, even if the plants seem harmless.
Inspect leaves once or twice each week. Look under leaves for aphids, whiteflies, cabbage worms, spider mites, and eggs. A strong spray of water can remove many soft-bodied pests before you need another treatment.
Common Problems and Practical Fixes
Garden problems often come from a mismatch between water, light, soil, and plant choice. Look at the whole bed instead of blaming one pest.
| Symptom | Likely cause | First fix |
|---|---|---|
| Yellow lower leaves | Too much water or low nitrogen | Check drainage and soil test |
| Wilting in wet soil | Root damage or poor drainage | Stop watering and improve airflow |
| Chewed leaf edges | Caterpillars, slugs, or beetles | Inspect at dusk and hand-pick |
| White powder on leaves | Powdery mildew | Improve spacing and airflow |
| Stunted carrots | Compacted or rocky soil | Loosen soil and remove large rocks |
| Blossom-end rot | Irregular water uptake | Keep moisture steady |
Blossom-end rot is linked to calcium movement problems, but adding calcium does not always fix it. Uneven watering, root damage, and high salt levels can limit calcium uptake even when soil calcium is adequate.
Organic Pest Control
Use the least harmful effective method. Hand-pick large insects, use row cover over cabbage family crops, and encourage beneficial insects with alyssum, dill, yarrow, and native flowers.
Bt, or Bacillus thuringiensis, can control young caterpillars when used according to the label. Insecticidal soap can help with aphids and mites, but it must contact the pest and may burn plants in hot sun.
Avoid broad-spectrum insecticides during bloom. They can kill bees, hoverflies, lacewings, and other helpful insects along with pests.
Maintaining the Bed Through the Seasons
An in-ground bed becomes easier after the first year if you protect the soil between crops. Keep living roots or mulch on the surface whenever possible. Bare soil loses moisture, forms a crust, and invites weeds.
Rotate plant families when space allows. Do not grow tomatoes, peppers, eggplant, and potatoes in the same spot every year. These members of the nightshade family share diseases such as early blight and certain soil-borne problems.
Seasonal Maintenance Schedule
Use this schedule as a flexible guide. Adjust it for your climate, frost dates, rainfall, and crop list.
| Season | Main tasks | Soil protection |
|---|---|---|
| Spring | Test soil, add compost, plant cool crops | Keep mulch thin around seedlings |
| Early summer | Add supports, thin crops, check pests | Reapply mulch after soil warms |
| Late summer | Harvest often, remove diseased leaves | Water deeply during heat |
| Fall | Remove spent crops, add compost, plant cover crops | Leave roots in place when healthy |
| Winter | Check edging and paths, plan rotation | Keep soil covered with mulch |
Remove diseased plants from the bed rather than composting them in a cool home pile. Healthy roots can remain in place to feed soil life, but pull plants that carry severe fungal or bacterial disease.
Cover Crops and Winter Protection
Cover crops help larger beds rest without leaving soil bare. Oats, winter rye, crimson clover, and field peas suit different climates and soil types. Cut or mow them before they set seed, then leave the residue on the surface.
In cold USDA Zones 3–6, a layer of leaves can protect soil from erosion and temperature swings. In warmer Zones 8–10, winter greens may keep growing, so use mulch around plants rather than covering the whole bed.
Do not bury thick fresh plant material in the bed just before planting. It may tie up nitrogen as it breaks down. Compost it first or leave it as a surface layer.
What I Learned After Building In-Ground Beds
My first in-ground vegetable bed was 4 by 12 feet in heavy clay. I tilled it when the soil was too wet, added a little sand, and planted too close. The result looked fine for three weeks, then crusted over and held water after each storm.
The next season, I used a fork instead of a tiller, added 3 inches of compost, built a 2-foot wood-chip path, and kept my feet out of the bed. Carrots grew straighter, weeds were easier to pull, and the soil became noticeably darker after one season.
I also learned that mulch timing matters. I once spread straw too early over cold soil and delayed bean growth. Now I wait until the soil warms, then apply mulch after seedlings are established.
The biggest surprise was how quickly paths affect the bed. A clear path made watering, harvesting, and pest checks easier. That small design choice helped me keep the bed productive through the hottest part of summer.
Common Mistakes to Avoid
Good soil work can fail when the layout or timing creates extra problems. Most mistakes cost time rather than money, so correct them early.

Mistake 1: Making the Bed Too Wide
If you cannot reach the center, you will step into the soil. Compaction follows, especially after rain. Keep annual beds 3–4 feet wide unless you plan permanent stepping stones.
Mistake 2: Adding Fresh Manure
Fresh manure can burn roots and may contain pathogens. Use fully composted manure and follow local guidance for edible crops. Apply it well before harvest crops need to be picked.
Mistake 3: Tilling Wet Clay
Wet clay turns into dense clods. Wait until soil crumbles when squeezed, then loosen it with a fork. Repeated deep tilling can also harm fungal networks and bring weed seeds to the surface.
Mistake 4: Using Landscape Fabric Under Vegetables
Landscape fabric can block weeds for a time, but it also limits soil building and makes replanting harder. Organic mulch works better in most annual beds. Use fabric for paths if needed, not beneath productive soil.
Mistake 5: Planting Without a Water Plan
A bed can be perfect and still fail during a July heat wave. Install a soaker hose or drip line before plants fill the space. Test the system for even coverage before you mulch.
Mistake 6: Ignoring Plant Families
Planting tomatoes in the same spot every year can increase disease pressure. Rotate nightshades, brassicas, legumes, and cucurbits when your bed size allows.
Cost, Time, and Bed Lifespan
A small in-ground bed can cost little if you already have tools and use homemade compost or shredded leaves. Purchased compost, mulch, edging, hoses, and soil testing raise the cost. Current pricing varies by region, but the soil itself usually costs less than the soil needed to fill a raised bed.
Plan on 4–8 hours for a 4-by-8-foot bed if you remove sod by hand. Smothering takes less digging but requires several weeks. Heavy clay, roots, rocks, and poor access can double the labor.
Typical DIY Cost Range
These figures are broad because local delivery fees and material prices vary. Reusing cardboard, leaves, stones, and safe old lumber can reduce the total.
| Project level | Likely cost | Main materials |
|---|---|---|
| Low-cost DIY | $25–$75 | Seeds, compost, hand tools already owned |
| Improved bed | $75–$200 | Purchased compost, mulch, hose, soil test |
| Challenging site | $200–$500+ | Soil delivery, drainage work, edging, tools |
An in-ground bed can last for decades because there is no frame to rot. Paths, hoses, mulch, and edging need upkeep. Soil quality can improve each year if you add compost, rotate crops, and prevent compaction.
When a Raised Bed or Container Makes More Sense
An in-ground bed is not right for every yard. Choose a raised bed when the ground floods, native soil contains lead, tree roots dominate, or you need a taller work surface. A raised bed also warms earlier in spring, which helps gardeners in cool climates.
Choose containers when you have a balcony, rental property, or only a small paved area. Containers need more frequent water and fertilizer, but they offer excellent control over soil and placement.
For poor drainage, do not simply pile soil over a wet site and call it fixed. Find the water source, improve drainage, or use a properly built raised bed with enough depth.
FAQs About In-Ground Garden Beds
Q: How deep should an in-ground garden bed be?
A: Loosen at least 8–12 inches for most vegetables. Root crops such as carrots and parsnips benefit from 12–18 inches of loose, stone-free soil. Perennials and shrubs may need deeper preparation.
Q: Can I build an in-ground bed over grass?
A: Yes. Remove the sod or cover it with overlapping cardboard, wet it, and add compost. Smothering works best when the cardboard stays covered and moist for 6–10 weeks.
Q: Should I till an in-ground garden bed?
A: Till only when you need to break severe compaction and the soil is dry enough to crumble. A garden fork or broadfork usually causes less damage and preserves more soil structure.
Q: What is the best soil mix for an in-ground garden?
A: Use your native soil as the base and add 2–4 inches of finished compost. Avoid replacing all native soil with a mix unless contamination, rocks, or severe drainage problems make it necessary.
Q: How much compost should I add to a new bed?
A: Add 2–4 inches over the surface. For a 4-by-8-foot bed, that equals about 5–11 cubic feet before settling. Use less if the native soil already has good structure and organic matter.
Q: Can I use wood chips in an in-ground vegetable bed?
A: Use aged or composted wood chips on paths and around established perennial plants. Fresh wood chips can tie up nitrogen near the surface and may make seed planting difficult.
Q: How do I stop weeds without chemicals?
A: Remove weeds while small, use 2–3 inches of clean mulch, plant closely enough to shade soil, and cover unused areas with cardboard or a suitable cover crop. Pull perennial weeds before they spread roots.
Q: What should I plant first in a new garden bed?
A: Start with reliable crops suited to your season, such as beans, lettuce, kale, radishes, basil, bush tomatoes, or zucchini. Avoid filling the entire bed with crops that need constant support or pest control.
Q: How often should I water an in-ground garden bed?
A: Check the soil 2 inches down. Water when it feels dry at that depth, then wet the root zone deeply. Sandy soil may need water every two or three days in hot weather, while clay may need less.
Q: Does an in-ground bed need edging?
A: No. Edging is optional. Stones, logs, metal, brick, or plastic edging can keep mulch in place, but a clean soil edge works if you maintain it.
Q: Can I grow blueberries in an in-ground bed?
A: Yes, but blueberries need acidic soil around pH 4.5–5.5 and excellent drainage. Test the site first. Many gardeners find a dedicated acidic bed or large container easier to manage.
Q: When is the best time to build an in-ground garden bed?
A: Build it whenever the soil is workable. Fall is excellent for removing grass, adding compost, and planting cover crops. Early spring works well for cool-season crops. Avoid digging wet soil.
Final Thoughts
Building an in-ground garden bed does not require a large budget or perfect soil. Choose a sunny site, keep the bed narrow, loosen the root zone, add finished compost, and cover the soil with mulch. Those steps create a strong base for vegetables, herbs, flowers, and pollinator plants.
Start small and observe the bed for one full season. Note where water stands, which crops thrive, when weeds appear, and how the soil feels after rain. With each season, the bed becomes less work and more productive because healthy soil improves through steady care.
Meta description: Learn how to build an in-ground garden bed from site selection and soil prep to planting, watering, mulching, pest control, costs, and seasonal maintenance.