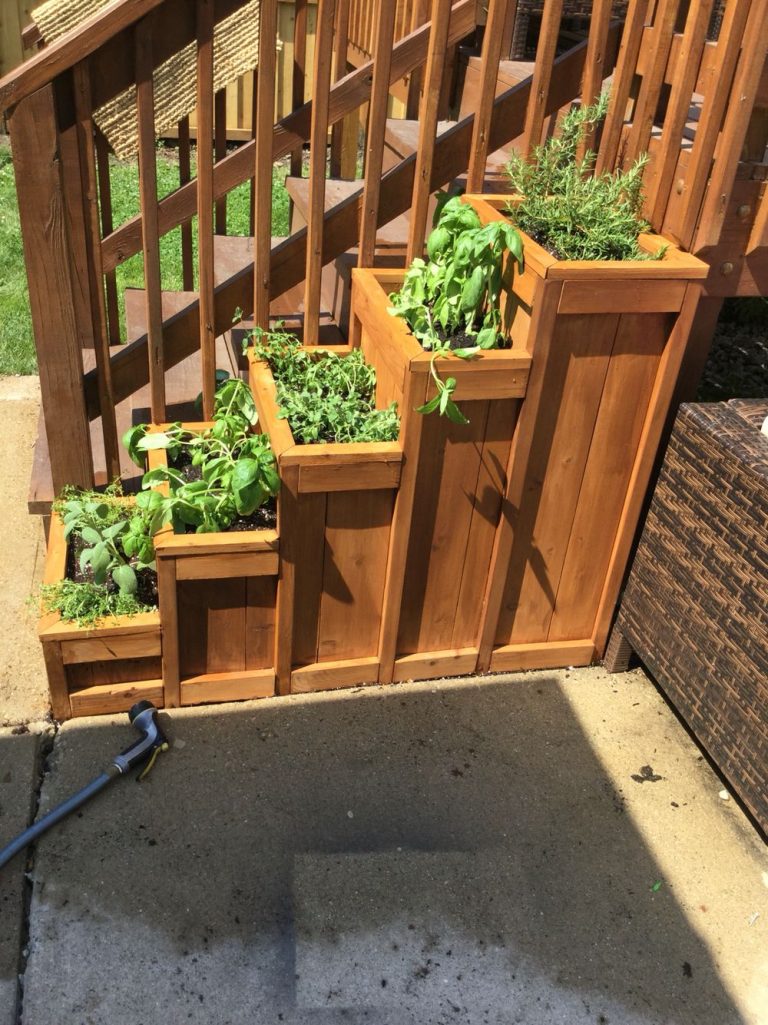
How To Remove A Raised Garden Bed: Easy Guide
Removing a raised garden bed sounds simple, but the job can become messy when old boards, deep roots, compact soil, buried weed fabric, or hidden screws get in the way. A small cedar bed may take less than an hour. A large bed built with railroad ties, concrete blocks, or treated lumber may take most of a day.
The best method depends on the bed material, its age, the soil inside, and what you want to do with the space next. You may want to save the soil, reuse the boards, plant directly in the ground, install a lawn, or build a patio. Each goal changes the order of work.
I have removed raised beds in sandy soil, heavy clay, and rocky ground across several USDA hardiness zones. The easiest removals had one thing in common: I emptied the bed before trying to move the frame. Trying to lift a full bed is hard on your back and often breaks boards that could have been reused.

Quick answer: how to remove a raised garden bed
To remove a raised garden bed, harvest and clear the plants, move usable soil, remove mulch, loosen the frame, pull fasteners, lift out the boards or blocks, remove buried weed fabric, and level the ground. Wear gloves and eye protection, especially when cutting old lumber or pulling rusty screws. Test old soil before moving it to another garden area.

The job usually takes two to six hours for a 4-by-8-foot bed. A simple wood frame costs little to remove, while beds made from masonry, concrete, or landscape timbers need more tools and may require help.
Decide what you want from the space first
The best way to remove a raised garden bed is to plan the next use before you take it apart. A garden bed that will become a lawn needs a different finish than one that will become a new in-ground vegetable plot.
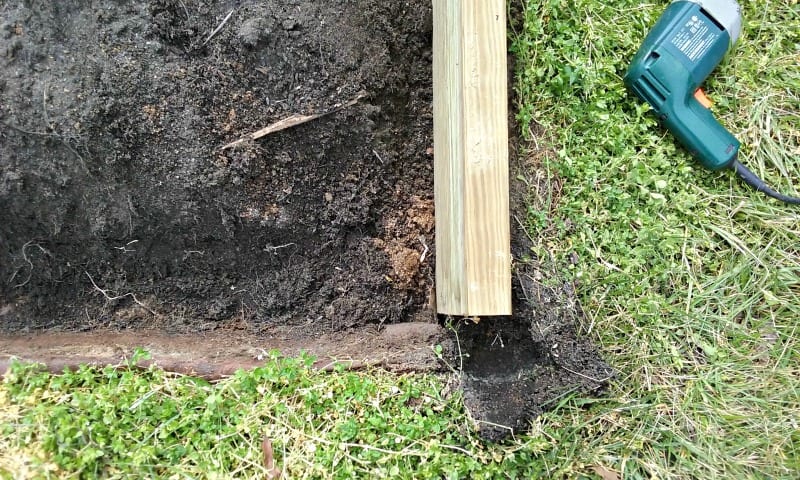
Ask yourself these questions:
- Do you want to save the soil?
- Can the lumber be reused?
- Will you plant in the ground?
- Do you need to remove all roots and weed fabric?
- Will a mower, walkway, shed, or patio occupy the area?
- Could the old bed contain treated wood or contaminated soil?
If you plan to build another bed, keep the old soil nearby. If you plan to grow carrots, beets, potatoes, or other root crops in the ground, remove boards, landscape fabric, stones, and thick root mats. These items can block roots and make digging hard.
When removal makes sense
A raised bed may need removal because the wood has rotted, the bed has shifted, drainage has failed, or the location no longer gets enough sun. In my experience, poor sunlight causes more failed beds than poor soil.
Most vegetables need at least six hours of direct sun. Tomatoes, peppers, cucumbers, squash, and basil often perform better with eight hours. A bed that sits under a growing maple or near a new fence may no longer suit warm-season crops.
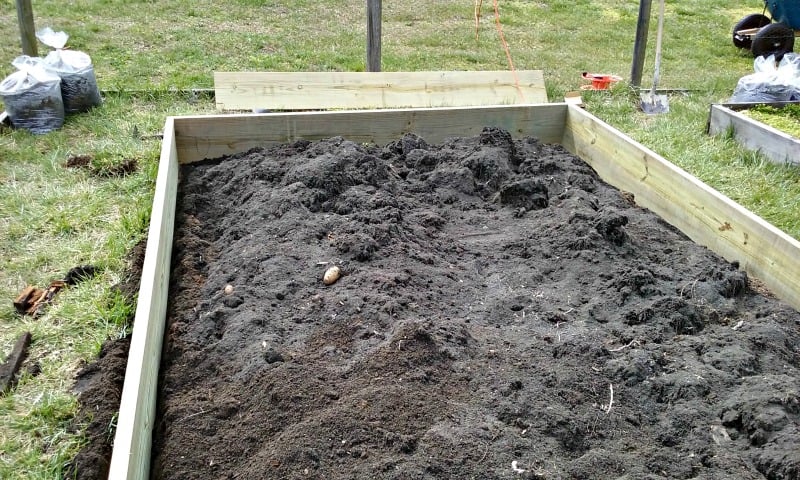
Removal also makes sense when the bed has become too hard to maintain. Narrow beds work well when you can reach the center from both sides. A bed wider than 4 feet can force you to step on the soil, which causes compaction and harms earthworms.
When you should not remove it yet
Do not remove a bed just because the soil level has dropped. You can often add finished compost, leaf mold, or garden soil and repair the frame. Do not disturb a bed during peak harvest if you can wait until the crop finishes.
Avoid moving soil when it is soaked. Wet clay sticks to tools, weighs much more, and forms hard clods. In USDA Zones 4 through 7, late fall after cleanup or early spring before planting often gives the cleanest work window. In hot Zones 9 through 11, winter may be the easiest season.
Tools and materials for the job
You do not need a large set of power tools to remove most raised beds. Hand tools work well for cedar, pine, composite boards, and simple corner brackets. Masonry beds need a wider set of tools and more care.
| Tool or material | Main use | Helpful note |
|---|---|---|
| Work gloves | Protect hands from splinters and rusty metal | Choose leather or coated gloves |
| Safety glasses | Protect eyes from chips and soil | Wear them when prying or cutting |
| Garden fork | Lift soil and root mats | Better than a shovel for loose soil |
| Flat shovel | Move soil and level ground | Use a sharp edge for clay |
| Pry bar | Separate boards and brackets | A 12- to 24-inch bar handles most beds |
| Screwdriver or drill | Remove screws | Use the correct bit to avoid stripping |
| Wheelbarrow or tubs | Move soil and debris | Tubs are easier in narrow spaces |
| Hand saw or reciprocating saw | Cut stuck boards | Use a demolition blade for old wood |
| Rake and tamper | Finish the ground | A hand tamper helps settle fill soil |
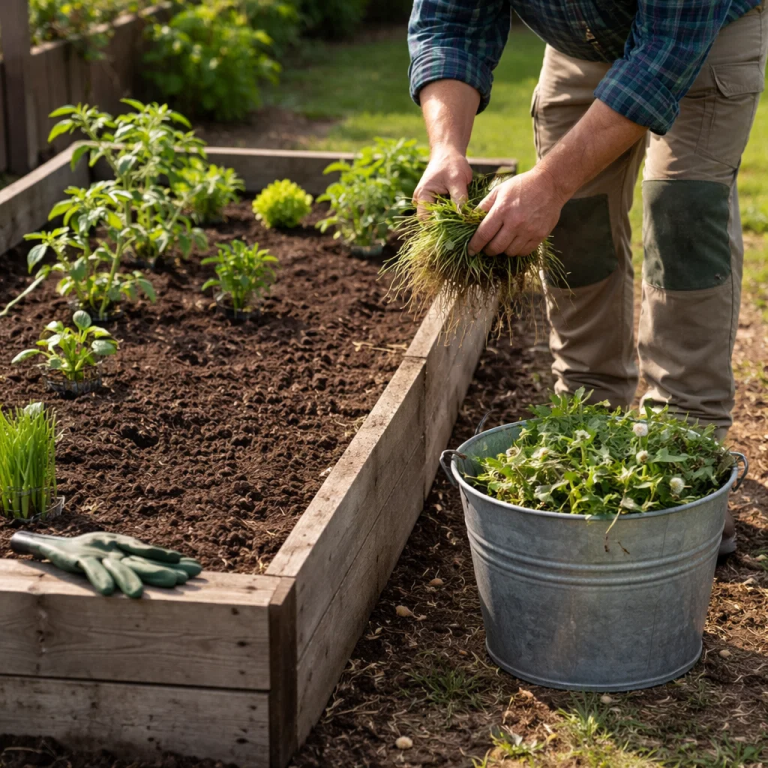
A cordless drill with a 20-volt battery makes screw removal much easier. A reciprocating saw, such as a Milwaukee M18 or DeWalt 20V model, can cut stubborn fasteners, but use it only after checking for hidden irrigation lines, electrical cable, and metal edging.
For a small bed, a digging fork, shovel, pry bar, bucket, and rake may be enough. Keep a tarp nearby. It gives you a clean place to sort soil, roots, boards, and stones.
Extra supplies for difficult beds
You may also need:
- A bolt cutter for wire or metal ties
- A socket set for lag bolts
- A masonry chisel for concrete blocks
- A sledgehammer for broken concrete
- Heavy-duty contractor bags
- A soil test kit or laboratory soil sample bag
- Fresh topsoil, compost, grass seed, or mulch
- A level and measuring tape
Do not use a chainsaw to cut a garden bed. A chainsaw can catch on nails and throw metal at high speed. A reciprocating saw or hand saw gives better control.
💡 Pro Tip: Put each type of fastener in a small jar or labeled bag. If you plan to rebuild the bed, this simple step saves time and prevents a late trip to the hardware store.
Safety checks before you start
Safety begins before the first board moves. Old raised beds may contain sharp screws, buried wire, broken glass, animal droppings, mold, or treated wood. Take five minutes to inspect the area.

Check the bed material
Wood from newer garden projects is often cedar, redwood, pine, or pressure-treated lumber. Cedar and redwood can usually be reused if they remain solid. Old, soft, cracked wood should go to disposal or a local yard-waste site.
Avoid burning painted, stained, or pressure-treated wood. Burning treated lumber can release harmful chemicals. Do not use rotted or unknown wood for a new vegetable bed.
Concrete blocks and bricks can be heavy. One standard concrete block weighs about 35 to 40 pounds. Lift with your legs, keep the load close, and ask for help with long landscape timbers.
Check for hidden lines
Before driving a shovel deep into the soil, look for:
- Drip irrigation tubing
- Soaker hoses
- Low-voltage lighting cable
- Buried electrical lines
- Gas or water lines
- Landscape edging
- Tree roots
If you are unsure about buried utilities, contact the local utility marking service before digging. A damaged irrigation tube is easy to repair. A damaged power or gas line is not a do-it-yourself problem.
⚠️ Warning: Wear a respirator or stop work if you find moldy material, strong chemical odors, animal waste, or old treated wood that breaks into dust. Keep children and pets away until you remove sharp debris.
Step-by-step process for removing a raised garden bed
Work in sections rather than trying to tear the whole bed apart at once. This keeps the soil under control and reduces the chance of a board falling on your foot.

1. Harvest and clear the plants
Pick ripe vegetables, pull annual flowers, and remove dead vines. Cut large stems with pruners instead of yanking them from the soil. Pulling can bring up boards, irrigation tubes, and large soil clumps.
Remove diseased plants from the bed. Do not add tomato plants with late blight, cucumber vines with severe powdery mildew, or brassicas with clubroot to a home compost pile. Bag them or use the disposal method required in your area.
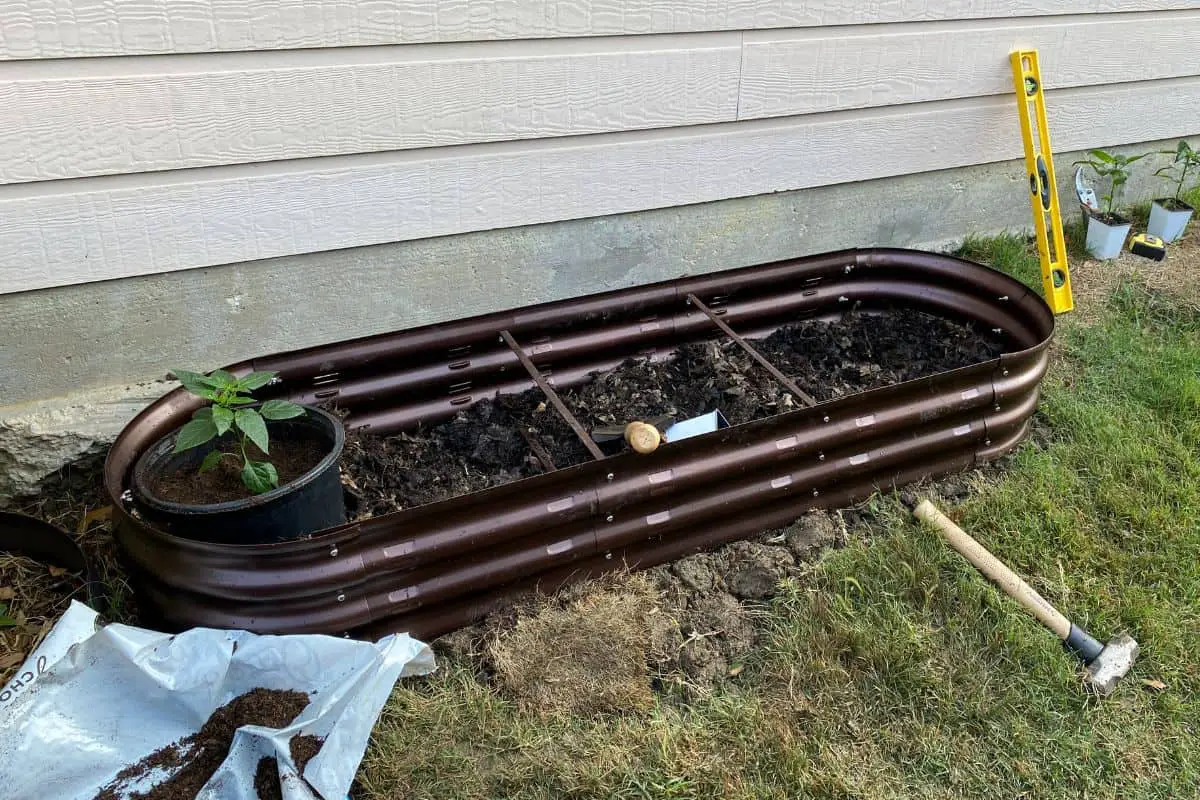
Healthy crop residue can go into a hot compost pile if it has no mature weeds or disease. Chop stems into pieces under 6 inches. Small pieces break down faster and are easier to handle.
2. Remove trellises, stakes, and irrigation
Take out tomato cages, bamboo stakes, trellis panels, plant labels, and netting first. Coil drip lines and mark any sections you want to reuse. Remove landscape pins with pliers or a small pry bar.
If the bed has an irrigation timer, shut off the water before disconnecting tubing. Drain the lines before winter storage. UV-damaged poly tubing may split at the fittings, so do not force old connectors.
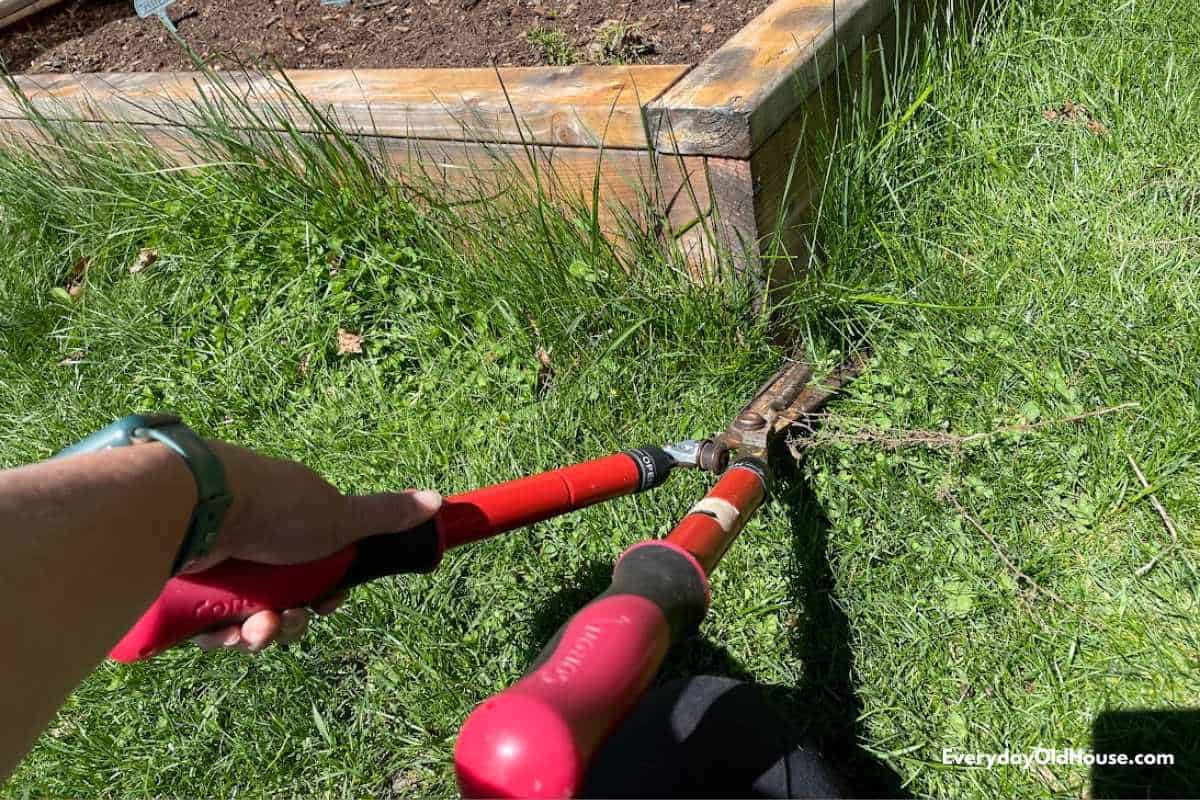
Set reusable items on a tarp. Discard brittle plastic, rusted wire, and fabric that has lost its strength. Clean tomato cages with a brush and a mild bleach solution if they carried disease, then rinse and dry them in the sun.
3. Move the soil or decide to reuse it in place
You do not always need to remove all the soil before taking down the bed. If the soil will remain in the same location, remove only enough to expose the lower boards and fasteners.
If you will move the soil, use a garden fork to loosen it. Scoop it into a wheelbarrow, tubs, or heavy buckets. A 4-by-8-foot bed filled 12 inches deep holds about 32 cubic feet of soil, or nearly 1.2 cubic yards. That can weigh more than 1,500 pounds when wet.

Do not lift a full wheelbarrow beyond your comfort level. Several small loads are safer than one overloaded load. Keep paths clear so you do not trip while carrying soil.
| Soil condition | Safe next step | Use caution with |
|---|---|---|
| Dark, crumbly, and free of disease | Reuse in beds or containers | Test pH and nutrients first |
| Heavy clay with poor drainage | Mix into new beds in small amounts | Do not move it while soaked |
| Sandy and low in organic matter | Blend with compost or leaf mold | It may dry out quickly |
| Strongly contaminated or unknown | Keep separate and test | Do not spread it around the yard |
| Full of roots and weeds | Screen or compost carefully | Remove rhizomes and seed heads |
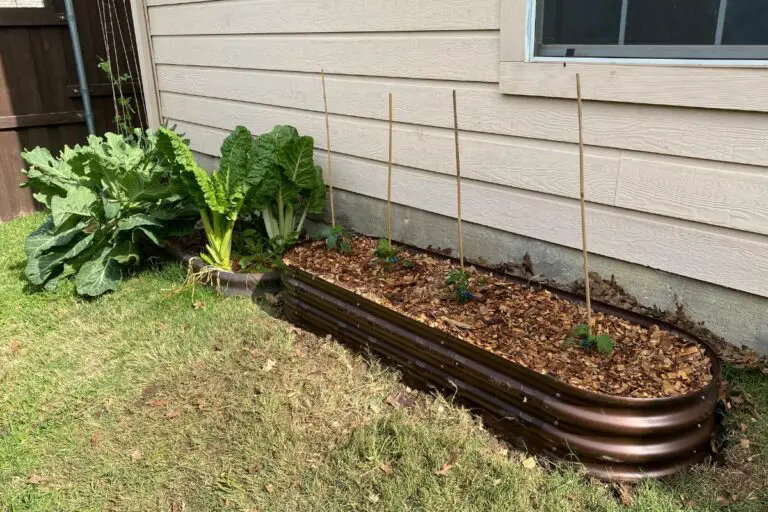
Soil from an old bed is not automatically safe or fertile. A soil test can show pH, phosphorus, potassium, organic matter, and possible lead. This matters most in older urban lots, areas near peeling paint, and beds built beside old structures.
4. Remove mulch and surface barriers
Rake off straw, wood chips, gravel, leaves, and plastic mulch. Put clean organic mulch into a compost pile or use it around shrubs. Separate gravel from soil with a screen if you plan to reuse it.
Many beds have landscape fabric under the soil. Fabric can look like a solid floor after years of root growth. Lift one corner with a shovel and pull it slowly. If it tears, remove the pieces in sections.

Do not leave old landscape fabric under a future lawn or in-ground bed. Grass roots may grow through the holes, and plastic fragments can remain in the soil for years. A bed that sits on fabric may also leave a thin, dry layer beneath it.
5. Expose the lower frame
Dig a narrow trench along the outside of the lowest board. You usually need only 2 to 4 inches of space to see screws, stakes, brackets, or buried edges.
Use a fork near established trees. A shovel can cut roots cleanly, but a fork lets you feel resistance sooner. Do not cut large structural roots without advice from an arborist.
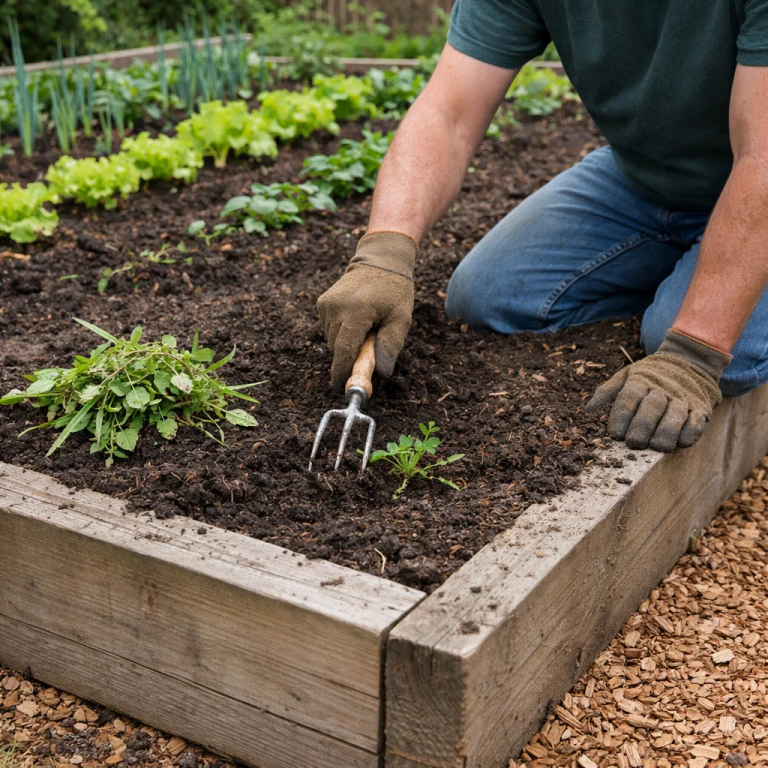
If the bed has corner posts, find where they enter the ground. Some builders drive 2-by-2 or 4-by-4 posts 12 to 24 inches deep. These posts often hold the frame together even after the visible screws rust away.
6. Remove fasteners before prying
Start with the top boards and work down. Remove screws with a drill or impact driver set to a low speed. A manual screwdriver works well when a screw head remains clean.
For stripped screws, try a larger driver bit, tap the bit into the head, or use locking pliers on the exposed shaft. If that fails, cut the fastener with a reciprocating saw using a metal-cutting blade.

Do not pry hard against a thin cedar board. Cedar can split along the grain. Instead, cut one fastener at a time and support the board with your knee or a second person.
7. Take apart the frame
Once fasteners are out, lift each board straight up. If the board sticks, slide a pry bar behind a corner and apply small movements. A block of scrap wood under the pry bar spreads pressure and protects the soil edge.
For stacked boards, remove the upper course first. Do not pull the lower boards while the upper boards still press down on them. This can snap boards or cause a sudden release.
Mark reusable boards as you remove them. A piece with one damaged end may still work for a short side. A board with deep rot, soft spots, or termite channels should not return to garden construction.
8. Remove stakes, posts, and corner blocks
Pull short stakes with a pry bar or a post puller. For a buried 4-by-4, dig around the post until you can rock it. If it will not move, cut it below grade and remove the top section.
Stack concrete blocks on a firm surface. Brush off soil and inspect for cracks. Bricks can be reused if their faces remain sound, but frost-damaged bricks may crumble during the next winter.
In cold climates such as USDA Zones 3 through 6, frost can heave blocks and boards each winter. If you rebuild, set the bed on a level base and avoid placing thin bricks directly on wet clay.
9. Remove roots and fabric
After the frame is gone, rake the soil and look for roots, plastic, wire, and fasteners. Large perennial weeds such as bindweed, quackgrass, and horsetail need careful removal. A small root fragment can restart a patch.
If the bed held raspberries, mint, comfrey, or other spreading plants, screen the soil through 1/2-inch hardware cloth. This takes time, but it prevents an old root from spreading into the next crop.
Do not compost roots that can regrow from small pieces. Dry them on a hard surface until they are fully dead, then dispose of them according to local rules.
10. Level and repair the ground
Rake the area after removing the bed. Fill low spots with clean soil. Break up hard clods, but do not pulverize wet clay.
If you will plant in the ground, loosen the top 8 to 12 inches with a fork. Mix in 1 to 2 inches of finished compost if the soil is poor. Do not add large amounts of compost every year without a soil test, because phosphorus and salts can build up.
For a lawn, remove rocks and wood pieces, grade the area, and let it settle for a few days. Add seed suited to your climate, such as tall fescue for many cool-season regions or bermudagrass for warm areas. Keep new seed moist until it sprouts.
Soil and frame disposal choices
The most useful parts of an old bed are often the soil, hardware, and sound boards. The least useful parts are wet lumber, broken fabric, diseased plants, and soil mixed with trash.
| Material | Reuse option | Disposal choice |
|---|---|---|
| Sound cedar or redwood | Rebuild, edge paths, make a compost bin | Yard-waste facility |
| Rotted lumber | Avoid garden reuse | Local wood or yard-waste site |
| Clean soil | New bed, containers, low spots | Clean-fill site |
| Concrete blocks | New edging, retaining wall, base | Masonry recycling |
| Landscape fabric | Rarely worth reuse | Trash or local recycling program |
| Diseased plant material | Hot compost only if suitable | Bag or municipal disposal |
Local rules vary. Some communities accept untreated wood with yard waste but reject pressure-treated boards. Call before loading a truck, especially if you have concrete, soil, or treated lumber.
Can old raised-bed soil go on the lawn?
Yes, if the soil is clean and free of weed roots, stones, and disease. Spread it in a thin layer, then rake it into the existing soil. Do not dump a foot of garden soil over grass, because it can smother the lawn and create drainage problems.
A thin layer of screened soil can help fill small depressions. Add no more than about 1/4 to 1/2 inch at a time over established turf. Water lightly and repeat later if needed.
Can you reuse soil for containers?
You can reuse old bed soil in containers, but improve its structure first. Mix about two parts old soil with one part finished compost and one part pine bark or another coarse material. Container soil must drain faster than ground soil.
Avoid using soil from a bed with root rot, clubroot, severe nematode problems, or herbicide exposure. Containers concentrate problems because there is little fresh soil to dilute them.
Common problems and practical fixes
Most removal problems come from hidden fasteners, wet soil, rotten wood, or roots that have grown through the bottom. Slow down when the material behaves differently than expected.
| Problem | Why it happens | Practical fix |
|---|---|---|
| Board will not lift | Buried post or hidden screw | Dig lower and inspect both sides |
| Screw head strips | Wrong bit or rust | Tap in a new bit or cut the screw |
| Soil is too heavy | It is wet or the bed is deep | Wait for dry weather and use small loads |
| Fabric tears apart | Roots grew through it | Cut and remove small sections |
| Concrete blocks sink | Wet soil or poor base | Lift, level, and add compacted gravel |
| Grass will not grow after removal | Compaction or leftover mulch | Loosen soil and remove woody debris |
| Weeds return fast | Roots remain in the soil | Screen soil and dig out rhizomes |
A stuck board does not always need more force. It often needs a better view of the connection. Dig, brush away soil, and find the exact point holding it in place.
What to do if the wood is rotten
Rotten boards can collapse when you pry them. Cut the board into short pieces with a hand saw or reciprocating saw. Keep your face away from the cutting path and watch for hidden nails.
If the wood crumbles into the soil, rake and screen the area. Small chips can remain in ordinary garden soil, but remove larger pieces before planting root crops.
Do not use rotted wood as a soil amendment. It can tie up nitrogen as it breaks down and may shelter slugs, ants, and fungal pests.
What to do if the bed has ants, termites, or rodents
Ants often nest in dry soil beneath boards. Move the frame slowly and inspect before placing your hands under it. Use gloves and avoid disturbing nests with bare fingers.
Termite damage means the wood should not be reused near buildings. Rodent droppings require gloves, careful cleanup, and good hand washing. If you find a large nest, pause and decide whether local pest control advice is needed.
Do not apply broad insecticide to garden soil unless a verified pest problem requires it. Removing shelter, fixing gaps, and improving drainage often solves the issue without harming earthworms or pollinators.
Pros and cons of removing a raised bed
Removing the bed can restore access and improve the site, but it also takes time and may disturb healthy soil life. Consider the trade-offs before you start.
| Pros | Cons |
|---|---|
| Restores sunlight and usable space | Soil removal can be heavy work |
| Lets you fix poor drainage | Beneficial soil life gets disturbed |
| Removes rotten or unsafe materials | Rebuilding later costs more |
| Makes mowing and access easier | Weed roots may spread during digging |
| Allows a better layout | Disposal may cost money |
Removal is usually worth it when the frame has rot, unsafe materials, poor placement, or severe drainage problems. Repair may be wiser when the boards are sound and the bed still fits your garden plan.
How long the work takes and what it costs
A simple 4-by-8-foot wood bed with loose soil may take two to four hours for one person. Add time if the soil is wet, the bed is deep, or the frame has buried posts.
| Project type | Typical DIY time | Likely added cost |
|---|---|---|
| Small wood bed, 2 by 4 feet | 1–2 hours | $0–$30 |
| Standard wood bed, 4 by 8 feet | 2–6 hours | $10–$100 |
| Masonry or landscape timber bed | 4–10 hours | $30–$250 |
| Bed with soil hauling | 1 full day or more | $50–$400 |
| Bed beside utility lines or structures | Varies | Professional estimate |
Costs depend on disposal fees, soil replacement, tool rental, and whether you need a truck. Current pricing ranges from free if you reuse everything to several hundred dollars for hauling, new soil, and labor.
Hiring help may save money if your back cannot handle repeated lifting. A garden laborer can often remove a small bed in a few hours, while masonry removal may need a hauling service.
Best seasons for removing a raised bed
The best time to remove a raised bed is after the final harvest and before the soil freezes or becomes saturated. Timing changes with climate and crop type.
| Season | Good tasks | Main concern |
|---|---|---|
| Spring | Remove beds before planting, repair soil | Wet soil and active perennials |
| Summer | Clear failed beds and move dry soil | Heat stress and crop loss |
| Fall | Harvest, remove frames, spread compost | Short daylight and early frost |
| Winter | Plan, sort materials, remove in mild areas | Frozen soil and muddy thaw |
In Zones 3 through 6, fall removal often works well after frost kills annual crops. In Zones 7 through 11, winter removal may protect the soil from summer heat. Wait for a dry day in any zone.
What to plant after removal
Plant choice depends on the new soil level and your next goal. Leafy greens such as lettuce, spinach, and kale can grow in improved ground soil. Beans, peas, onions, and many herbs also adapt well.
Root crops need loose soil without debris. Carrots such as ‘Nantes’ and ‘Danvers’ need a deep, stone-free bed. Potatoes tolerate more soil variation but still suffer when boards, rocks, or compacted layers block tubers.
If the ground needs rest, sow a cover crop. Oats work well in cool fall weather and die in winter in many northern areas. Crimson clover adds nitrogen and supports pollinators, but it needs careful cutting before it sets seed.
What I learned from removing old garden beds
One of the first beds I removed sat on heavy clay in Zone 6. The cedar boards looked finished, but the soil inside was excellent after eight years of compost and leaf mulch. I saved most of it, screened out root pieces, and used it in a new bed.
The surprise was the bottom layer. The landscape fabric had trapped fine roots and held water against the lowest board. The bed drained well during dry weather but stayed saturated after spring rain. Removing the fabric solved a problem that adding more compost never fixed.
Another bed used pressure-treated lumber from an unknown age. The wood still looked solid, but the lower edges were soft. I did not reuse it for vegetables. I used clean soil elsewhere only after a laboratory test showed no concerning lead level.
A small pine bed gave a different lesson. It failed after four seasons because the boards touched wet ground. A gravel base and a small air gap would have added life. The frame was not poorly built; it was simply placed where water stayed.
Mistakes that make removal harder
The most common mistake is removing the frame before planning where the soil will go. Without a tarp, wheelbarrow, or staging area, soil ends up on paths and becomes a second job.
Other mistakes include:
- Working when clay soil is wet
- Pulling boards before removing screws
- Mixing diseased plants into compost
- Leaving landscape fabric under new plantings
- Burning treated or painted wood
- Lifting heavy tubs with a rounded back
- Cutting roots without checking for irrigation lines
- Spreading unknown soil around edible crops
- Using a chainsaw near nails and screws
- Leaving small weed roots in saved soil
A second common mistake is adding fertilizer too soon. After removal, test the soil first. A bed with years of compost may already have high phosphorus and potassium. Extra fertilizer can harm seedlings and wash into waterways.
🌱 Beginner Note: You do not need to make the ground perfect in one day. Remove the frame, clear debris, and let the soil settle. You can level, test, and plant a week or two later.
Repair, rebuild, or replace the raised bed?
Removal is not the only option. A damaged bed may need one new board, a new corner post, or better drainage rather than full replacement.
Repair makes sense when:
- Most boards remain firm
- The location receives enough sun
- The bed drains well
- The frame has no unsafe material
- You can reach the center without stepping inside
Rebuild in the same area when the layout works but the structure does not. Use rot-resistant cedar or redwood, galvanized brackets, and exterior-rated screws. Avoid thin fence boards if you want a service life longer than a few seasons.
Choose an in-ground garden when the native soil drains well and you can amend it without creating a raised mound. Choose containers when you need control over soil, mobility, or accessibility.
The main difference between a raised bed and an in-ground plot is control. A raised bed gives better control over soil depth, drainage, and access. An in-ground plot usually costs less and supports a larger root zone, but it may bring more weed pressure and poor native soil.
Storage and cleanup after removal
Clean tools before storing them. Brush soil from shovels and forks, rinse them, dry them, and apply a thin coat of oil to metal surfaces. Remove mud from wheelbarrow wheels and check that handles are tight.
Store sound boards under cover with spacers between layers. Do not place lumber directly on wet ground. Keep screws and brackets dry in labeled containers.
Clean reusable pots and cages with soap and water. If disease affected the old bed, disinfect hard surfaces with a suitable diluted disinfectant, then rinse tools that will touch edible plants.
🔧 Quick Fix: If the ground feels soft after removal, place a wide board over the work area while hauling soil. It spreads your weight and prevents deep footprints that later fill with water.
When to hire a professional
Hire help when the bed includes concrete walls, large landscape timbers, unknown contaminated soil, buried utilities, or a retaining wall that holds back a slope. Get advice before removing any structure that supports a driveway, walkway, fence, or building.
Professional help also makes sense when:
- You cannot safely lift the materials
- The bed is beside a foundation
- You find suspected asbestos or chemical waste
- Tree roots larger than 2 inches cross the bed
- You need many cubic yards of soil hauled away
- The ground may contain utility lines
- The frame has shifted or pushed against another structure
A garden bed usually does not need a permit, but a retaining wall or drainage change may. Check local rules before removing structures on a slope.
Frequently asked questions
Q: Can I remove a raised garden bed without removing all the soil?
A: Yes. If the soil will stay in place, remove enough to expose the lower boards and fasteners. If you will move the frame to another location, removing most soil first makes the job safer and much lighter.
Q: How do I remove a raised bed built with concrete blocks?
A: Empty or lower the soil first, then remove blocks from the top course down. Lift each block with both hands, watch for unstable stacks, and save sound blocks on a level surface.
Q: Should I remove landscape fabric under a raised bed?
A: Usually, yes. Remove it if you will plant in the ground, grow root crops, seed grass, or improve drainage. Fabric can trap roots, hold water, and break into pieces over time.
Q: Can I reuse old raised-bed soil?
A: You can reuse clean soil if it has no disease, chemical exposure, or invasive weed roots. Test pH and nutrients when possible, then mix the soil with compost or another suitable amendment based on the test.
Q: What should I do with old pressure-treated garden-bed wood?
A: Do not burn it or use it in a new vegetable bed if its age and treatment are unknown. Follow local disposal rules for treated lumber, which may differ from ordinary yard-waste rules.
Q: How do I remove a stripped screw from a raised bed?
A: Try a fresh driver bit, tap it into the screw head, or grip the head with locking pliers. If the screw will not move, cut it with a reciprocating saw and metal-cutting blade.
Q: Can I put raised-bed soil on my lawn?
A: Yes, if the soil is clean and free of roots, trash, and disease. Spread it in a thin layer, no more than about 1/4 to 1/2 inch at a time over established grass, and rake it in.
Q: What is the best time to remove a raised garden bed?
A: Remove it after harvest and during a dry period. Fall often works well in cool climates, while winter can be easier in warm climates. Avoid frozen, muddy, or waterlogged soil.
Q: How long does a wooden raised bed last?
A: Untreated pine may last about 3 to 7 years, depending on moisture and soil contact. Cedar and redwood often last 8 to 15 years or more. Drainage, board thickness, climate, and construction quality can change those ranges.
Q: Can I grow vegetables directly in the ground after removing the bed?
A: Yes, if the site receives enough sun and the soil drains well. Loosen the top 8 to 12 inches, remove debris, test the soil, and add compost only when the soil needs more organic matter.
Q: Why is water pooling where my raised bed used to be?
A: The old bed may have compacted the soil or sat over landscape fabric. Remove fabric, loosen the topsoil, fill low spots, and add a drainage solution only after checking the slope and soil type.
Q: Can I remove a raised bed in summer?
A: Yes, but protect yourself from heat and avoid destroying a crop that still produces. Early morning work is safer in hot climates, and dry soil is easier to move than soil after irrigation or rain.
Final thoughts
Removing a raised garden bed is mostly a process of taking weight and pressure away in the right order. Clear the plants, control the soil, expose the fasteners, dismantle the frame, remove buried barriers, and finish the ground for its next use.
Save good soil and sound materials, but do not keep rotten wood, diseased plants, invasive roots, or unknown contaminated soil. With safe lifting, simple tools, and a dry work window, most home gardeners can remove a standard bed in one day and leave the site ready for a better layout.
Meta description: Learn how to remove a raised garden bed safely, including tools, soil removal, wood disposal, weed fabric cleanup, seasonal timing, costs, repairs, and common mistakes.