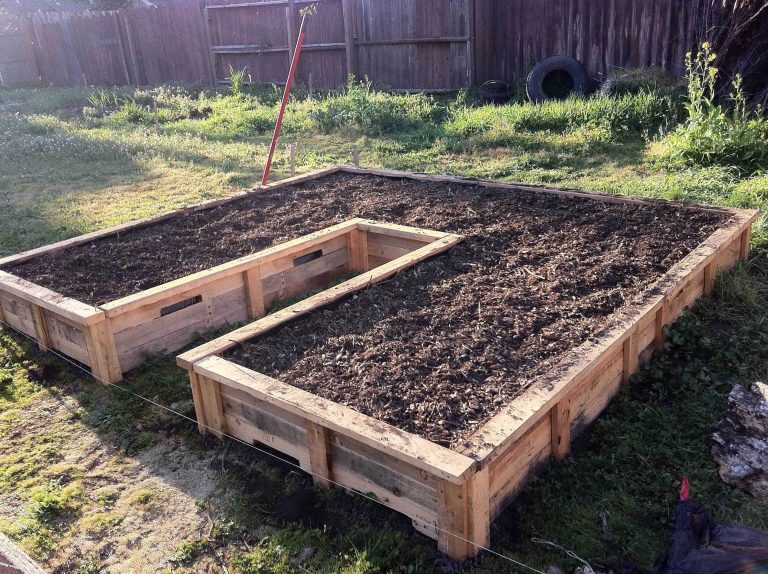
How To Install A Raised Garden Bed: Easy DIY Guide
A raised garden bed turns a small patch of ground into a neat, productive growing space. It gives you more control over soil, drainage, weeds, and plant spacing. It also saves your back because you can tend crops from the sides instead of kneeling in hard soil.
The best raised beds are not complex. A sound frame, safe materials, good soil, enough sun, and steady water will grow lettuce, tomatoes, carrots, beans, herbs, and flowers in most climates. I have built beds in sandy soil in USDA Zone 8 and heavy clay in Zone 6, and the same lesson always holds: careful setup matters more than an expensive kit.
This guide explains how to install a raised garden bed from start to finish. You will learn where to place it, how deep to build it, what soil to use, how to line the base, how to avoid common mistakes, and how to keep the bed productive for many seasons.

Quick answer: how to install a raised garden bed
To install a raised garden bed, choose a level site with at least six to eight hours of sun, mark the bed, remove grass and weeds, assemble a sturdy frame, level it, and fill it with quality soil and compost. Use untreated, rot-resistant wood, leave walking space around the bed, and water deeply after planting. A 4-by-8-foot bed is a useful beginner size.

A raised bed can sit on bare soil, lawn, gravel, or a hard surface. Beds on soil give roots the most room, while beds on concrete need a deeper soil mix and good drainage. For most vegetables, a height of 10 to 12 inches works well, but 18 to 24 inches feels better for gardeners with limited mobility.
Tools and materials you need
A simple raised bed needs only common hand tools and safe building materials. Gather everything before you start so the frame does not sit half-built during a rainstorm.

| Item | Suggested choice | Why it matters |
|---|---|---|
| Lumber | Untreated cedar, redwood, or pine | Forms the bed frame |
| Screws | Exterior-rated 3-inch screws | Hold corners together |
| Measuring tool | Tape measure and string | Mark a square layout |
| Level | 2-foot or 4-foot level | Keeps the bed even |
| Cutting tool | Circular saw or handsaw | Cuts boards to length |
| Soil | Topsoil, compost, and aeration material | Fills the bed |
| Safety gear | Gloves, eye protection, ear protection | Protects hands, eyes, and ears |
Use a saw only on a stable surface. A cordless circular saw, such as a 20-volt model from DeWalt, Makita, or Ryobi, makes quick work of lumber, but a handsaw is enough for one small bed. Keep a drill bit slightly smaller than your screws to prevent boards from splitting.
The most important material choice is the lumber. Do not use old railroad ties, painted boards, or wood treated with unknown chemicals. Modern treated lumber is regulated for garden use in many places, but untreated cedar remains the simple choice for edible crops.
| Bed material | Typical lifespan | Best use |
|---|---|---|
| Cedar | 8–15 years | Vegetable and herb beds |
| Redwood | 10–20 years | Damp climates and long-term beds |
| Untreated pine | 3–7 years | Low-cost temporary beds |
| Composite boards | 15–25 years | Low-maintenance beds |
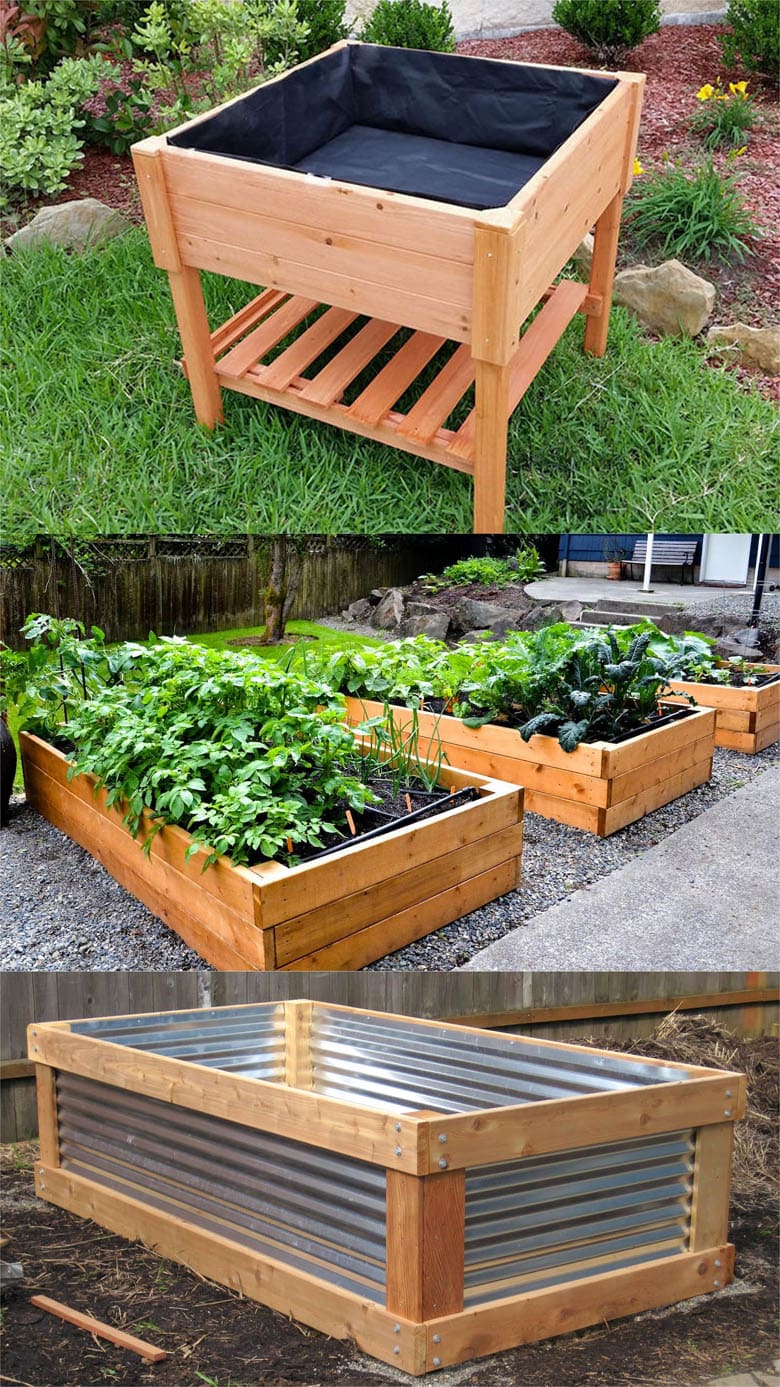
| Galvanized metal | 20+ years | Long-term, modern beds |
Lifespan changes with rainfall, soil contact, wood thickness, and drainage. A cedar bed in dry Colorado may last longer than one in wet coastal Oregon.
Choosing lumber and fasteners
Choose boards at least 2 inches thick for a stable frame. Common sizes include 2-by-6, 2-by-8, and 2-by-12 lumber, though the actual size is smaller because of standard milling.
For a 4-by-8-foot bed, you can use two 8-foot boards for the long sides and four 4-foot boards for the ends. A double-height bed uses twice as many boards. Secure each corner with at least two exterior screws per board connection.

Optional materials for special sites
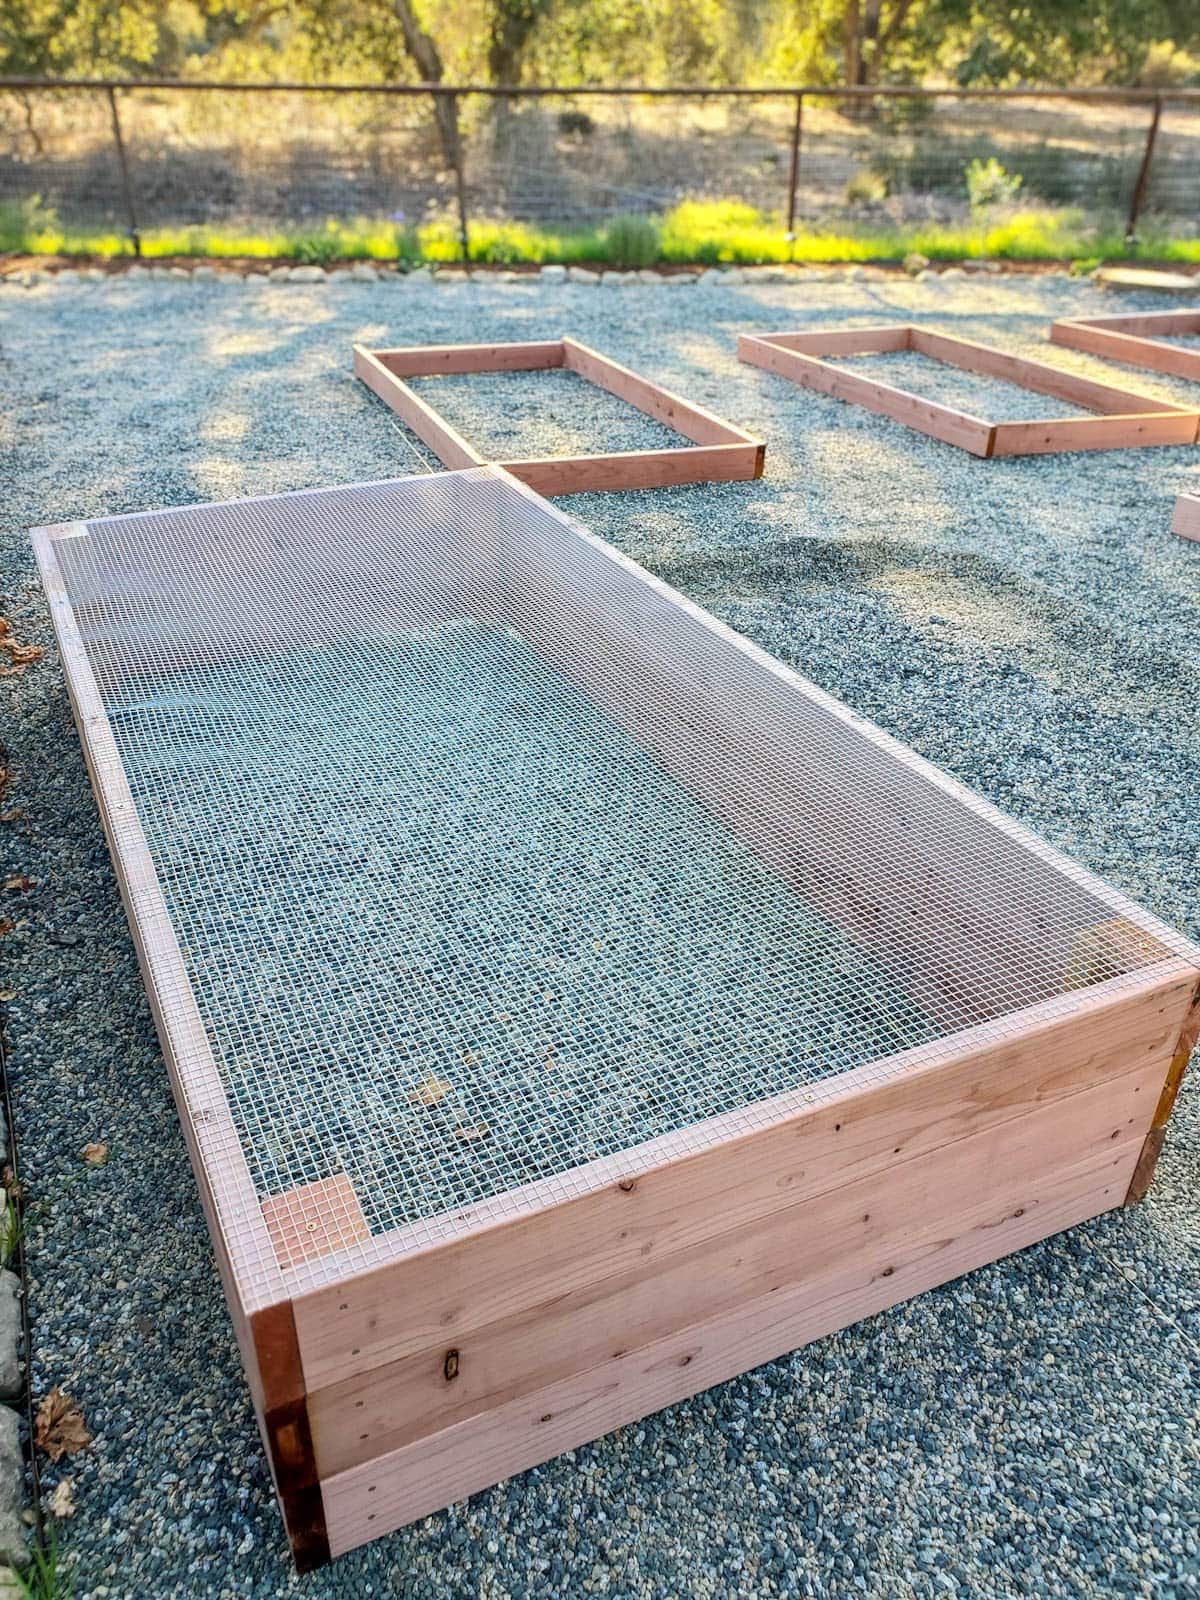
You may need extra materials if your site has poor drainage, burrowing pests, or a hard surface. Hardware cloth under the bed can stop voles and moles. A layer of cardboard can smother grass, but it should not replace proper weed removal in a bed with deep perennial weeds.
Useful additions include:
- ¼-inch galvanized hardware cloth
- Landscape staples
- Cardboard without glossy ink
- Gravel for nearby paths
- Drip irrigation tubing
- Corner braces for tall beds
- A trellis for peas, cucumbers, or pole beans
- Row cover hoops for frost protection
Do not put a thick layer of gravel inside a bed simply to improve drainage. That can create a perched water table, where water collects above the gravel instead of draining faster. Good soil structure and open drainage below the bed work better.
Pick the right location before building
The best location for a raised garden bed has strong sun, easy water access, and enough room for you to walk around it. Most vegetables need six to eight hours of direct sunlight each day, though lettuce, spinach, kale, cilantro, and parsley tolerate some afternoon shade.

Watch the site for a full day before you build. A place that looks sunny at 9 a.m. may sit under a tree or fence shadow by 3 p.m. In hot USDA Zones 8 through 10, a little afternoon shade can protect cool-season crops, but tomatoes, peppers, cucumbers, squash, and melons need more light.
Keep the bed close enough to a hose or rain barrel that watering feels easy. If you must drag a hose 100 feet across the yard, you will water less often. The best garden is the one you can reach without making a chore of it.
| Site condition | Good target | Why |
|---|---|---|
| Sun | 6–8 hours for most vegetables | Supports strong growth |
| Slope | Nearly level | Prevents soil and water loss |
| Water access | Within easy hose reach | Makes care more likely |
| Walking space | 18–24 inches around bed | Allows planting and harvest |
| Distance from trees | Outside major root zones | Reduces shade and root competition |
Avoid low spots where rainwater collects. Raised beds drain better than ground-level gardens, but a bed placed in standing water can still stay cold and wet. Stay clear of black walnut trees when possible because their roots and leaves can release juglone, a compound that affects some plants.
Plan the bed size and height
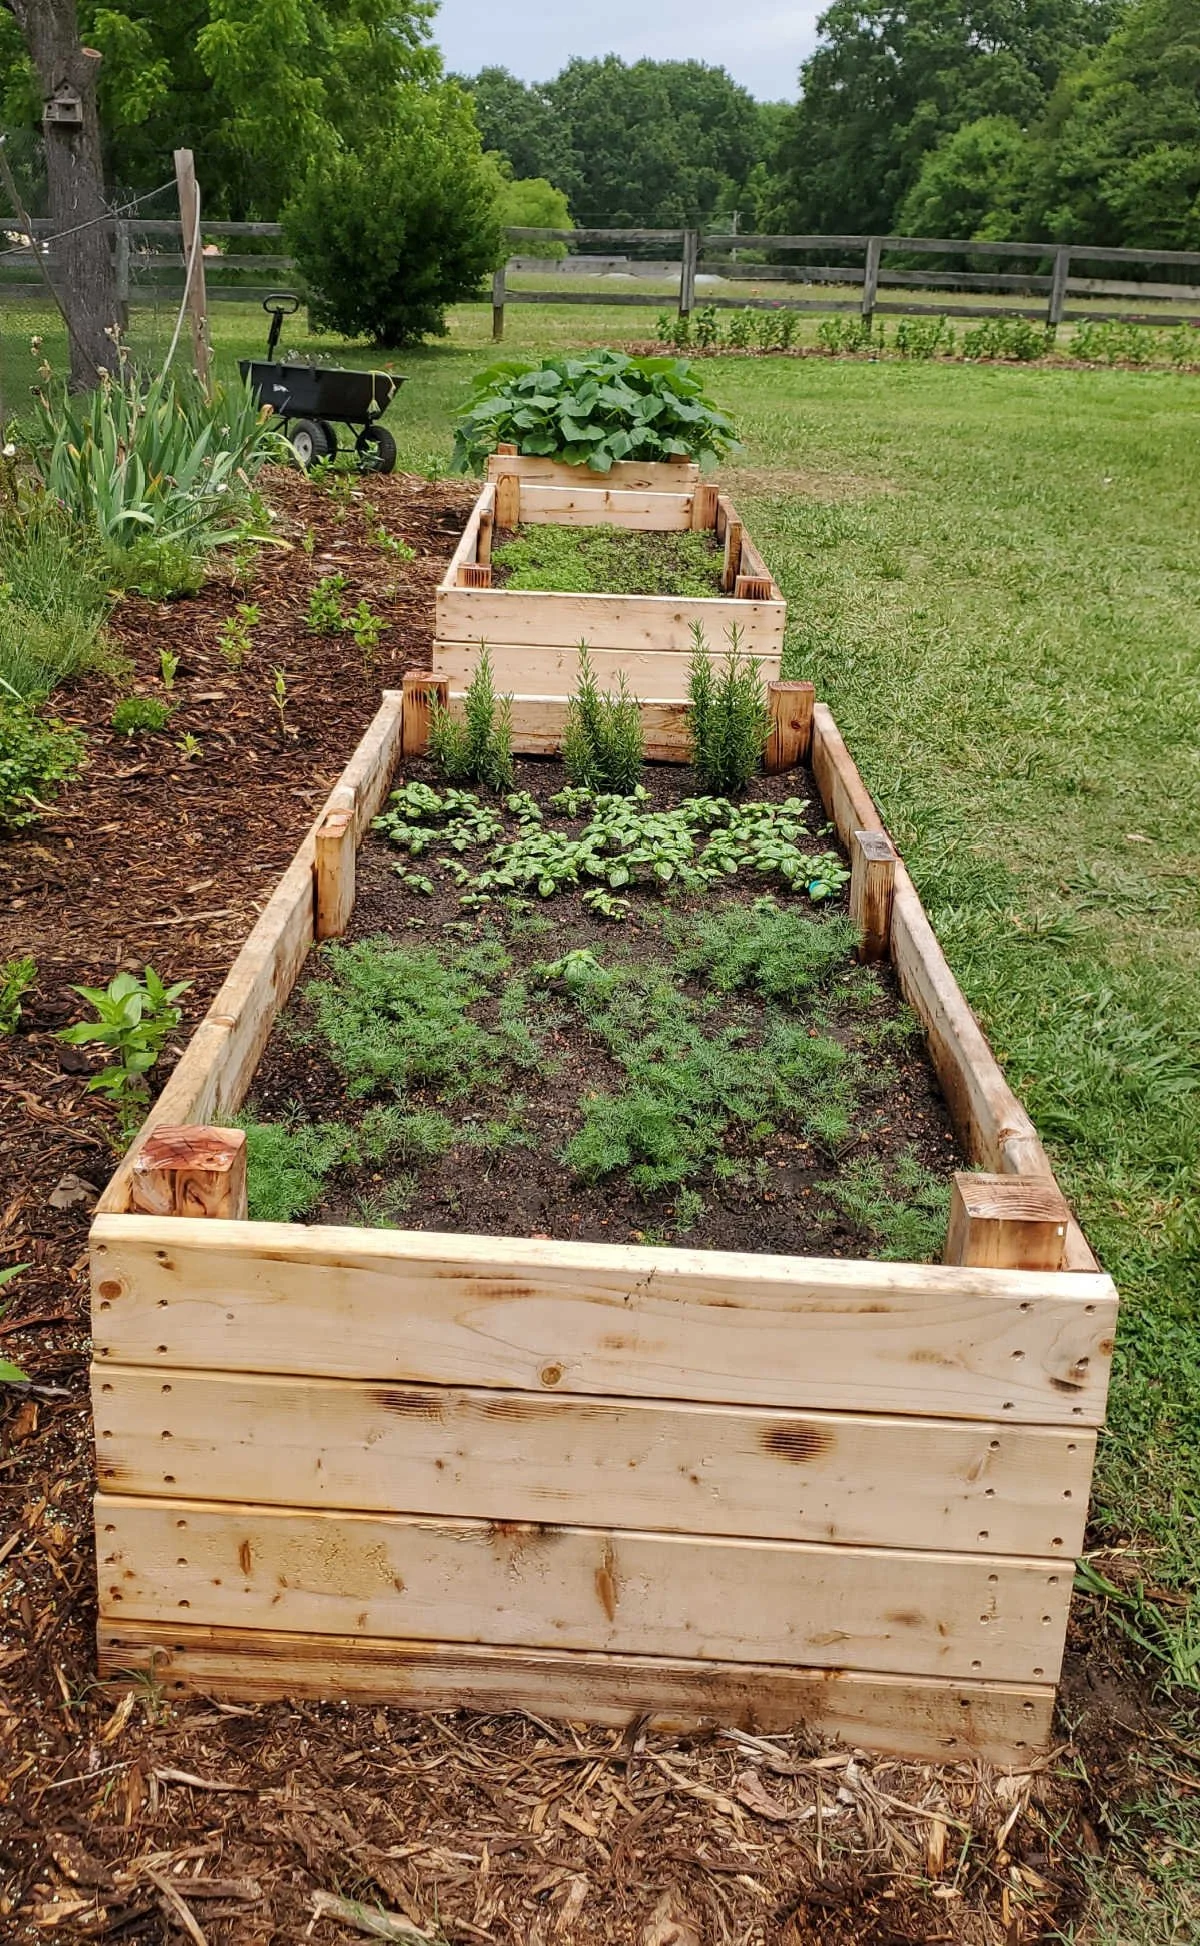
A 4-by-8-foot raised bed is popular because you can reach the center from both sides. Keep the width at 4 feet or less if you can access both sides. A wall-side bed should be no wider than 2 to 3 feet so you do not need to step into it.
A 6-inch bed can support shallow-rooted herbs and greens if it sits on good soil. For tomatoes, carrots, beets, potatoes, and larger herbs, use at least 12 inches. A 24-inch bed offers comfort and root space but costs more to fill and needs stronger side support.
Check for underground hazards
Before digging stakes or cutting into the ground, check for buried utility lines. Contact your local utility locating service if you will install posts, irrigation, or a permanent trellis. Even a small bed can cause trouble if it sits over a septic lid, drainage pipe, or irrigation line.
Look above the bed as well. A trellis under a low branch can make pruning hard, and vines may grow into gutters or power lines. Place tall crops on the north side of the bed so they do not shade shorter plants.
⚠️ Warning: Never burn or chip painted, stained, or chemically treated garden lumber. If you cannot identify the wood, do not use it for a food-growing bed.
Prepare the ground and mark the layout
Ground preparation takes more time than many people expect, but it prevents crooked frames and weed problems. Mow the area short, mark the corners, and check the layout from several angles before you assemble the boards.

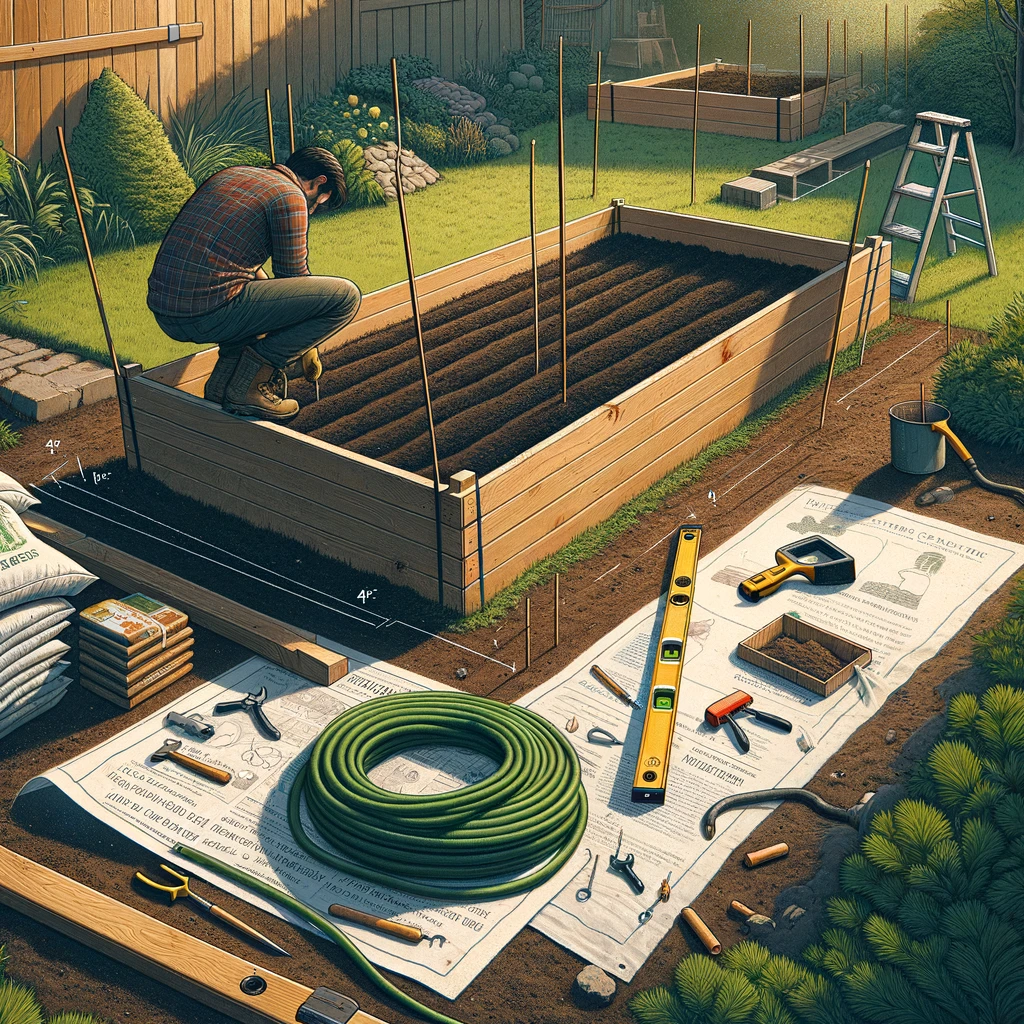
Use stakes and string to mark a rectangle. Measure both diagonals. A 4-by-8-foot rectangle is square when both diagonals measure about 8 feet 11 inches. Small errors are fine, but large differences make the frame twist.
If the site has turf, cut the grass short and remove the sod. You can also cover the area with overlapping cardboard, then add the frame and soil. I prefer removing sod when possible because it exposes roots, lets me level the site, and reduces the chance of grass invading the bed.
Level the site
Set a board across the marked area and place a level on top. Remove high spots with a shovel and fill low spots with soil. Do not build a tall bed on a steep slope without steps, retaining support, or professional advice.
A slight slope across a long bed can work, but a level base looks better and holds water more evenly. Tall beds also need a firm base because wet soil can weigh several hundred pounds.
Deal with grass and perennial weeds
Annual grass is easy to smother. Perennial weeds such as bindweed, quackgrass, Bermuda grass, and Canada thistle need more care. Remove as many roots and rhizomes as you can before filling the bed.
A thick cardboard layer can help, but aggressive grass may grow through seams. If Bermuda grass surrounds the bed, install a metal or plastic root barrier 6 to 8 inches deep around the outside. Keep the barrier above ground by about 1 inch so runners cannot cross it.

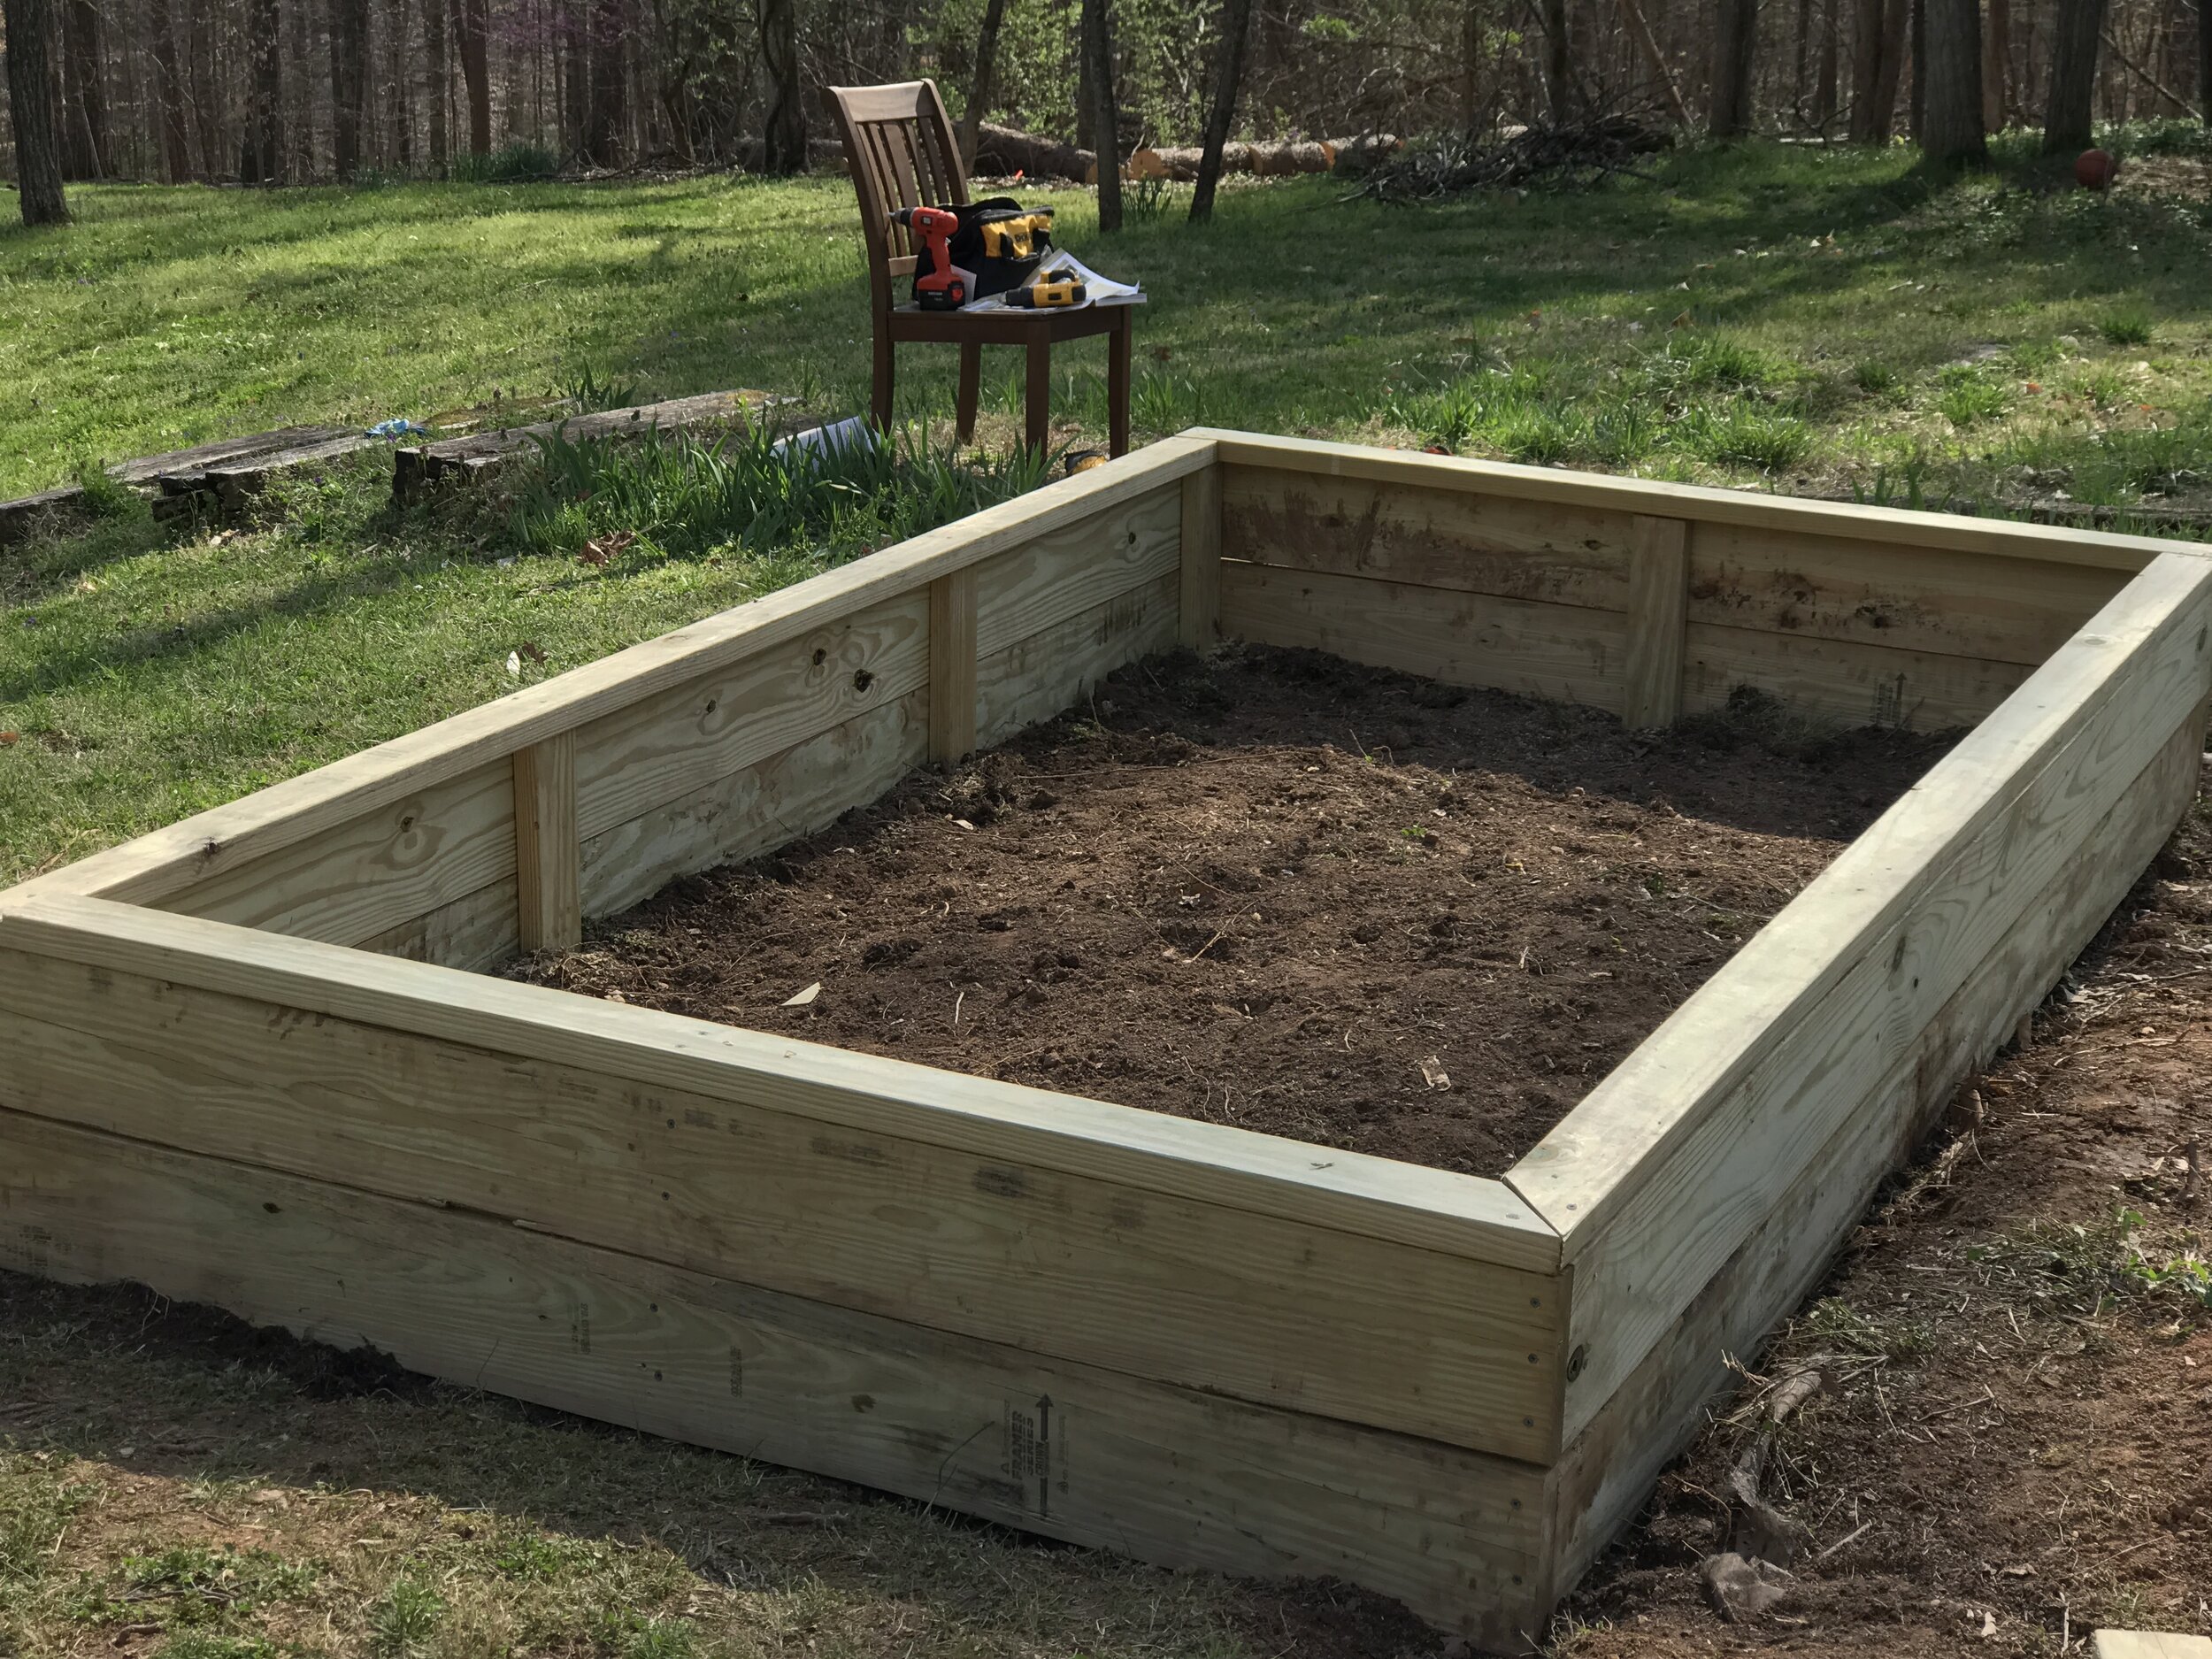
Assemble and place the raised bed frame
Build the frame on or near its final location, then check every corner before filling it. A frame that looks square when empty may shift once soil presses against the boards.
Numbered installation steps
-
Cut the boards.
Cut two long boards and two short boards for a single-layer bed. For a 4-by-8-foot bed, confirm the actual board lengths after accounting for board thickness. -
Lay out the pieces.
Place the boards on their edges. Set the short boards between the long boards or overlap the corners, depending on your design. -
Pre-drill the corners.
Drill pilot holes through the outer board into the end grain of the inner board. This reduces splitting, especially in cedar and pine. -
Drive the screws.
Use two or three exterior screws at each corner. Keep screw heads flush with the wood, not buried deep. -
Check the frame.
Measure both diagonals. Push the frame until the measurements match. -
Set the frame in place.
Use a level on each side. Dig under high corners or add soil under low corners until the frame sits firmly. -
Add support for tall beds.
Install vertical stakes or corner posts inside a bed taller than 12 inches. Fasten the boards to the posts. -
Install pest protection.
Lay hardware cloth under the frame if rodents are common. Overlap seams by at least 6 inches and staple the cloth to the lower edge. -
Install irrigation if desired.
Add drip tubing before filling the bed. It is much harder to place tubing through packed soil later. -
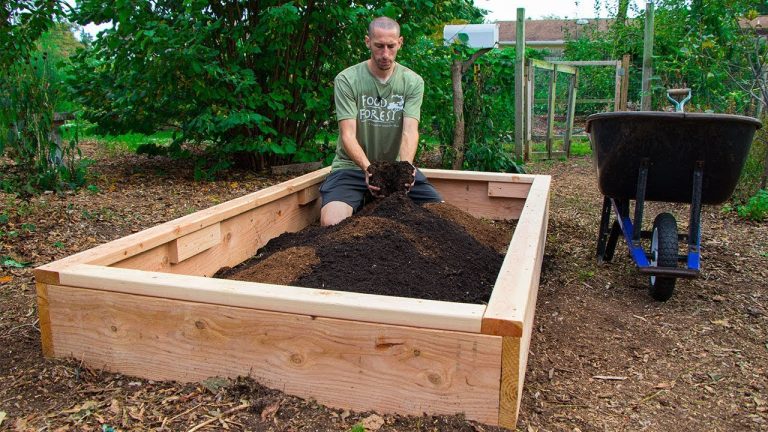
Fill the bed in layers.
Add the soil mix gradually. Rake each layer flat and water lightly to settle it. -
Leave a small gap.
Stop filling 1 to 2 inches below the top edge. This keeps soil and mulch from spilling over during rain.
Reinforce long and tall beds
A 4-foot-long bed often needs no center brace. An 8-foot bed can bow if the boards are thin or the soil stays wet. Add a cross brace, threaded rod, or center stake when using 1-inch boards or a bed taller than 12 inches.
For beds 18 inches or taller, use 4-by-4 corner posts or sturdy inside stakes. Fasten each board layer to the posts. Soil pressure is strongest when the bed is full and wet, so do not judge strength by how it feels when empty.
Install a bottom only when needed
Most raised beds do not need a solid bottom. Open-bottom beds allow earthworms, beneficial fungi, and plant roots to move into the native soil. They also drain better.
Use a bottom when the bed sits on concrete, a balcony, a roof deck, or another surface where soil cannot stay in place. A bottomed bed needs drainage holes, a waterproof-safe structure, and a soil depth suited to the plants.
🌱 Beginner Note: If you can reach the native soil below the bed, an open-bottom design is usually cheaper and healthier for vegetables than a sealed planter box.
Fill the bed with the right soil mix
The best soil for a raised garden bed is loose, fertile, well-drained, and rich in organic matter. Do not fill the entire bed with pure compost. Compost supplies nutrients, but it can shrink, dry quickly, or hold too much water when used alone.

A practical starting mix contains about 60 percent screened topsoil, 30 percent finished compost, and 10 percent aeration material such as pine fines or coarse perlite. Local soil and climate change the exact blend. In wet areas, use more coarse structure. In dry areas, use enough compost to hold moisture without making the bed heavy.
For a 4-by-8-foot bed that is 12 inches deep, you need 32 cubic feet of material. That equals about 1.2 cubic yards. Order a little extra because the mix settles after watering.
| Bed size | Soil depth | Approximate volume |
|---|---|---|
| 4 × 4 feet | 12 inches | 16 cubic feet |
| 4 × 8 feet | 12 inches | 32 cubic feet |
| 4 × 8 feet | 18 inches | 48 cubic feet |
| 4 × 8 feet | 24 inches | 64 cubic feet |
To calculate soil volume, multiply length by width by depth in feet. Divide the result by 27 to convert cubic feet to cubic yards. For bagged soil, check the bag volume because a “1-cubic-foot” bag may contain less once settled.
Test soil pH and quality
Most vegetables grow well in soil with a pH between 6.0 and 7.0. Blueberries prefer a much lower pH, around 4.5 to 5.5, so they usually belong in a separate container or special bed.
Send a soil sample to a local university extension lab if you plan to grow in the bed for years. A test can show pH, phosphorus, potassium, calcium, magnesium, and organic matter. Avoid adding lime or fertilizer by guesswork.
Fill in layers and settle the mix
Add 3 to 4 inches of soil at a time. Water each layer with a gentle spray, then rake it level. This removes large air pockets without packing the soil as hard as foot traffic would.
The soil may settle 2 to 4 inches during the first few weeks. Top it up with compost and soil, not only compost. After the first season, add 1 to 2 inches of compost each spring.
💡 Pro Tip: Buy soil from a landscape supplier when filling a large bed. Ask whether the mix is screened, tested for contaminants, and suitable for vegetables. Cheap fill dirt often contains weed seeds, clay clumps, or construction waste.
Plant the bed for strong growth
Planting works best after the soil settles for a few days. You can plant immediately, but wait until the soil is not soggy and the weather suits the crop.
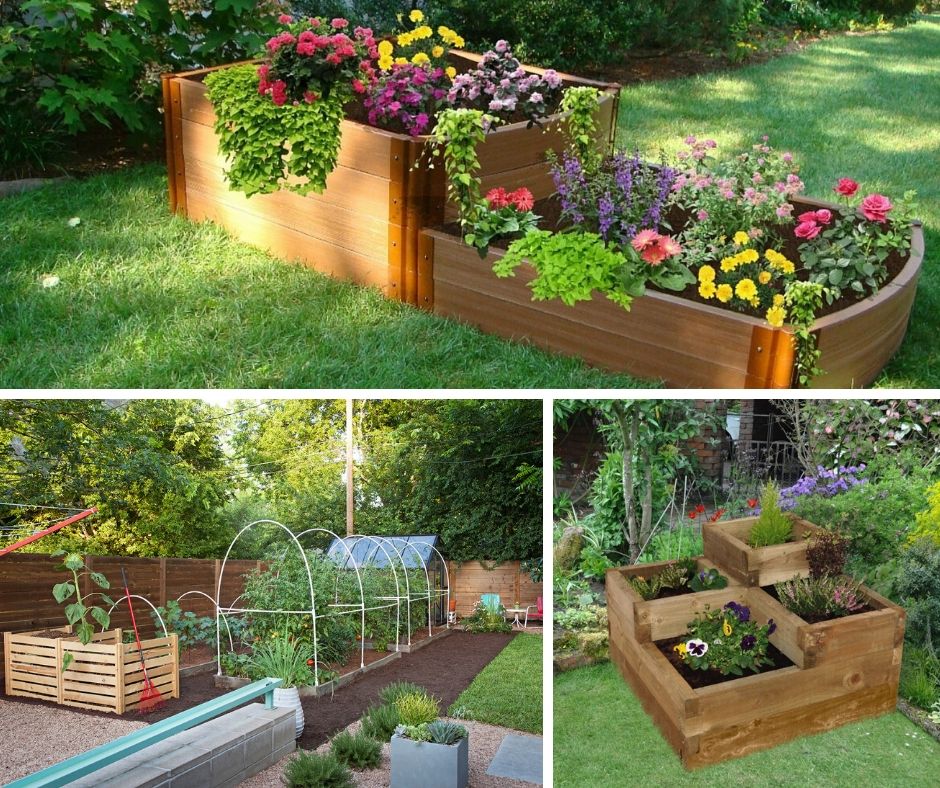
Place tall crops on the north side. Put trellised cucumbers, pole beans, and indeterminate tomatoes where they will not shade basil, carrots, radishes, or lettuce. Use the center for crops that need more space and the edges for herbs or trailing plants.
Raised beds support intensive planting because you do not need wide paths between rows. Still, crowding creates poor airflow and disease. Follow the mature spacing on the seed packet, then adjust for your climate and pruning style.
Match plants to the season
Cool-season crops include peas, spinach, kale, lettuce, radishes, carrots, broccoli, and cilantro. Warm-season crops include tomatoes, peppers, eggplant, basil, cucumbers, squash, and beans.
In USDA Zones 3 through 5, start warm-season plants after the last spring frost and use row cover to extend the season. In Zones 8 through 10, plant many cool-season crops in fall and winter, then shift to heat-tolerant crops in late spring.
A raised bed warms faster than native ground in spring. That helps seedlings, but it can also dry the soil faster and expose roots to heat. Check moisture below the surface rather than trusting the top inch.
Use companion planting with realistic goals
Companion planting can help you use space and attract pollinators, but it will not solve every pest problem. Grow basil near tomatoes if you like the pairing, but do not expect it to stop tomato hornworms.
Good bed partners include:
- Carrots with onions or chives
- Lettuce with radishes
- Tomatoes with basil and marigolds
- Cucumbers with dill and nasturtiums
- Beans with carrots and summer savory
- Kale with cilantro and alyssum
Flowers such as calendula, sweet alyssum, borage, and nasturtium attract bees, hoverflies, and other helpful insects. Avoid planting mint directly in the bed because it spreads quickly. Grow it in a container.
Water, feed, and mulch the bed
A raised bed needs regular moisture because its loose soil drains faster than compact ground. Water deeply when the top 1 to 2 inches feels dry, then allow excess water to drain.
Seedlings may need light water every day in hot weather. Established tomatoes, peppers, and beans usually do better with a deep soak two or three times each week than with a brief daily sprinkle. Sandy mixes need more frequent watering than clay-rich mixes.
Drip irrigation or a soaker hose keeps leaves dry and sends water near the roots. Wet foliage can encourage fungal diseases such as powdery mildew, early blight, and downy mildew. Water early in the day when possible.
| Plant group | Moisture need | Simple schedule |
|---|---|---|
| Lettuce and spinach | Even moisture | Check daily in warm weather |
| Tomatoes and peppers | Deep, steady moisture | Water when top 1–2 inches dry |
| Carrots and beets | Consistent moisture | Do not let soil dry during root growth |
| Beans and cucumbers | Moderate to high | Check every 1–2 days in heat |
| Herbs such as thyme | Lower moisture | Let the top layer dry slightly |
Mulch the surface with shredded leaves, straw, or untreated grass clippings. Keep mulch 2 inches away from plant stems. A 1- to 2-inch layer reduces evaporation, limits weeds, and protects soil from heavy rain.
Fertilize based on plant need
Compost supports soil life, but heavy feeders may need more nutrients. Tomatoes, peppers, cucumbers, squash, and corn often benefit from a balanced fertilizer after early growth begins.
Use a soil test before applying high-phosphorus products. Too much phosphorus can harm waterways and reduce the availability of zinc and iron. A mild organic fertilizer with an NPK ratio near 4-4-4 can work when used at the label rate.
Do not feed stressed, wilted plants until you check the soil. Wilting may come from heat, root damage, poor drainage, or disease. Fertilizer cannot fix those problems and may burn roots.
Protect the bed from weeds, pests, and disease
Raised beds reduce weeds but do not make a garden weed-free. Weed seeds can arrive in compost, wind, mulch, bird droppings, and purchased plants.

Pull weeds while they are small. Use a hand cultivator near shallow-rooted lettuce and a narrow hoe in open spaces. Avoid deep digging because it can bring new weed seeds to the surface.
Inspect leaves twice a week. Look under kale and cabbage leaves for cabbage worms, check beans for Mexican bean beetles, and look at tomato stems for hornworms. A strong spray of water can remove aphids, while hand-picking works well for larger pests.
| Symptom | Likely cause | First response |
|---|---|---|
| Yellow lower leaves | Overwatering or low nitrogen | Check drainage and soil test |
| Wilting with wet soil | Root disease or poor drainage | Reduce water and inspect roots |
| Holes in leaves | Caterpillars, beetles, or slugs | Inspect at dusk and hand-pick |
| White powder on leaves | Powdery mildew | Improve airflow and water soil |
| Cracked tomatoes | Uneven moisture | Keep watering steady |
| Stunted carrots | Compacted soil or stones | Loosen soil and remove debris |
Use insect netting or lightweight row cover when a crop faces repeated pest pressure. Remove the cover when plants flower if they need bee pollination, or hand-pollinate squash and cucumbers in the morning.
Avoid routine pesticide use, even with organic products. Neem oil, insecticidal soap, and Bt can harm helpful insects if used carelessly. Read the label, spray at the right time, and never apply products to edible crops outside the label directions.
Common installation mistakes to avoid
Most raised bed failures come from poor planning, not poor gardening skill. The usual problems include weak frames, bad soil, poor access, and too much water.
Making the bed too wide
A bed wider than 4 feet forces you to lean or step into the soil. Stepping on the bed destroys air spaces and creates compacted spots where roots struggle.
Using fresh manure
Fresh manure can burn roots and may carry pathogens. Use fully composted manure, and follow local food safety guidance. Do not use fresh manure near crops that will be harvested soon.
Filling with only compost
Pure compost often shrinks and dries unevenly. It can also contain high salt levels, especially if made from manure or municipal waste. Blend compost with mineral soil and coarse material.
Ignoring drainage
A raised bed still needs a place for water to go. If the soil stays wet for days, move the bed, improve the surrounding grade, or reduce fine material in the mix. Do not solve every drainage issue with a gravel layer.
Skipping support in tall beds
Boards can bow or split under the weight of wet soil. Add posts and braces before the bed is full. Repairing a bowed wall later means removing soil and plants.
Forgetting paths
A garden can look spacious before planting and crowded after growth begins. Leave at least 18 inches for foot traffic and 24 to 36 inches if you use a wheelbarrow.
Planting too much
One 4-by-8-foot bed can grow a surprising amount of food. Start with crops your household eats often. A well-kept bed of lettuce, herbs, beans, and tomatoes usually gives more value than a crowded bed full of neglected plants.
My experience with raised beds over two seasons
I installed a cedar 4-by-8-foot bed in heavy clay soil in USDA Zone 6 and filled it with screened topsoil, compost, and pine fines. The first mistake was placing it too close to a fence. By midsummer, the north side stayed shaded longer than expected, and the cucumber vines crowded the walkway.
I moved the trellis to the north end and added drip tubing the next spring. That small change reduced leaf disease and cut watering time. The tomatoes produced well, but the bed dried faster than the surrounding clay during a July heat wave.
A 2-inch layer of shredded leaf mulch helped. I also found that carrots grew better after I removed large wood pieces from the mix. After four weeks, the lettuce and radishes looked excellent, but the carrots forked because the soil was not yet fine and deep enough.
The bed frame itself remained straight because I used 2-by-8 cedar boards with inside corner posts. The first part to show wear was not the wood. It was the exposed screw heads, which began to rust after repeated wet winters. Exterior-rated coated screws would have been a better choice.
Maintenance through the seasons
Raised beds need small seasonal tasks rather than major yearly work. Check the frame, soil level, irrigation, and plant health before each growing season.
Spring
Top up settled soil with a thin layer of compost. Test the soil if plants struggled the previous year. Repair loose screws, add trellis supports, and install drip lines before planting.
Summer
Water deeply and mulch the surface. Harvest often to keep beans, cucumbers, zucchini, and herbs producing. Watch for heat stress, blossom-end rot, powdery mildew, and pests.
Fall
Remove diseased plants and discard them rather than adding them to a cool home compost pile. Healthy roots and plant residue can be chopped and composted. Plant garlic, onions, spinach, or cover crops where your climate allows.
Winter
Do not leave bare soil exposed if heavy rain or snow may wash it away. Use leaves, straw, or a cover crop such as winter rye, crimson clover, or field peas. In very cold zones, check that frost heaving has not shifted the frame.
| Season | Main task | What to inspect |
|---|---|---|
| Spring | Add compost and repair frame | Soil level, screws, drainage |
| Summer | Water, mulch, and harvest | Wilting, pests, disease |
| Fall | Clear crops and protect soil | Diseased plants and weeds |
| Winter | Cover bare soil | Frame movement and erosion |
Avoid turning the soil deeply each year. Soil organisms thrive when the bed stays layered and lightly disturbed. Add compost on top and use a hand fork only when you need to loosen a compact area.
Raised beds versus other garden options
A raised bed is not always the right choice. In good native soil, an in-ground garden costs less and gives roots unlimited depth. Containers suit renters and patios, while grow bags offer a low-cost trial.
The main difference between a raised bed and an in-ground garden is control. Raised beds give you control over soil and access, but they cost more to build and can dry out faster. Containers offer even more control but need more frequent watering.
| Garden type | Strength | Limitation |
|---|---|---|
| Raised bed | Good soil control and access | Higher setup cost |
| In-ground bed | Low cost and deep root space | Harder soil and weed control |
| Container | Works on patios and balconies | Dries fast and holds less soil |
| Grow bag | Cheap and portable | May last only a few seasons |
| Hugelkultur mound | Uses woody material and height | Can settle and change over time |
Choose an in-ground garden if your soil drains well and you do not mind kneeling. Choose containers or grow bags if you rent, have limited space, or want to test gardening before building a permanent structure.
Cost, lifespan, and when to hire help
The cost of a raised garden bed depends on wood, soil, height, irrigation, and location. A small DIY bed may cost about $75 to $200, while a large double-height bed with purchased soil and irrigation can cost $400 or more.
Current pricing ranges from roughly $30 to $100 for a simple 4-by-4-foot kit, before soil. A 4-by-8-foot cedar bed may cost $150 to $350 for lumber and fasteners. Soil often becomes the largest expense, especially for beds 18 inches or taller.
You may save money by buying bulk soil, using local compost, and building one bed at a time. Do not save money by using unsafe lumber or weak screws. Replacing a collapsed bed can cost more than building it correctly.
Hire a professional if the bed requires a retaining wall, deep excavation, drainage work, structural support, or a permanent installation on a roof or balcony. Consult a structural engineer before placing a large, wet soil load on a deck or roof.
Know what fails first
The wood usually fails at ground contact, corner joints, and the lower inner edge. Water trapped against the frame speeds decay. Good drainage, thick boards, and a small air gap around the outside can extend the bed’s life.
Hardware may fail before the boards. Rusted screws loosen corners, and thin plastic kits can crack under sun and frost. Inspect the bed each spring and replace damaged fasteners before the wall shifts.
FAQs about installing a raised garden bed
Q: How deep should a raised garden bed be?
A: Use at least 6 inches for lettuce and herbs, 10 to 12 inches for most vegetables, and 18 to 24 inches for deep-rooted crops or comfortable access. If the bed sits on concrete, provide the full root depth because roots cannot enter the ground below.
Q: Should I put cardboard under a raised garden bed?
A: Cardboard can smother lawn and reduce early weed growth. Use plain, unwaxed cardboard with overlapping seams. It works best over short grass and annual weeds, but remove aggressive perennial roots when possible.
Q: Do raised garden beds need a bottom?
A: No, not when the bed sits over healthy soil. An open bottom improves drainage and allows roots and soil organisms to move downward. Add a bottom only for beds on concrete, balconies, rooftops, or other hard surfaces.
Q: What is the best soil mix for a raised bed?
A: Start with about 60 percent screened topsoil, 30 percent finished compost, and 10 percent pine fines or coarse aeration material. Adjust the mix for your climate and test the soil if you plan to grow in the bed for many years.
Q: Can I use potting soil in a raised garden bed?
A: You can, but it is usually too expensive for a large bed and may dry quickly. Potting soil works well for containers. For raised beds, use screened topsoil blended with compost and a coarse material.
Q: How often should I water a raised bed?
A: Check the soil every day during hot weather. Water when the top 1 to 2 inches feels dry, then soak deeply until water reaches the lower root zone. Sandy beds may need water more often than beds with loam and compost.
Q: How do I stop a raised bed from drying out?
A: Add organic matter, apply 1 to 2 inches of mulch, and use drip irrigation or a soaker hose. Group plants with similar water needs. A bed in full afternoon sun may need more water than one with morning sun and light shade.
Q: Can I install a raised bed on grass?
A: Yes. Cut the grass short, remove sod or use overlapping cardboard, and check for perennial weed roots. A root barrier may help if Bermuda grass or quackgrass surrounds the bed.
Q: How long does a wooden raised bed last?
A: Untreated pine may last three to seven years, cedar often lasts eight to 15 years, and redwood can last 10 to 20 years. Wet climates, thin boards, poor drainage, and soil contact shorten the life.
Q: Is pressure-treated wood safe for raised garden beds?
A: Modern treated lumber is regulated for many outdoor uses, but products vary by region and age. If you are uncertain, choose untreated cedar or another naturally rot-resistant material. Never use old treated, painted, or stained boards for food crops.
Q: How do I make a raised bed accessible?
A: Build the bed 18 to 24 inches high, keep it no wider than 3 to 4 feet, and leave firm paths around it. A 30-inch-high bed may suit a seated gardener, but it needs strong posts and more soil.
Q: What can I grow in a 4-by-8-foot raised bed?
A: You can grow tomatoes, peppers, lettuce, carrots, beets, beans, cucumbers, herbs, and flowers in one bed. Use a trellis for vertical crops and plan around mature spacing. Avoid planting more zucchini or mint than your household can manage.
Q: Why is my raised bed soil sinking?
A: Soil sinks as compost breaks down and air pockets collapse. Add 1 to 2 inches of finished compost mixed with topsoil each spring. Do not refill the bed with pure compost because it may shrink again and cause nutrient or moisture problems.
Q: Can I leave a raised garden bed empty in winter?
A: You can, but bare soil may erode and lose structure. Cover it with leaves or straw, plant a cover crop, or use a breathable garden cover. Remove diseased plant material before winter protection.
Final advice
Start with one sturdy bed rather than several weak ones. Choose a sunny, level site, keep the width within easy reach, use safe lumber, and spend your budget on good soil. Those choices will matter more than decorative corners or complex designs.
A raised garden bed should make gardening simpler, not create another demanding project. Build it at a size you can water, weed, and harvest with ease. After one season, you will know which crops suit your light, soil, and climate, and you can add another bed with far more confidence.
Meta description: Learn how to install a raised garden bed with simple steps for site choice, frame building, soil mix, drainage, planting, watering, maintenance, costs, and common mistakes.