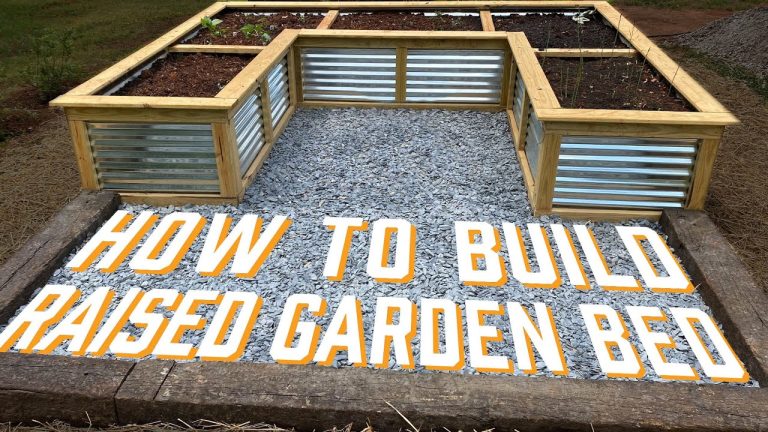
How To Make A Planting Bed: Easy Step-By-Step Guide
A well-made planting bed gives roots room to grow, helps soil hold water, and makes garden care much easier. You can build one in a small yard, beside a fence, around a tree, or in a large vegetable plot. The key is to choose the right spot, remove grass and weeds, improve the soil, and shape the bed so water can drain.
I have made planting beds in sandy soil in coastal North Carolina, heavy clay in Ohio, and thin rocky soil in Colorado. The method stays much the same, but the soil work changes. A bed for tomatoes needs different spacing and support than a bed for lavender, hostas, or native pollinator plants.
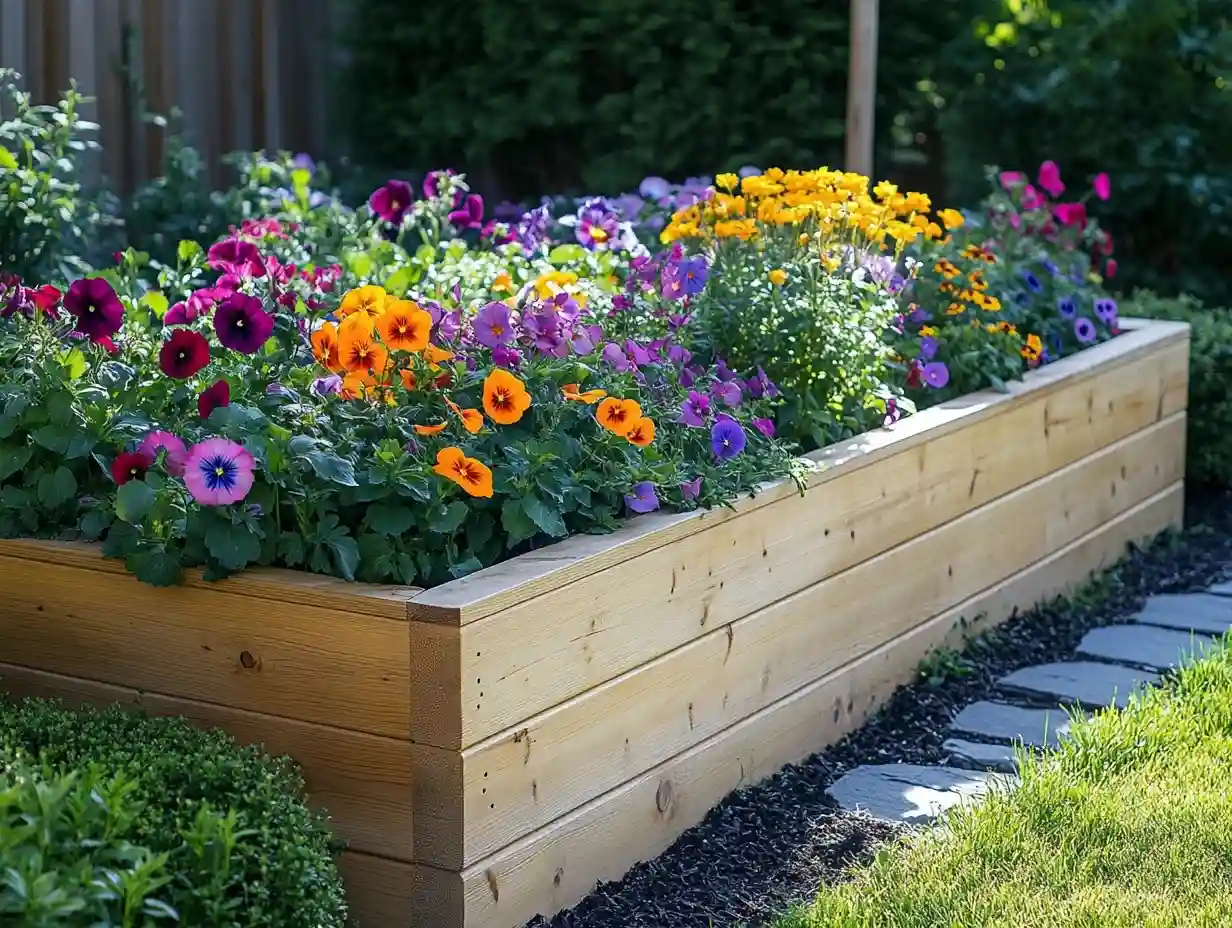
Quick answer: How do you make a planting bed?
To make a planting bed, choose a site with the right sunlight, mark the shape, remove grass and weeds, loosen the soil, add compost, level the surface, and mulch after planting. Most garden beds need 8 to 12 inches of workable soil. Start with a small bed, such as 4 by 8 feet, so you can reach the center without stepping on the soil.

Plan the bed before you dig
The best planting bed starts with a plan. Look at sunlight, drainage, mature plant size, access to water, and the view from your home before you lift a shovel. A few minutes of planning can prevent years of crowding, poor growth, and hard work.
Choose the right location
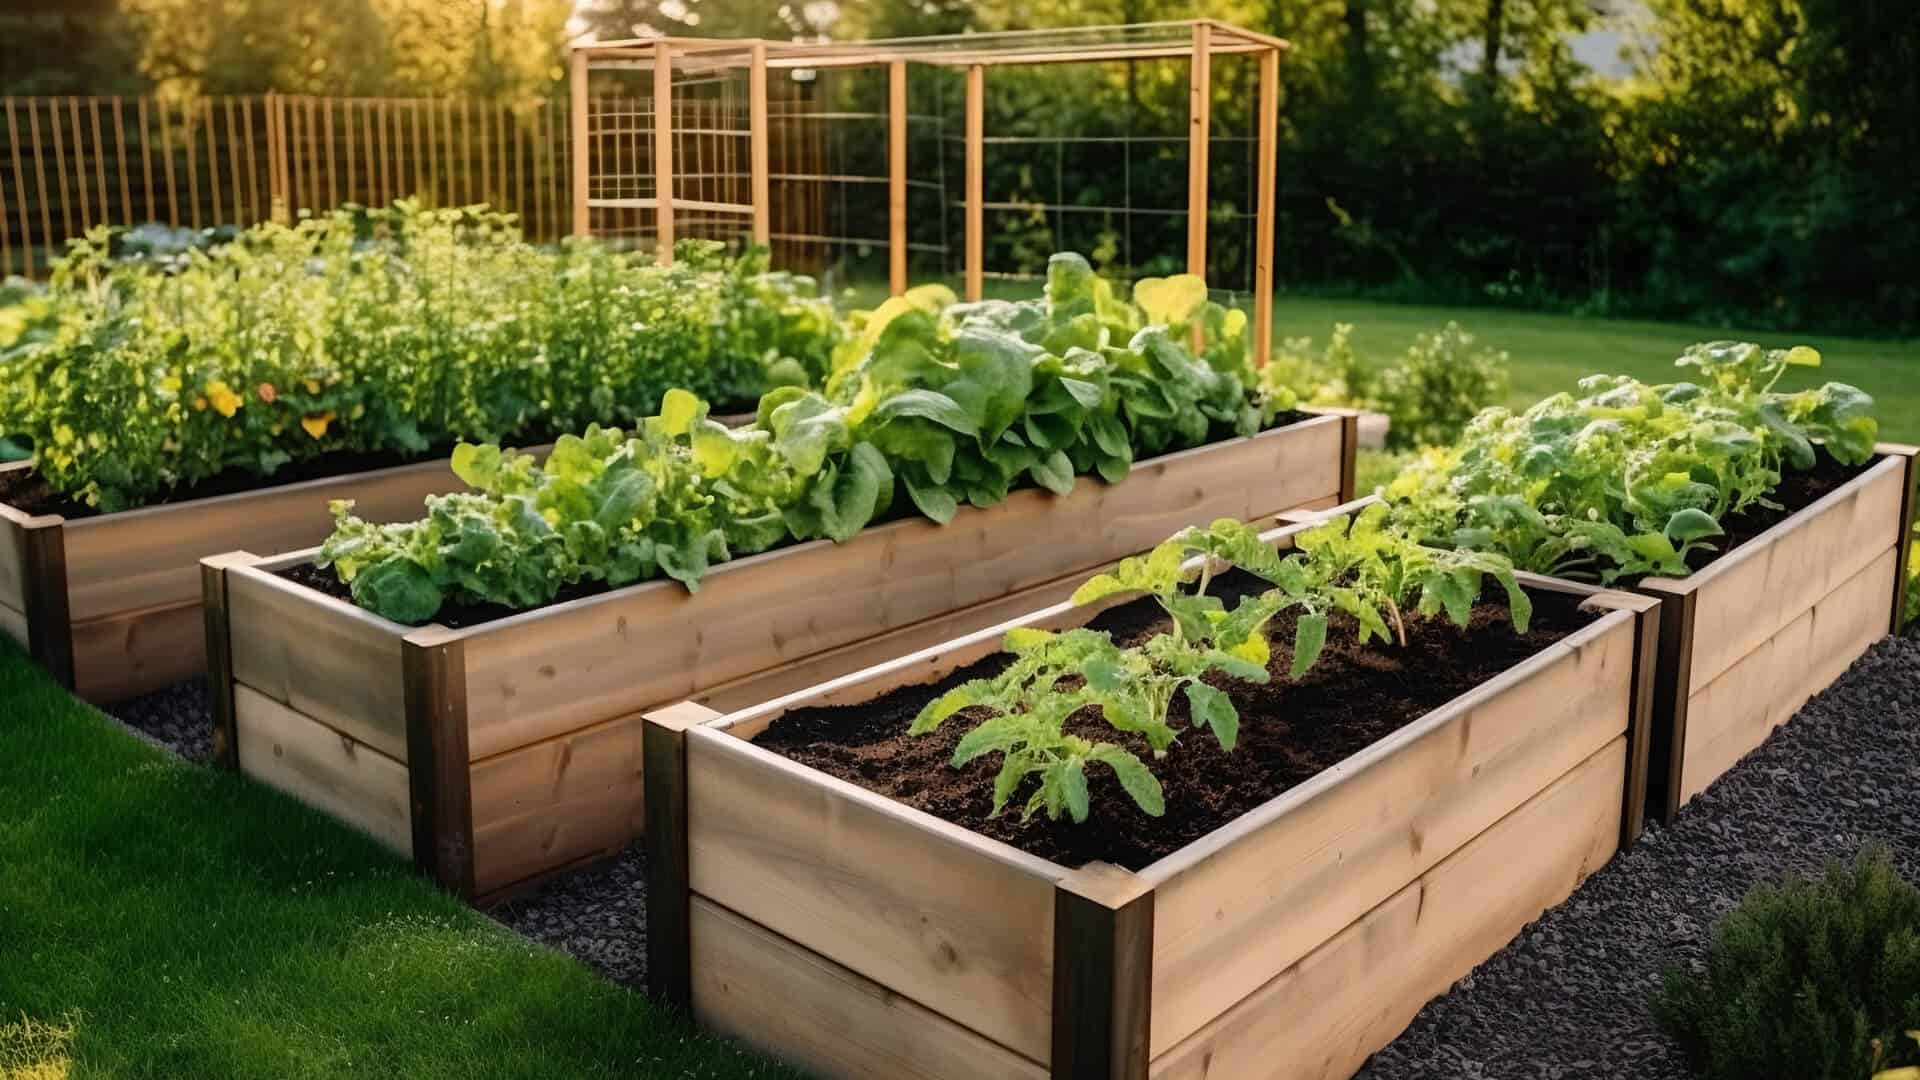
Most vegetables, herbs, and flowering annuals need at least six hours of direct sun. Tomatoes, peppers, cucumbers, squash, basil, and zinnias often grow best with eight or more hours. Leafy greens, hostas, astilbe, and some ferns can handle four to six hours.
Watch the site for one full day if possible. Morning sun and afternoon shade can suit lettuce and parsley, while a south-facing wall may create intense heat for tender plants. In USDA Zones 8 to 10, afternoon shade can protect cool-season crops from bolting.

Check how water moves after rain. A low spot may stay wet for days, while soil near a downspout may dry too fast. Avoid planting beds where water sits around roots unless you plan a bog garden or install drainage.
Also check for utility lines before digging. In the United States, contact 811 several days before you dig. This matters even for shallow beds because some irrigation, lighting, and cable lines sit close to the surface.
Pick a useful bed size
A planting bed should be easy to reach from both sides. I find 4 feet wide works well for most beds. A bed against a wall or fence should stay about 2 to 3 feet wide unless you can reach the back from another path.
Keep paths at least 18 inches wide for foot traffic. Use 24 to 30 inches if you plan to push a wheelbarrow through the garden. A narrow path saves space but often becomes muddy and hard to use.
| Bed type | Practical size | Good use |
|---|---|---|
| Small border bed | 2–3 feet wide | Flowers, herbs, shrubs |
| reachable garden bed | 4 feet wide | Vegetables and mixed planting |
| Raised bed | 4 feet wide by 8 feet long | Vegetables, cut flowers, beginners |
These sizes let you reach most plants without compacting the soil. Avoid making a bed so large that you must step inside it.
Decide between in-ground and raised beds
An in-ground bed uses the soil already on your property. It costs less and gives roots more space, but it may need more work if the soil contains clay, rocks, roots, or construction fill.
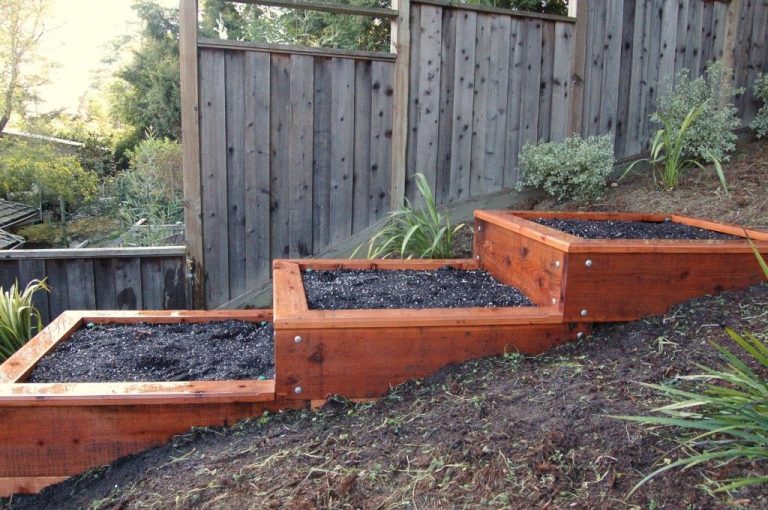
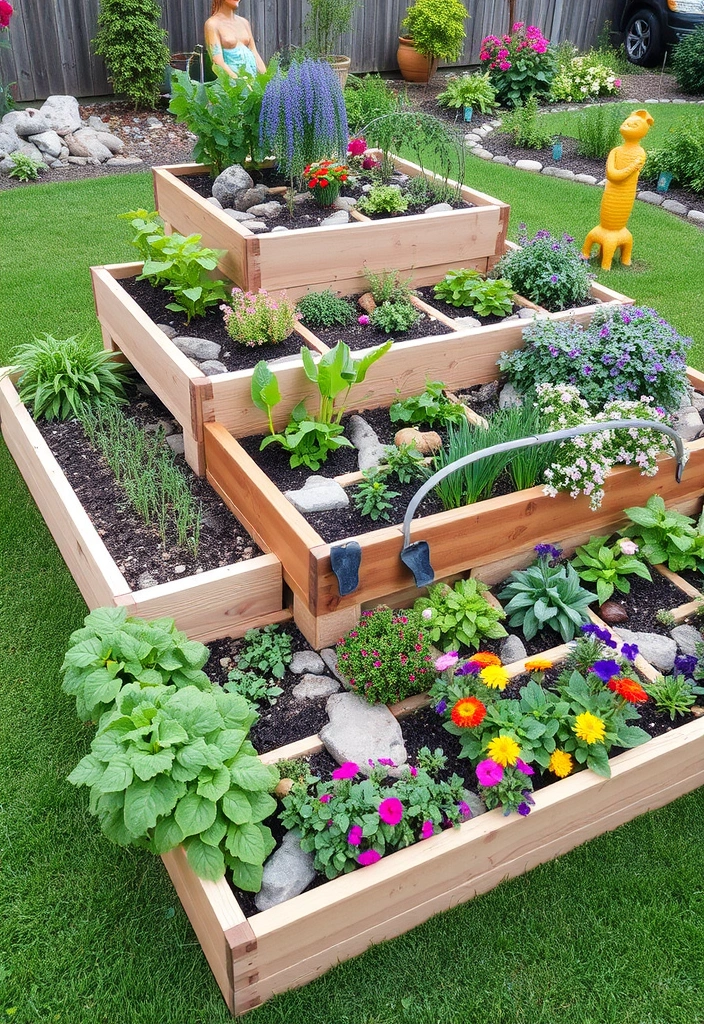
A raised bed sits above the native soil inside a frame or low mound. It can improve drainage and reduce bending, but it costs more and dries out faster. Raised beds also need more soil volume and regular top-dressing with compost.
Choose an in-ground bed if your soil drains well and you want a low-cost garden. Choose a raised bed if your soil is contaminated, compacted, very rocky, or difficult to work. For a rental home, a bottomless raised bed or large container may be a better choice than removing turf.
Tools and materials for a planting bed
You do not need a large collection of tools to build a planting bed. A sharp spade, garden fork, rake, measuring tape, hose, and sturdy gloves cover most jobs. For tough turf, a sod cutter or mattock can save time.
| Tool or material | Purpose | Useful note |
|---|---|---|
| Spade or half-moon edger | Cut the bed outline | A sharp edge makes clean cuts |
| Garden fork | Loosen compacted soil | Better than a tiller near roots |
| Steel rake | Level soil and remove rocks | Use a bow rake for rough ground |
| Compost | Add organic matter | Use finished, weed-free compost |
| Hose or twine | Mark curves and lines | Flexible for testing shapes |
| Mulch | Cover bare soil | Use 2–3 inches after planting |
Quality matters more than brand for hand tools. I have used Fiskars, Corona, and AMES spades for years, but the blade must stay sharp. A dull spade makes even soft soil feel hard.
For large beds, a rear-tine tiller such as a Troy-Bilt Pony or Honda FRC can break new ground, but tillers are not always the best choice. They can shred earthworms, damage soil structure, and spread perennial weed roots. I prefer a garden fork for beds under 100 square feet and a broadfork for larger areas.
Choose safe soil amendments
Use finished compost, aged leaf mold, or well-rotted manure. Fresh manure can burn roots and may contain weed seeds or harmful pathogens. Bagged soil labeled for raised beds can help, but do not fill a large bed with pure potting soil. It drains too fast and settles over time.
A simple soil test can show pH, phosphorus, potassium, and organic matter. Most vegetables grow well at pH 6.0 to 7.0. Blueberries prefer a much lower pH of about 4.5 to 5.5, so they should not share a standard vegetable bed.
Do not add lime, sulfur, wood ash, or strong fertilizer based on guesswork. A soil test from your county extension service gives better advice than a general chart. Soil needs vary by region, parent material, and past fertilizer use.
🌱 Beginner Note: Compost improves soil texture, but it does not fix every soil problem. If the soil is salty, contaminated, or badly compacted, test it before planting.
Prepare the site safely
Site preparation is easier when the soil has the right moisture. Digging wet clay smears soil into hard clods, while bone-dry soil resists the shovel. The best time is when a handful of soil breaks apart when you tap it, rather than forming a shiny ball.
Mark the outline
Lay a garden hose on the ground to test a curved bed. Use stakes and string for straight lines. Stand back and view the shape from several angles before cutting the edge.
For a formal bed, measure the width at several points. For a natural bed, use broad curves rather than small waves. Tight curves are difficult to mow and often look uneven after plants grow.
Spray paint made for landscaping can mark the line, but it may harm nearby plants if sprayed directly. Flour works for a short-term mark, though rain can wash it away. I often use a hose first, then cut along its edge.
Remove grass and weeds
The most reliable method for a new bed is to remove the sod. Use a sharp spade to cut strips 1 to 2 inches below the grass roots. Roll the strips and shake off loose soil. You can stack the sod grass-side down to make compost, but it may take a full season or more to break down.
For a low-dig method, mow the area short, cover it with overlapping cardboard, wet the cardboard, and add 6 to 8 inches of compost or soil. Leave it for at least four to eight weeks during warm weather. In cool climates, the process may take a full season.
Do not leave gaps between cardboard pieces. Perennial weeds such as bindweed, quackgrass, Bermuda grass, and nutsedge can push through small openings. Pull or dig these weeds out before covering the bed.
Deal with tree roots
Tree roots often fill the top 12 inches of soil. Cutting large roots can harm the tree and may make the tree unstable. Instead, build a shallow bed with compost, use shade-tolerant plants, or create a container garden nearby.
Avoid piling deep soil against a tree trunk. Keep the root flare visible, and leave a mulch-free ring around the trunk. The same rule applies to shrubs.
⚠️ Warning: Never use a rototiller close to a tree, buried cable, irrigation line, or gas line. A tiller can catch roots and fling rocks with surprising force.
Improve the soil without harming it
Good soil holds air, water, nutrients, and roots at the same time. You do not need perfect black soil. You need soil that drains after rain, crumbles when moist, and allows roots to move.
Test the native soil
Take samples from 6 to 8 inches deep in several parts of the bed. Mix them in a clean bucket, remove sticks and stones, and send a small sample to a soil lab. Do not sample right after adding fertilizer or lime.
A soil test can reveal whether you have sandy soil, clay soil, acidic soil, alkaline soil, or excess nutrients. Sandy soil drains fast and needs more organic matter. Clay soil holds water but may become airless when compacted.
Add compost at the right rate
Spread 2 to 4 inches of finished compost over the bed. Mix it into the top 6 to 8 inches with a garden fork, or leave it on top for worms and rain to carry downward. Avoid aggressive tilling that creates a hard layer below the worked soil.
For a 4-by-8-foot bed, one inch of compost equals about 21 cubic feet? Actually, calculate by volume: 4 × 8 × 1/12 equals 2.67 cubic feet. Two inches equals about 5.3 cubic feet. This simple calculation helps you buy the right amount.
| Bed size | Compost depth | Approximate compost needed |
|---|---|---|
| 4 × 8 feet | 2 inches | 5.3 cubic feet |
| 4 × 8 feet | 4 inches | 10.7 cubic feet |
| 10 × 10 feet | 2 inches | 16.7 cubic feet |
Compost is a soil conditioner, not a magic cure. Add less in rich soil and more in poor, compacted soil. If compost smells sour, feels hot, or contains many wood chips, let it mature longer before use.
Avoid over-tilling
Tilling can make a new bed look fine for a few weeks, then leave a dense layer below the blade. This “plow pan” can slow drainage and trap roots. It also exposes weed seeds to light.
Use a broadfork or garden fork to loosen soil without turning every layer upside down. Push the tool in, rock it back, and lift slightly. Do not force the tines into soil that is too wet.
I once tilled a new bed in heavy Ohio clay because the surface looked dry. The top became soft, but a few inches below it stayed slick and sealed. After heavy rain, water pooled for two days. The next season, I used a fork and compost instead, and the bed drained much better.
Build the planting bed step by step
The best way to make a planting bed is to work in clear stages. Do not rush from bare ground to planting. Each stage affects root health, weed control, and future maintenance.
1. Measure and mark the bed
Measure the planned width and length. Mark corners with stakes or use a hose for curves. Check that the bed does not block gates, paths, vents, windows, or access to outdoor equipment.
Leave enough space to mow around the bed. A mower such as an EGO Power+ LM2156 or a standard 21-inch mower needs room to turn without scalping the edge. Tight corners often become hand-trimming zones.
2. Cut and remove the sod
Use the spade to cut the outline first. Then divide the sod into strips or squares that are easy to lift. Keep the blade vertical so the bed edge stays clean.
Remove as much grass crown and root mass as possible. Bermuda grass and creeping bentgrass can regrow from small pieces. Shake loose soil back into the bed to avoid losing topsoil.
3. Remove stones, roots, and weeds
Pick out large stones and old roots. Pull weeds before they seed. For perennial weeds, follow the root as far as you can instead of snapping the stem at the surface.
Do not place weeds with mature seed heads in a cool compost pile. Bag them or dispose of them according to local rules. Some weed seeds survive home compost temperatures.
4. Loosen the soil
Work the soil 8 to 12 inches deep if the bed is new and the ground is not wet. Use a fork for clay or compacted soil. In sandy soil, avoid excessive disturbance because loose sand can dry quickly.
If you hit a hard layer, loosen it gradually. Do not fill the bed with a thick layer of new soil over a sealed layer. Water may stop at the boundary and leave roots in a soggy pocket.
5. Add compost and approved amendments
Spread compost evenly. Add lime, sulfur, rock phosphate, or fertilizer only when a soil test supports it. Mix amendments into the root zone, not just the top inch.
A general granular fertilizer with an NPK ratio such as 5-5-5 may help poor soil, but many new beds need compost more than fertilizer. Too much nitrogen can produce soft, leafy plants that attract aphids and grow fewer flowers.
6. Shape and level the bed
Rake the bed so it slopes gently away from buildings. A slight crown in the center can help water move, but do not create a steep mound that sheds rain. Keep the final soil level below paths and edging.
For a raised bed, fill in lifts of 4 to 6 inches. Water each lift lightly to settle air pockets. Do not compact the bed by walking on it.
7. Install edging if needed
Edging keeps lawn grass from invading the bed and makes mowing easier. Steel, brick, stone, untreated cedar, and recycled plastic can all work. Avoid treated wood of unknown origin near edible crops.
Set edging level with or slightly above the lawn. If it rises too high, mower wheels may hit it. If it sits too low, grass runners can cross it.
8. Place plants before planting
Set plants in their pots on the soil surface. Check spacing at mature size, not current size. A one-gallon shrub may look small now but fill a 4-foot space within two or three years.
Place tall plants at the back or north side of the bed. Keep short plants in front. For mixed beds, repeat groups of three, five, or seven plants instead of planting one of everything.
9. Plant at the right depth
Dig a hole about twice as wide as the root ball and no deeper than its height. The top of the root ball should sit level with or slightly above the surrounding soil. Planting too deeply is a common cause of slow growth and stem rot.
Gently loosen circling roots on container plants. Do not tear apart a small root ball. Water the hole and the plant after setting it in place.
10. Mulch the surface
Spread 2 to 3 inches of shredded bark, leaf mold, straw, or another suitable mulch. Keep mulch 2 to 3 inches away from stems and trunks. Thick mulch against bark can cause rot and attract voles.
Vegetable beds often benefit from straw, chopped leaves, or compost. Ornamental beds can use bark, pine straw, or leaf mulch. Stone mulch works in dry landscapes but can make soil hot in full sun.
Choose plants for the bed
A good bed matches plants to the site rather than forcing plants to survive in the wrong place. Check mature height, width, sun need, soil pH, water need, hardiness zone, and bloom time.
| Plant group | Examples | Typical site need |
|---|---|---|
| Full-sun vegetables | Tomato, pepper, cucumber, bean | 6–8 hours of sun, steady water |
| Pollinator flowers | Coneflower, bee balm, zinnia | Sun, drainage, varied bloom times |
| Shade plants | Hosta, fern, astilbe | Moist soil and filtered light |
| Dry-site plants | Lavender, thyme, sedum | Fast drainage and less water |
In USDA Zones 3 to 6, many beds focus on short growing seasons and frost protection. In Zones 7 to 10, heat, humidity, and winter survival may matter more. Plants labeled “full sun” in Maine may need afternoon shade in Texas.
For pollinators, combine native plants with long-blooming flowers. Coneflower, goldenrod, aster, milkweed, bee balm, and black-eyed Susan support bees and butterflies in many regions. Avoid treating the entire bed with broad-spectrum insecticide, which can harm helpful insects.
Plan companion planting with care
Companion planting can help use space and attract beneficial insects, but it does not replace good soil, crop rotation, or pest control. Basil near tomatoes may share space well, while carrots and radishes can use different root zones.
Do not plant mint directly in an open bed unless you want it to spread. Grow mint in a container sunk into the soil, and remove flowers before they set seed. Lemon balm and oregano can also spread beyond their welcome.
Give plants enough room
Crowded plants compete for light and air. Poor air flow can increase powdery mildew, downy mildew, leaf spot, and fungal disease. Follow the mature spacing on the plant tag, then adjust for your climate.
In humid Zones 7 to 9, give tomatoes extra space and stake them early. In dry western areas, group plants by water need. Do not place thirsty cucumbers beside drought-tolerant lavender.
Water and maintain the new bed
New beds need steady care during the first six to eight weeks. Roots must grow into surrounding soil before plants can handle dry periods. Water slowly and deeply rather than giving a quick splash each day.
Water deeply
Check moisture with your finger or a hand trowel. Water when the top 1 to 2 inches feels dry for most new plants. Seedlings and shallow-rooted crops may need more frequent watering.
A soaker hose or drip line sends water to the root zone and keeps leaves dry. A hose wand works well for small beds. Sprinklers cover a large area but waste water through evaporation and wet foliage.
| Plant stage | Watering approach | Timing clue |
|---|---|---|
| New transplants | Deep water every 1–3 days as needed | Soil dries quickly near the root ball |
| Established perennials | Water deeply once or twice weekly | Top 2–3 inches becomes dry |
| Seeds and seedlings | Light, frequent water | Surface must stay evenly moist |
Weather changes the schedule. A hot, windy day can dry a raised bed in hours, while cool rain may remove the need to water for several days. Always check the soil instead of following a fixed calendar.
Control weeds early
Pull weeds when they are small. A stirrup hoe or CobraHead weeder can cut shallow annual weeds without disturbing deep soil. Do not hoe deeply around shallow roots.
Keep paths covered with cardboard, wood chips, gravel, or pavers. A clean path reduces weed seeds that blow into the bed. Never use grass clippings treated with herbicide in a vegetable garden.
Feed plants only when needed
Most beds do not need weekly fertilizer. Test the soil and watch the plants. Pale leaves, weak growth, or poor flowering can have many causes, including low light, root damage, cold soil, or excess water.
Side-dress heavy feeders such as corn, squash, tomatoes, and cabbage with compost or a balanced fertilizer during active growth. Follow the package rate. More fertilizer does not mean more harvest.
Common planting bed problems and fixes
Most bed problems come from poor drainage, compacted soil, too much mulch, wrong plant placement, or weeds that survived site preparation. Find the cause before adding more products.
| Problem | Likely cause | Practical fix |
|---|---|---|
| Water sits after rain | Compacted clay or low site | Loosen soil, add compost, improve grade |
| Plants wilt in damp soil | Root damage or poor drainage | Check roots and reduce watering |
| Grass returns through bed | Missed crowns or gaps in cardboard | Dig out runners and add a clean edge |
| Leaves turn yellow | Overwatering, low nitrogen, or root stress | Test soil and inspect moisture |
| Mulch smells sour | Thick or wet mulch | Pull it back and let soil breathe |
| Plants flop or crowd | Poor spacing or weak support | Stake early and thin as needed |
A symptom can have more than one cause. Yellow leaves in a wet bed may point to damaged roots, not a lack of fertilizer. Check soil moisture, roots, sunlight, and pests before treating.
Why does the soil crust over?
Fine soil particles can form a hard crust after heavy rain or frequent shallow watering. Seeds may struggle to emerge because air and water cannot move through the surface.
Break the crust gently with a hand rake when the soil is dry enough. Add compost and mulch, and water with a gentle shower or drip line. Avoid walking on the bed.
Why do plants wilt even after watering?
Wilt can result from heat, transplant shock, damaged roots, stem borers, root rot, or water that never reaches the root ball. Dig beside the plant and check the soil, rather than watering again right away.
If the soil is wet and roots smell sour or look brown, improve drainage. If the soil is dry only around the root ball, water slowly until the whole root zone is moist.
🔧 Quick Fix: When a new plant wilts, move mulch away from the stem, check moisture 2 inches down, and water the root ball slowly. Do not add fertilizer until the plant shows new growth.
Keep the bed healthy through the seasons
A planting bed changes through the year. Soil settles, mulch breaks down, roots spread, and weeds arrive on the wind. A short seasonal routine prevents a large repair job later.
| Season | Main bed tasks | What to avoid |
|---|---|---|
| Spring | Test soil, pull weeds, add compost, plant after frost | Working wet clay |
| Summer | Water deeply, mulch, stake plants, harvest often | Shallow daily watering |
| Fall | Remove diseased plants, add leaves, plant perennials | Leaving pest-filled debris |
| Winter | Check edging, plan crops, protect tender plants | Walking on frozen or wet soil |
In cold Zones 3 to 6, wait until soil warms before planting tomatoes, peppers, basil, and cucumbers. In Zones 8 to 10, fall may be the best time to plant many perennials and cool-season vegetables.
Refresh mulch
Mulch often settles from 3 inches to less than 1 inch by the end of the season. Add only enough to restore the 2- to 3-inch layer. Rake old mulch lightly before adding more so water can enter.
Do not pile fresh mulch over old, compacted layers. If mulch has formed a thick mat, remove some and loosen the surface. Pine straw and shredded leaves usually settle faster than bark.
Rotate annual crops
Rotate tomatoes, peppers, eggplant, and potatoes away from the same spot when possible. This can reduce the buildup of soil pests and diseases such as early blight, verticillium wilt, and root-knot nematodes.
A simple three-year rotation can move nightshades, legumes, brassicas, and leafy crops through different sections. Small beds may not allow a perfect rotation, but even moving crops a few feet helps.
Protect soil in winter
Leave healthy roots in place when possible. Their roots feed soil life and help prevent erosion. Chop disease-free plant material and leave it as surface mulch or add it to compost.
Cover bare vegetable beds with shredded leaves, straw, or a winter cover crop such as crimson clover, cereal rye, or winter peas. Choose a cover crop that fits your climate and remove it before it sets seed.
Common mistakes to avoid
New gardeners often spend money on plants before fixing the bed. That approach can lead to weak growth, wasted water, and repeated replanting.
Making the bed too wide
A bed that looks large on paper can be hard to reach. If you step inside to weed, you compact the soil and damage roots. Keep the center within arm’s reach or add stepping stones before planting.
Adding a thin layer of soil over grass
Two inches of soil rarely smother healthy turf. Grass can grow through it, and roots may form a dense layer below. Remove the sod or use thick cardboard with enough soil and compost.
Using fresh manure
Fresh manure can burn plants and add weed seeds. It may also contain bacteria that create food safety risks. Use aged manure from a trusted source, and keep raw manure away from edible crops according to food safety guidance.
Planting by current size
Nursery plants look small in containers. Check the mature width of shrubs, grasses, and perennials. A three-foot hydrangea placed two feet from a path can turn into a pruning problem.
Ignoring drainage
Adding more compost does not solve a low bed that collects water. Raise the bed, redirect runoff, install a drain, or choose plants that tolerate wet soil. Do not plant lavender, rosemary, or many succulents in a soggy site.
Using landscape fabric everywhere
Landscape fabric can slow weeds for a time, but it can also block organic matter, expose roots, and make future planting hard. I use it only under gravel paths or in limited areas. For most planting beds, mulch and hand weeding work better.
What I learned from making planting beds
My most successful beds were not the most complex. They had clear edges, reachable widths, good drainage, and plants matched to the site. The beds that caused trouble were too large, too wet, or filled with plants that needed different amounts of sun and water.
One raised vegetable bed in a hot Zone 8 garden dried out much faster than expected. I first added more fertilizer, which did nothing. After installing a simple drip line and adding leaf compost, the plants recovered within two weeks.
In a shaded Zone 6 bed, hostas grew well but flowering plants struggled. I replaced some annuals with native woodland plants, including foamflower and wild geranium. The bed needed fewer inputs and supported more pollinators.
I also learned to leave room for maintenance. A bed may look bare when planted, but open space is useful for airflow, mulch, and access. After two growing seasons, the best beds looked full without becoming tangled.
How much does it cost to make a planting bed?
A small in-ground bed can cost less than $50 if you already own tools and use homemade compost. The price rises with purchased soil, edging, irrigation, plants, and delivery fees.
| Bed approach | Current typical cost range | Main cost drivers |
|---|---|---|
| Small in-ground bed | $25–$150 | Compost, plants, edging |
| DIY raised bed | $100–$500 | Lumber, soil, hardware |
| Large landscaped bed | $500–$2,000+ | Delivery, plants, stone, irrigation |
Costs vary by region and bed size. A 4-by-8-foot raised bed may need about 10 cubic feet of soil for a 12-inch fill, plus compost and mulch. Bulk delivery can lower the soil cost but may add a delivery fee.
The cheapest bed is not always the lowest-cost bed over time. Poor soil may cause years of fertilizer, water, and replacement plant costs. Spend first on drainage, soil testing, and plants that suit the site.
When to hire a professional
You can build most small planting beds yourself. Hire a professional landscaper, drainage contractor, or arborist when the project involves major grading, retaining walls, irrigation, contaminated soil, large tree roots, or buried utilities.
A professional can also help when water flows toward your house, a basement floods, or the bed must hold back a slope. A low bed beside a foundation can create moisture problems and should not be treated as a simple garden project.
For tree work, use a certified arborist rather than a general laborer. Large root cuts, grade changes, and soil piles can harm mature trees for years.
FAQs about making a planting bed
Q: What is the best depth for a planting bed?
A: Most flowers, herbs, and vegetables need 8 to 12 inches of workable soil. Deep-rooted crops such as carrots, parsnips, and tomatoes benefit from 12 to 18 inches. Shrubs and trees need more depth and should not be confined to a shallow bed.
Q: Should I remove grass before making a garden bed?
A: Yes, remove the sod for the fastest result. You can also smother grass with overlapping cardboard and 6 to 8 inches of compost or soil. This method takes at least four to eight weeks in warm weather and longer in cool weather.
Q: Can I make a planting bed over concrete?
A: Yes, but use containers or a raised planter with drainage holes. Add enough soil for the plants and protect the concrete from standing water. Most beds over concrete need more frequent watering because they heat up and dry quickly.
Q: How long does it take to make a planting bed?
A: A small in-ground bed may take two to six hours once you have the tools and materials. Removing tough turf, improving clay, building a raised frame, or installing irrigation can take one to three days. Smothering grass with cardboard takes several weeks before planting.
Q: Should I use topsoil or garden soil?
A: Use screened topsoil blended with compost for large in-ground projects. Use a raised-bed mix for framed beds. Avoid pure potting soil in large beds because it costs more, dries quickly, and may settle unevenly.
Q: What can I plant in a new bed?
A: Choose plants based on sunlight, drainage, soil pH, hardiness zone, and mature size. Tomatoes, peppers, beans, basil, zinnias, and marigolds suit sunny beds. Hostas, ferns, astilbe, and coral bells suit many shaded beds. Lavender, thyme, sedum, and rosemary need fast drainage.
Q: How often should I water a new planting bed?
A: Check the soil each day during hot weather. Water new plants deeply when the top 1 to 2 inches dries, often every one to three days at first. Once roots establish, many perennials need deep watering once or twice per week, depending on rain and soil.
Q: Can I plant immediately after adding compost?
A: Yes, if the compost is finished and cool. Finished compost smells earthy and looks dark and crumbly. Do not plant into fresh manure, hot compost, or material with a strong sour smell.
Q: Is a raised bed better than an in-ground bed?
A: A raised bed is better for poor drainage, contaminated soil, compacted ground, or gardeners who need less bending. An in-ground bed is often better for low cost, deep root space, and lower water use. The right choice depends on the site and your needs.
Q: Why are weeds growing in my new bed?
A: Weeds may come from missed roots, wind-blown seeds, compost, or old soil. Pull them while small, cover bare soil with mulch, and avoid turning deep soil after preparation. Perennial weeds may require repeated removal over one or two seasons.
Q: Should I use fertilizer when I make the bed?
A: Start with a soil test. Compost may provide enough nutrients for the first season, while a poor soil may need a balanced fertilizer. Avoid adding nitrogen or phosphorus without evidence because excess nutrients can harm plants and water quality.
Q: Can I make a planting bed around a tree?
A: You can plant beneath a tree if you protect the trunk and avoid cutting major roots. Use shallow-rooted, shade-tolerant plants and add only a thin layer of compost. Never bury the root flare or create a deep mound against the trunk.
Final thoughts
A good planting bed begins with simple choices: the right place, a reachable shape, healthy soil, and plants that fit the conditions. Remove grass well, improve soil with restraint, and give new plants steady water while roots spread.
Start with a 4-by-8-foot bed if you are new to gardening. After one growing season, you will know how the light, soil, weeds, drainage, and weather behave. Then you can expand with confidence instead of creating a large bed that becomes a chore.
Meta description: Learn how to make a planting bed from start to finish. Get simple steps for site choice, soil prep, compost, plant spacing, watering, mulch, costs, and common problems.