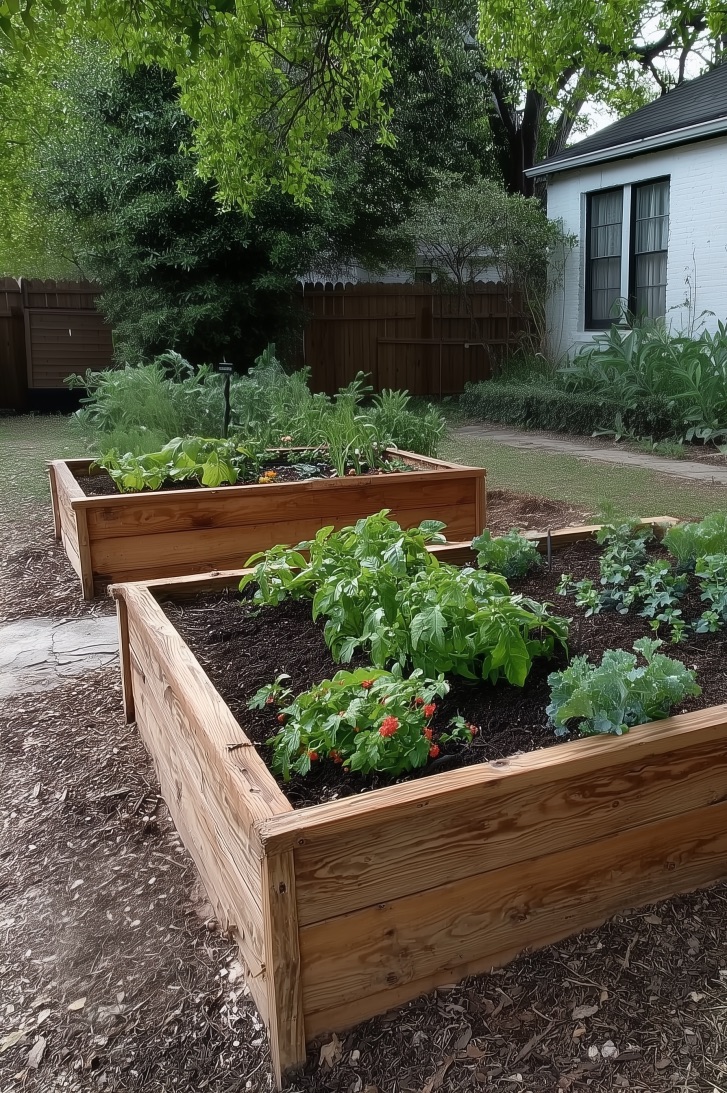
How To Level Ground For A Garden Bed: Simple Guide
A level garden bed gives plants a fair start. Water spreads more evenly, roots grow through the soil with less stress, and paths stay safer after rain. An uneven bed can leave one end dry while the other sits in mud. Seeds may wash away, mulch may slide, and raised-bed frames can twist or settle.
The good news is that you do not need a skid steer or perfect surveying skills. A shovel, rake, level, string, and a few stakes can handle most home garden beds. I have leveled beds in heavy clay in Ohio, sandy soil in North Carolina, and rocky ground in Colorado. The method changes with the soil, slope, and bed size, but the basic process stays simple.

Quick answer: how to level ground for a garden bed
The best way to level ground for a garden bed is to mark the area, remove grass and roots, find the high and low spots with a long level or string line, then cut soil from the high side and move it to the low side. Firm the soil in thin layers, check the grade again, and add compost only after the base is level. Keep a slight slope away from buildings for drainage.
What “level” means in a garden
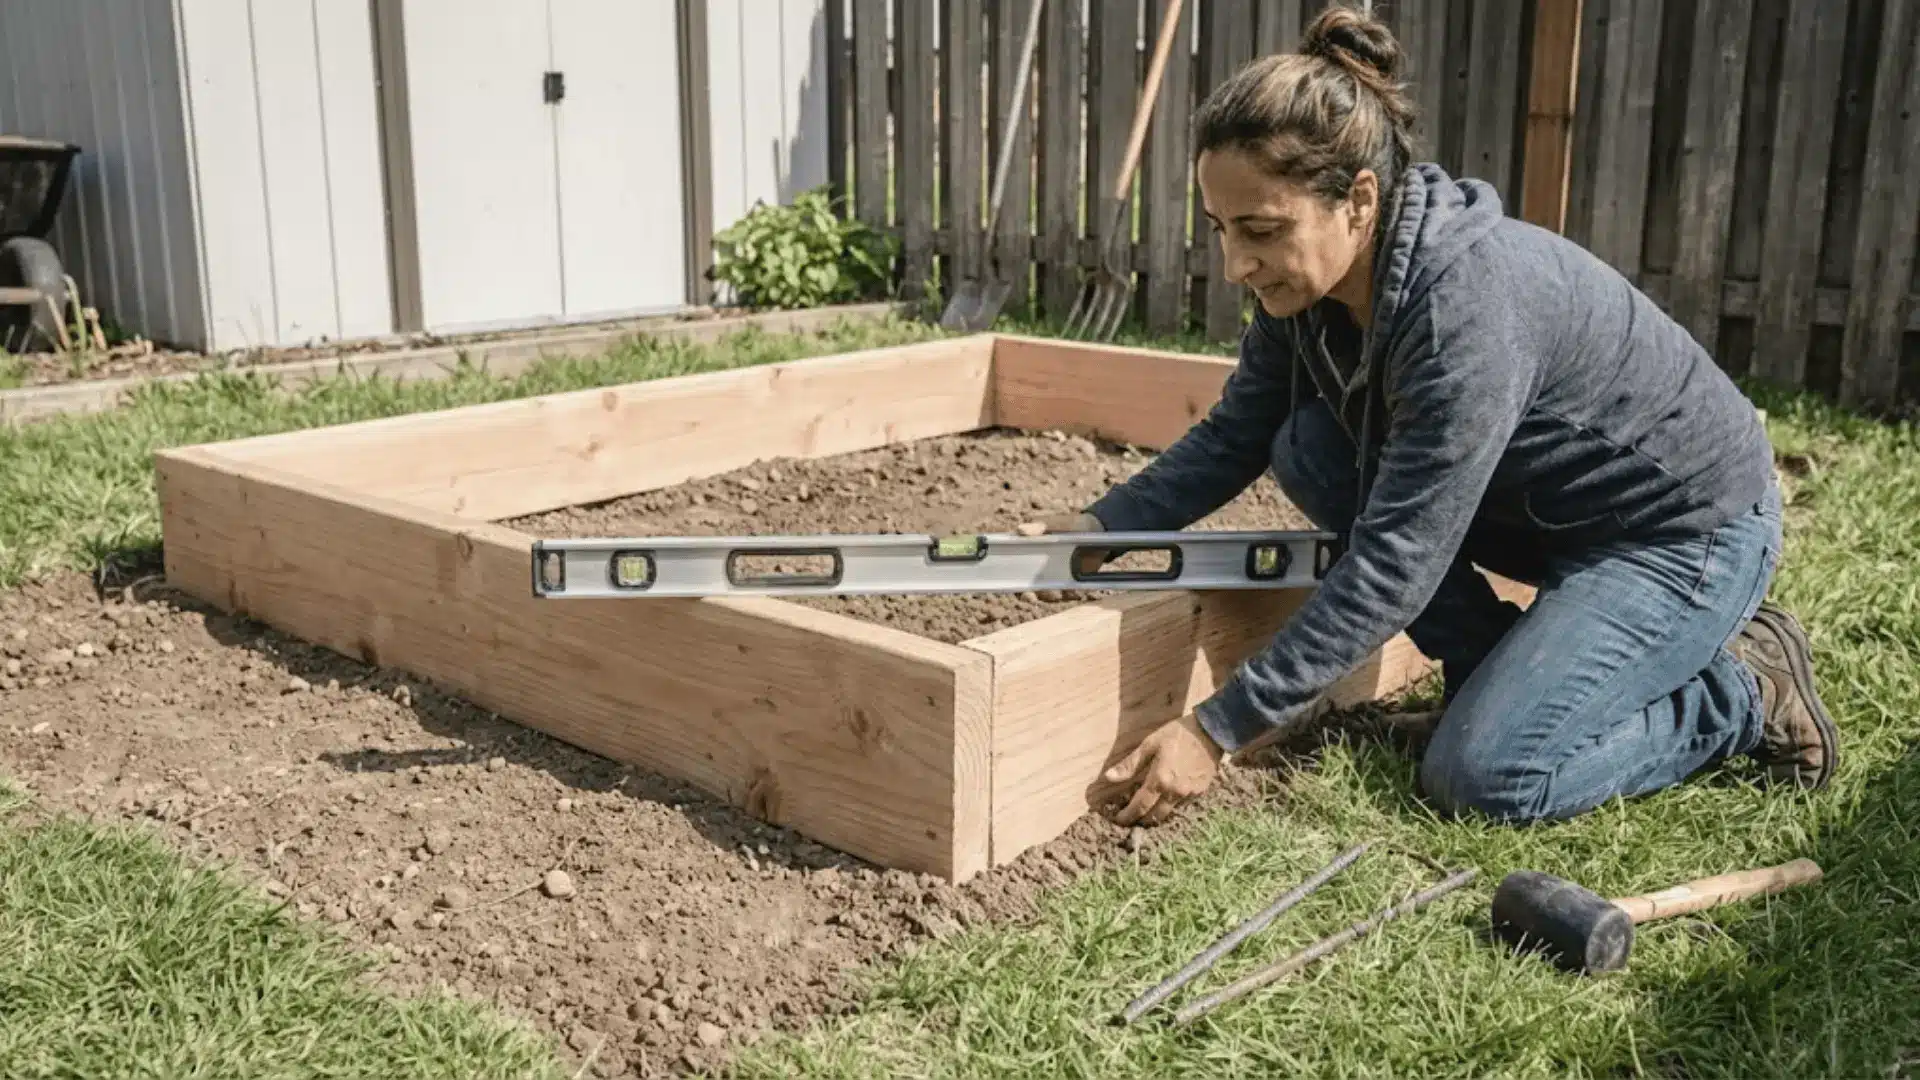
A level garden bed has a flat planting surface from side to side. That does not always mean the whole site must be perfectly flat from end to end. In some yards, a gentle slope is safer because it moves water away from a home, shed, patio, or retaining wall.
For a small vegetable bed, aim for no more than 1 inch of height change across 4 feet. A difference of 1 to 2 inches may not harm plants, but it becomes more noticeable in a long bed. Raised beds need more care because a frame can show even a small change in grade.
A level surface differs from a level base. The base is the compacted ground below the soil. The surface is the finished layer where you plant. If you build a raised bed on loose soil, the frame may settle unevenly after rain, even if it looked level on day one.

Level versus slope
A true level runs flat from one point to another. A slope drops at a steady rate. For most garden beds, a small slope is fine. A steep, uneven slope is harder to water and may cause erosion.
Use a level surface when you plan to install:
- A timber or metal raised bed
- Drip irrigation with equal-pressure lines
- A garden path beside the bed
- A cold frame or hoop house
- A compost or potting bench
- A bed near a lawn that you want to mow cleanly
Keep a slight fall away from structures. A drop of about 1/8 inch per foot is often enough for surface water to move without washing soil downhill.
Tools and materials you will need
The tools for leveling a garden bed depend on its size and the soil. A hand spade works for a 4-by-8-foot bed. A mattock, grub hoe, or rented sod cutter saves time when the ground is hard, rooted, or covered with thick turf.
The table below lists a practical setup for most home beds. You may not need every item.
| Tool or material | Main use | Helpful size or detail |
|---|---|---|
| Spade or square shovel | Cut soil and remove sod | Sharp steel blade |
| Garden rake | Smooth soil and pull roots | Bow rake for rough ground |
| Long level | Check the surface | 2 to 4 feet long |
| Stakes and string | Find height differences | Mason’s line works well |
| Tape measure | Mark bed size and slope | 16 to 25 feet |
| Wheelbarrow | Move soil and sod | One large load at a time |
| Hand tamper | Firm loose soil | 8-by-8-inch plate is useful |
| Compost | Improve finished soil | Mature, screened compost |
| Safety gear | Protect hands, eyes, and feet | Gloves, boots, eye protection |
A long level gives faster results than a short torpedo level. If you only have a small level, lay a straight board across the bed and place the level on top. Check the board in several locations.
Helpful tools for hard ground
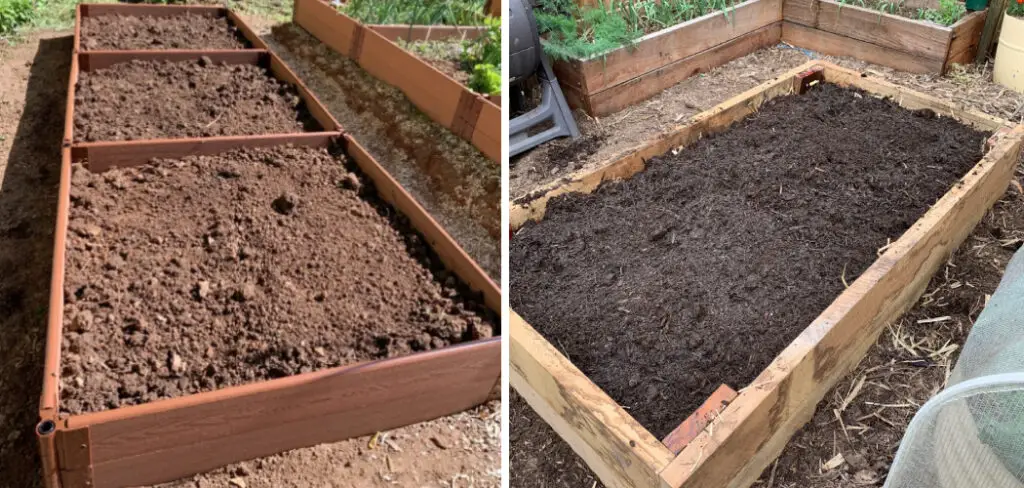
A digging fork breaks compacted soil with less risk of slicing large roots. A mattock works well in dry clay and ground filled with small stones. For thick lawn, a half-moon edger can outline the bed, while a flat shovel can slide under shallow sod.
For a large site, you can rent a plate compactor, rototiller, or sod cutter. Use powered tools with care. A tiller can bury grass and spread weed roots, including quackgrass, bindweed, and nutsedge. It can also create a loose top layer over a hard pan, which later sinks.

Check the site before you dig
The best time to assess a garden bed is before you remove grass. Walk the area after a hard rain if possible. Watch where water sits, where it runs, and whether soil washes toward a foundation or neighbor’s yard.
Most vegetables need at least six to eight hours of direct sun. Leafy greens such as lettuce, kale, and chard can manage less, but tomatoes, peppers, cucumbers, squash, and melons need strong light for good yields. Also check mature tree roots, overhead branches, nearby drains, and shade from fences.
Before digging, call your local utility marking service. In the United States, underground lines may include electric, gas, water, cable, and fiber. A shallow garden bed still requires safe planning.

Check drainage and soil texture
Dig a test hole about 12 inches wide and 12 inches deep. Fill it with water, let it drain, then fill it again. If the second filling drains within about 30 minutes to 2 hours, the site often has workable drainage. If water remains for many hours, investigate before building the bed.
Squeeze a handful of moist soil. Sandy soil falls apart quickly. Clay soil forms a sticky ribbon or hard clump. Loam holds its shape for a moment, then breaks apart. Soil type affects how much the bed will settle after leveling.
Do not use fresh manure or large amounts of compost to fill a low place. Organic matter shrinks as it decomposes. A low area filled with fresh wood chips may drop several inches in one season.

| Site condition | What it may cause | Better response |
|---|---|---|
| Heavy clay | Slow drainage and hard digging | Work when slightly moist, not wet; add compost later |
| Loose sand | Fast drainage and settling | Firm in thin layers; add compost and organic matter |
| Tree roots | Competition and uneven ground | Move the bed or use a root barrier |
| Downhill slope | Erosion and moving mulch | Terrace, use a retaining edge, or select another site |
| Wet low spot | Root rot and poor growth | Improve drainage before planting |
| Near foundation | Water may collect by the wall | Keep a fall away from the structure |
A level bed cannot fix a wet site by itself. If water stays in the area, solve the drainage issue first.
Mark the garden bed accurately
Marking the bed makes leveling easier because you can compare the same points throughout the work. Use stakes, string, flour, or a garden hose to outline the shape. Keep corners square if you plan to install a rectangular frame.
For a rectangle, measure the two diagonals. A 4-by-8-foot rectangle should have diagonals close to 8 feet 11 inches. If the diagonals differ, the corners are not square. This matters more for raised beds than for informal in-ground plots.
Leave enough space around the bed for walking, watering, harvesting, and mowing. A path 18 to 24 inches wide works for foot traffic. If you use a wheelbarrow, make the path at least 30 inches wide.

Set a reference height
Drive a stake at each corner. Tie string around the stakes at a height that is easy to measure, such as 6 or 12 inches above the ground. Use a line level or long level to make the strings level.
Measure down from the string to the soil at each corner. If one corner measures 18 inches and another measures 22 inches, the second corner is 4 inches lower. This simple method shows how much soil you may need to cut or move.
Keep the string tight. A loose line can sag in the middle and make a level bed look uneven.
💡 Pro Tip: Use four corner stakes plus one stake in the center of each long side. A long bed may look level at the corners but dip in the middle.
Remove grass, weeds, and debris
Cut the bed outline with a sharp spade. Push the blade straight down, then make a second cut at a right angle. Remove sod in shallow slabs. Do not dig deeper than needed at this stage because you want to preserve a clear view of the existing grade.
Shake soil from the sod and stack the grass upside down. After several weeks, it may decay into useful material. Do not place living sod grass-side-up in the bed. It can regrow through mulch and compete with vegetables.
Remove rocks, roots, sticks, plastic, and old landscape fabric. Pull perennial weeds by the roots when the soil is moist. Small pieces of bindweed root, horsetail, or quackgrass can return if you chop them with a tiller.

Choose between digging and smothering
Digging gives quick control and works well when you need to level the soil at once. Smothering works better when the ground is full of roots or you want to avoid disturbing the soil.
For smothering, mow the grass short, lay overlapping plain cardboard, wet it, and cover it with 6 to 10 inches of soil or compost. This method can work for an in-ground bed, but the final surface may settle. It also takes longer to remove active perennial weeds.
Avoid glossy cardboard, colored paper, and sheets with plastic coatings. They may contain inks, adhesives, or materials that do not break down well.
Level the soil step by step
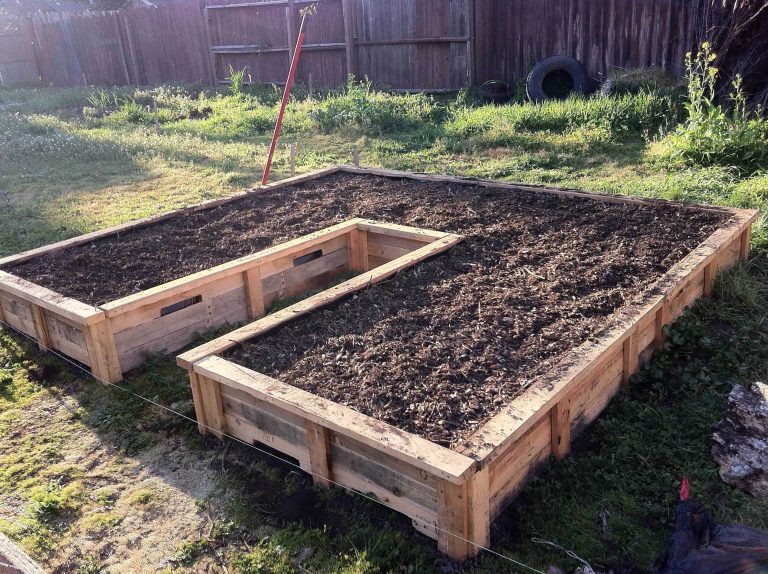
The most reliable method is to cut soil from high areas and use it to fill low areas. Work in small layers, check often, and avoid creating a soft pocket under the finished bed.
1. Find the highest point
Place a long board across the bed. Set a level on the board. Move the board to several spots and compare the readings. Mark the highest areas with small flags or sticks.
You can also use the string method. Measure from the level string to the soil at all stakes. The shortest measurement marks the highest ground because the soil sits closest to the string.
Do not guess based on appearance. A lawn can look flat while dropping several inches over 8 feet.

2. Cut high spots instead of adding soil
Use a spade to shave soil from high areas. Take off 1 to 2 inches at a time. Rake the soil into nearby low sections, then check again.
Cutting high soil is better than filling the entire bed with purchased soil. It reduces cost and creates a stable base. It also prevents a thick layer of loose fill from settling later.
When the ground is very hard, water it lightly the day before. The soil should feel damp, not muddy. Digging wet clay can smear the pores shut and form dense clods.

3. Fill low spots in thin layers
Spread soil into low areas in layers no deeper than 2 to 3 inches. Lightly firm each layer with a hand tamper or the flat side of a shovel. Repeat until the low spot matches the surrounding grade.
Do not dump a foot of loose soil into one hole and plant right away. The top may look level, but the fill can settle unevenly after the first storms. This is one of the most common causes of a raised bed that leans.
If you need more than 6 inches of fill, use a stable mineral soil for the lower layer. Reserve compost and rich topsoil for the upper planting zone.
4. Check the grade in two directions
Check the bed from front to back and side to side. A surface can be level one way but slope the other way. Move the board to at least five positions on a small bed and more on a large one.
Use the string lines as a height guide. Measure down from the string to the soil at each stake. Aim for similar measurements unless you need a deliberate drainage slope.
A difference of 1/4 inch may not matter in loose soil. A difference of 2 inches across a 4-foot raised bed will be easy to see and may strain the frame.
5. Firm the base
Walk over the area in small steps, then use a hand tamper. Do not compact the soil until it becomes hard as concrete. The goal is to remove air pockets, not stop root growth.
For a large bed, fill and firm the base over several days. Light rain can reveal low pockets. Let the ground rest for a day or two, then check it again before adding soil.
A plate compactor can help under a stone path or timber frame, but it may compact garden soil too much. Most home beds need only hand tamping.
6. Add topsoil and compost
Once the base is level, add quality topsoil if needed. Spread 2 to 4 inches of mature compost over the top and mix it into the upper 6 to 8 inches. Do not bury a thick layer of compost as a separate band.
Finished compost improves structure, water holding, and microbial activity. It does not replace all plant nutrients, and its nutrient levels vary. A soil test gives a better guide for lime, sulfur, phosphorus, potassium, and nitrogen.
For most vegetables, a soil pH between 6.0 and 7.0 works well. Blueberries need a more acidic range, often about pH 4.5 to 5.5, so do not treat every bed the same way.
7. Make the final surface smooth
Use a garden rake to create a fine but not powdery surface. Remove large stones and roots. Avoid raking when the soil is wet enough to smear.
For seeds such as carrots, beets, lettuce, and radishes, a smooth surface helps with even planting. For transplants such as tomatoes, peppers, and broccoli, a slightly textured surface holds mulch better.
Water the bed gently after leveling. If puddles form, rake those areas again and add or remove a small amount of soil.
Level a raised garden bed on uneven ground
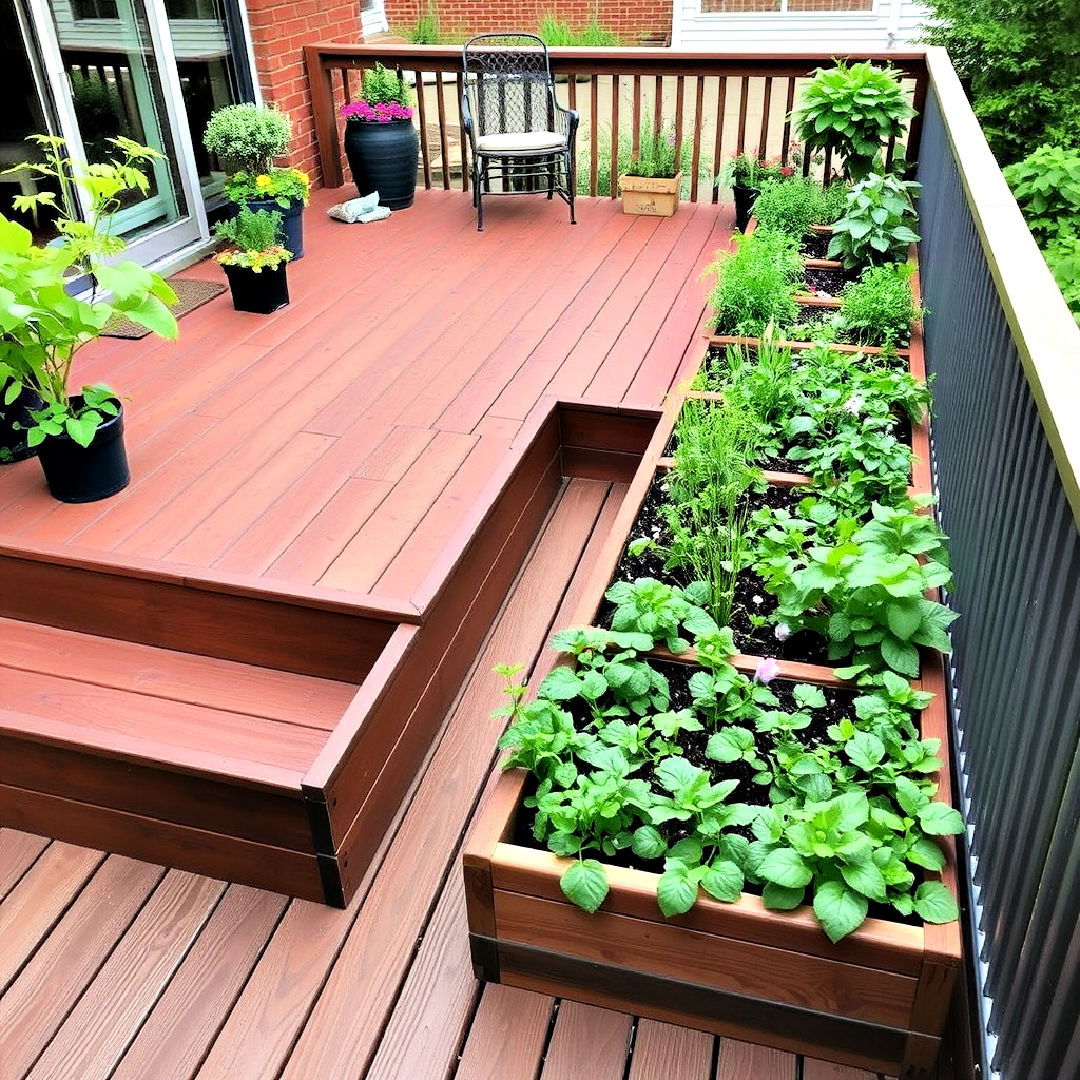
A raised bed on a slope needs a stable base. Do not simply place the frame on the lawn and fill it. The soil pressure can push the downhill side outward, and the frame may twist or bow.
For a small slope, cut the uphill side into the soil until the frame sits level. Use the removed soil to build up the downhill side. For a larger slope, create a series of terraces rather than one tall wall.
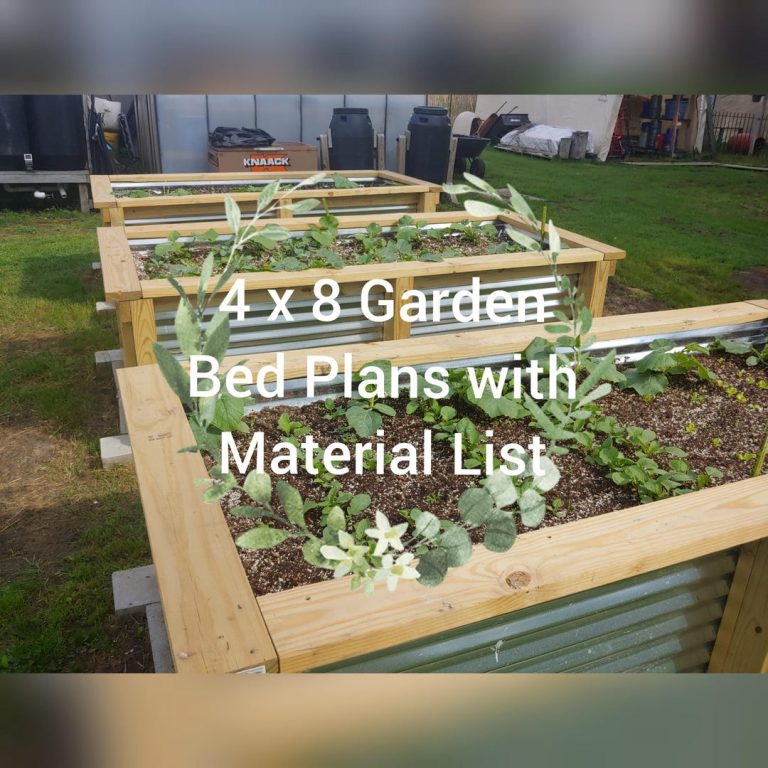
A raised bed more than 12 inches high may need stronger corners and thicker boards. Cedar, redwood, recycled plastic lumber, and galvanized steel can all work. Avoid wood treated with unknown chemicals, especially when growing food.
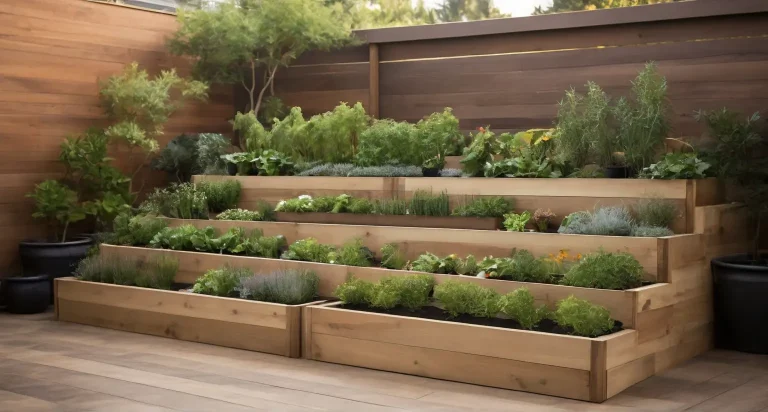
Build a small terrace
To terrace a slope, mark a level line across the hill. Cut into the uphill side and place a retaining edge along the lower side. Anchor the edge with stakes or structural posts.
Keep the soil behind the edge in compact layers. A short terrace of 6 to 12 inches is easier to manage than one wall several feet high. Add drainage gravel or a perforated drain only when the site and wall design need it.
Do not build a retaining wall near a foundation, septic system, or property line without checking local rules. Water and soil pressure can damage structures.
Keep the frame square
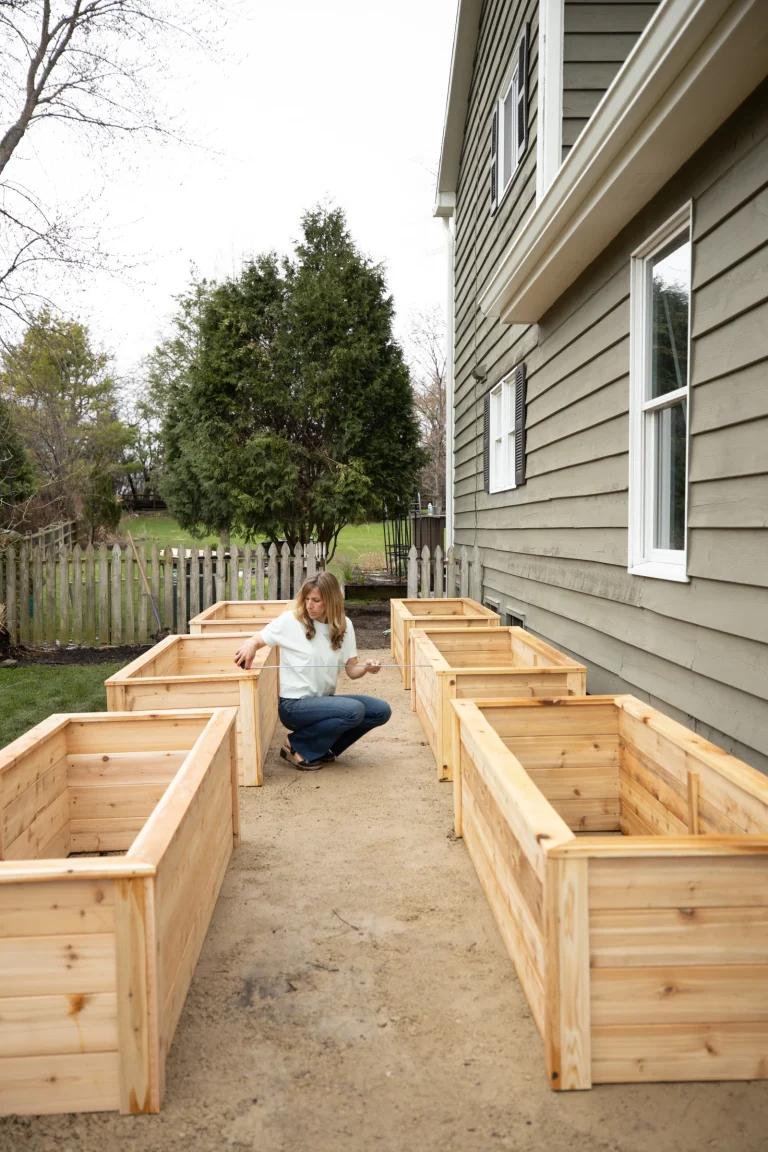
Measure the frame’s diagonals before filling it. If the two measurements match, the frame is square. Check the top edges with a level, then anchor the corners.
Fill in layers of 3 to 4 inches. Water each layer lightly and wait for it to settle before adding more. This is slower than dumping soil all at once, but it helps prevent a sunken corner.
For a 4-by-8-foot bed that is 12 inches deep, you need about 32 cubic feet of fill, or nearly 1.2 cubic yards. Allow extra for settling and top dressing.
| Bed style | Leveling method | Main concern |
|---|---|---|
| In-ground bed | Cut high spots and fill low spots | Avoid compacting wet soil |
| Low raised bed | Set the frame on a cut-and-firmed base | Prevent later settling |
| Tall raised bed | Build a stable, anchored base | Sidewall pressure |
| Sloped terrace | Cut uphill soil and retain downhill edge | Erosion and drainage |
| Container bed | Place on a firm, level pad | Weight and water runoff |
The taller and heavier the bed, the more important the base becomes. A container filled with wet soil can weigh hundreds of pounds.
Handle drainage, erosion, and water flow
Leveling should improve water distribution, not trap water. A flat bed beside a roof downspout can receive far more water than the plants can use. Redirect downspouts away from the bed or install a rain garden in a suitable location.
On a slope, use mulch, ground covers, stone edging, or terraces to slow runoff. Straw, shredded leaves, and arborist wood chips protect bare soil, but keep coarse mulch 2 to 3 inches away from plant stems.
If a bed sits below a lawn, lawn water and fertilizer may flow into it. A shallow swale, strip of turf, or path can help separate the two areas.
Test after rain
The first heavy rain is a useful test. Look for puddles, channels, exposed roots, and soil that moved downhill. Mark problem spots while they are easy to see.
A small puddle that drains within a few hours may not matter. Water that remains for a day or more can harm tomatoes, peppers, beans, and many herbs. It can also encourage root diseases such as Pythium and Phytophthora.
Fix the cause, not only the surface. More compost may improve clay structure, but it will not solve water entering from a roof, driveway, or uphill bank.
| Problem after rain | Likely cause | Practical fix |
|---|---|---|
| Water pools in one corner | Low pocket or compacted soil | Remove the pocket, loosen the base, and recheck |
| Soil washes from the bed | Steep fall or bare surface | Add mulch, edging, or a terrace |
| Frame leans downhill | Uneven base or soil settlement | Empty or partly empty the bed and rebuild the base |
| Plants sit in mud | Poor drainage or excess runoff | Redirect water and improve the root zone |
| Dry upper end | Water runs downhill | Level the bed or use separate drip zones |
I always inspect a new bed after two or three storms. This catches problems before roots fill the soil and before trellises, cages, and irrigation lines make repairs harder.
Common leveling mistakes and fixes
Most failed garden beds do not fail because the gardener lacked strength. They fail because the base was not checked, the soil was worked at the wrong moisture level, or the bed was filled too fast.
Mistake: adding soil to the whole area
Many gardeners see a low corner and cover the entire bed with purchased soil. This raises the bed but does not remove the uneven base. The new soil may settle at different rates.
Cut high areas first. Add soil only where the grade needs it.
Mistake: working clay when it is wet
Wet clay sticks to tools and forms dense slabs. Those slabs dry into brick-like chunks that block roots and water.
Wait until soil crumbles when squeezed. If it forms a shiny ribbon, wait longer.
Mistake: using fresh compost as fill
Fresh compost can heat, shrink, or contain weed seeds and salts. It may also tie up nitrogen while it breaks down.
Use mature compost with an earthy smell. Mix it into the topsoil rather than filling the lower base with it.
Mistake: ignoring tree roots
A bed may look level for one season, then heave as tree roots expand. Large roots also take water from vegetables and can make the soil dry.
Keep large beds outside the main root zone when possible. If you must garden near a tree, choose shallow-rooted crops such as lettuce, radish, chives, and some herbs. Containers may work better.
Mistake: making the bed perfectly flat near a building
Water should not drain toward a foundation. A slight fall away from the building is safer than a perfectly flat surface that holds water beside the wall.
Use a long level to create a controlled slope. Do not rely on your eye.
⚠️ Warning: Never dig near marked utility lines with a power tiller. Hand dig close to marked lines, keep the tool shallow, and follow local utility safety instructions.
My hands-on method in different soils
In heavy Ohio clay, I level a bed in late spring only after the soil dries enough to crumble. I cut the high side with a square shovel, move the soil with a wheelbarrow, and leave the surface rough overnight. The next day, I rake and check the grade again. This two-stage method prevents a smooth surface from hiding soft pockets.
In sandy soil near the North Carolina coast, I focus less on cutting and more on firming. Sand moves easily, so I water it lightly, tamp it in thin lifts, and use compost in the top layer. I also use a thick mulch because wind and heavy rain can move bare sand.
In a dry Colorado garden, rocks are often the main issue. I remove stones larger than a golf ball from the planting zone, but I do not chase every pebble. I use a metal rake to smooth the surface and install drip irrigation because dry air and low rainfall make overhead watering wasteful.
What did not work well
I once filled a low corner with nearly 8 inches of loose garden soil in one afternoon. It looked perfect when planted with zucchini and basil. After several storms, that corner dropped about 2 inches, and the drip line sagged into a puddle.
The repair required moving the plants, adding mineral soil, and resetting the line. Now I build deep fills in layers and let them settle before planting. The extra day or two saves far more time later.
Seasonal timing for leveling a garden bed
The best time to level ground is when the soil is workable and the bed is not full of plants. In USDA Zones 5 through 7, that often means early spring after the soil dries or fall after annual crops finish. In Zones 8 through 10, fall and winter may offer better conditions than hot summer.
Avoid heavy work in frozen soil. It can damage soil structure and leave large clods. Avoid it in saturated soil for the same reason.
| Season | Good tasks | Tasks to avoid |
|---|---|---|
| Early spring | Mark beds, remove sod, level dry soil | Digging wet clay |
| Late spring | Finish small beds, add compost, plant | Large earthwork during heat stress |
| Summer | Repair erosion, adjust mulch, check drainage | Major digging around active crops |
| Fall | Rebuild beds after harvest, add mature compost | Leaving bare sloped soil |
| Winter | Plan layout and order materials | Working frozen or waterlogged ground |
Fall leveling often gives soil time to settle before spring planting. In cold zones, cover bare ground with leaves or straw to reduce erosion and freeze-thaw movement.
Time and cost
A 4-by-8-foot in-ground bed may take 2 to 5 hours if the soil is soft and the grass is thin. Thick turf, roots, rocks, and clay can turn the same job into a full weekend.
The cost can be close to zero if you reuse soil and have basic tools. Purchased soil, compost, edging, delivery, and rentals raise the total. Current local pricing varies widely, but bagged soil usually costs much more per cubic foot than a bulk delivery.
| Project size | Typical work time | Main cost drivers |
|---|---|---|
| 4-by-4-foot bed | 1–3 hours | Hand tools and compost |
| 4-by-8-foot bed | 2–6 hours | Sod removal, soil, edging |
| Several beds | 1–3 days | Delivery, wheelbarrow work, rental tools |
| Sloped terrace | Several days | Retaining materials and drainage |
| Large garden plot | Weekend or longer | Soil testing and earthmoving |
Renting a sod cutter makes sense when you are removing a large lawn area. It rarely makes sense for one small bed. A sharp spade costs less and gives you more control around roots and utilities.
Keep the bed level over time
A garden bed changes as soil settles, worms move through it, roots decay, and organic matter breaks down. Recheck the grade at the start and end of each growing season. Small corrections are easier than rebuilding the whole bed.
Top-dress with 1 to 2 inches of compost when needed. Do not pile soil against plant crowns or bury perennial stems. Pull mulch back from seedlings and stems to reduce rot and slug shelter.
Keep paths firm and clear. If foot traffic enters the bed, soil becomes compacted and water may pool in those tracks. Use stepping stones or a narrow board for access.
Simple maintenance checklist
- Check the bed after heavy rain.
- Look for leaning frames and open corners.
- Rake eroded soil back before roots show.
- Add mature compost in thin layers.
- Replace settled soil with mineral soil when needed.
- Keep mulch 2 to 3 inches from stems.
- Test pH every few years or after major amendments.
- Inspect drip lines for low spots and clogged emitters.
A raised bed frame can last many years, but its lifespan depends on material, moisture, and soil pressure. Untreated softwood may rot in a few seasons in wet climates. Cedar and galvanized steel usually last longer, while plastic lumber avoids rot but can bend in heat if poorly supported.
When to hire a professional
You can level most small garden beds yourself. Hire help when the project involves a steep slope, a tall retaining wall, heavy machinery, underground drainage, or water flowing toward a foundation.
A landscape contractor can survey grades and design terraces. A drainage professional may be needed when groundwater, springs, or a high water table keep the site wet. An arborist can advise you before cutting near large tree roots.
Do not build a tall wall based only on a level and a few stakes. Soil pressure increases with height, and a failed wall can damage property or injure someone.
FAQs about leveling garden beds
Q: Can I level a garden bed with a rake?
A: A rake can smooth small differences, but it cannot fix a deep slope. Cut high spots with a shovel and fill low spots in thin layers. Use the rake for the final surface.
Q: Should a garden bed be perfectly level?
A: Most beds should be nearly level from side to side. A slight slope away from buildings is safer. A steep slope needs terracing or erosion control.
Q: How flat should a raised bed be?
A: Aim for less than 1 inch of difference across 4 feet. A frame may still work with a small variation, but larger changes can cause leaning, soil loss, and uneven watering.
Q: Can I level ground without removing grass?
A: Yes. You can smother grass with overlapping cardboard and a deep layer of soil, but the bed may settle. Removing sod gives faster and more predictable results.
Q: Should I use topsoil or compost to fill a low spot?
A: Use mineral topsoil for deep fills and mature compost for the upper planting layer. Compost shrinks as it breaks down, so it should not form the main structural base.
Q: How do I level a garden bed on a slope?
A: Cut into the uphill side, use stable soil to build the lower side, and add a retaining edge when needed. For a steep slope, make several short terraces instead of one tall wall.
Q: Can I use a rototiller to level the ground?
A: You can use one on a large, open area, but it may spread perennial weeds and create a loose layer over compacted soil. A shovel, digging fork, and rake offer better control for a small bed.
Q: How long should I wait before planting after leveling?
A: You can plant at once if the base is firm and the soil is stable. For deep fills or raised beds, waiting a few days and checking after watering helps reveal settling.
Q: Why does my level garden bed still have puddles?
A: The soil may be compacted, the low spot may not be fully corrected, or outside water may be entering. Test drainage and inspect the bed after rain before adding more soil.
Q: What is the best mulch for a level vegetable bed?
A: Straw, shredded leaves, and clean compost work well. Use 2 to 3 inches around established plants, but keep mulch away from stems. Avoid fresh wood chips in the root zone of annual vegetables.
Q: Do I need a soil test after leveling?
A: A soil test is useful, especially if you add purchased soil or compost. It can show pH, phosphorus, potassium, and organic matter levels. Test before adding lime or fertilizer.
Q: Can I level soil with sand?
A: Sand is rarely a good fix for clay in a garden bed. Small amounts can make a cement-like mix. Use compost and organic matter for structure, and improve drainage at the site level.
Q: What vegetables grow well in a newly leveled bed?
A: Lettuce, radishes, bush beans, carrots, kale, chard, basil, and marigolds are easy starts. Tomatoes, peppers, cucumbers, and squash also work once the bed drains well and receives enough sun.
Final steps for a stable, productive bed
Start with the grade, not the plants. Mark the bed, find the high and low points, cut high soil, fill low areas in thin layers, and check the surface from more than one direction. Then improve the topsoil with mature compost and protect it with mulch.
A level garden bed does not need to look like a golf green. It needs a firm base, even moisture, safe drainage, and enough depth for healthy roots. Take time to watch the site after rain, and your vegetables, herbs, flowers, and pollinator plants will have a much easier growing season.
Meta description: Learn how to level ground for a garden bed with simple tools, step-by-step methods, drainage tips, raised-bed advice, soil guidance, costs, and common mistake fixes.