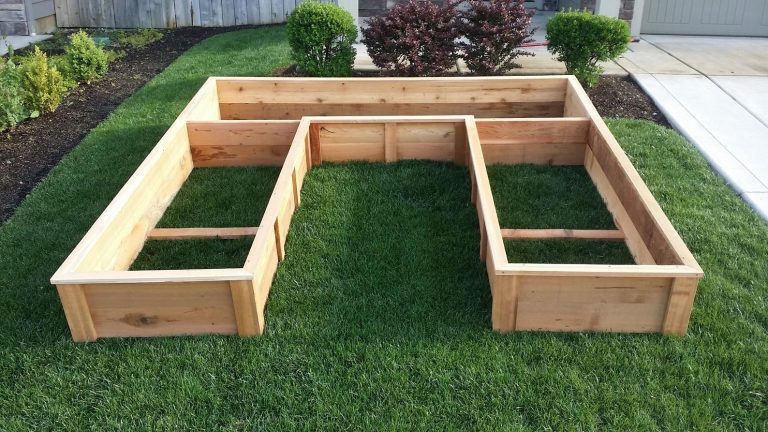
How To Make Raised Garden Beds Without Wood: Easy Methods
Raised garden beds do not need wood. You can build them with stone, brick, metal, concrete blocks, woven branches, recycled plastic, or even packed soil. These materials can last longer than untreated lumber and work well in wet yards, small spaces, rental gardens, and areas with termites.
I have built beds in sandy soil in USDA Zone 8 and in heavy clay in Zone 6. The best material changed with the site. Stone worked well on a slope, while galvanized steel made more sense in a tight backyard. The key is not the look of the bed. It is strong walls, good drainage, safe materials, and soil that stays loose.
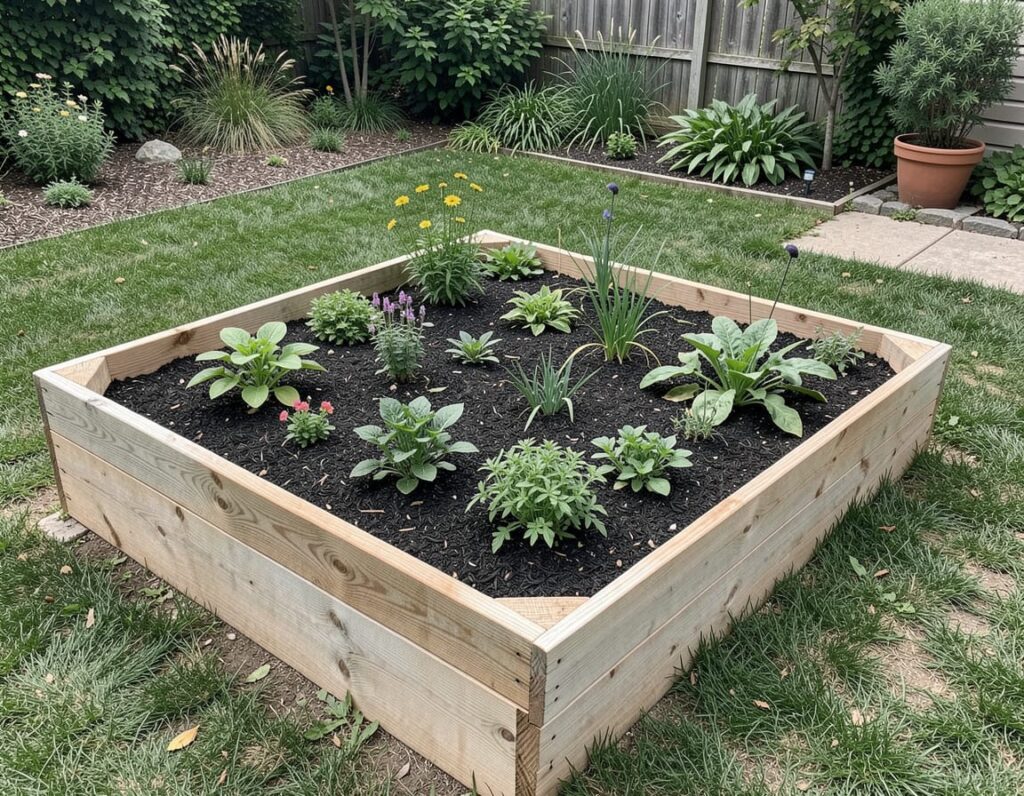
The best way to make a raised garden bed without wood
The best way to make a raised garden bed without wood is to choose a wall material that fits your soil, budget, climate, and crop depth. Mark the bed, level the base, build a stable wall, fill it with quality soil, and add mulch. For most home gardens, stone, brick, metal, concrete blocks, and woven branches are reliable wood-free choices.

A raised bed lifts growing soil above the native ground. This improves drainage in heavy clay, warms soil in spring, and makes planting easier on your back. It does not need a floor unless you are blocking roots or placing it on concrete.
Most vegetables need only 8 to 12 inches of soil. Tomatoes, carrots, parsnips, and other deep-rooted crops do better with 18 to 24 inches. A bed 3 to 4 feet wide lets you reach the center without stepping on the soil.
Choose the right non-wood material
The best material depends on how long you want the bed to last and how much work you want to do. Stone and concrete can last for decades, while woven branches may need repair every few years. Metal builds fast but can heat up in full sun.

Before you start, check the material for sharp edges, paint, chemical residue, and signs of rot. Avoid old railroad ties, treated landscape timbers, unknown painted boards, and salvaged materials that may contain lead or creosote.
| Material | Best use | Typical life |
|---|---|---|
| Natural stone | Slopes, permanent beds, rustic gardens | 20+ years |
| Brick or pavers | Formal beds and level yards | 20+ years |
| Galvanized steel | Fast builds and modern gardens | 15–30 years |
| Concrete blocks | Tall beds and firm walls | 20+ years |
| Woven branches | Low beds and cottage gardens | 2–6 years |
| Recycled plastic | Light beds and rental gardens | 10–25 years |
Stone, brick, and concrete have the longest life. Woven branches cost little, but they need the most upkeep.
Stone and brick
Stone makes a strong bed wall and looks natural beside herbs, berries, and flowers. Fieldstone, limestone, granite, and local rock all work if the pieces sit firmly. Brick and concrete pavers create cleaner lines and are easier to stack.
Use stones with wide, flat faces for the best stability. Small stones can fill gaps, but do not rely on loose rock for a tall wall. A dry-stacked wall should stay about 12 to 18 inches high unless you know how to build a retaining wall.

Brick works best on a level base. If the bed sits on a slope, the lower side needs more support. A shallow trench filled with compacted gravel helps stop settling and frost heave in cold USDA Zones 3 through 5.
Galvanized metal panels
Galvanized steel panels are fast to install and need little care. Common kits use corrugated steel sides with aluminum or steel corner posts. You can also use galvanized livestock panels, but the edges must be capped or folded safely.
Metal beds warm faster in spring. That helps peppers, eggplants, and tomatoes in cool climates, but it can stress lettuce and spinach during hot summers in Zones 8 through 10. A thick mulch layer and steady watering reduce heat swings.
Modern coated steel beds often have a safe, baked-on finish. Avoid panels with peeling paint, rust flakes, or an unknown industrial coating. Do not use roofing panels that once held chemicals.
Concrete blocks and pavers
Concrete blocks create sturdy walls and can support beds from 8 to 24 inches high. The holes in standard blocks can hold thyme, chives, strawberries, or small flowers. Fill unused holes with soil, or cover them to stop drying.
For a wall over 18 inches tall, stagger the joints like brickwork. Use landscape adhesive between courses if children or pets may bump the bed. A block wall on a compacted gravel base lasts much longer than one placed on loose soil.
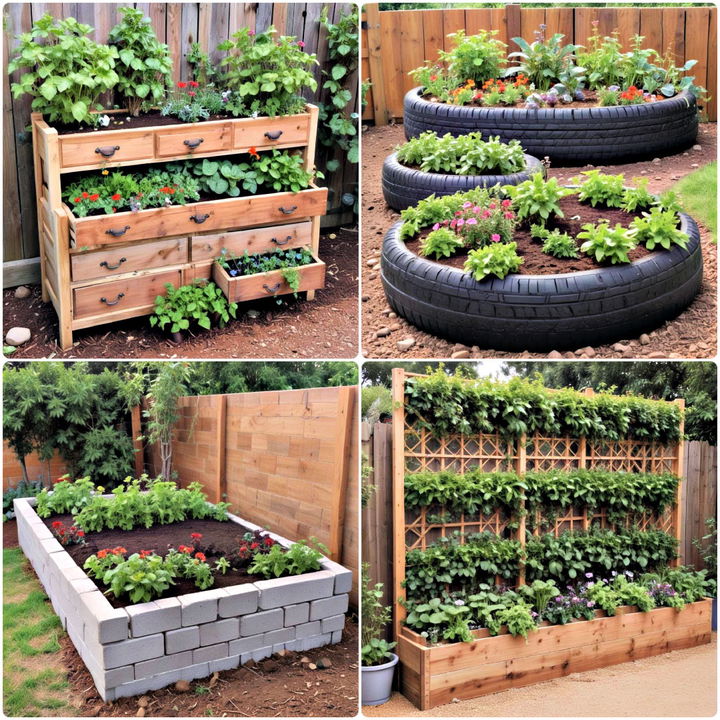
Concrete can raise soil pH slightly as it ages. This rarely causes trouble for tomatoes, beans, kale, or most herbs. Blueberries, azaleas, and other acid-loving plants need a separate bed with acidic soil.
Woven branches and natural fiber
Wattle beds use flexible branches woven between upright stakes. Willow, hazel, dogwood, and young fruitwood branches work well. This method suits low beds, pollinator borders, and gardens with a soft, handmade look.
Use fresh, flexible branches for the weave and thicker stakes for support. Keep the bed 6 to 12 inches high. Line the inside with cardboard if you want to slow soil loss, but leave the bottom open for drainage.
Willow may root in damp soil. That can be useful in a living garden edge, but unwanted shoots may compete with crops. In dry climates, woven branches can become brittle after two hot summers.
Recycled plastic and composite panels
Recycled plastic boards do not rot, rust, or splinter. They are light enough for renters and easier to move than stone. Their main weakness is flexing, especially when a deep bed is full of wet soil.
Add stakes or metal corner posts every 2 to 3 feet. Dark plastic can heat in full sun, so use pale colors or shade the sides with mulch. Check that the product is made for garden or food-growing use.
Plan the bed before you build
Good planning prevents most raised-bed problems. Start with sunlight, reach, drainage, and access. A beautiful bed in deep shade will produce less than a plain bed in six hours of sun.

Choose a site with at least 6 hours of direct sun for tomatoes, cucumbers, peppers, beans, and squash. Leaf crops such as lettuce, kale, and arugula can manage with 4 to 6 hours, especially in hot zones.
Keep the bed near a water source. A full bed becomes hard to move, and carrying a hose across a yard can damage young plants. Leave paths wide enough for a wheelbarrow or garden cart.
Pick a useful size
A 4-by-8-foot bed is common, but it is not right for every yard. A 3-by-6-foot bed is easier to reach, while a 2-by-4-foot bed works well on a patio. Keep the width at 4 feet or less if you can reach from both sides.
| Bed size | Soil needed at 12 inches deep | Good use |
|---|---|---|
| 2 × 4 feet | About 8 cubic feet | Balcony or small patio |
| 3 × 6 feet | About 18 cubic feet | Small family garden |
| 4 × 8 feet | About 32 cubic feet | Mixed vegetables |
| 4 × 12 feet | About 48 cubic feet | High-output garden |
Soil volume changes if the bed is deeper or if you fill the bottom with coarse organic matter. Use a soil calculator when ordering bulk soil, then add about 10 percent for settling.
Check the base and slope
Place the bed on firm ground. Remove sod, large roots, and sharp rocks. You do not need to remove every weed root, but perennial weeds such as bindweed, quackgrass, and ground ivy need careful removal.
On a slope, step the bed into the hill rather than making one tall wall. Tall walls hold more pressure and may need professional retaining-wall design. A level base also helps irrigation water spread evenly.
Decide whether to add a bottom
Most raised beds should stay open to the ground. An open bottom lets earthworms enter and gives excess water a path to drain. It also lets deep-rooted plants use the native soil below the bed.
Use a bottom only when you need to block roots, rodents, or contaminated soil. Hardware cloth with small openings can stop voles. Landscape fabric may separate soil from concrete, but it will not solve poor drainage.
⚠️ Warning: Do not place a sealed raised bed over wet clay without a drainage plan. Water can collect below the soil and cause root rot, fungus gnats, and yellow leaves.
Gather tools and materials
You need fewer tools than most people expect. A shovel, level, tape measure, gloves, and wheelbarrow will handle most builds. A rubber mallet helps set pavers without cracking them.
Use safety glasses when cutting metal or concrete. Wear cut-resistant gloves around steel panels, wire, stone, and broken brick. If you mix mortar, use a dust mask rated for fine particles and follow the product label.
| Task | Tools | Materials |
|---|---|---|
| Mark the bed | Tape measure, stakes, string | Twine or marking paint |
| Level the base | Shovel, rake, hand tamper, level | Gravel or crushed stone |
| Build stone or brick | Rubber mallet, level | Stone, brick, or pavers |
| Build metal sides | Drill, metal snips, wrench | Panels, corner posts, screws |
| Fill the bed | Wheelbarrow, bucket, rake | Topsoil, compost, mulch |
| Install watering | Hose, punch tool, scissors | Drip line or soaker hose |
A hand tamper gives a firmer base than a rake alone. For a small bed, the end of a heavy fence post can also compact gravel in thin layers.
Build the raised bed step by step
Build the bed in layers. A strong base matters more than a perfect finish. Take time to check level after each wall course or panel.

1. Mark the outline
Measure the bed and mark each corner with a stake. Run string around the stakes, then check the diagonals. Equal diagonals show that a rectangle is square.
Keep at least 18 to 24 inches between beds. If you use a wheelbarrow, make paths 30 to 36 inches wide. For a wheelchair or wide garden cart, allow 36 to 48 inches.
2. Clear and level the ground
Cut away grass and remove large roots. Dig down 2 to 4 inches if the site has thick turf. Rake the soil flat and check it with a long level or straight board.
If the site slopes, do not bury one side too deeply and leave the other floating. Step the bed or build a stable retaining base. Water will always move toward the low side.
3. Add a compacted base
For stone, brick, and blocks, dig a shallow trench 4 to 6 inches deep. Add 3 to 4 inches of crushed gravel, then compact it. The base should extend slightly beyond the wall on both sides.
Skip a deep gravel base for low woven beds or light plastic beds on flat ground. They can sit on bare soil after the grass and roots are removed.
4. Build the walls
Stack stone, brick, or blocks with the widest face down. Use a level from side to side and front to back. Tap each piece into place with a rubber mallet.
For metal, attach panels to corner posts before filling the bed. Add a center support on long sides. Wet soil is heavy, and unsupported panels may bow outward after a hard rain.
For woven branches, drive stakes 12 to 18 inches into the soil. Weave each branch in front of one stake and behind the next. Press each row down so the wall stays tight.
5. Line sharp edges
Metal edges can cut hands, sleeves, pets, and children. Fold the top edge inward, add a purpose-made cap, or attach a smooth rubber trim. Do not leave cut steel exposed.
Wire mesh also needs a safe edge. Bend the top inward and cover it with a thick strip of flexible tubing. Test it with a gloved hand before planting.

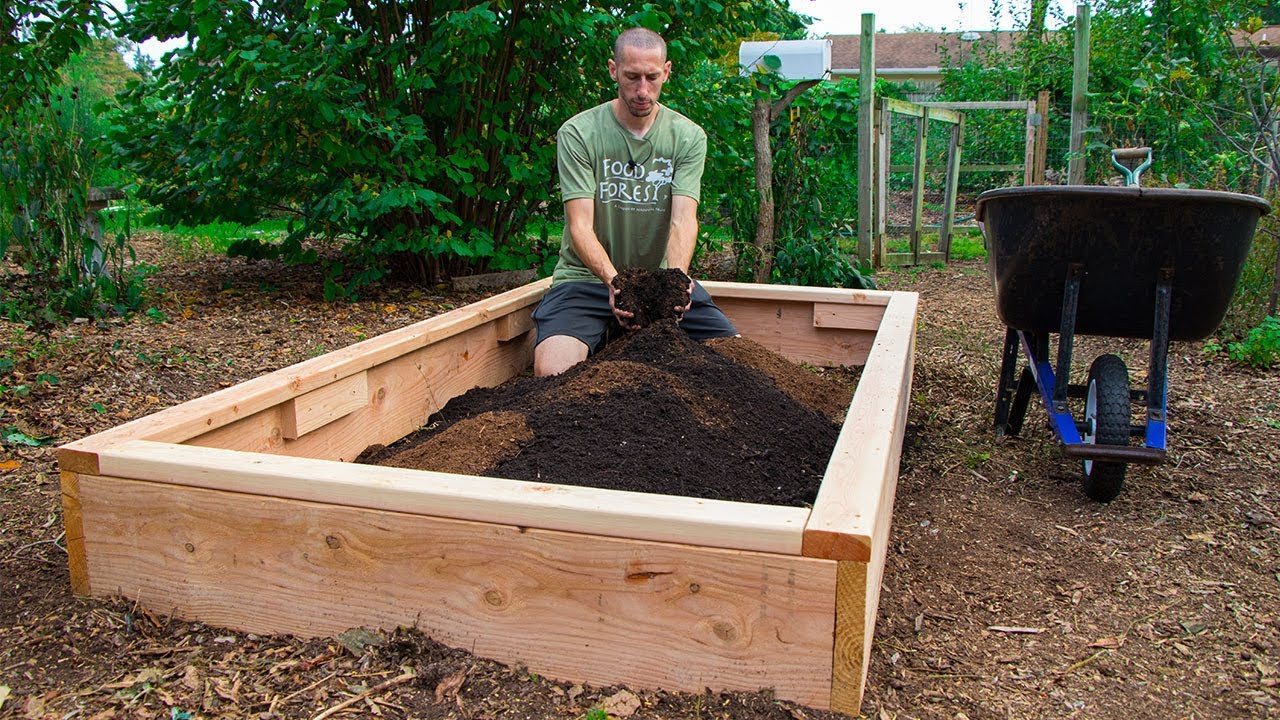
6. Fill with quality soil
Use a mix that drains well but holds moisture. A simple starting blend is 60 percent screened topsoil, 30 percent finished compost, and 10 percent aeration material such as pine bark fines or coarse perlite.
Avoid filling the whole bed with pure compost. Compost shrinks, dries fast, and may contain excess salts. A soil test can show pH, phosphorus, potassium, calcium, and organic matter before you add fertilizer.
| Bed depth | Suitable crops | Suggested soil approach |
|---|---|---|
| 6–8 inches | Lettuce, herbs, radish, strawberries | Compost-rich topsoil mix |
| 10–12 inches | Beans, beets, carrots, kale, onions | Balanced topsoil and compost |
| 18–24 inches | Tomatoes, parsnips, potatoes, squash | Deep loose mix with steady moisture |
Do not add gravel to the bottom of a bed to “improve drainage.” A gravel layer above compact soil can create a perched water table. Improve drainage by opening the bottom, loosening the native soil, or using a proper drain path.
7. Water the soil before planting
Water the new soil slowly until it settles. Add more mix if the level drops by several inches. Do not pack the soil by walking on it.
Wait one to two weeks if the compost is fresh or warm. Mature compost smells earthy, not sour or sharp. Planting into immature compost can stress roots and tie up nitrogen.
8. Add mulch and plant
Apply 1 to 2 inches of shredded leaves, clean straw, pine straw, or fine bark. Keep mulch 2 inches away from plant stems to reduce rot and slug hiding places.
Plant cool crops such as spinach, peas, and lettuce in early spring or fall. Plant warm crops such as basil, cucumber, pepper, and tomato after the last frost when soil temperatures reach about 60°F.
🌱 Beginner Note: Start with one 3-by-6-foot bed. It is large enough to matter but small enough to water, weed, and repair without feeling like a chore.
Compare the main building methods
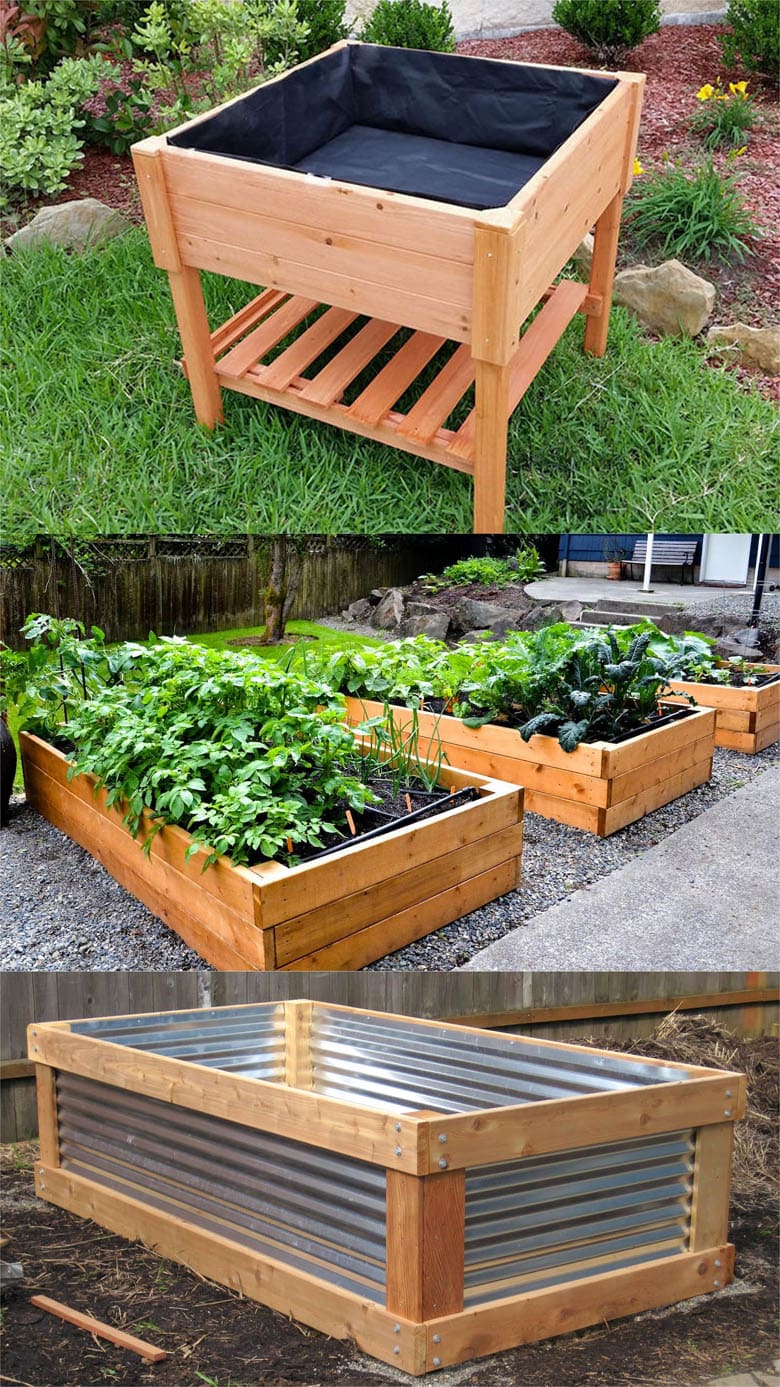
Each method solves a different problem. A low stone border suits a permanent garden, while a metal kit suits someone who wants a quick weekend build.
| Method | Strengths | Limits |
|---|---|---|
| Dry-stacked stone | Long life, natural look, no hardware | Heavy, slow, hard to make very tall |
| Brick or pavers | Neat lines, stable, easy to match | Needs a level base, can shift with frost |
| Galvanized steel | Quick build, light, modern | Can heat and may bow without support |
| Concrete blocks | Strong, modular, good for height | Heavy and may raise pH slightly |
| Wattle branches | Low cost, attractive, uses local material | Short life and regular repairs |
| Recycled plastic | Rot-proof, light, movable | Can flex or warp in heat |
Stone and blocks offer the best long-term value if you plan to stay in the home. Metal often wins for speed. Wattle is a good choice when appearance and low cost matter more than lifespan.
Stone versus metal
The main difference between stone and metal is heat and labor. Stone takes longer to build but buffers temperature changes. Metal goes up quickly and warms the soil sooner.
In my Zone 6 garden, galvanized steel helped peppers gain early growth in May. By late July, the soil dried faster than the soil in my stone bed. A thick straw mulch solved much of the difference.

Concrete blocks versus brick
Blocks are usually easier to source and can create taller walls. Brick looks more finished but needs tighter placement. Both need a level base in areas with freeze-thaw cycles.
Choose blocks when function matters most. Choose brick when the bed borders a patio, path, or formal landscape.
Wattle versus recycled plastic
Wattle fits a natural garden and uses pruned branches. Recycled plastic gives a cleaner edge and lasts much longer. The choice often comes down to whether you want a living, changing border or a low-maintenance one.
Fill and manage the soil correctly
Raised beds need care because they drain faster than ground soil. They also lose nutrients each time you harvest crops. Soil health depends on adding organic matter, rotating crops, and watering deeply.
Test the pH
Most vegetables grow well between pH 6.0 and 7.0. A soil test is more useful than guessing with lime or sulfur. Add amendments only after the test shows a need.
Blueberries prefer about pH 4.5 to 5.5. Potatoes tolerate a wider range, but very alkaline soil can reduce nutrient uptake. Herbs such as rosemary and thyme prefer lean, well-drained soil and may grow poorly in rich, wet beds.
Feed plants with care
A balanced organic fertilizer such as 5-5-5 can help hungry crops, but compost supplies slow nutrients too. Heavy feeders like tomatoes, squash, corn, and cabbage may need a side dressing during the season.
Do not add high-nitrogen fertilizer to carrots or leafy herbs without a reason. Too much nitrogen makes soft growth and can reduce flavor or root formation.
Use drip irrigation
Drip lines and soaker hoses put water near the root zone. They waste less water than overhead sprinklers and keep leaves dry. Wet leaves can increase fungal disease on tomatoes, cucumbers, and squash.
Water when the top 1 to 2 inches feels dry. In hot weather, a deep bed may need water every day, while a mulched bed may need it every two or three days. Sandy soil dries faster than loam or clay.
| Season | Main task | Check |
|---|---|---|
| Spring | Add compost and repair walls | Soil moisture and frost damage |
| Summer | Mulch and water deeply | Dry edges, heat stress, pests |
| Fall | Remove diseased plants and top-dress | Rodents and standing water |
| Winter | Protect empty beds | Wall movement and erosion |
Raised beds in USDA Zones 3 through 5 may heave after winter. Inspect stone, brick, and block walls in spring before planting. In Zones 8 through 10, inspect metal and plastic for heat damage and sun warping.
Maintain the bed through the seasons
Most non-wood beds need little care, but no bed is maintenance-free. Soil settles, mulch breaks down, and walls move. A short inspection each season prevents major repairs.
Spring maintenance
Look for cracked brick, leaning blocks, bowed metal, and gaps under stone. Re-level loose pieces before the bed is full of plants. Add 1 to 2 inches of compost instead of turning the soil deeply.
Check drip lines for splits caused by frost or rodents. Flush the lines before connecting emitters. Replace clogged emitters rather than increasing water pressure.
Summer maintenance
Watch the outer edges of metal beds. They may feel hot enough to dry nearby soil. Mulch the bed and water early in the morning.
Inspect for aphids, cabbage worms, squash bugs, slugs, and tomato hornworms. Hand-pick large pests, use row cover for cabbage family crops, and protect pollinators by avoiding sprays on open flowers.
Fall and winter maintenance
Remove plants with blight, powdery mildew, or severe pest damage. Do not add diseased tomato or squash vines to a small home compost pile. Healthy roots can stay in place and feed soil organisms as they break down.
In cold zones, do not drain water against the wall. Frost can lift pavers and split mortar. Cover empty soil with leaves, straw, or a winter cover crop such as crimson clover or winter rye.
Fix common raised-bed problems
Most problems have a clear cause. Bent walls, dry soil, poor growth, and standing water usually point to a design or maintenance issue rather than a plant mystery.
| Problem | Likely cause | Fix |
|---|---|---|
| Metal sides bow outward | No center support | Add posts or cross braces |
| Soil dries each day | Shallow bed, heat, or sandy mix | Add mulch and water deeply |
| Water pools after rain | Compacted base or sealed bottom | Open the bottom and improve drainage |
| Plants turn pale | Low nutrients or root stress | Test soil and inspect roots |
| Wall leans | Poor base or frost movement | Rebuild on compacted gravel |
| Slugs hide under mulch | Wet mulch touching plants | Pull mulch back and water in morning |
A bed that stays wet may have a blocked bottom. A bed that dries too fast may have too much fine compost, too much sun on metal sides, or no mulch. Test one change at a time so you know what worked.
When walls move
Small movement is common in loose stone and pavers. Remove soil near the damaged area, reset the pieces, and compact the base. Do not push a leaning wall back into place while the bed is full.
A wall over 24 inches tall carries much more soil pressure. Use an engineered system, drainage stone, or professional help. A collapsed wall can injure people and destroy plants.
When plants grow poorly
Poor plant growth can come from low light, bad roots, wrong pH, or overwatering. Check sunlight for a full day, then test moisture below the surface. Yellow leaves do not always mean a fertilizer shortage.
Look for swollen roots, sour-smelling soil, fungus gnats, and black root tissue. These signs point to excess water or poor drainage. Let the bed drain before adding more feed.
🔧 Quick Fix: If a new bed settles after heavy rain, rake the surface level and add screened soil mixed with compost. Do not fill low spots with pure compost, which may shrink again.
Learn from real garden use
I have used wood-free beds for vegetables, herbs, and cut flowers over several seasons. The most useful change was moving from a 2-foot-wide metal bed to a 4-foot-wide bed. The wider bed held more plants, but I could still reach the center from both sides.
My first stone bed failed because I placed the lowest rocks on bare clay. Heavy rain pushed the lower edge outward. After rebuilding it on 4 inches of compacted gravel, it stayed stable through two wet winters.
I also tried a deep compost mix in a recycled plastic bed. The tomatoes grew fast at first, then the soil shrank and dried unevenly. Adding topsoil and pine bark fines gave the roots better structure.
These results vary by climate. A metal bed that stays comfortable in Maine may overheat in southern Arizona. A wattle bed that lasts five years in a mild, wet climate may break down sooner in a dry, sunny site.
Know the cost and labor
The cost of a wood-free bed ranges from very low to several hundred dollars. Local stone, free branches, and salvaged brick can lower the price. Purchased stone, metal kits, soil delivery, and irrigation add most of the cost.
| Build type | Current cost range for a 4 × 8-foot bed | Labor level |
|---|---|---|
| Wattle branches | $20–$100 | Medium |
| Recycled plastic | $100–$350 | Low |
| Galvanized metal | $150–$500 | Low |
| Concrete blocks | $150–$450 | Medium |
| Brick or pavers | $250–$800 | Medium to high |
| Natural stone | $200–$1,000+ | High |
Soil can cost as much as the walls. A 12-inch bed of this size needs about 32 cubic feet, or nearly 1.2 cubic yards. Bulk delivery often costs less than many small bags, but only if you have space for the pile.
A basic bed can take half a day. A stone or brick bed may take a full weekend. Add more time for a slope, a tall wall, irrigation, or a large amount of soil.
Avoid these common mistakes
Small design errors can make a bed hard to use. Most are easy to prevent before you bring in soil.
- Making the bed too wide: You should never step into the bed to reach plants.
- Using loose walls on a slope: Water and soil pressure can move them.
- Filling with pure compost: It settles and may hold too much water or salt.
- Skipping a soil test: Lime and fertilizer can create new problems.
- Leaving metal edges sharp: A safe bed needs capped or folded edges.
- Using fresh manure: It may burn roots and carry pathogens.
- Adding gravel under every bed: It does not fix a compacted or sealed base.
- Planting too early: Warm crops struggle in cold, wet soil.
Do not crowd tomatoes, cucumbers, or zucchini. Good spacing improves air movement and lowers the risk of early blight, powdery mildew, and downy mildew.
Pick the best method for your garden
The right choice depends on your priorities. A renter, a long-term homeowner, and a gardener with a steep slope may need three different designs.
Choose galvanized steel if you want a fast build, clean lines, and low upkeep. Add supports on long sides and mulch well in hot zones.
Choose stone or brick if you want a permanent bed that blends into the landscape. Use a compacted base and keep walls low unless you understand retaining-wall construction.
Choose concrete blocks if you want height, modular parts, and planting pockets. They are useful for gardeners with back or knee limits.
Choose wattle if you have local branches and want a low-cost natural look. Plan to replace or weave new branches as the wall ages.
Choose recycled plastic if you need a light, rot-proof bed that can move. Brace long sides and avoid dark panels in extreme heat.
When to use containers instead
Containers work better than raised beds on balconies, rooftops, and paved patios. They also make sense when the ground may contain lead, petroleum, or other contaminants. Use food-safe containers with drainage holes and a potting mix made for containers.
A raised bed is better when you want more soil volume, easier crop rotation, and a direct connection to native soil. A container is easier to move and isolate from poor ground.
When to hire help
Ask a professional for help when the bed is part of a retaining wall, sits beside a foundation, or rises more than 24 inches. Also get help if the site drains toward your home or if you suspect contaminated soil.
A landscape contractor can shape a slope, install a drain, and build a stable wall. That cost may prevent a much larger repair later.
FAQs about wood-free raised garden beds
Q: What is the cheapest way to make a raised garden bed without wood?
A: Woven branches, local stone, salvaged brick, and concrete blocks are often the cheapest options. Cost depends on what you can source nearby. Free branches may cost little, but wattle walls need more repairs than stone or metal.
Q: Do raised beds without wood need a bottom?
A: Usually, no. An open bottom improves drainage and lets roots enter native soil. Add hardware cloth only for rodent control, or use a sealed base when the bed sits on concrete or contaminated ground.
Q: Are galvanized metal raised beds safe for vegetables?
A: Food-growing galvanized beds from a trusted source are generally suitable. Avoid unknown industrial panels, peeling coatings, and materials that stored chemicals. Cap sharp edges and use mulch to limit heat around roots.
Q: How deep should a raised bed be for tomatoes?
A: Use 18 to 24 inches of loose soil for tomatoes. A shorter bed can work if the native soil below is open, fertile, and well drained. Determinate varieties such as ‘Roma’ need less support than large indeterminate types.
Q: Can I build a raised bed from concrete blocks?
A: Yes. Concrete blocks make strong, modular walls. Use a level gravel base, stagger the joints for taller beds, and fill the block holes with herbs or flowers. Avoid placing acid-loving blueberries in soil touching fresh concrete.
Q: Will stone raised beds drain well?
A: Stone walls drain well when the bed has an open bottom and the base does not block water. Stone alone cannot fix compacted clay or a low site that collects runoff. Improve the surrounding grade if water flows toward the bed.
Q: How long do wood-free raised garden beds last?
A: Stone, brick, and concrete can last 20 years or more. Galvanized steel often lasts 15 to 30 years, depending on coating and moisture. Wattle may last 2 to 6 years, while recycled plastic can last 10 to 25 years.
Q: What soil mix works in a raised bed?
A: Start with about 60 percent screened topsoil, 30 percent finished compost, and 10 percent pine bark fines or coarse perlite. Adjust the mix after a soil test. Do not use pure compost or heavy garden clay.
Q: How do I stop a metal raised bed from getting too hot?
A: Use light-colored panels, apply 1 to 2 inches of mulch, and water deeply. Place heat-sensitive crops such as lettuce on the shaded side. In hot Zones 8 through 10, stone or concrete may provide steadier root temperatures.
Q: Can I put a raised bed on grass?
A: Yes, but remove the sod or cover it with several layers of plain cardboard before adding soil. Remove perennial weeds first. Do not use glossy, waxed, or heavily printed cardboard.
Q: Why is my raised-bed soil sinking?
A: Fresh compost, loose fill, and air pockets cause settling. Add mature compost and screened soil in thin layers, then water gently. Avoid walking on the bed, which compacts the root zone.
Q: What can I grow in an 8-inch raised bed?
A: Lettuce, radish, herbs, onions, strawberries, and many leafy greens grow well in 8 inches. Carrots need loose depth, and tomatoes, parsnips, and potatoes perform better with 18 to 24 inches.
Q: Should I line a raised bed with landscape fabric?
A: Use fabric only when you need to separate soil from concrete, gravel, or a known barrier. It is not needed over healthy ground and can slow drainage when installed poorly. Hardware cloth is better for blocking voles.
Q: What is better, raised beds or in-ground gardens?
A: Raised beds are better for poor soil, wet sites, small spaces, and gardeners who want less bending. In-ground gardens cost less and provide more root space. Choose in-ground beds when your native soil drains well and is safe for food crops.
Final advice for building a durable bed
A wood-free raised garden bed works best when the wall matches the site. Use stone or blocks for permanence, metal for speed, wattle for a natural low bed, and recycled plastic for a light movable option.
Keep the bed no wider than you can reach, leave the bottom open when possible, and spend as much care on soil as on the walls. A stable base, safe edges, mature compost, mulch, and steady water will do more for your harvest than an expensive design.
Start small, observe the bed through one full growing season, and improve it after you learn how the sun, rain, and soil behave. That approach creates a garden that lasts longer and asks for less work each year.